I’ve gotten a bit farther on my art project, the first part of which can be found here.
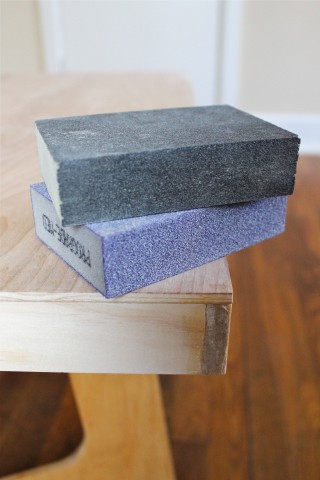
Now that the canvas had been assembled and the wood glue paste had dried, it could be sanded smooth. I started with a medium grain sanding block to file down the bulk of the imperfections. I used a circular motion while applying pressure, being careful not to rub too hard on the edges which could cause them to splinter. Once all the bumps were smoothed out, I went over it again with a fine grit sanding block to remove any rugged texture caused by the first sanding.
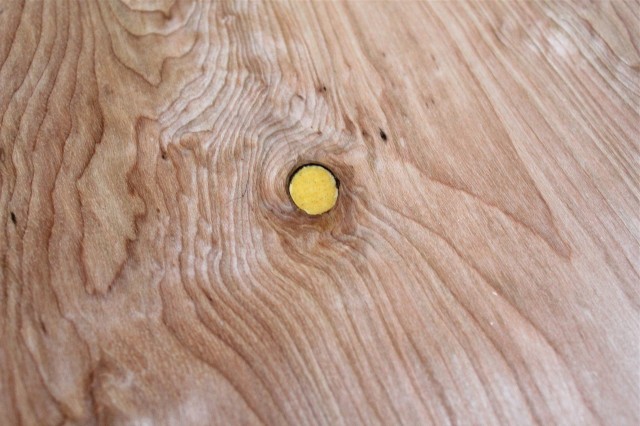
I also needed to fill in two knots on the face with a bit more wood glue to make an even surface.
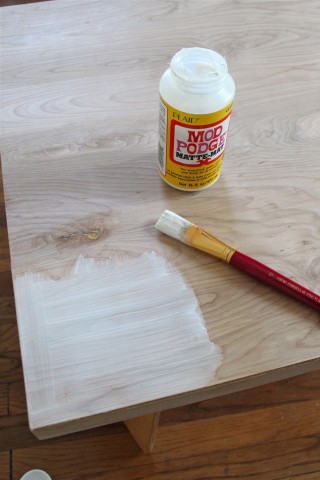
Once that was dry, it was time to prime! Just like when painting a wall, a good prime coat can help to seal the surface so that the top coat of color doesn’t just get soaked up like a sponge leaving splotches of uneven color. I could have used a white paint or even one a shade lighter than my top coat to prime with, but I chose to use Mod Podge, a very clear-drying glue-like substance that I had on hand.
I used a brush because that’s what I had, but I would highly recommend you use a foam brush or small foam roller if you can find one, as they don’t cause the same streakiness and texture that a bristle brush can cause. Ideally, spray paint would have been even better for both primer and topcoat as it would completely eliminate texture, but I couldn’t find a color that I liked. I just used extra care in painting the primer on as smoothly as I could while still working quickly, because if you try to paint over an area that is partially dry you’ll end up creating even more undesirable texture on the surface.
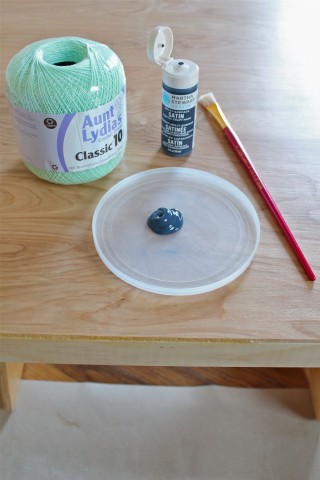
When the primer was dry, I was ready for the top coat. I used this Martha Stewart acrylic craft paint in “deep sea” with a satin finish. Next to it is the contrasting mint-colored crochet thread I’ll be using to make the string art with later!
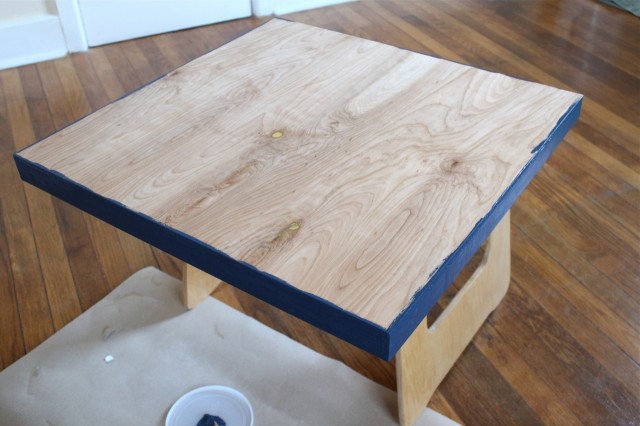
I painted the sides first…
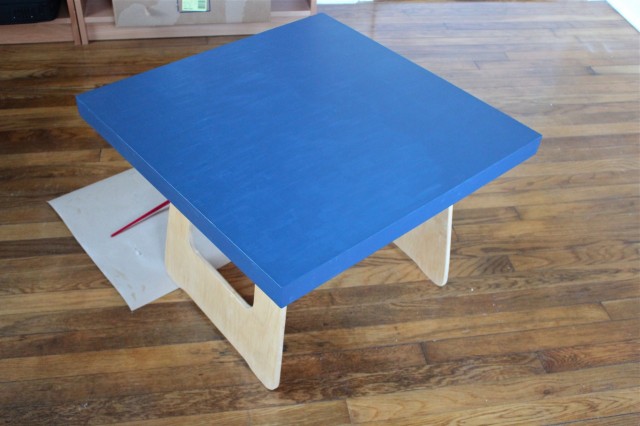
And finished the top making sure that all of my brush strokes were in the same direction. This canvas got one more coat with all brushstrokes in the opposite direction, again to minimize the unavoidable surface texture created when using a bristle brush.
That bottle of craft paint ended up being exactly enough to cover the canvas twice. Lucky!
Now, I’m waiting for something to come in the mail before I can work on this project any more. You’ll see what that is on the next project update!





I remember those sanding blocks from year nine woodwork class! Of course, the money box I ended up making was far less impressive than your efforts.
Hannah recently posted..The Ginger Room, aka My Mum’s 60th Birthday Dinner
I don’t know, my canvas won’t hold money even when it’s finished. Sounds impressive to me.
I can’t wait to see the finished product – and then put in an order for mine.
Heather @ Better With Veggies recently posted..Shamrocks & Seaweed on a Green WIAW
That’s a lovely shade of blue. Can’t wait to see the next step!
We made a chalkboard last year out of a broken piece of plexiglass by covering it with chalkboard paint and then doing additional designs with spray paint. After five or six coats of chalk paint, I know what you mean about brushstrokes in the same directions!
Emma recently posted..grapefruit lime meringue pie
The canvas looks amazing!! Using Modge Podge was so smart. I can’t wait to see what you do next!
Carol @ Lucky Zucca recently posted..Everything-But-the-Kitchen-Sink Phyllo Pies
Ooooo love the colors you’ve chosen for your paint and yarn!! Can’t wait to see how it turns out.
Stacy @ Stacy Eats recently posted..Hello, Spring!
Pingback: The finished string art piece | Thyme Bombe