Tada!
In case you missed it…
Step 1: Building the wood canvas
Step 2: Priming and painting
The next step was to draw up a template as a guide for where to hammer in the nails. Like magic, I opened up my giant drawing pad I’ve had since high school and found a pre-drawn circle in it that was almost big enough. If you don’t have a magic drawing pad full of pre-drawn circles or an enormous compass just lying around, you can try any of these methods to draw a circle.
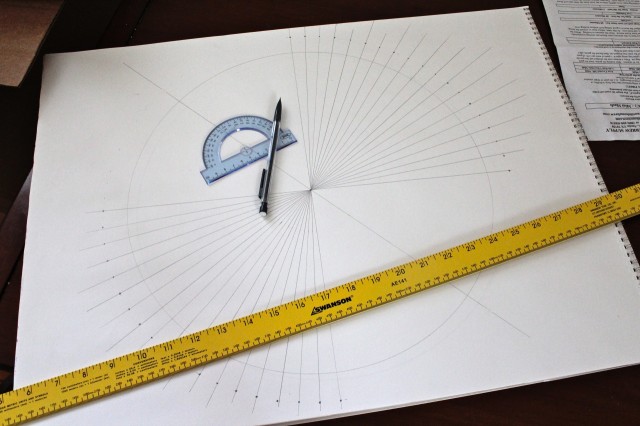
Remember your trusty old protractor from high school math class? He misses you. Find the center point of the circle and draw a line through the diameter in any direction. Line up your happy little protractor and make a small mark every 10 degrees all the way around, then flip it over and do it again. Remove the protractor and use a long ruler to draw more diameter lines that line up 10 degree marks on opposite sides with the center point.
I extended the lines past the circle edge because I decided that I wanted it bigger, so I just measured an extra inch outside the edge to place each of my dots.
Pop Quiz! If you’ve placed dots every 10 degrees on a circle, how many dots do you have? If you said 36 because there are 360 degrees in a circle — congratulations, you really were awake in class! You can do more or fewer dots if you prefer, just make sure there’s an even number of them.
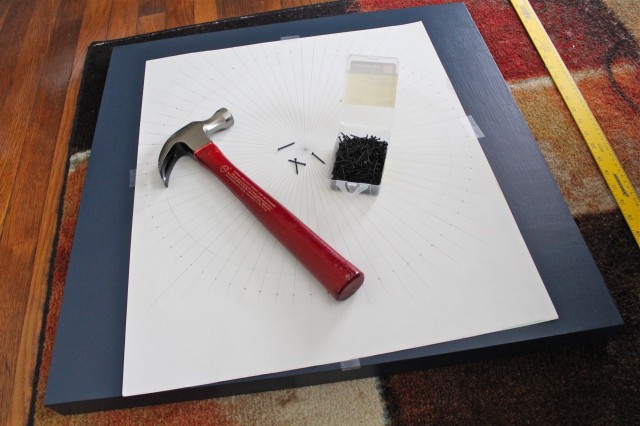
Ok, time to center the template on the canvas. Use your ruler to find the center of the canvas and line it up with the center point of the template. Tape it down with any tape that will peel up easily without leaving adhesive behind (Hint: Don’t use duct tape. Why would you do that?)
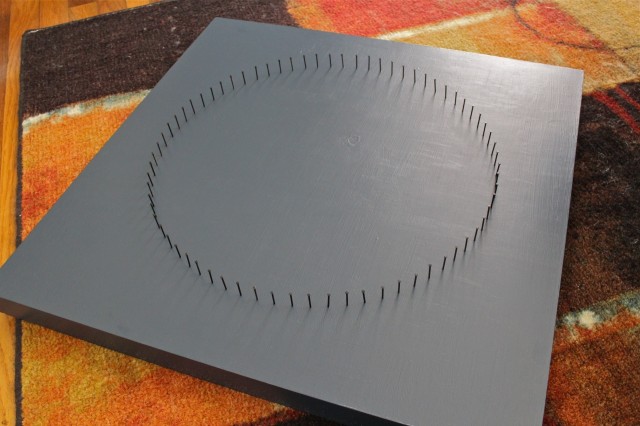
Take a nail, and start tapping in pilot holes all the way around. You’re not trying to hammer the nail all the way in, just enough to leave marks for later.
Ok, now here’s where I made things harder for myself than they had to be. I’m gonna show you what I did first and then tell you what would have worked better.
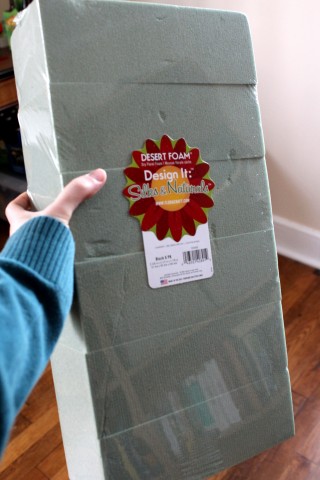
I was worried that because the face of the canvas was so thin, that the nails might not stand up straight in the finished product when they had string on them tugging in different directions. I ordered some florist’s foam off Amazon to adhere to the back of the canvas so that the nails would have something deeper to hold on to.
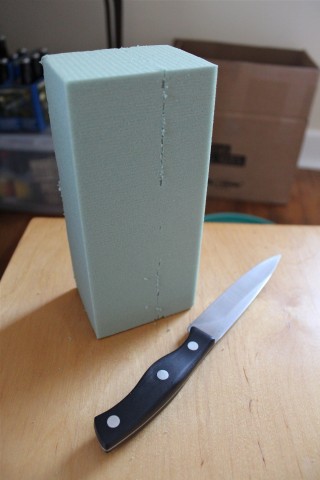
I made sure to cut it thinner than the canvas is deep. Wear safety glasses and even a face mask for this if you have one. This stuff shreds and gets crunchy green dust everywhere.
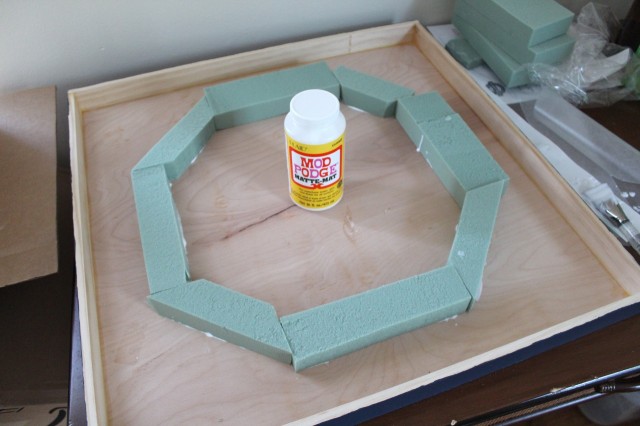
I then used the template to mark off where the circle was on the front by using a pencil to mark through all the little holes I made in it with the nail earlier. Then I glued down pieces of foam making sure to cover every dot and let it dry.
And that is where I went wrong. The glue on the back of the canvas made it really hard to drive the nails in. It would have been much better if I had just driven all the nails in first and then just stuck the foam onto the nail ends in the back. It would have held just as well and been a lot easier. Oh well.
Ok so, back to what I actually did. I started by just hammering the nails in enough to get them all in, then I went back around and hammered them all down to the height that I wanted. I did this on a rug so that the canvas wouldn’t damage the floor.
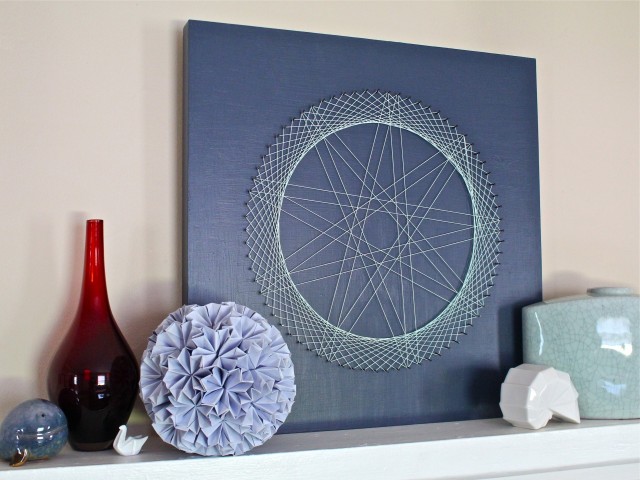
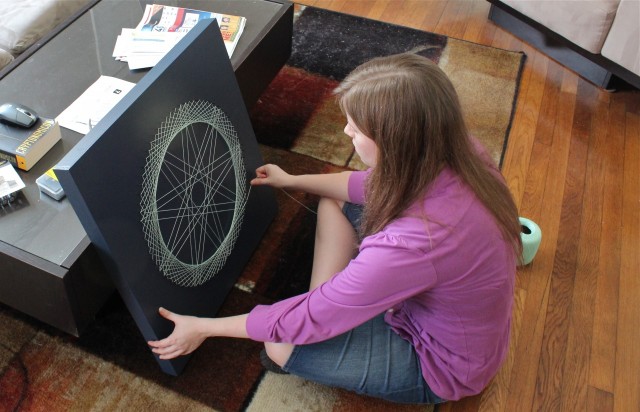
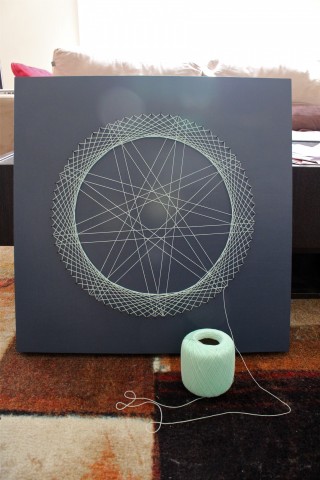
And now we make art! I tied the crochet thread to a nail at the bottom and started by making the big star-like pattern you see in the background. To do this, I looped it around every 33rd nail working clockwise until it came back to the start. You won’t have to count anymore once you get it going and can see the pattern more fully.
I immediately started the next later by looping every 18th nail, still working in the same direction until it came back to the start. At that point, I was pretty happy with the look of it, so I tied it off.
The last step was to trim the ends off and seal them with a little dot of clear-drying glue.
And there you have it! You can add more layers if you want a fuller look or even use several different colors of thread. I may end up putting one more layer on this one sometime in the future, but I’m pretty happy with it for now.
Can’t wait to start the next project!







So awesome! You could totally make those to sell, I bet.
Amber Shea @Almost Vegan recently posted..Reviews: Simply Bar, RiceSelect, Daily Raw, Lärabar
Not a bad idea.
I agree! That is awesome!!!
Kristy @ KristyRuns recently posted..Professional Spectator
Wow, yeah, that’s a marketable product if I’ve ever seen one! Nice work!
Emma recently posted..potato bacon breakfast churros, served in a bacon bowl
Thanks! I’m pretty proud of it.
That is totally awesome!!! You never seize to amaze me my dear. You are truly a remarkable artist in so many ways. I love the way you have displayed it on the mantle with the whole color scheme. You should definitely try to market these. Make me one!!
That looks great!
Lee recently posted..A Blah Post
Seriously, my mind can’t even understand any of this. Me = artistic not. But I can appreciate it, so woooooo! Yay amazingness!
Please accept my humble drawing of a wonky stick figure.
Hannah recently posted..March Bits and Bobs: Pancakes, Asian Sweets, and Advice We All Desperately Need
Well, one thing that you can do that I am terrible at is SING. If I had to sing a song in tune to save my life I would surely die.
I love the wonky stick figure. Classic minimalism and expressive lines.
Pingback: Line ruler | Ranksintl
Alayna it looks so good! Your cute house is coming together so nicely
Thanks lady! Sorry we missed you guys when you were in town the other day. We’ll catch up with you soon.
It’s beautiful!! Love how it turned out!
Carol @ Lucky Zucca recently posted..The Most Beautiful Day
Ah I’m so behind on my reading, but this turned out great!! I absolutely love it and I’m really impressed you whipped out a protractor. Looks so good on your shelf!
Stacy @ Stacy Eats recently posted..Avocado Plum Delicious Salad
Pingback: 35 String Art Patterns | Guide Patterns