Skip to Content

category

Category: How To

post

How to self-publish a book – Part 1: Getting serious

When I first mentioned that I was writing a book, I had a lot of people ask that I share some of the process of writing it as I went along. Well…that didn’t happen. I got really caught up with a lot of stuff at the end of last year and I don’t think I even touched this blog for nearly 6 months. Now that it’s done and I can breathe again, I’m ready to walk you through some of what I did to make it happen. In this first part I talk about my early struggles and realization that this was not going to be a cake-walk after all…

Before I started writing The Japanese Pantry, I really had no idea what I was getting myself into. I thought I’d test a few recipes, write a few blurbs of text, take some photos, and then somehow it would just magically all come together into the shape of a book and be ready to go. Nope.

I still remember how I started. I collected some rudimentary research on different Japanese ingredients into a Google Doc, started buying a few of those ingredients and tried to photograph them in my rickety lightbox with a point-and-shoot camera, and even tried to photograph a few plated recipes with no props and in terrible basement lighting. Everything I did looked horrible, and the more I saw myself produce this sub-par content the more I began to doubt that writing a book was even within the realm of my abilities.

One night at our favorite bar, I vented to Jeff all of my doubts and frustrations. I was nearly in tears, having resigned myself to the fact that this just wasn’t going to work and I should stop while I’m ahead and go get a part-time job. After much discussion, we both agreed that what I really needed to do was to get serious. If I was going to do this, then I was going to do it professionally, and that meant investing more of my time, passion, and yes – money, to make a beautiful product.

One of the first things I did with my newfound enthusiasm was go out and buy props. I bought a few yards of different colored fabrics to use as backdrops, colorful napkins and placemats, little Japanese-themed knick-knacks, and of course a bunch of plates, bowls, and other serveware. It wasn’t cheap, but I made sure to buy things that I knew I could use again in blog photographs as well as around the house to actually eat off of. I also already had a stack of colorful origami paper that I knew I could use to liven up a drab scene in a pinch.

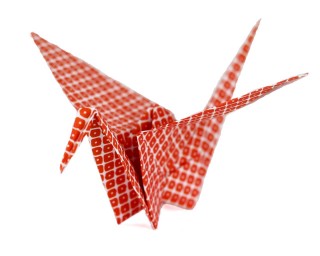
Origami Crane

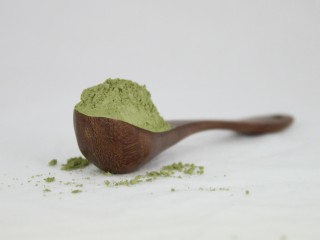
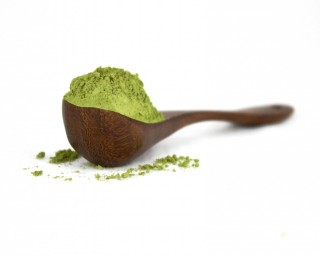
My composition improved greatly with these new additons to the scene, but I was still dealing with bad basement lighting and a camera that was not designed to take the type of photos I was trying to achieve. The news that we would be moving to a new house with lots of great natural light gave me the hope that there was still a chance that I could make this work. With a few months to go until the big move, I busied myself with doing more research and taking photos of ingredients in my lightbox with the new backdrops and some light kits we bought at Home Depot – photos like this one…
Matcha

You may think that looks great and that I was being too hard on myself, but what you’re looking at there is the final version of that photo after lots of careful editing. Here’s the original for comparison…

Unedited matcha photo

Yikes! It was clear to me that both the hardware and software I was using just weren’t going to cut it. The level of adjustments I was able to make with my computer’s default photo editing software could only do so much. It was time to take the plunge and buy some new toys…

In the next part of this series I’ll go over a few of the first tools I used to improve quality and workflow. Stay tuned!

Are there any specific questions you’d like me to answer in this series as I go along?

post

How to season a Yixing clay teapot

Now that our new little lady is safely home with us after her long journey here from China, she must be successfully seasoned before she can be used to brew pu-erh tea. New teapots are often coated in a thin layer of wax, but even the ones that aren’t can have some rough spots and loose sediment that needs to be removed so that you don’t end up drinking it.

Seasoning is about more than just making sure your new pot is clean though. Yixing clay is a porous material that over time will absorb oils from the tea leaves brewed within it. This is a good thing. It is said that after using your pot regularly for 15 years, you should be able to brew tea in it with just the residual oils and flavors imbued in the pot itself, without adding any leaf at all!

So, in a way, seasoning a new teapot is much like seasoning a cast iron skillet. You want it to soak up the flavors from what you put in it, gradually building up more flavor and character within the vessel that over time can contribute to a more roundly flavored tea.

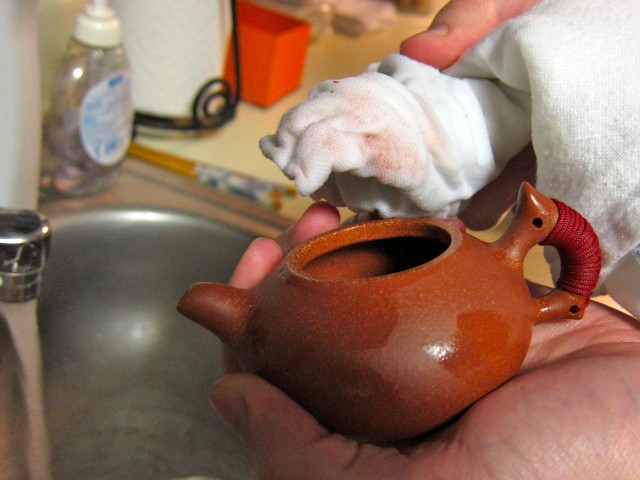
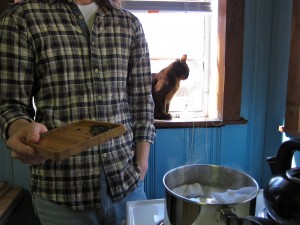
You start by lightly scrubbing the pot with something soft but still mildly abrasive. I’ve even read of using toothpaste and a toothbrush to do this, but Jeff and I were afraid that the toothpaste might somehow flavor the pot so we went with just this textured tea towel instead.

Cleaning new Yixing

When she’s nice and scrubbed, it’s time for the spa treatment!

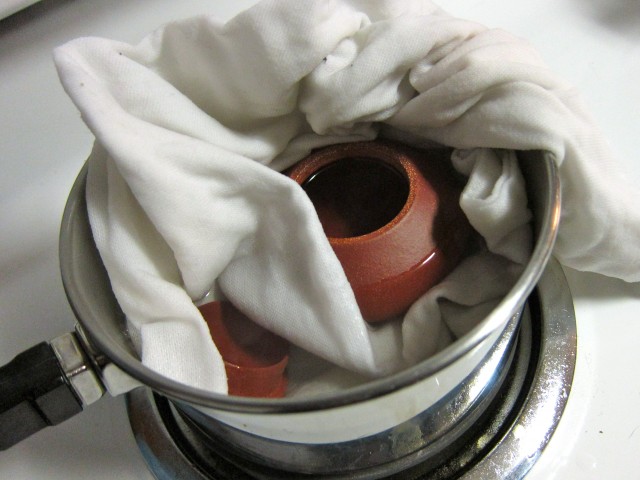
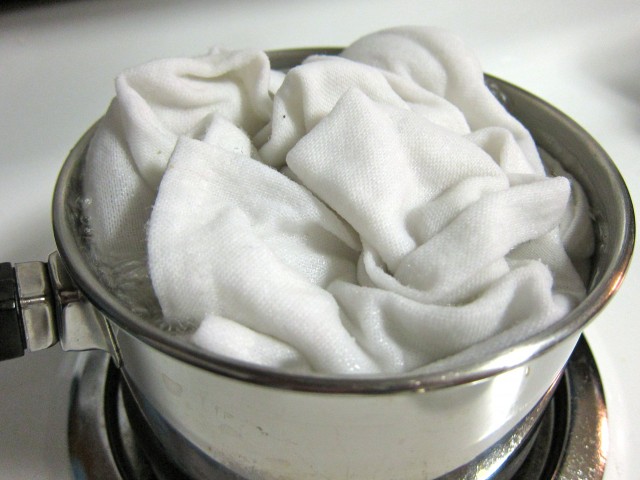
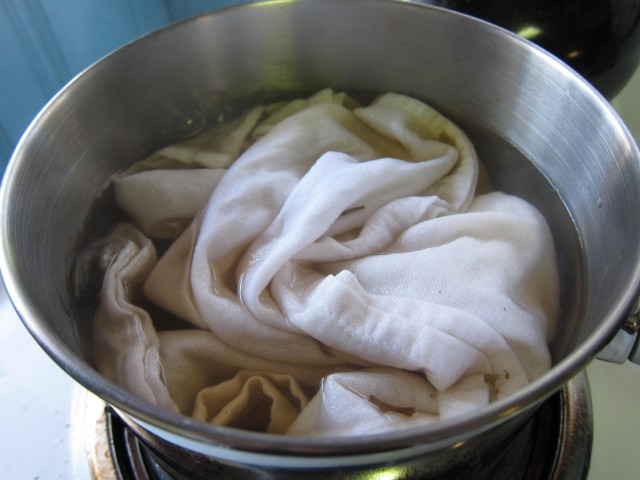
The pot needs to be boiled for about 30 minutes with a teacloth to keep it from rattling around. Rinse the teapot in warm then hot tap water for a minute or two before plunging it into the boiling water to avoid causing cracks from the sudden temperature change. I like to make separate compartments for the pot and lid so that they don’t rub up against each other.

Cushion Yixing while boiling

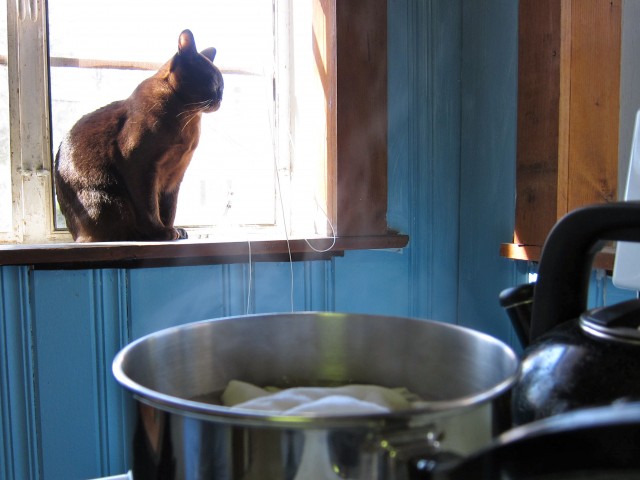
Cover up with the teacloth and let it do it’s thing for 30 minutes. Then turn off the heat and let it cool down for another 30 minutes before taking it out, again this is so that you don’t subject the pot to sudden changes in temperature.

Boil Yixing teapot

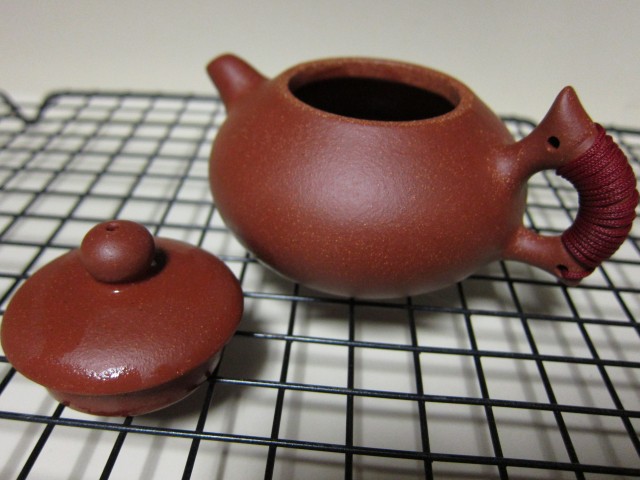
Just let it dry completely on a rack so that it gets good air circulation all around it. When it’s completely dry you can move on to phase two.

Dry Yixing after first boiling

The next step is basically the same as the first, but this time you’re gonna boil the pot in the type of tea you intend to use it for.

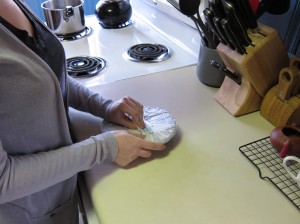
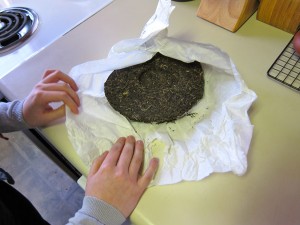
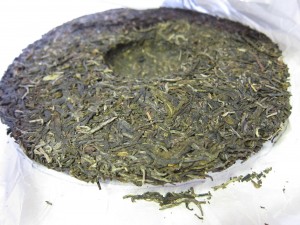
Here I am unwrapping my new bing for the first time!

Unwrap pu-erh bing Unwrapped pu-erh bing

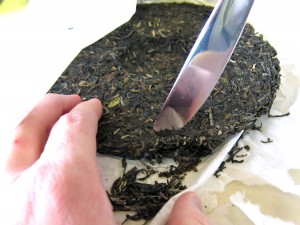
It’s dry and tightly packed, so we used a knife to carefully break the tea apart.

Menghai 7542 pu-erh bing Breaking off some pu-erh tea leaves

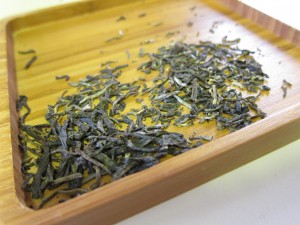
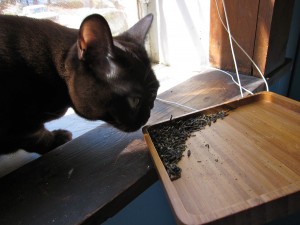
You need about 2 tbsp. worth. We let Lucas “test it for quality.” He quickly realized that this was not food and therefore of no interest to him.

Leaves broken off Lucas sniffing tea leaves

Waiting for the water to come up to a boil and then pouring the tea straight in.

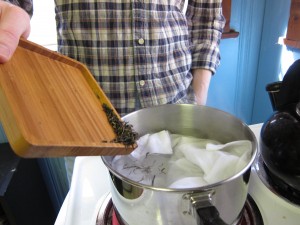
Wait for water to boil Add tea leaves to boiling water

It takes less than a minute for the leaves to unfurl and start releasing their clouds of sweet and smoke-smelling liquid.

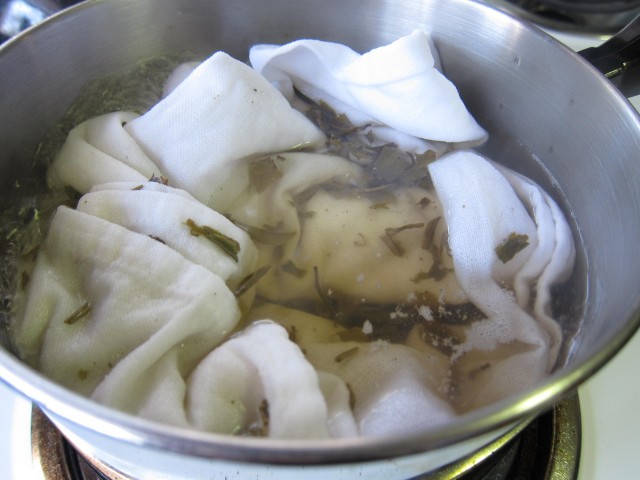
Pu-erh tea in seasoning pot

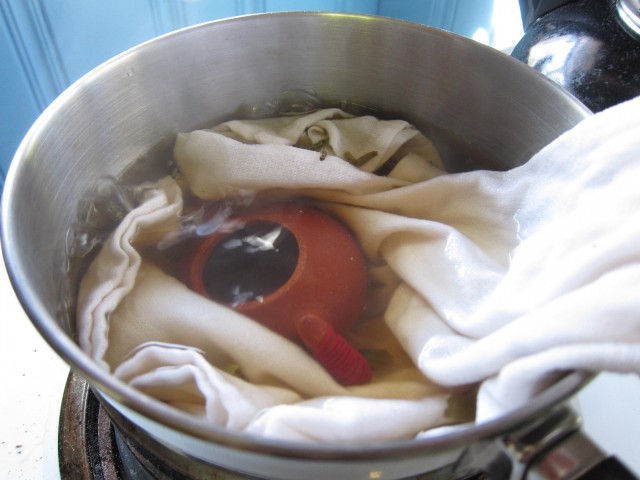
Just tuck away your pot and lid within the folds of the tea towel as before, and cover.

Add Yixing to boiling tea

I’ve heard so many different theories as to how long you should boil the pot on the second pass. All from 20 minutes, an hour, 3 hours, and even letting it sit for a week! Jeff and I decided that a half hour was sufficient for opening the pores and allowing them to be refilled with the warm tea oils.

Cover and boil Yixing in tea

Lucas finds this whole process thrilling, can’t you tell?

Waiting while Yixing boils in tea

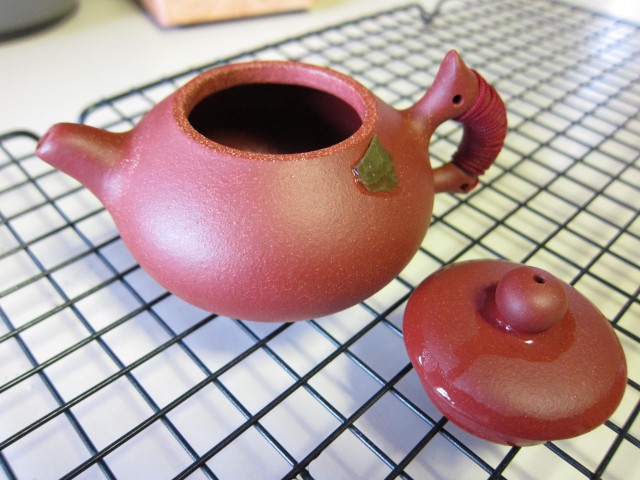
Well here she is after her bath, not ready to let go of the memory of it. See, she took a souvenir!

Can you see the difference in smoothness? It’s a bit hard to tell in pictures. Holding it in your hand though it should feel almost like skin, smooth and lightly oily.

Fully seasoned Yixing teapot

That’s pretty much it. This teapot is ready for service now.

Like I said, this one will only be used for brewing pu-erh teas. Jeff already has a slightly larger Yixing pot that we only use for Chinese black teas. You don’t want to mix teas between pots because the oils in the leaves will add to the flavor of the pot over time and can ever-so-slightly alter the flavor of the tea you are drinking.

It is important that your teapots stay in monogamous relationships with the type of tea they were “married” to during seasoning so that the flavor of the pot and the tea can compliment and enhance each other. A pot and its tea are like soul-mates; they can never be separated, they bring out the best in each other, and the relationship gets even better with age!

post

How to season a donabe

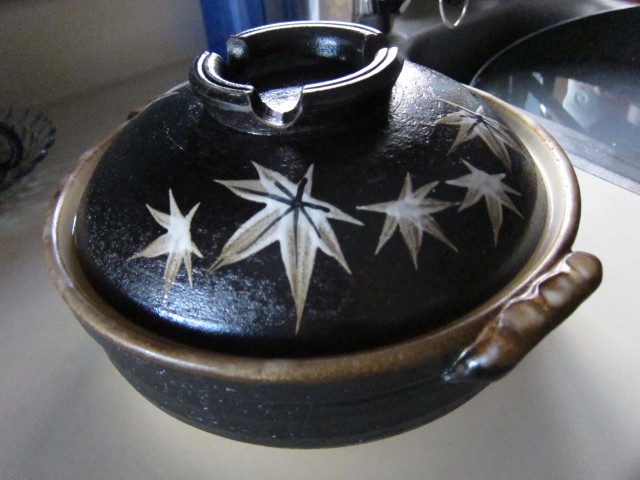
We all know Christmas is about more than gifts, so lets just skip that whole conversation and get right to talking about just how excited I was to receive one particular gift this year……my very own clay pot!

Avid readers will remember that I’ve been pining for one of these for a long, long time and have resorted to using all manner of western bakeware in its’ stead.

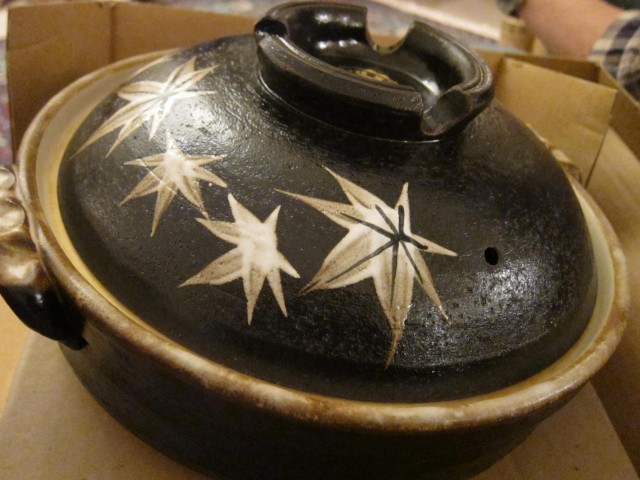
No more shall I simmer soup in a brownie pan!  Now, the donabe makes it’s debut!

It was gifted to me by Jeffs’ parents, Mike and Nancy. I cannot believe how well they did at picking out this adorable little pot! The maple leaf design is a specifically Kyoto design, which makes me even happier. Seriously, there was a moment after unwrapping it where I thought I might cry.

“Donabe” is a contraction of the words “do” meaning clay or earthen, and “nabe” meaning pot. (Thank you to commenter Naoko for this translation, as I thought that it was a combination of “don” meaning bowl and “nabe” meaning soup made in a clay pot.) I was really excited to make a nabe for Jeff and I for lunch yesterday so I looked up how to cook with one online only to discover that it has to be seasoned before you can cook with it! Apparently, the donabe is very porous and covered in tiny hairline cracks that need to be properly sealed or else you risk damaging the pot when it hits high heat.

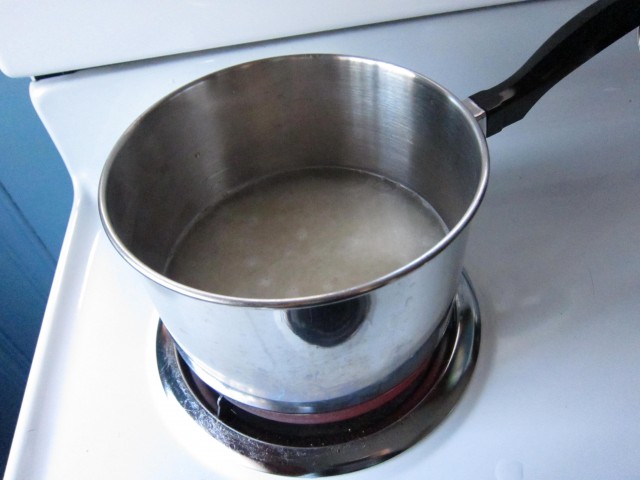
(Based on instructions I found on KyotoFoodie) Here’s what to do: First, make sushi rice!

I made a cup of rice and added about 3/4 of it to the empty donabe along with enough water to fill it about 80% full. Typically then you would cook it for about an hour over a gas stove eye, however we have an electric stove which is not good for a donabe. It gets too hot and the heat is uneven, it could shatter while cooking.

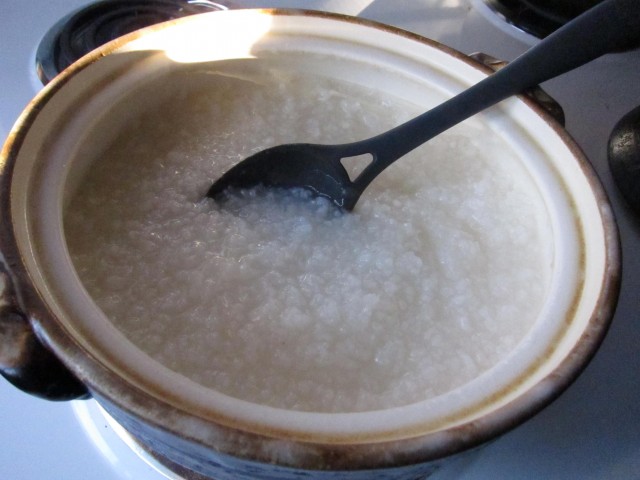
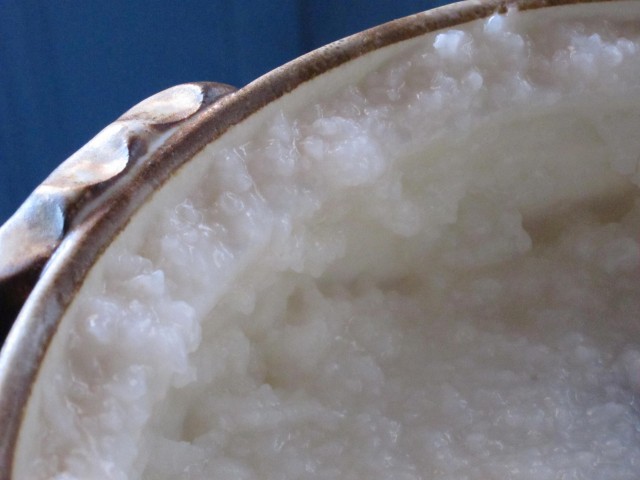
Instead I put the pot in the oven with a baking tray on the rack below it to catch any boil-over. I started heating it to 200 degrees and just kept upping the heat every 20 minutes or so just so that it wouldn’t get too hot too fast and break. Once I got it up to 425 degrees, I let it cook for about an hour. When it comes out, you have a thick gluey rice porridge!

Now, if I had made this with stock instead of water, I’d have what is called okayu, the Japanese equivalent of chicken soup. It’s commonly eaten for breakfast all over the asian continent and goes by many names: okayu, jook, congee, byohk, bubur, juk, and many more. So good with an egg cracked over the top and stirred in!

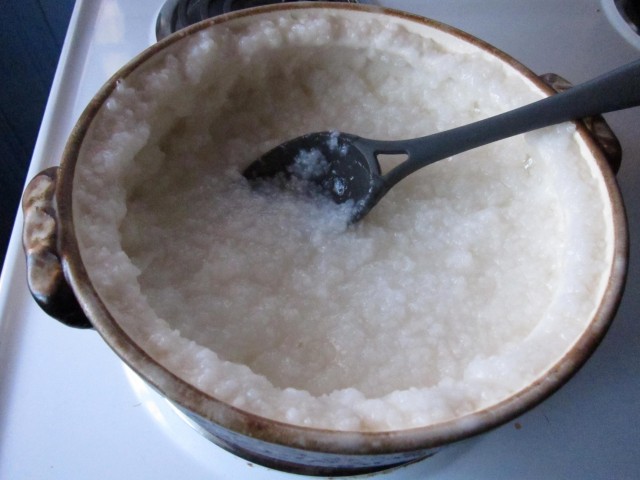
Anyway, this was not the delicious okayu, this was basically glue. I spooned it up over the rim to seal the edges while they were still warm.

I let it sit like that for about 20 minutes until the donabe was cool enough to pick up. Then I just rinsed it out thoroughly and dried it well. It’s important to make sure the donabe is absolutely 100% dry on the outside, especially the unglazed bottom, before using or it may break when exposed to high heat. For this reason it’s best to hand dry it and then let it air out upside down for several hours.

I can’t wait to use this little guy! I also got a book full of amazing traditional hot pot meals to learn from.

I wanna make everything in there!

Jeff and I are taking a trip to an asian market today to load up on some items that are hard to find in other stores. Wait til you see what I cook up with my new donabe!