


When I first mentioned that I was writing a book, I had a lot of people ask that I share some of the process of writing it as I went along. Well…that didn’t happen. I got really caught up with a lot of stuff at the end of last year and I don’t think I even touched this blog for nearly 6 months. Now that it’s done and I can breathe again, I’m ready to walk you through some of what I did to make it happen. In this first part I talk about my early struggles and realization that this was not going to be a cake-walk after all…
Before I started writing The Japanese Pantry, I really had no idea what I was getting myself into. I thought I’d test a few recipes, write a few blurbs of text, take some photos, and then somehow it would just magically all come together into the shape of a book and be ready to go. Nope.
I still remember how I started. I collected some rudimentary research on different Japanese ingredients into a Google Doc, started buying a few of those ingredients and tried to photograph them in my rickety lightbox with a point-and-shoot camera, and even tried to photograph a few plated recipes with no props and in terrible basement lighting. Everything I did looked horrible, and the more I saw myself produce this sub-par content the more I began to doubt that writing a book was even within the realm of my abilities.
One night at our favorite bar, I vented to Jeff all of my doubts and frustrations. I was nearly in tears, having resigned myself to the fact that this just wasn’t going to work and I should stop while I’m ahead and go get a part-time job. After much discussion, we both agreed that what I really needed to do was to get serious. If I was going to do this, then I was going to do it professionally, and that meant investing more of my time, passion, and yes – money, to make a beautiful product.
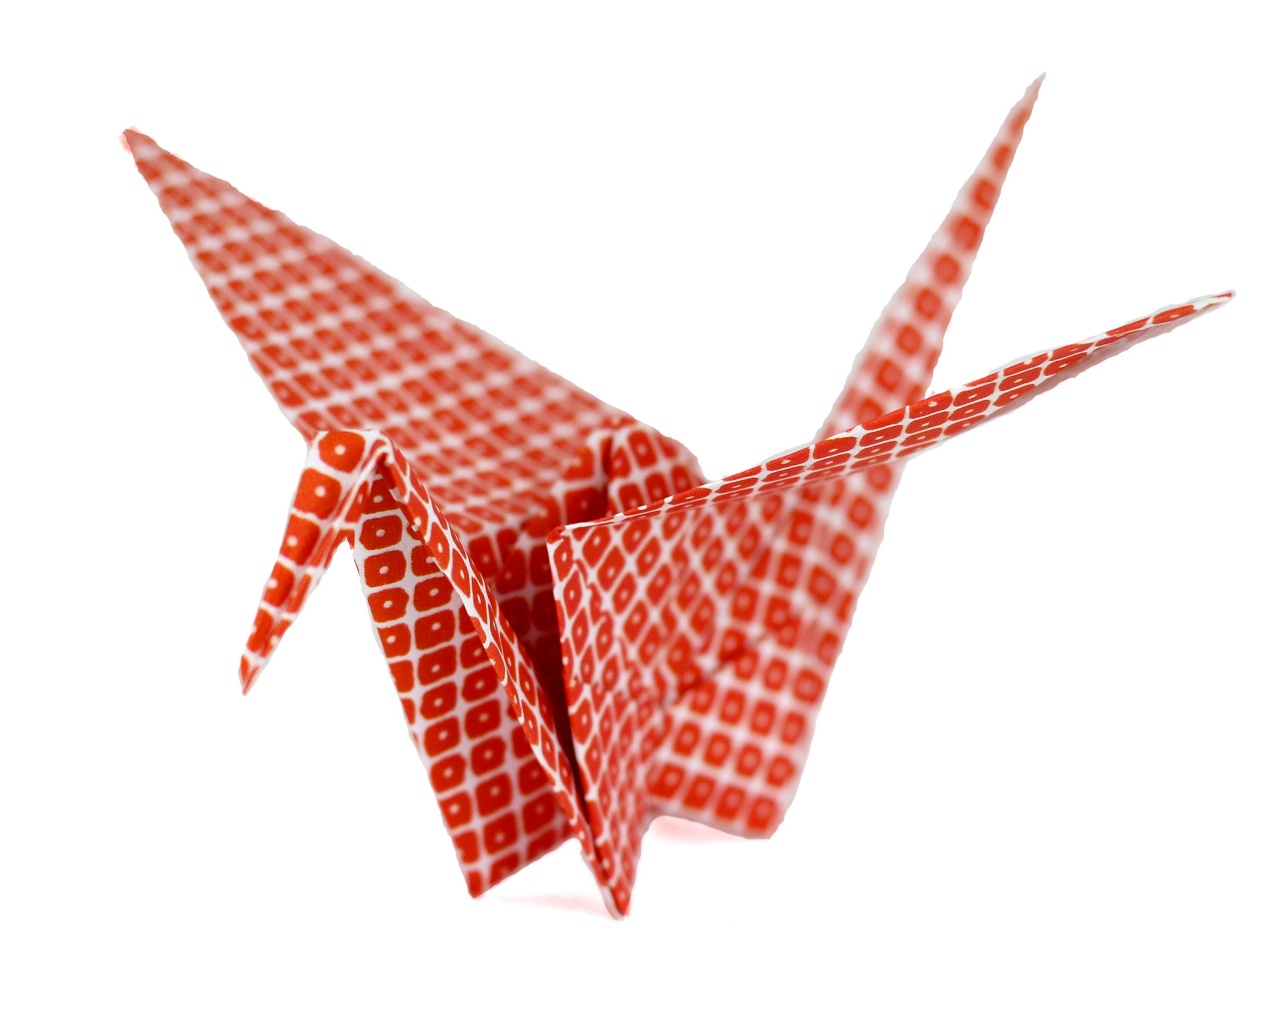
One of the first things I did with my newfound enthusiasm was go out and buy props. I bought a few yards of different colored fabrics to use as backdrops, colorful napkins and placemats, little Japanese-themed knick-knacks, and of course a bunch of plates, bowls, and other serveware. It wasn’t cheap, but I made sure to buy things that I knew I could use again in blog photographs as well as around the house to actually eat off of. I also already had a stack of colorful origami paper that I knew I could use to liven up a drab scene in a pinch.
My composition improved greatly with these new additons to the scene, but I was still dealing with bad basement lighting and a camera that was not designed to take the type of photos I was trying to achieve. The news that we would be moving to a new house with lots of great natural light gave me the hope that there was still a chance that I could make this work. With a few months to go until the big move, I busied myself with doing more research and taking photos of ingredients in my lightbox with the new backdrops and some light kits we bought at Home Depot – photos like this one…
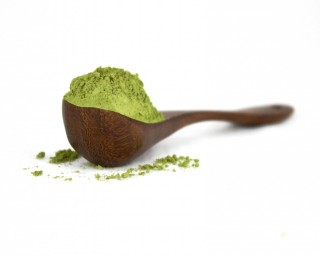
You may think that looks great and that I was being too hard on myself, but what you’re looking at there is the final version of that photo after lots of careful editing. Here’s the original for comparison…
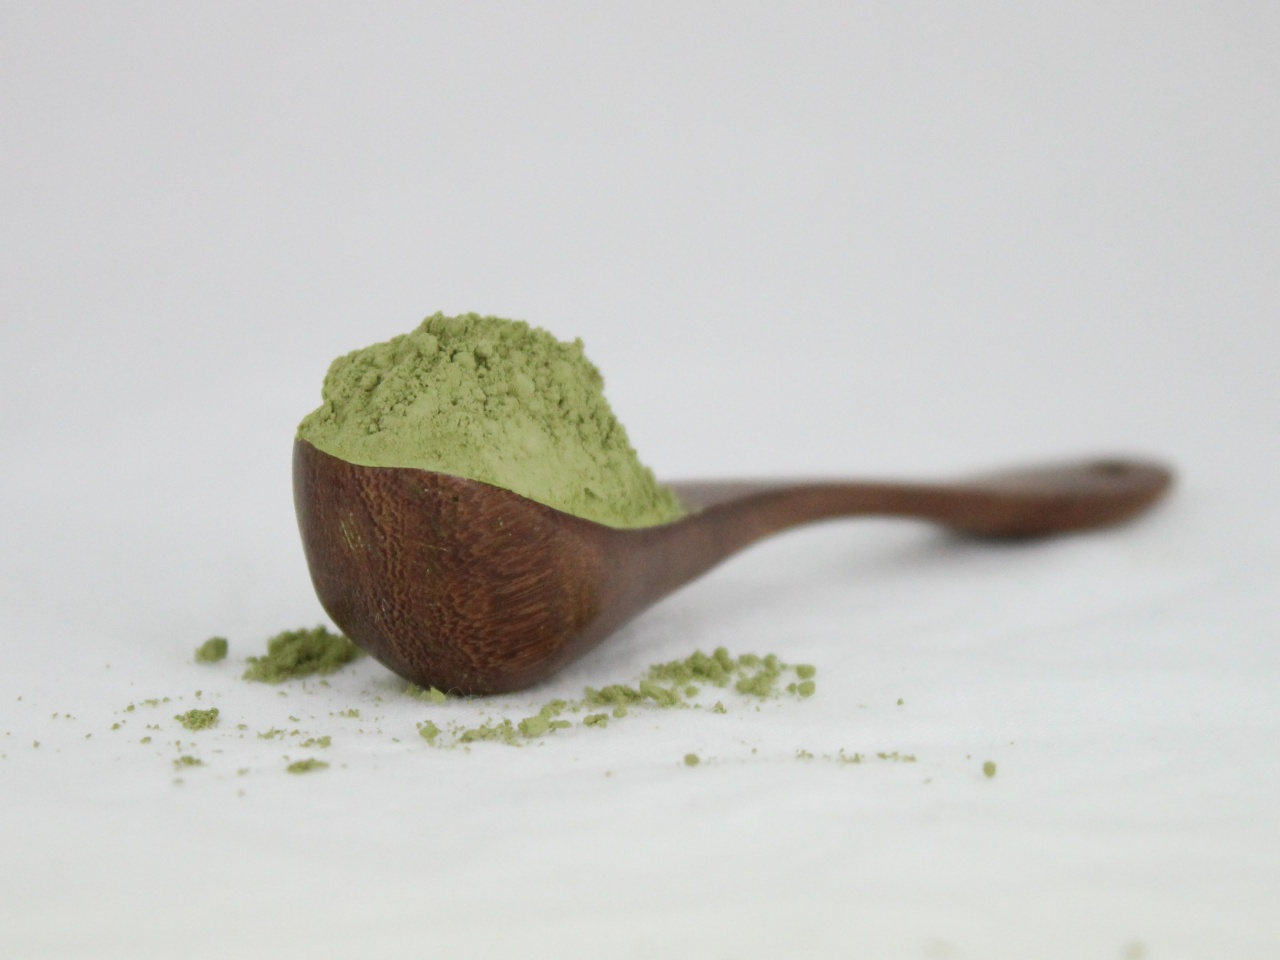
Yikes! It was clear to me that both the hardware and software I was using just weren’t going to cut it. The level of adjustments I was able to make with my computer’s default photo editing software could only do so much. It was time to take the plunge and buy some new toys…
In the next part of this series I’ll go over a few of the first tools I used to improve quality and workflow. Stay tuned!
Are there any specific questions you’d like me to answer in this series as I go along?

