Before I even started writing The Japanese Pantry, I knew that I wanted to create a book full of color and life. I have a hefty collection of cookbooks on my shelf, and the ones I love the most are the ones that have a photo for every single recipe. I was a complete novice to photography though, so I knew that if I was going to create a cookbook full of stunning photos like the ones in the books by celebrity chefs, I was going to have to teach myself how to work a camera properly, and fast.
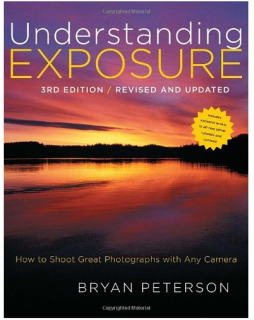
I purchased Understanding Exposure, by Bryan Peterson, to learn more about how a camera works and how to interpret light. I found this book extremely helpful, and set to work testing my new knowledge with my little point-and-shoot camera. I would set up little photo experiments where I would photograph the same object from the same angle multiple times, changing one of the cameras settings slightly each time to see the effect it created from the previous shot. My skills somewhat improved, but it still seemed that I just could not recreate the professional shots I was going for even when I did everything “right.”
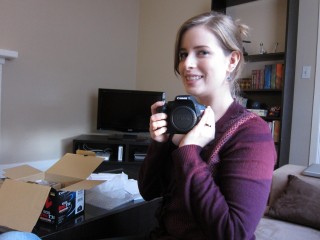
The game really changed for me when Jeff got me a DSLR camera for Christmas, a Canon Rebel T3i. It became so much easier to manipulate the camera to do what I wanted it to do. I was so impressed with the change in quality from our Canon Powershot S90 (which really is an excellent point-and-shoot if you can’t go full DSLR) that I ended up going back and retaking some shots for the book with the new camera. The Rebel is definitely a beginner’s DSLR, but I’ve found it to have plenty of functionality for my current needs.
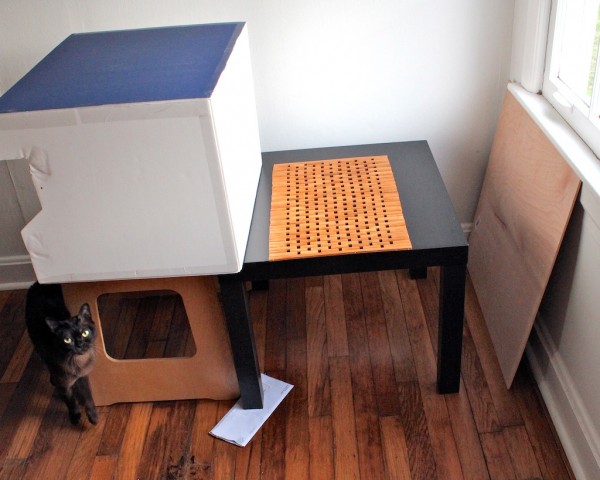
I also have to give some credit to IKEA for my rapid improvement in photography skills. Wait, what??? I mentioned this last year when I first announced that I was writing a book but it bears repeating because it’s kind of incredible when you really think about it. Every single picture that appears in The Japanese Pantry that was not taken in a light box, was taken on a little square IKEA end table. Every one. I had nothing else at the time.
This tiny setting forced me to get really creative with my photography to keep every shot from looking the same. I spent a tremendous amount of time on each shot getting my angles just right, the focus right where I wanted it, being careful not to let any of the area around the table show up in the frame. And I didn’t have a tripod that would let me get low enough to the table either, so nearly every shot had to be hand held. I would take a deep breath and release the shutter as I breathed out, just like a sniper. Sometimes I would be able to get the shot in about ten tries, but oftentimes it would take 30 or even 40 or more shots to get everything just right.
Also, because I didn’t have the stability of a tripod to take longer exposures, I could only photograph recipes on bright sunny days with plenty of light. This was severely limiting for me and one of the major reasons why I missed every deadline I made for getting things done with the book. Sometimes we’d have entire weeks of rain and gloom during which I was unable to take any photos. I’d work on whatever else I could, but it was not uncommon for me to just not get any book work done for days due to insufficient lighting. I wish now that I’d invested in artificial lighting sources way sooner. I’ve only just recently starting using light kits to fill in for the sun, and I’m kicking myself for wasting so much time without them.
I did my very best to edit the shots I got with my computer’s stock photo editor, iPhoto, but quickly realized that I had the need for more professional editing software. In the next installment of this series I’ll show you what software I went with and discuss its strengths and limitations.
If you missed them…


