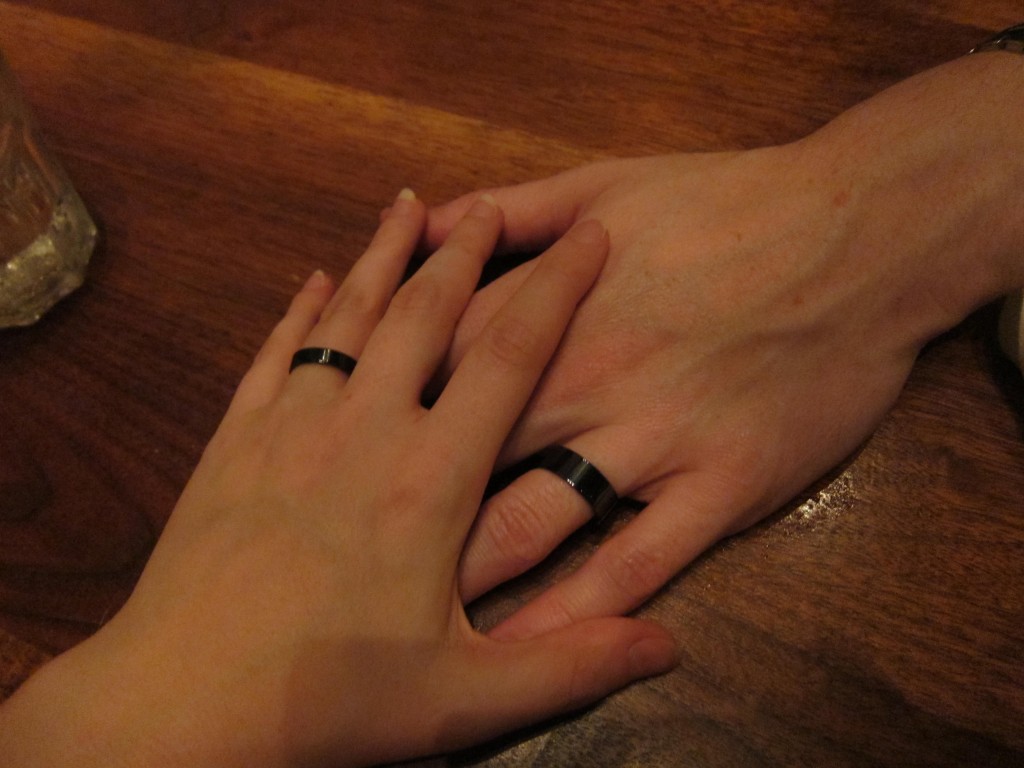
I truly can’t believe that it’s only been 6 months since we were married. So much has happened this year that it doesn’t seem like we could have possibly fit all of those experiences into such a short amount of time.
I never thought that I would agree to marry someone after only a year of dating, but with Jeff, I was already sure within just a few months that I would make him that promise some day.
:::Sniff:::
I’m ok, lemme just go grab a tissue…
Back! 😀
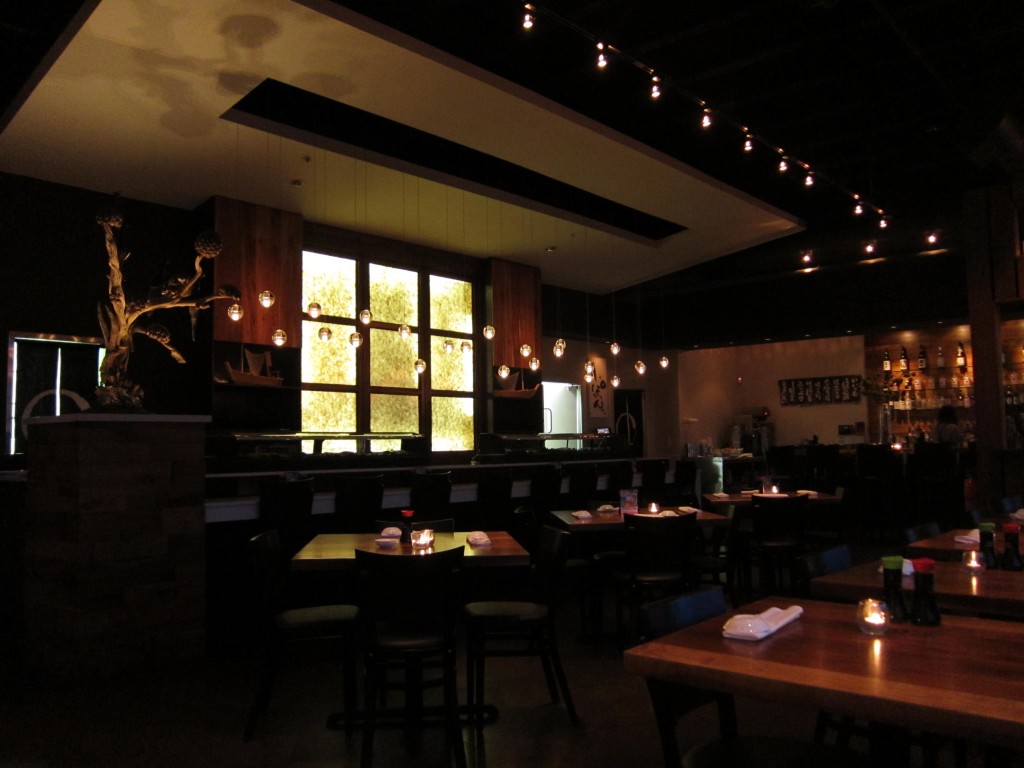
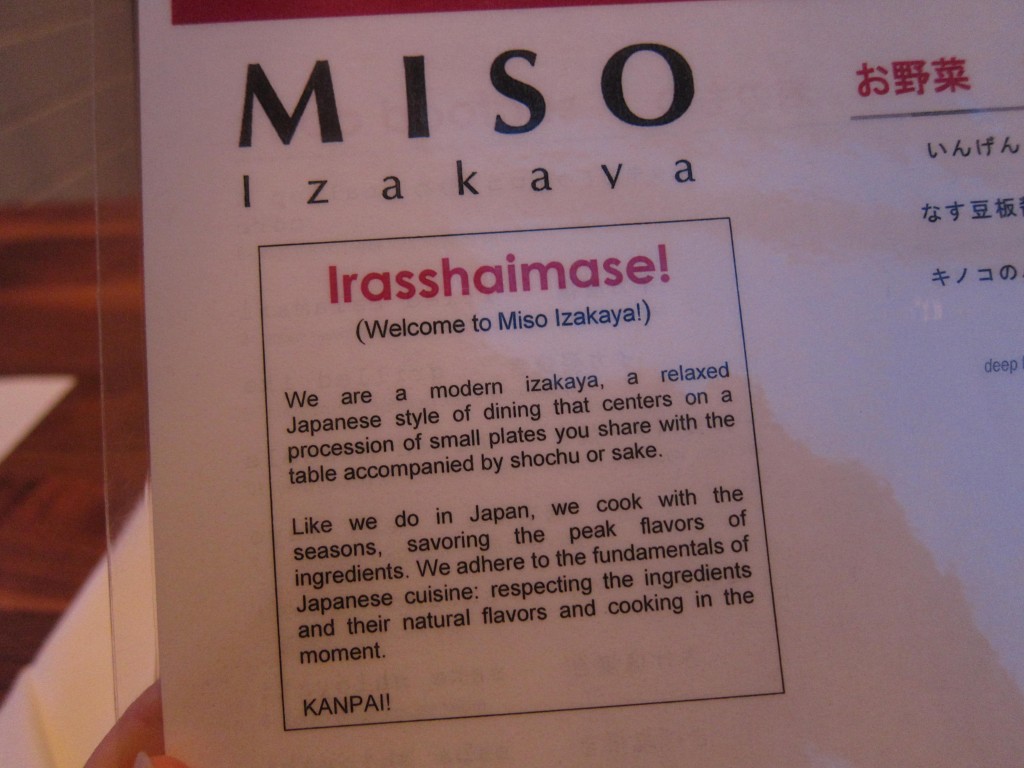
Anyway, we thought it might be fitting to try to relive some of our honeymoon by hitting up a Japanese restaurant for dinner. I’ve heard a lot about Miso Izakaya; I’ve seen many of their dishes being reviewed here and there online and in local newspapers, so I already knew there were a few things on the menu that would be right up our alley.
What’s an izakaya, you ask? In Japan, an izakaya is a type of low-key bar where you can order easy drinks like beer or cheap liquor and order little snacks like yakitori. You can think of it like a Spanish tapas restaurant, lots of small plates and lots of drinking! Miso Izakaya is a little unique in that they’ve taken this relaxed concept and tried to elevate it to the level of fine dining. You could still easily just come in and have a drink and a snack with friends before heading out for the evening, or you can do like we did and make a dinner out of all the delicious samplings!
We started by ordering from their extensive collection of shochu, a liquor that can be distilled from a variety of different products; most commonly rice, barley, or sweet potato.
I chose one distilled from buckwheat because I love soba. Jeff got one made from barley, his favorite.
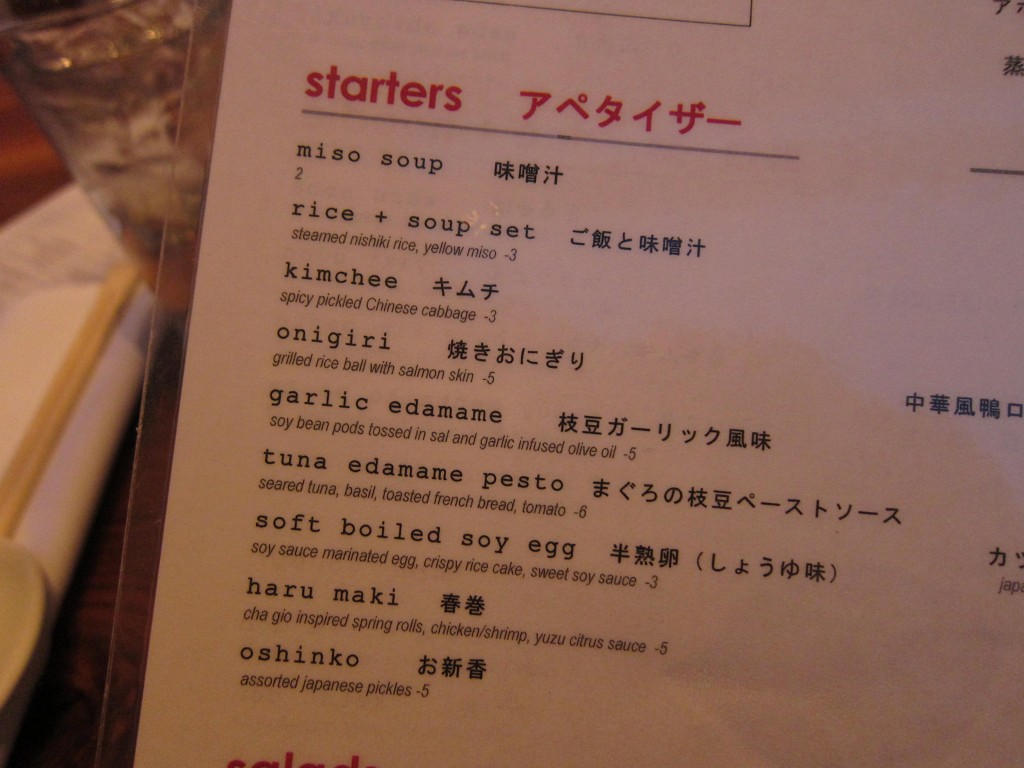
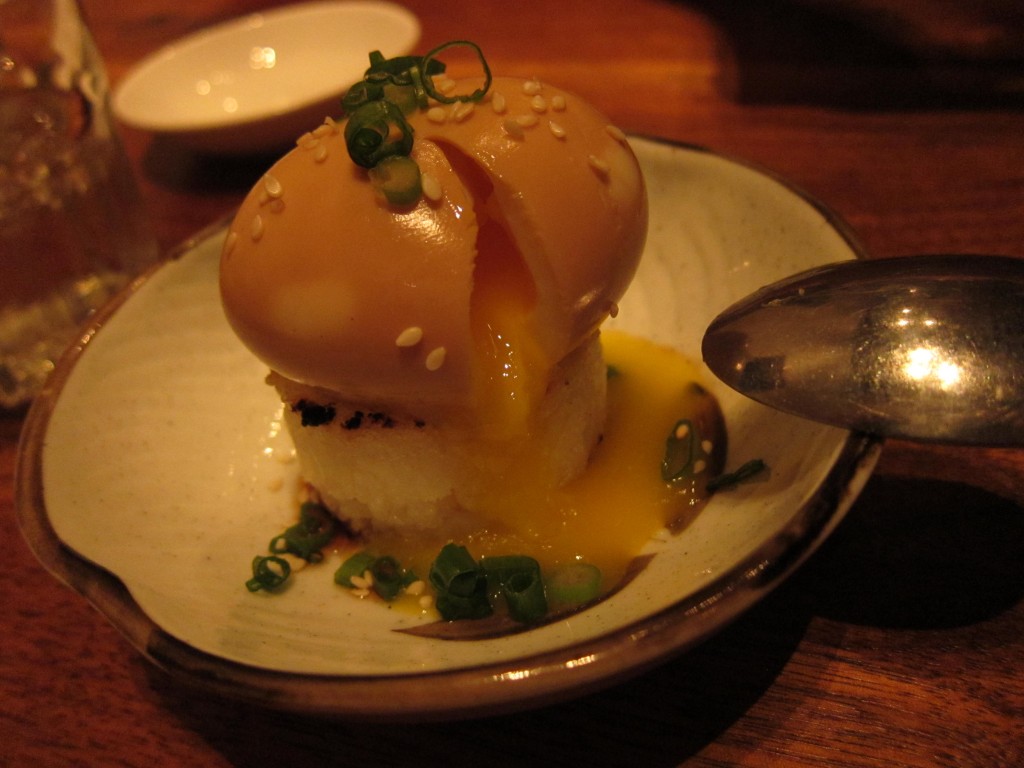
The first thing we knew we had to try was the soft-boiled soy egg.
I gotta tell you, it was pretty damn sexy.
This was easily my favorite dish of the whole evening. The flavors of soy, miso, and toasted rice were so intense! I’m definitely gonna recreate this at home in donburi form soon!
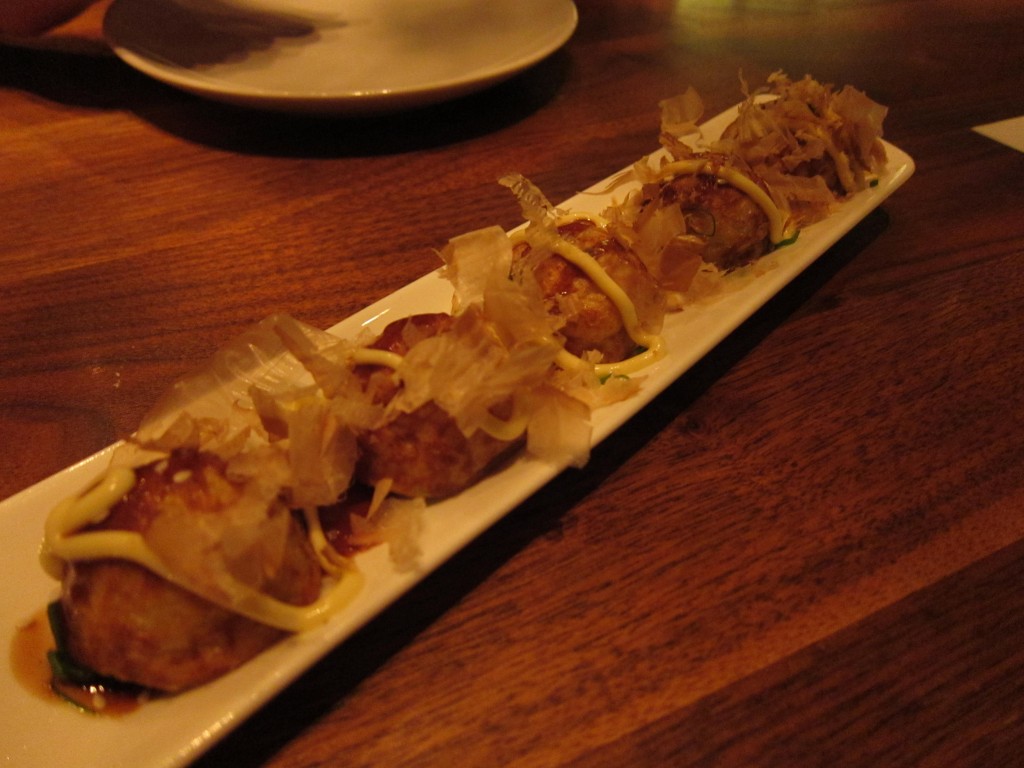
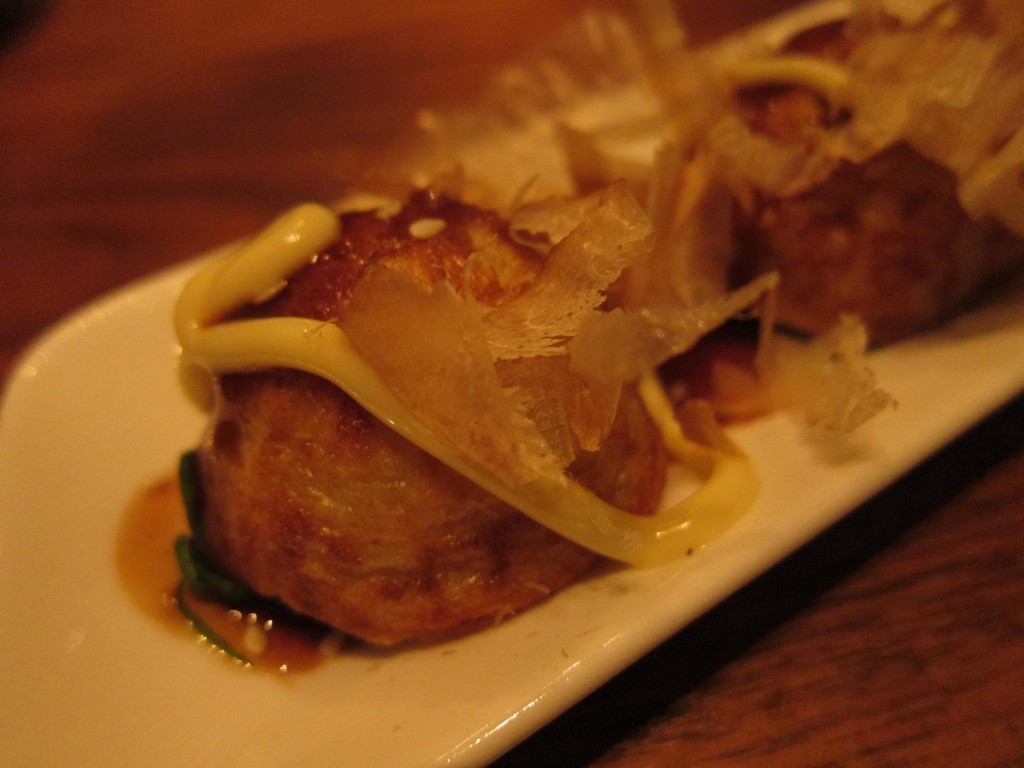
Next we had takoyaki, little chunks of octopus fried in a sweet and savory pancake-like batter topped with mayo, salty sauce, and shaved bonito flake.
This is classic Japanese street food. I think we had these at least 3 times in Japan!
It tasted exactly as I remembered, and was just as mouth-meltingly hot as the fresh ones in Osaka too!
Recognize this?
Here I am recreating this image which I use as my online identity…
 That’s my Gravatar that shows up in comment feeds, and yes, I’m popping a takoyaki in my mouth in it! (BTW, if you don’t have one, go grab yourself a Gravatar. It’s free to use and all you have to do is upload a picture of yourself. It really helps people to identify you and remember you when you comment, and because you can choose to have it automatically add your image to other services you use, like Twitter, it keeps your identity consistent across the internet.)
Back to dinner!
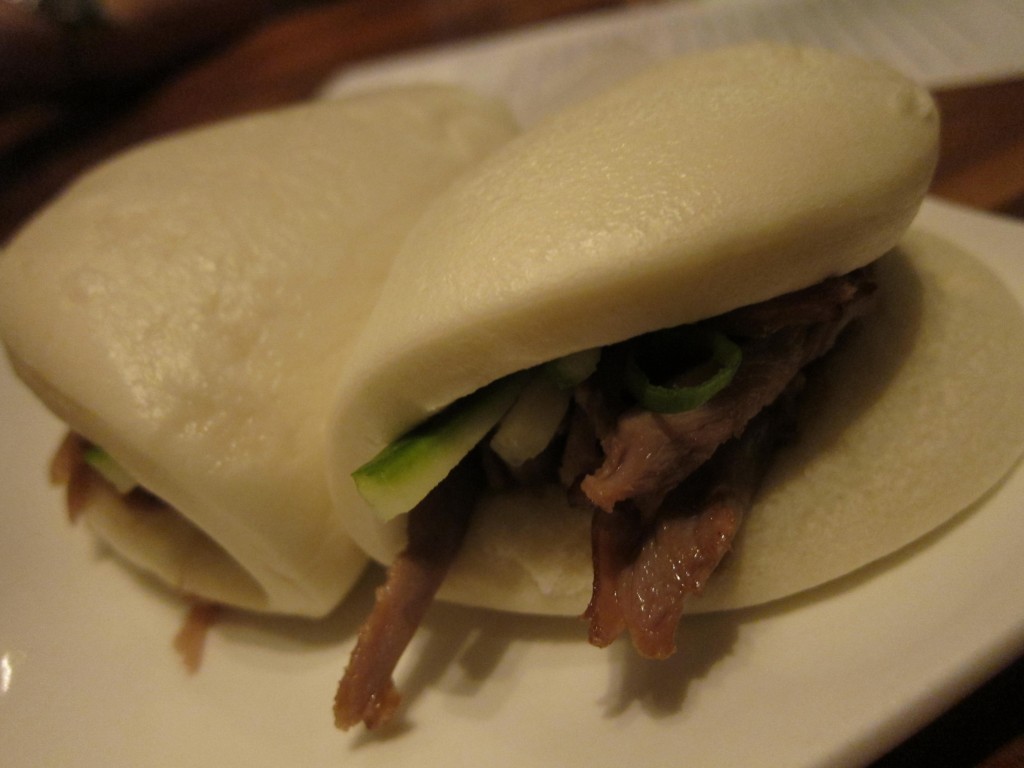
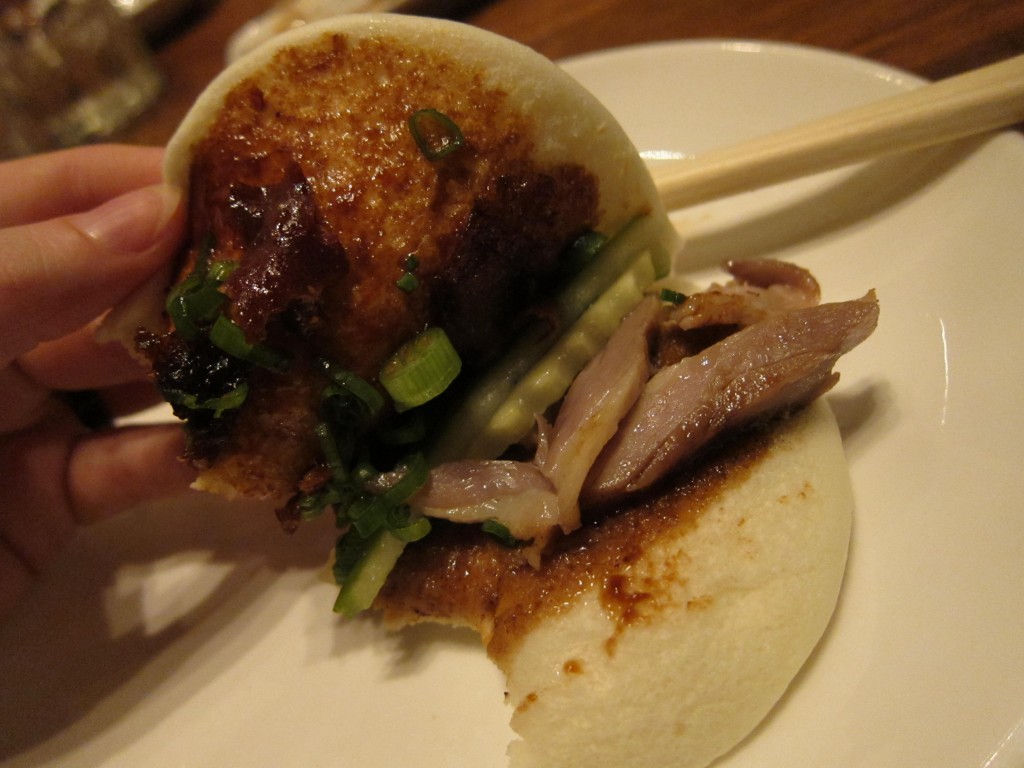
Next we had the duck buns…
Delicious marshmallow-soft steamed buns filled with cucumbers, crispy duck, and an anise-infused sauce. These were incredible, the pillowy texture was so comforting and soft.
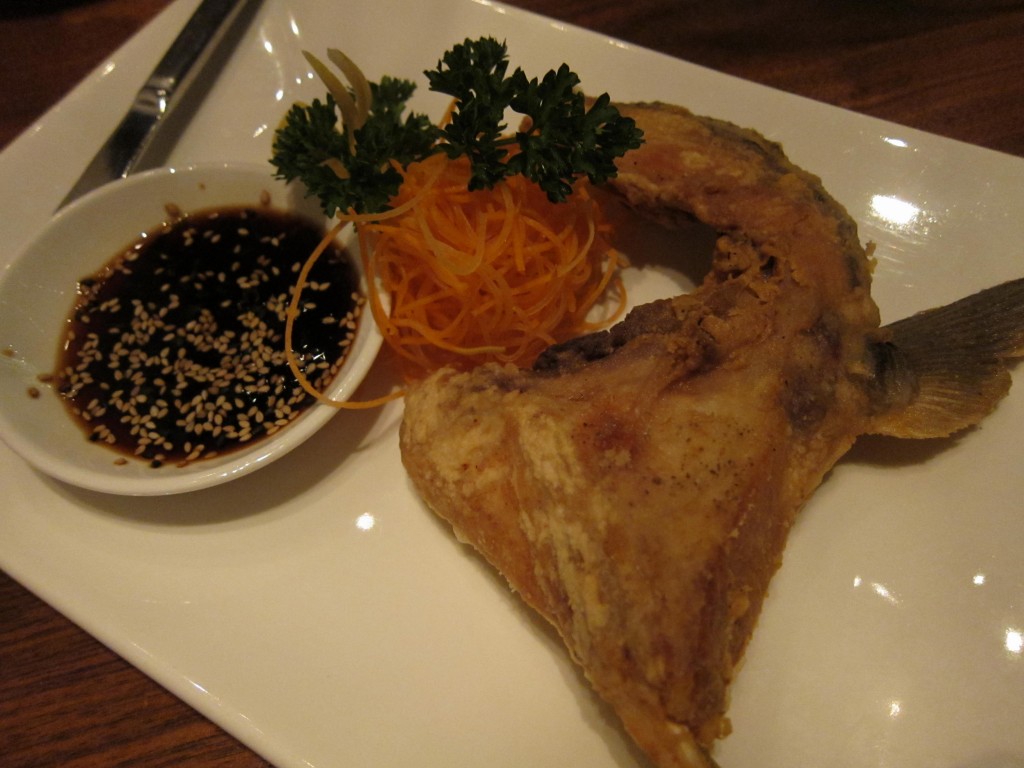
Next up was hamachi kama, or yellowtail collar.
A huge piece of lightly fried collar (the area between the head and the fins) with ponzu for dipping. This was so rich and fatty, it melts in your mouth like butter and the crispy skin was excellent too.
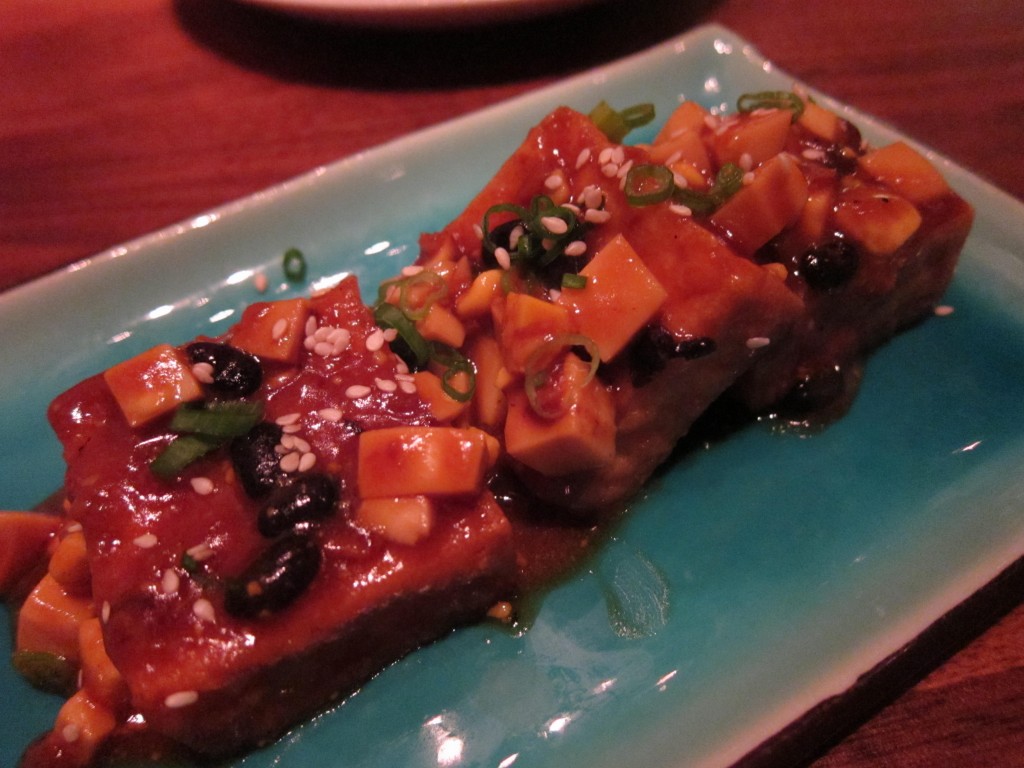
Then we ordered ja jiang dofu, crispy tofu in a spicy-sweet black bean sauce. Jeff was not really excited about ordering tofu, but this turned out to be one of the stand-out flavors of the evening. The thick sauce was so good we were mopping it up off our plates!
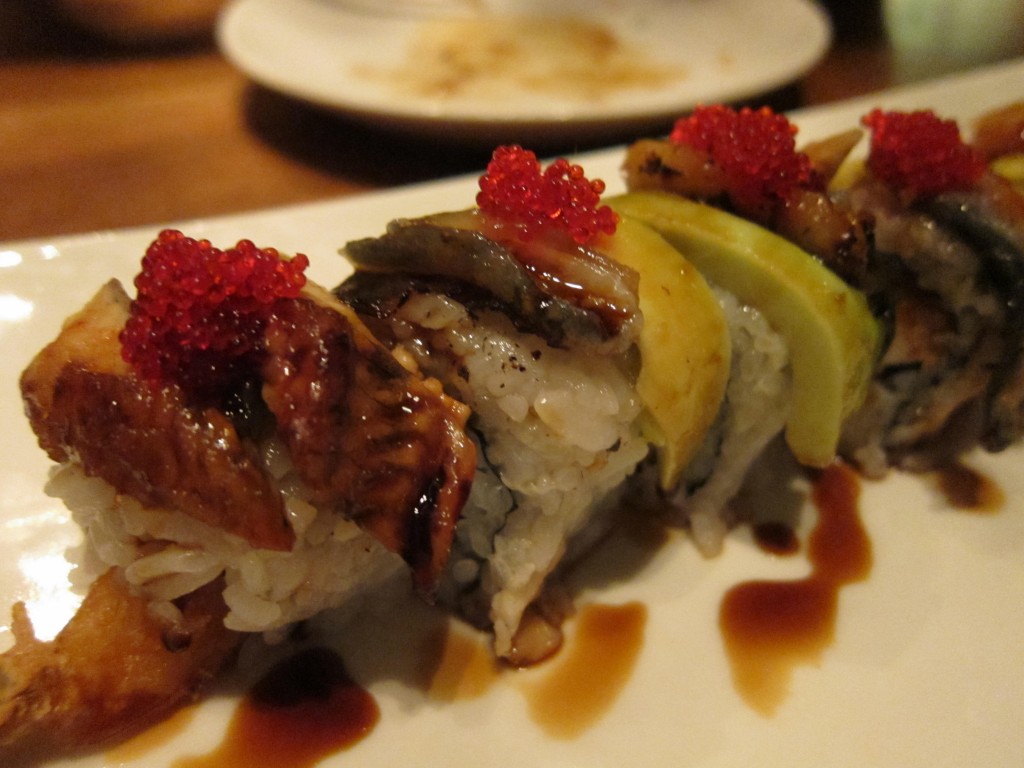
Lastly, we ordered a dragon roll. It had tempura shrimp and cucumber inside and was topped with avocado, flying fish roe, and grilled eel.
It was good, but we were getting so full that we were having a hard time finishing this heavy selection.
We ordered two more drinks so we could sit around and chat. Jeff got a different barley shochu and I got a cocktail made from sweet potato shochu, peach bitters, honey, and white tea liqueur.
It was so full I had to drink it like a kitten at a milk bowl!
Jeff thought that was hilarious and was laughing at my plight.
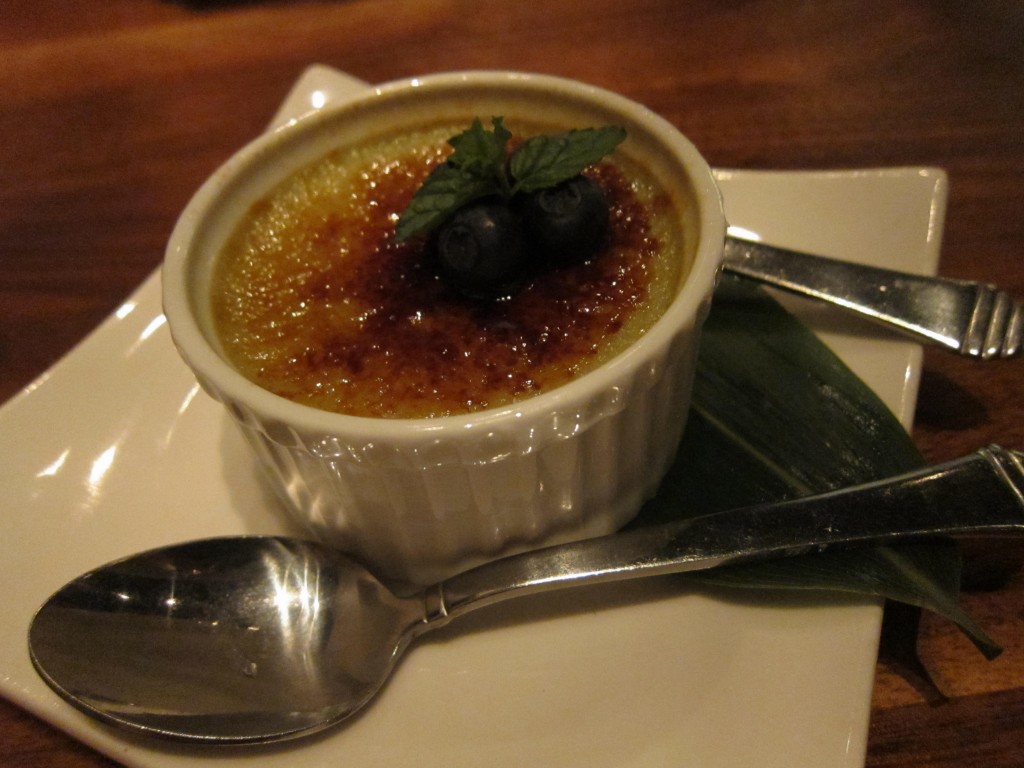
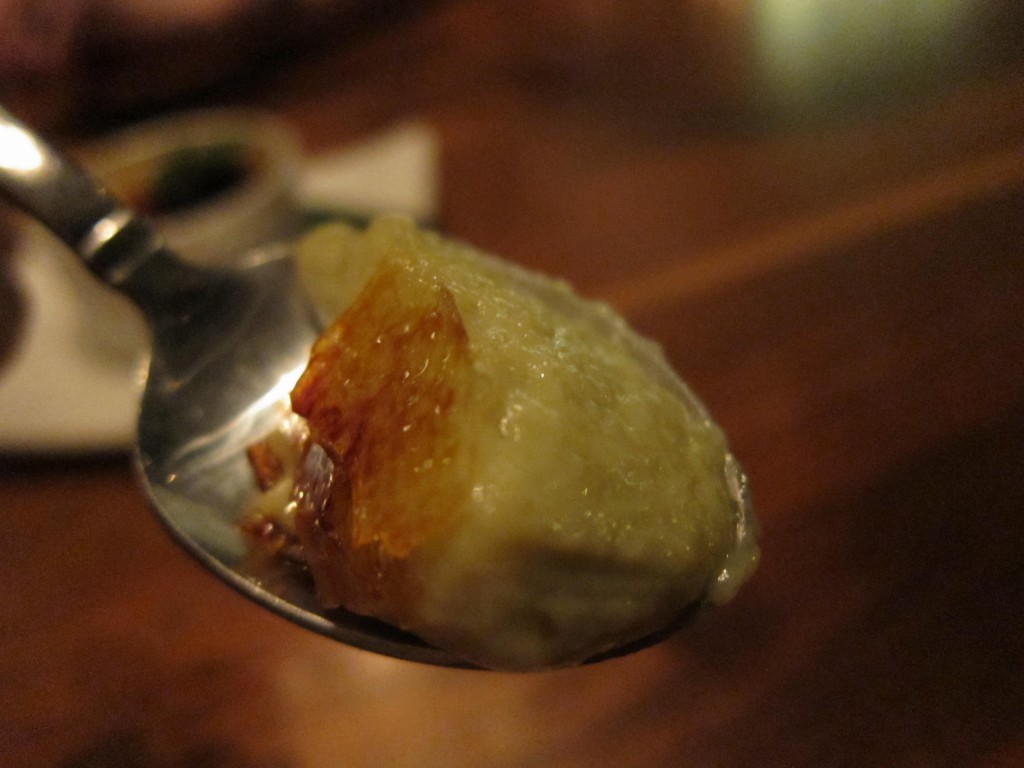
Though we were beyond full we ordered dessert, green tea creme brulee!
Creme brulee is easily my favorite dessert, so this was perfect to me.
It was glorious. Perfect way to end a fabulous night of authentic Japanese food and booze!
I think we’ll be back to Miso Izakaya, it’s hard to find authentic Japanese food that isn’t sushi or hibachi (you know, where you sit at a table right next to a flaming grill and have food thrown at you, not authentic!)
Cheers to 6 months of wedded bliss and to many more months (and years!) of happiness to come!


