Skip to Content

tag

Tag Archives: clay pot

post

Duck soba

Oooohhhhhh, yeah. I made two recipes for the photo shoot with Jimi Filo. I spent so much time testing and retesting those matcha bars with strawberry jam until they were just right, that I forgot all about the duck soba!

Allow me to “un-forget” it, because it was really good and deserves its time in the spotlight.

Duck soba

I had to retest this one as well, but thankfully I got it right on the second try. The first time I made it, I tried searing the duck thighs directly in the donabe and then shredding them to add back to the soup. Confession time: I had never cooked duck before. I just assumed it would behave similarly to chicken, but I found out very quickly that it’s a bit different.

The duck didn’t cook all the way through in the same amount of time that chicken would have. Also, the meat clung for its dear life to the bone and I couldn’t get much of it off to use in the soup. I knew I was going to have to figure out a better way to cook the duck for this recipe to truly work.

Duck soba

This time, I baked it. I put it skin side up in a deep baking dish and set it in the oven at 400F degrees for 40 minutes, the same way I roast chicken. It came out with golden brown crispy skin, fully-cooked but tender meat, and enough rendered duck fat to keep me in duck fat fries for the next few years.

The meat is still pretty clingy though, definitely not as easy to get off the bone as chicken, but this time I was able to pick the bones pretty clean and have plenty of duck meat for the soup. You’ve really got to get at it with your hands though, none of this dainty fork-shredding nonsense. It’s gonna be quite an effort, but don’t let that duck think he’s bested you! You’ve gotta call that duck by the wrong name, emasculate him in front of his golfing buddies, and them make him do your taxes while you enjoy an ice cream cone in right front of him and don’t offer him any.

Wow, that got weird.

Duck soba

Here’s the recipe for this ducky and delicious soup…
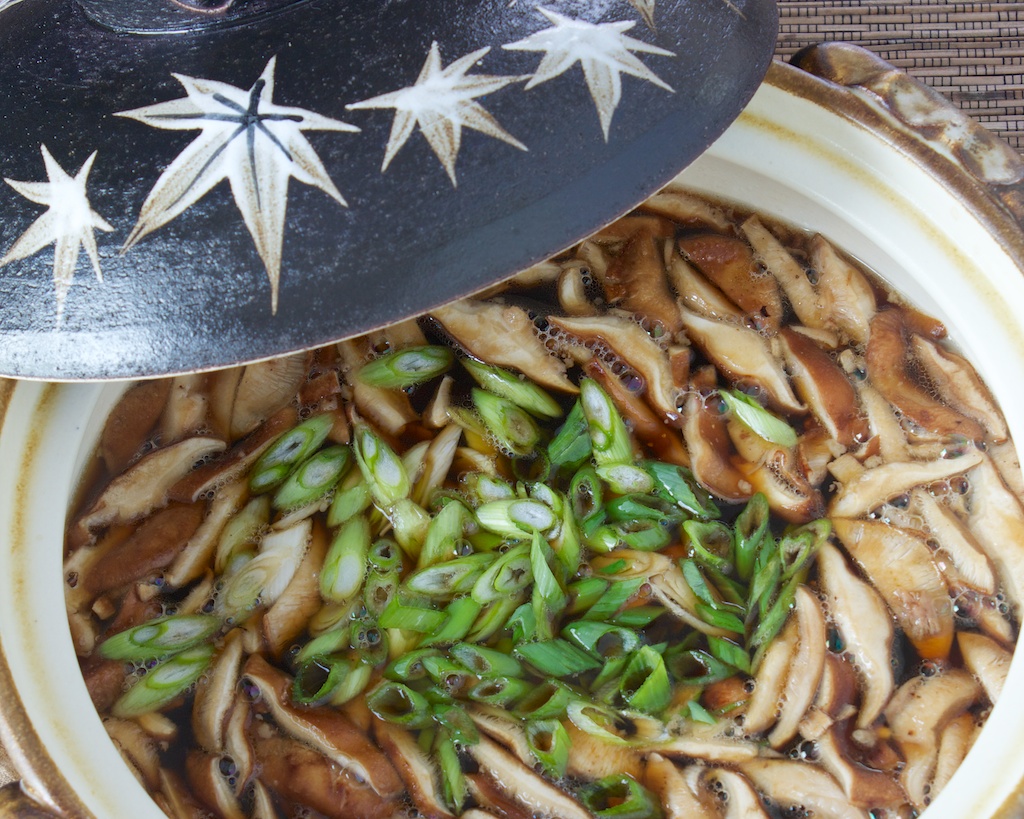
Duck soba

A hot soup of shredded duck and shiitake mushrooms in a salty broth is the perfect dip for cold soba noodles.

Prep Time: 20 minutes

Cook Time: 50 minutes

Yield: Serves 2 to 4

Ingredients

  • 4 skin-on bone-in duck thighs
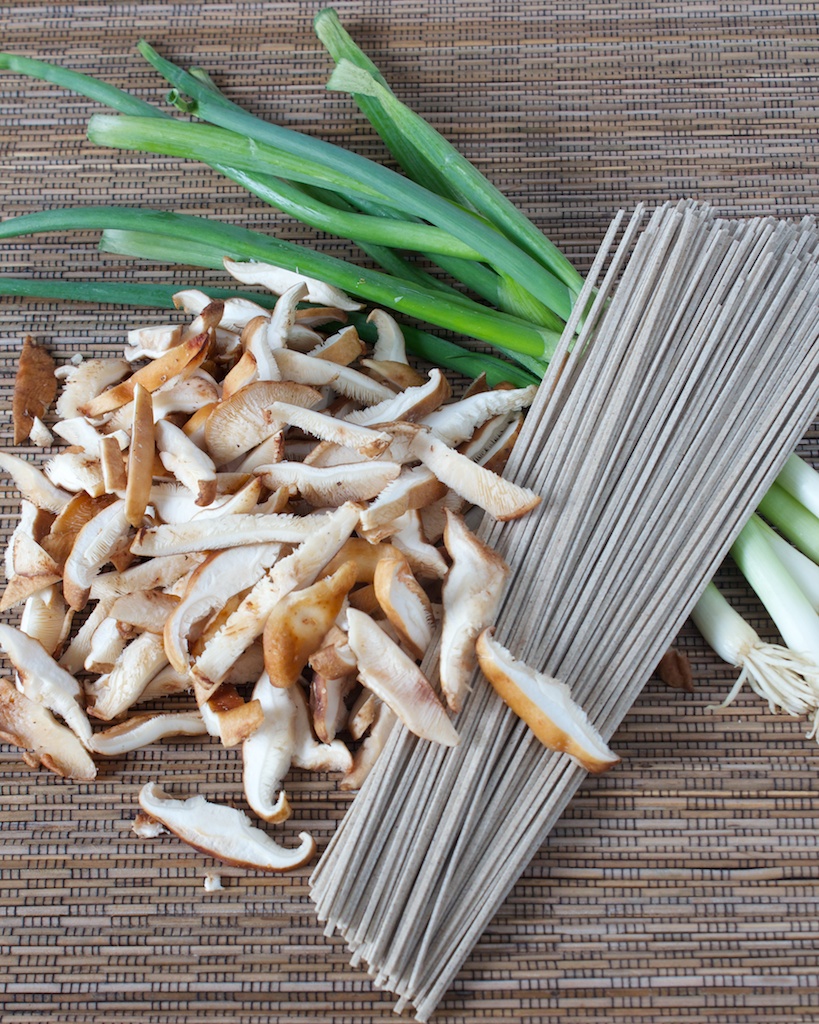
  • approx. 20 sliced shiitake mushroom caps (discard stems)
  • 3 large scallions (sliced thinly)
  • 4 cups water
  • 1 and 1/2 tsp. hondashi
  • 2 tbsp. soy sauce
  • 1 tbsp. mirin
  • 4 portions of dried soba noodles

Cooking Directions

  1. Roast duck thighs skin-side up in a deep baking dish for 40 minutes at 400F degrees. Allow to cool completely.
  2. Pull off skin and scrape off any remaining fat with a butter knife. Use your hands to pull the meat from the bones and shred. Discard skin but keep the bones.
  3. Boil soba noodles according to package directions in a large pot of water. When done, drain and rinse under cold water then set aside.
  4. In a clay pot or other heavy-bottomed pot, bring water, hondashi, soy sauce, and mirin up to a simmer along with the reserved duck bones.
  5. Let simmer for 3 minutes or so then remove duck bones and add in the shiitakes, scallions, and shredded duck meat. Let come back up to a simmer for about 5 minutes to soften the shiitakes and scallions before serving with soba noodles on the side for dipping.

Jimi has also finished his own write-up of the the photo shoot, you can check it out here. This was a really cool experience and I hope we can work together again in the future.

Bonus cat shot taken by Jimi…
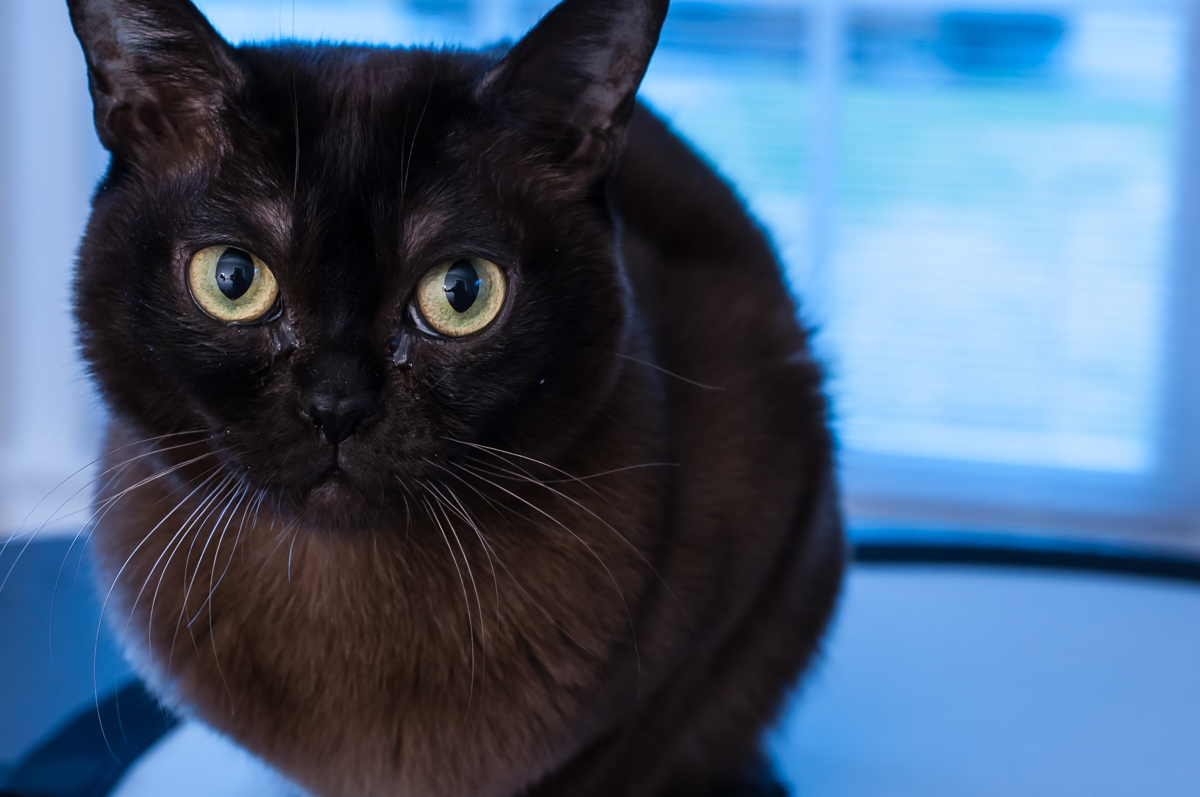
Liam

Silly kitten.

Have you ever cooked duck before?


post

Tomato market and a monkfish nabe

Yesterday was great. Jeff is off this whole week on vacation time so we’re getting to spend a lot of time together and go do fun things that we never have time for. We had a kind of full-scale asian adventure yesterday in that we went shopping at a Japanese market, had coffee at a Korean coffee shop, bought shochu at one of the only places in town to carry it, and then came home and made a delicious hot pot dinner.

It all started at Tomato, a Japanese food market off of Peachtree Industrial Blvd. that we’ve been meaning to check out for a while. Just look at all the cute mural paintings lining the entrance!

I think the whole montage told some kind of story, but I had no clue what was going on, just looked like a bunch of spazzed-out rabbits and wailing tomatoes to me. Lost in translation?

We spent at least a half hour perusing the shelves in Tomato; they had a really great selection even though I didn’t find everything I was hoping to. I’ll go ahead and show you the haul…

We got fried yuba (tofu skin), niboshi (dried anchovies for making dashi), udon noodles, mochi rice flour, sweetened azuki beans, enoki mushrooms, noritamago furikake (seaweed and egg rice seasoning), matcha powder, wakame salad, and some Meiji strawberry chocolate. We got the bottle of shochu at a liquor store, I’ll tell you more about it later though.

After that we were right next to White Windmill, a Korean-run cafe and bakery that I just adore, so we stopped in for a few warm beverages and a snack.

They are just overflowing with specialty baked goods in typical asian flavors like green tea, pandan, black sesame, and red azuki bean.

Jeff got a green tea and I got a hazelnut coffee…

We split this red bean bun…

Ahhh….now this is a flavor I miss!  We had coffee and red bean buns for breakfast nearly every day in Japan. So sweet and thick and creamy, a great accompaniment to a warm cup of coffee.

After that it was getting late in the afternoon and I still needed to hit up the farmers market so we rushed over there and got our shopping finished before heading home.

I got right to work chopping vegetables for the monkfish nabe I was making, an experience made really fun with the help of this gorgeous new toy of mine…

This is my new Shun Santoku knife that I got for Christmas from my lovely husband! I have another one being shipped to me soon once it comes in stock, a mini-cleaver type knife used for vegetables. I will tell you all about these in another post because they are simply amazing to work with.

Anyway, into the donabe went a bed of yo choy sum followed by enoki mushrooms and sticks of daikon.

Then shiitakes and slices of the fried yuba…

I then grated on some fresh ginger…

And placed the hunks of monkfish on last.

Here it is topped with sliced scallions…

Beautiful, isn’t it? And of course you make this with any vegetables you like and have available, don’t feel pressured into hunting down fried yuba, make it your own!

Now for the liquid. I used some fish stock that I made yesterday by boiling a leftover yellowtail head and skeleton that I’ve kept in the freezer after making sushi with it a while back. It simmered with a few strips of kombu for awhile before I strained it and added bonito flake and miso.

When I went to use it for the nabe I discovered that it had turned into gelatin from all the rich collagen in the fish! Now, obviously you do not have to make your own stock, prepared fish or vegetable stock with some miso stirred in would be just fine.

I spooned some of it into the donabe and added some water. Since I don’t have a gas stove, and it took forever to try to heat the donabe in the oven when I sealed it, I used an old chipped frying pan over the electric eye to more evenly disperse the heat and cooked right on top of that.

It still took a while to get it up to temperature though. I think I’ll eventually get a portable gas tabletop burner, like the ones you use for camping.

Well, when it was finally done it looked like this…

Mmmmmm….warm soup.

The broth ended up being too light in flavor, I added way too much water, but it was still really, really good!

While we were slurping up our soup I put some udon noodles in the leftover broth and added some seasonings to amp up the flavor.

By the time we’d finished our fish and vegetables the udon was cooked and the broth had gotten more rich and concentrated. We each slurped up a bowl of udon and were super full.

Not bad for my first nabe in a traditional clay pot. Next time I’ll definitely be sure to make a richer broth, but I’m really proud of how this one turned out.

After dinner we broke out the shochu. This Nadeshiko shochu is distilled from both rice and barley.

We actually heard about this brand at JapanFest from some of the guys that import it. It’s really tasty, nice and sweet and not too harsh. We drank it chilled with rocks, literally, we don’t have an ice-maker so we use these cold stones for cocktails.

Yep, that is definitely not Jack Daniels in there!

Sipping that sweet shochu was the perfect way to end a day of explorations in Japanese cooking. Cheers, to many more delicious nabe to come!

post

How to season a donabe

We all know Christmas is about more than gifts, so lets just skip that whole conversation and get right to talking about just how excited I was to receive one particular gift this year……my very own clay pot!

Avid readers will remember that I’ve been pining for one of these for a long, long time and have resorted to using all manner of western bakeware in its’ stead.

No more shall I simmer soup in a brownie pan!  Now, the donabe makes it’s debut!

It was gifted to me by Jeffs’ parents, Mike and Nancy. I cannot believe how well they did at picking out this adorable little pot! The maple leaf design is a specifically Kyoto design, which makes me even happier. Seriously, there was a moment after unwrapping it where I thought I might cry.

“Donabe” is a contraction of the words “do” meaning clay or earthen, and “nabe” meaning pot. (Thank you to commenter Naoko for this translation, as I thought that it was a combination of “don” meaning bowl and “nabe” meaning soup made in a clay pot.) I was really excited to make a nabe for Jeff and I for lunch yesterday so I looked up how to cook with one online only to discover that it has to be seasoned before you can cook with it! Apparently, the donabe is very porous and covered in tiny hairline cracks that need to be properly sealed or else you risk damaging the pot when it hits high heat.

(Based on instructions I found on KyotoFoodie) Here’s what to do: First, make sushi rice!

I made a cup of rice and added about 3/4 of it to the empty donabe along with enough water to fill it about 80% full. Typically then you would cook it for about an hour over a gas stove eye, however we have an electric stove which is not good for a donabe. It gets too hot and the heat is uneven, it could shatter while cooking.

Instead I put the pot in the oven with a baking tray on the rack below it to catch any boil-over. I started heating it to 200 degrees and just kept upping the heat every 20 minutes or so just so that it wouldn’t get too hot too fast and break. Once I got it up to 425 degrees, I let it cook for about an hour. When it comes out, you have a thick gluey rice porridge!

Now, if I had made this with stock instead of water, I’d have what is called okayu, the Japanese equivalent of chicken soup. It’s commonly eaten for breakfast all over the asian continent and goes by many names: okayu, jook, congee, byohk, bubur, juk, and many more. So good with an egg cracked over the top and stirred in!

Anyway, this was not the delicious okayu, this was basically glue. I spooned it up over the rim to seal the edges while they were still warm.

I let it sit like that for about 20 minutes until the donabe was cool enough to pick up. Then I just rinsed it out thoroughly and dried it well. It’s important to make sure the donabe is absolutely 100% dry on the outside, especially the unglazed bottom, before using or it may break when exposed to high heat. For this reason it’s best to hand dry it and then let it air out upside down for several hours.

I can’t wait to use this little guy! I also got a book full of amazing traditional hot pot meals to learn from.

I wanna make everything in there!

Jeff and I are taking a trip to an asian market today to load up on some items that are hard to find in other stores. Wait til you see what I cook up with my new donabe!