I mentioned the other night that I was planning to make pork potstickers soon. I used to make these all the time before Jeff an I were married, and as delicious as they were we got sick of them from just how often they appeared on the dinner table. So, this was actually my first time making them in over a year!
There’s a bit of a learning curve to making these, but they aren’t difficult by any means, just really different unless you’ve grown up making dumplings all of your life.
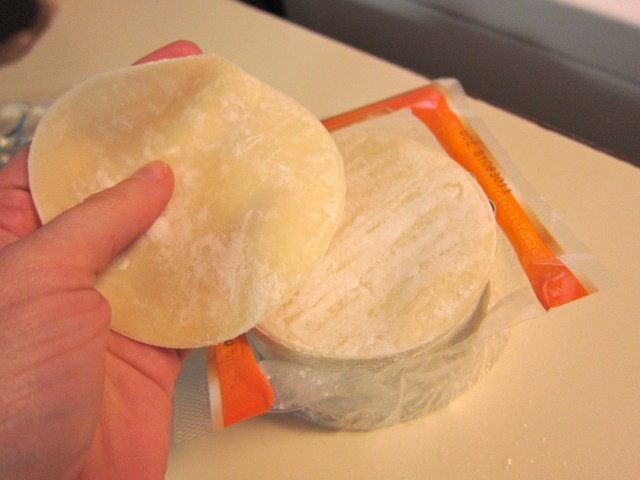
You can buy these round potsticker wrappers in the freezer section of most major grocery stores these days. If all you can find are the square wonton wrappers then those would be fine too.
Keep them in the freezer until about 20 minutes before you’re ready to use them. I just set mine out on the counter while I prepped everything else. When you open them they should still be cold but they should also be pliable and come apart from each other easily.
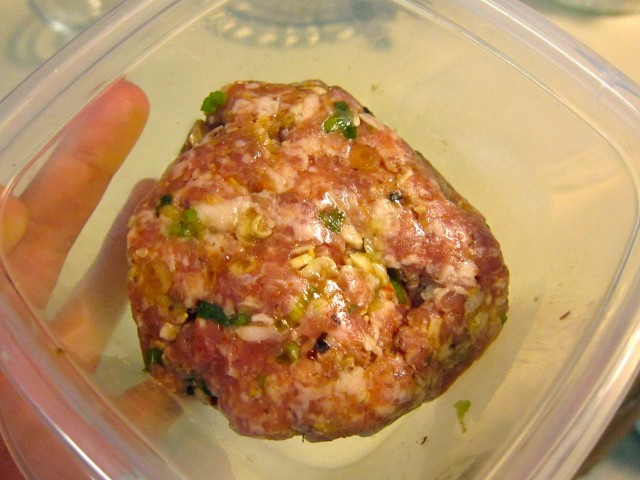
I had just under a half pound of the ground pork mixture that I used for the sweet and sour pork meatballs the other day. The recipe I’ve written out below is for a full half pound so you can recreate what I did more easily.
I have tried making this mixture ahead of time before and keeping it in the freezer but it doesn’t defrost very well, so I would plan on making the pork mix either right before you make potstickers or the day before and keep it in the refrigerator wrapped in plastic, but no longer.
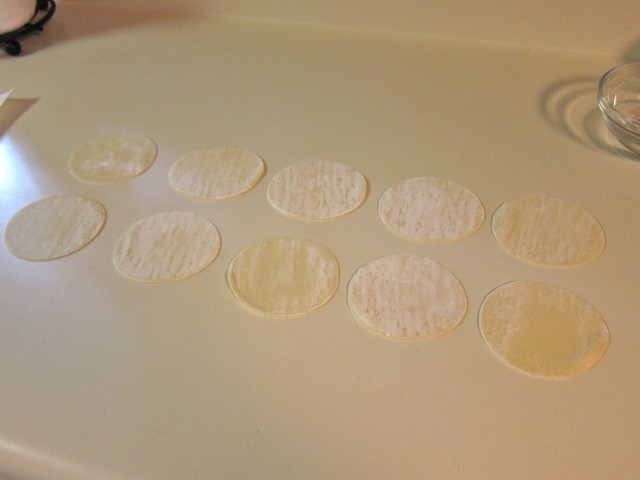
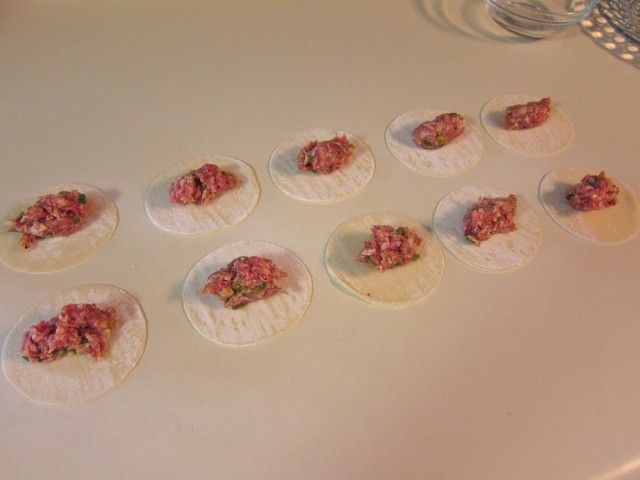
Lay out a bunch of wrappers on a clean surface. Also have ready a plate to put the finished potstickers on and a small bowl of water (I’ll show you what that’s for in a minute,) and several napkins cuz you’re gonna get pork all over your fingers. 😉
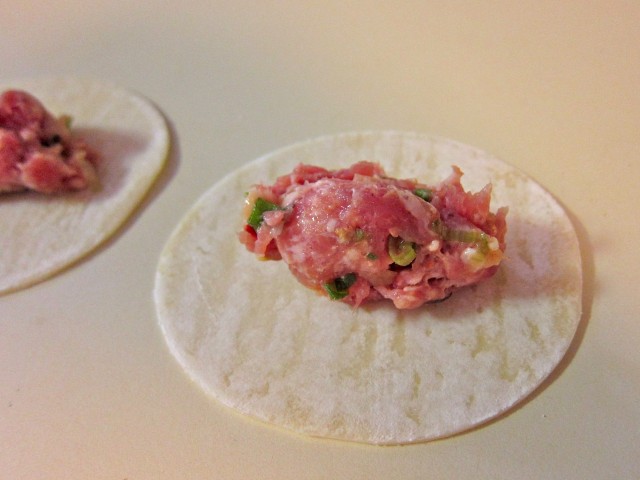
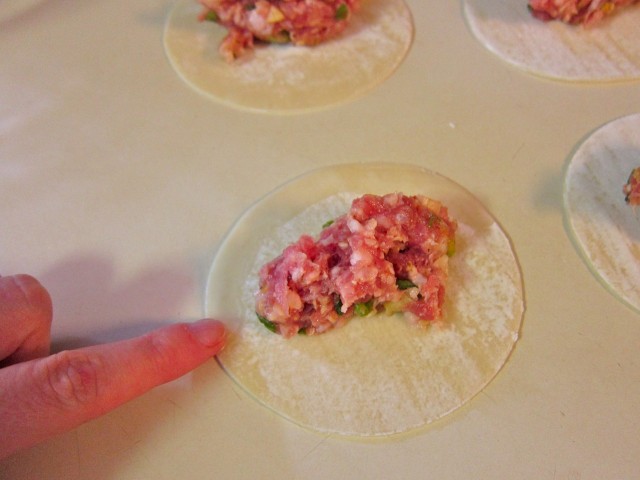
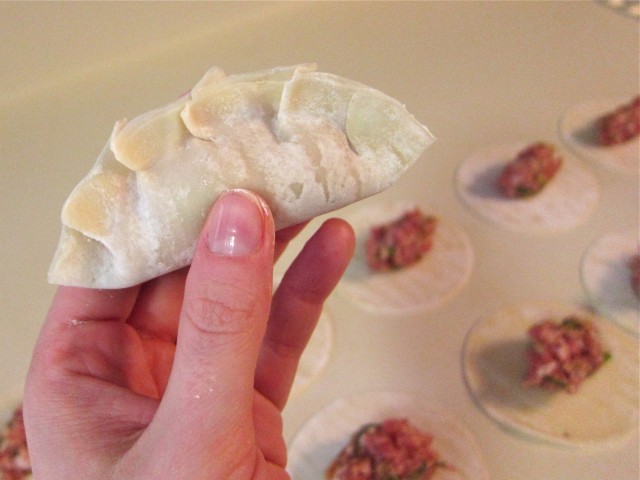
Place a small scoop of pork in the center of each of the wrappers. I would say that this is no more than 3/4 of a teaspoon. Don’t try to load it up any more or you won’t be able to close the potsticker and it may burst when the pork expands as it cooks. I’ve found that using the side of a spoon to scoop the pork into a small football shape works best.
Here’s where that bowl of water comes in. Dip your finger in the water and run it along half the edge of the potsticker. The wraps are covered in cornstarch and they become sticky when wet. This is what’s gonna help to seal them up properly.
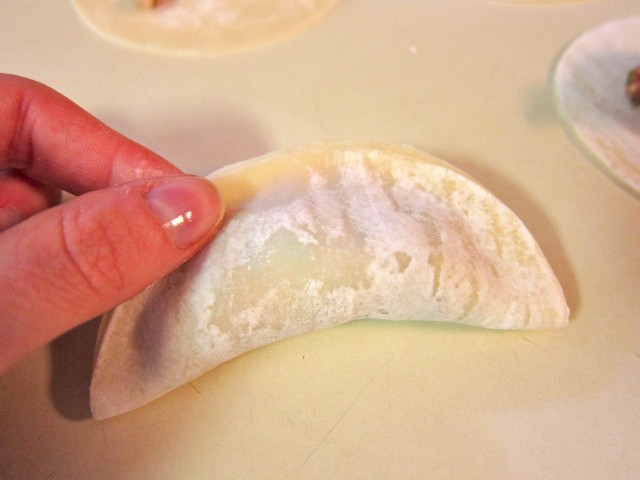
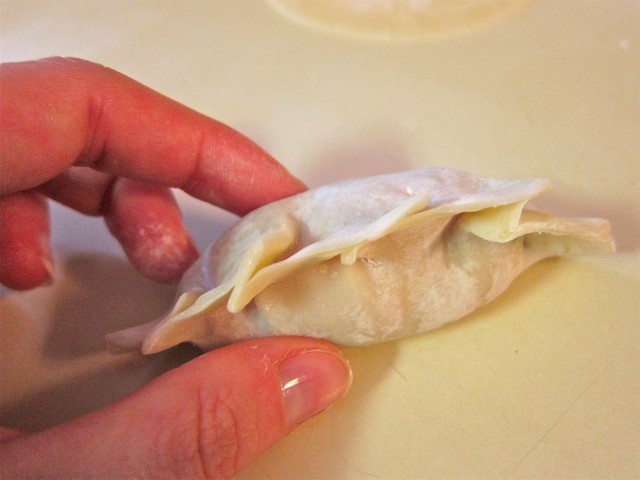
Fold the dry edge up to meet the wet edge and lightly press out any air, just like making ravioli.
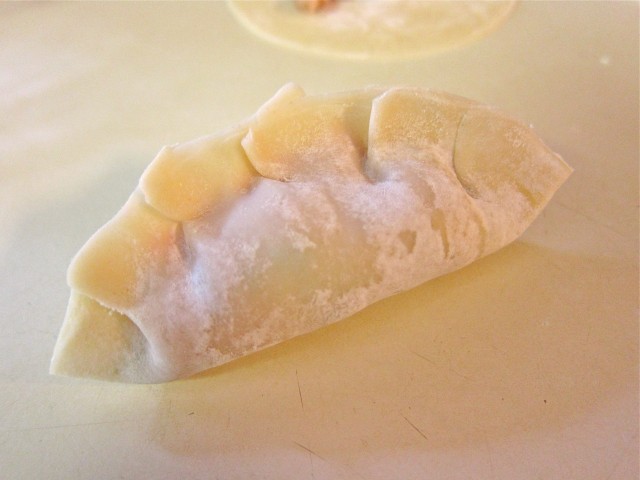
Here’s the fun part and I promise it’s not as difficult as it seems. Starting at one side, fold over a small pleat in the wrapper edge and press it firmly to secure. Do this again and again all the way across until you’ve created this little fan shape and then press again all over the edges just to be sure they’re closed. I’ve found that exactly 5 pleats works the best for me, but don’t think that you’ve done it wrong if you have more than that or fewer. It really only takes a few tries to get the hang of it and start cranking these out.
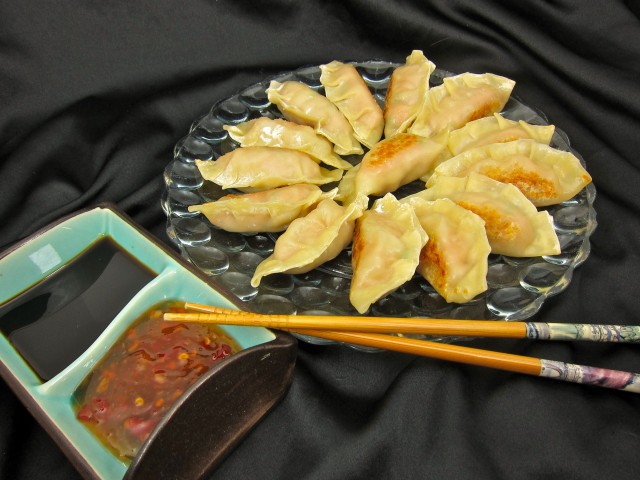
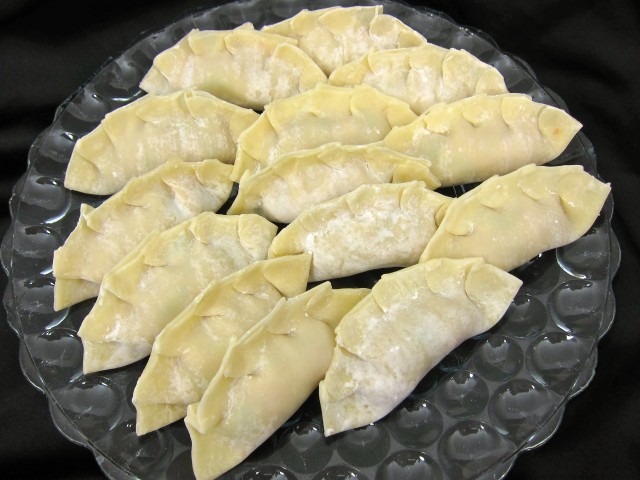
I made this plate of 14 in under 10 minutes, so it really isn’t a lengthly ordeal.
These little guys should be cooked the same day. I’ve tried freezing some before and they just defrosted soggy and misshapen. I wouldn’t let them sit in the fridge too long either or the same could happen. There are liquids in the pork after all that can dampen the wrappers.
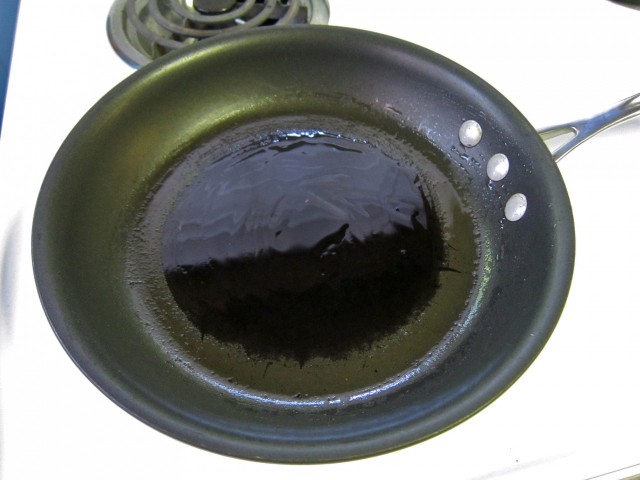
To cook, generously oil a pan that is not non-stick. These are “potstickers”, they are supposed to stick to the cooking surface. I’ve done it in a non-stick pan before and it’ll work but it’s not traditional.
Anyway, use an oil like sesame or peanut or even grapeseed, just not olive because it won’t taste right with the asian flavors. I used a paper towel to spread it evenly around the pan. Set the pan to medium heat.
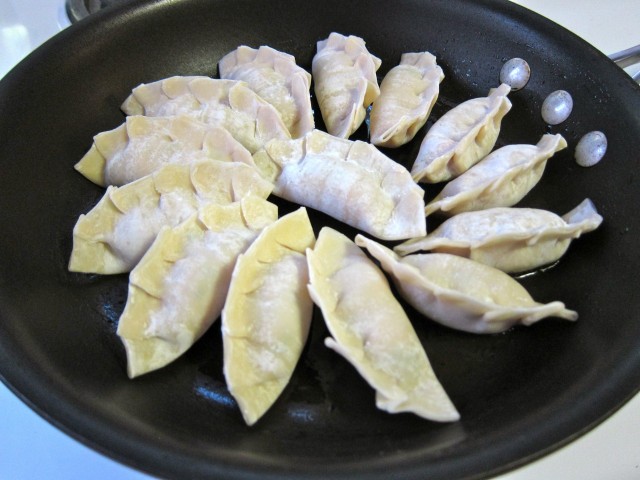
When the pan is hot, arrange the potstickers however they’ll fit.
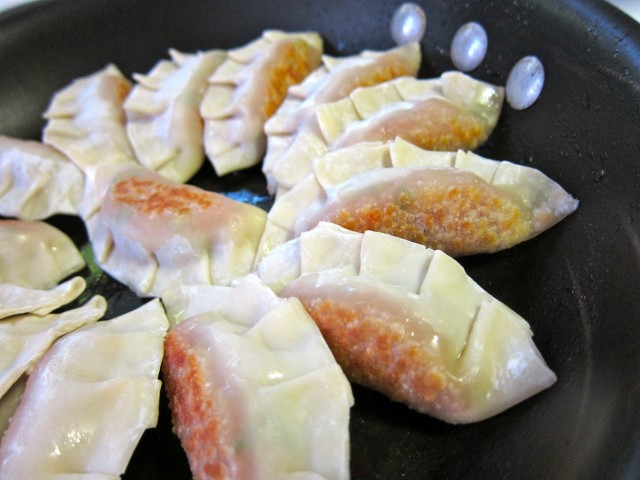
Traditionally, you let them brown only on one side, but I like more crunchy stuff so I flip them before they start sticking and let them brown on the other side too.
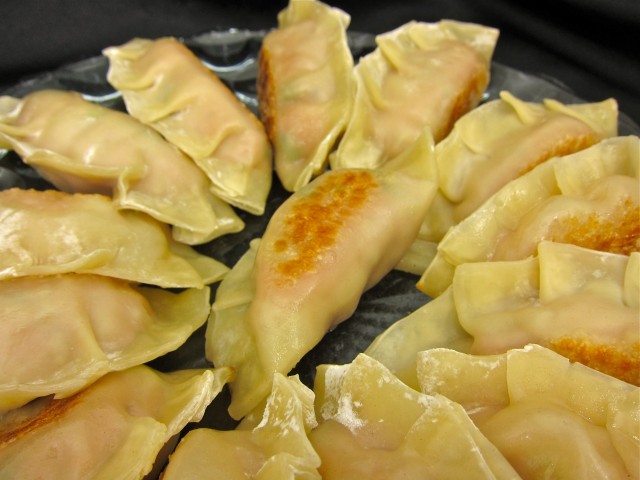
Once they’ve stuck to the bottom, pour in a couple tablespoons of water and cover with a lid. You’ll hear them steaming away in there. Take off the lid after about 20 seconds, just before all the water has steamed away, and take out your potstickers. The water not only helps to release their grip on the pan but it also changes the texture of the wrapper to a chewier consistency.
You can see here that they’ve taken on a golden color all over and are more translucent.
Pork potstickers

Homemade pork potstickers aren't as difficult as they seem. A small labor produces a delicious result.
Prep Time: 20 minutes
Cook Time: 10 minutes
Total Time: 30 minutes
Yield: around 20 potstickers
Ingredients
- 1/2 pound ground pork
- 2 chopped scallions
- 2 cloves of garlic (minced)
- a 1 inch piece of ginger (grated)
- 1/8 tsp. chili garlic sauce
- 1 tsp. sesame seeds
- 1/2 tsp. soy sauce
- 1 tsp. mirin
- frozen potsticker wraps
- peanut or sesame oil for frying
Cooking Directions
- Take potsticker wraps out of freezer and allow to sit out until pliable.
- Mix seasonings into ground pork and scoop approx. 3/4 tsp. onto each wrap.
- Lightly wet half the wrapper edge with your finger and fold over into a half circle, smooth any air out.
- Starting at one edge, fold a pleat and press to seal. Continue pleating to other edge.
- Heat oil in a pan that is not non-stick and arrange potstickers. Flip when one side is browned.
- Pour approx. 2 tbsp. water into hot pan and cover with lid to let steam. Remove potstickers when water is evaporated.
- Serve with sweet chili sauce or soy.
I like to serve these with 2 dipping sauces – a sweet chili sauce and some soy sauce with a touch of mirin. They are very filling and really do make a meal on their own, but a fresh gingery salad would cut through the richness of the pork really well if you wanted something to go with them. I usually can’t eat more than 8 before I’m completely stuffed. 
I know it’s so easy to buy a pack of frozen potstickers from the grocery and just heat them up, but this recipe really does come together very quickly and is pretty cheap too. Once you get the hang of the potsticker fan pleat you’ll be churning them out quickly and eating them even faster!
Are there any foods that you prefer to make from scratch that are readily available pre-made?


