I mentioned the other day that I was approached recently by a local photographer to collaborate on a photo shoot. Pretty cool, right?
Jimi Filo has been into photography for most of his life and definitely knows his way around a camera, but has only ventured to make a career out of it in the last few years. He’s finding himself increasingly drawn to food as a subject and has been working to expand his portfolio to include more food photography. He asked if I’d be interested in allowing him to photograph me as I go through my typical process for recipe testing and creation. Of course I was thrilled to have someone take an interest in my creative process, I couldn’t accept the offer fast enough!
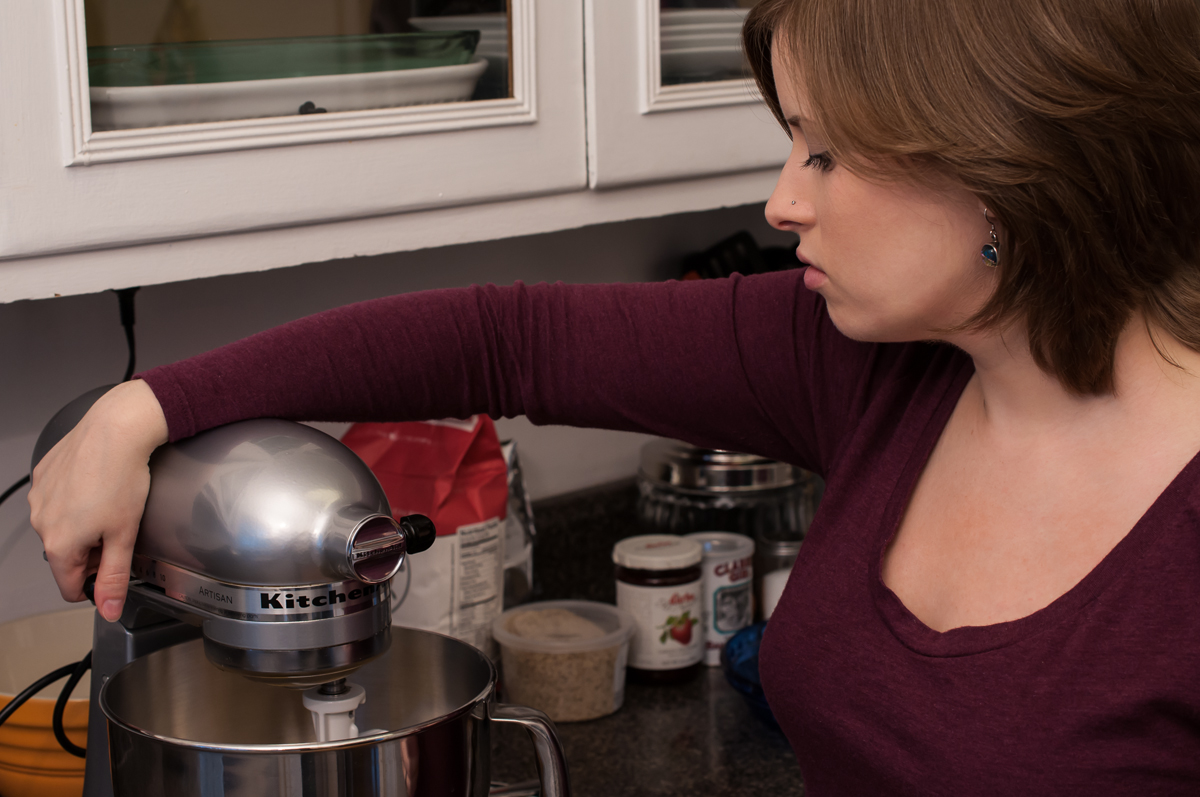
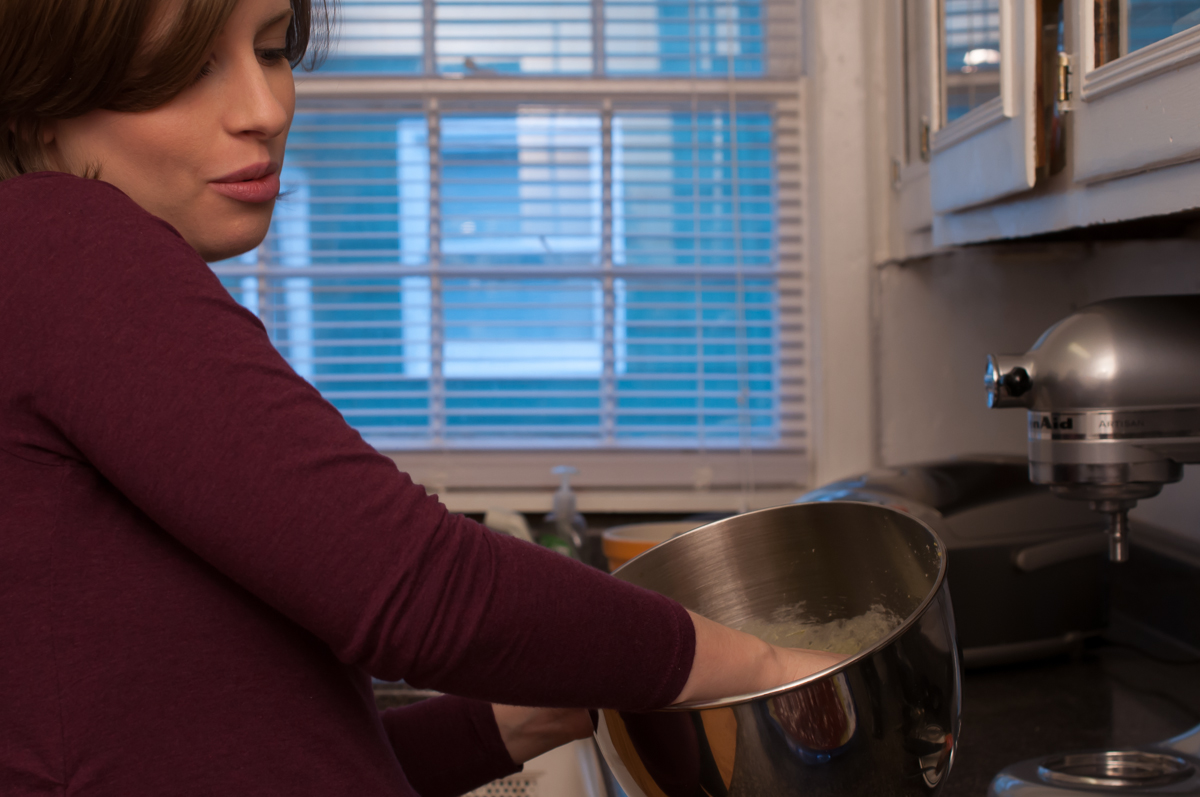
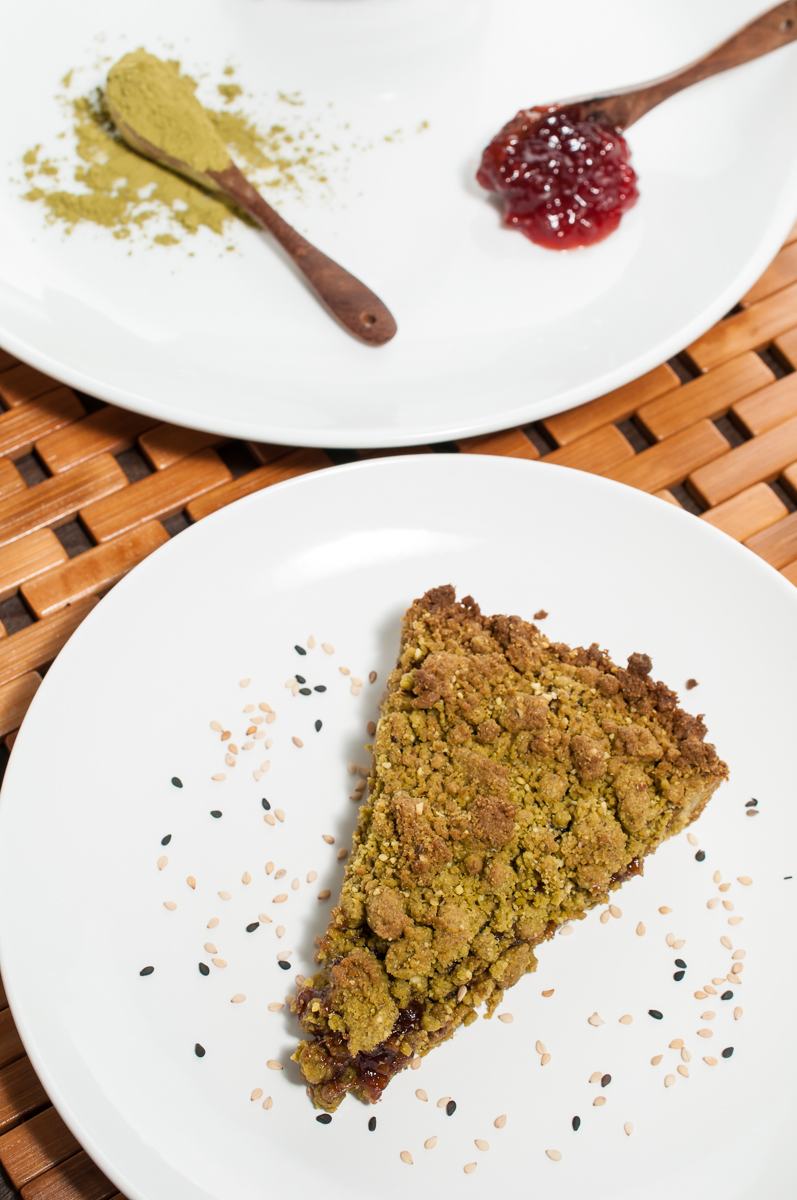
A few weekends ago he showed up at my doorstep with all his gear in tow, his wife/assistant Jen at his side to help with lighting. They got set up in the dining room as I got to work on the first of two recipes I’d be testing that day: Matcha bars with strawberry jam filling.
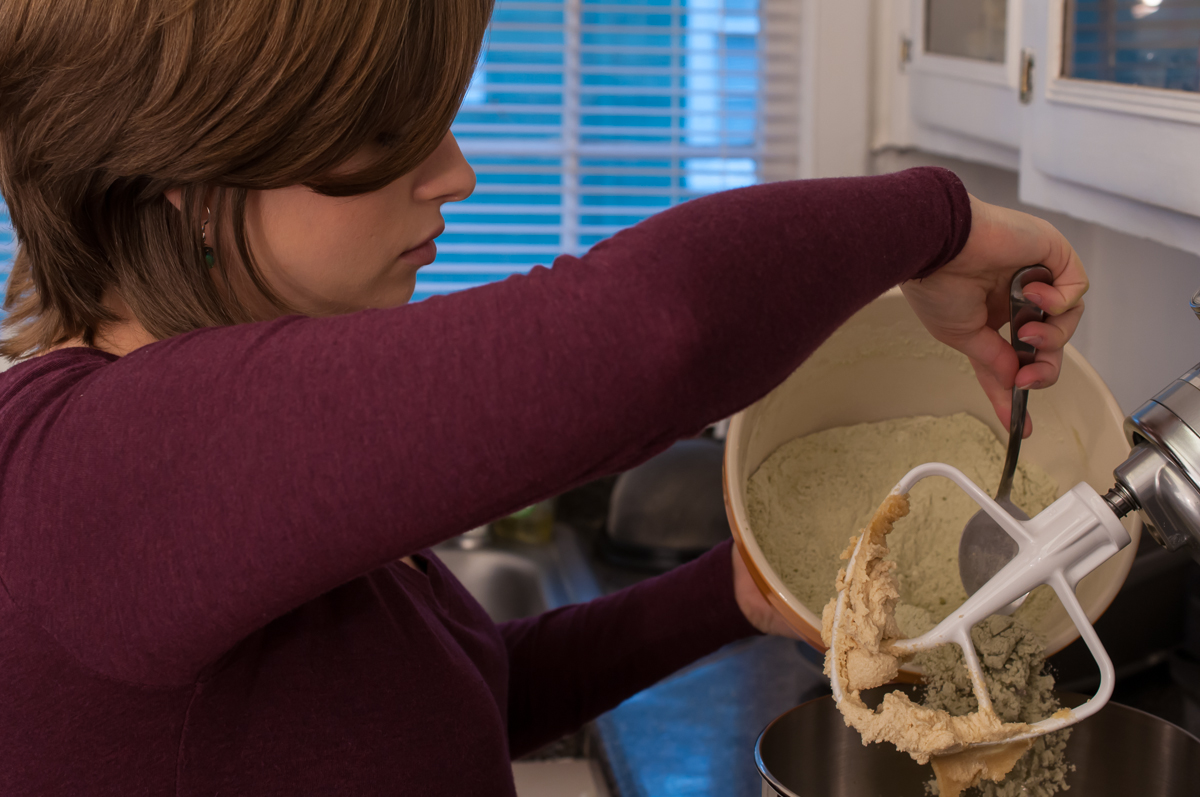
The bars were based on a similar recipe that I’ve made countless times, so I knew they’d turn out. The only thing I was really trying to figure out with this test was how much matcha to use and how long to bake them.
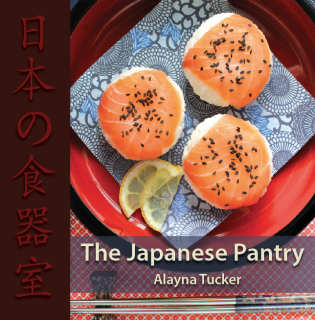
I love a strong grassy green tea flavor, but matcha is often expensive so I’m always mindful to not use too much of it in a recipe for fear that people just won’t make it! There’s a recipe in my book that I probably used around $6 worth of matcha in, but I made sure to proclaim that this was a luxury dessert and not something you would just whip up for the fun of it.
As I worked, we chatted about how I got into Japanese food. Here’s the basic story…
Growing up, my mom was always a great home cook. While we certainly weren’t eating anything super exotic for dinner, we were definitely eating more adventurous foods than the standard Southern classics that most of my friends grew up on. I totally took having delicious meals every night for granted, because I never sought to learn how to cook anything before moving out of the house just after high school graduation.
Learning how to feed myself for the first time as a young adult was an immediate challenge. I could barely even make a decent sandwich or work a toaster properly. I relied heavily on ramen noodles, and honestly I screwed those up pretty often too. (I’m recalling an incident where I tried to boil them in a Pyrex measuring cup and the thing exploded glass and noodles all over my kitchen. o_O)
As you can imagine, I got tired of eating ramen noodles 4 nights a week pretty fast. I started trying to jazz them up a bit by adding frozen vegetables. When I got tired of that I tried adding sauteed mushrooms (I learned to saute!) and eventually even sauteed frozen shrimp. After months and months of these experiments I got confident enough to try making my own broth too and finally threw out that gross seasoning packet.

It just sort of took off from there. I had a refrigerator full of asian condiments from my ramen experiments, so I figured I might as well learn how to use them for other recipes too. After years and years of experimenting in the kitchen, with my many fails and explosions along the way, I became a more knowledgable and confident cook armed with my arsenal of familiar Japanese and asian flavors. I cook plenty of other types of food now, but I always tend to gravitate back toward those flavors that I know and love the most.
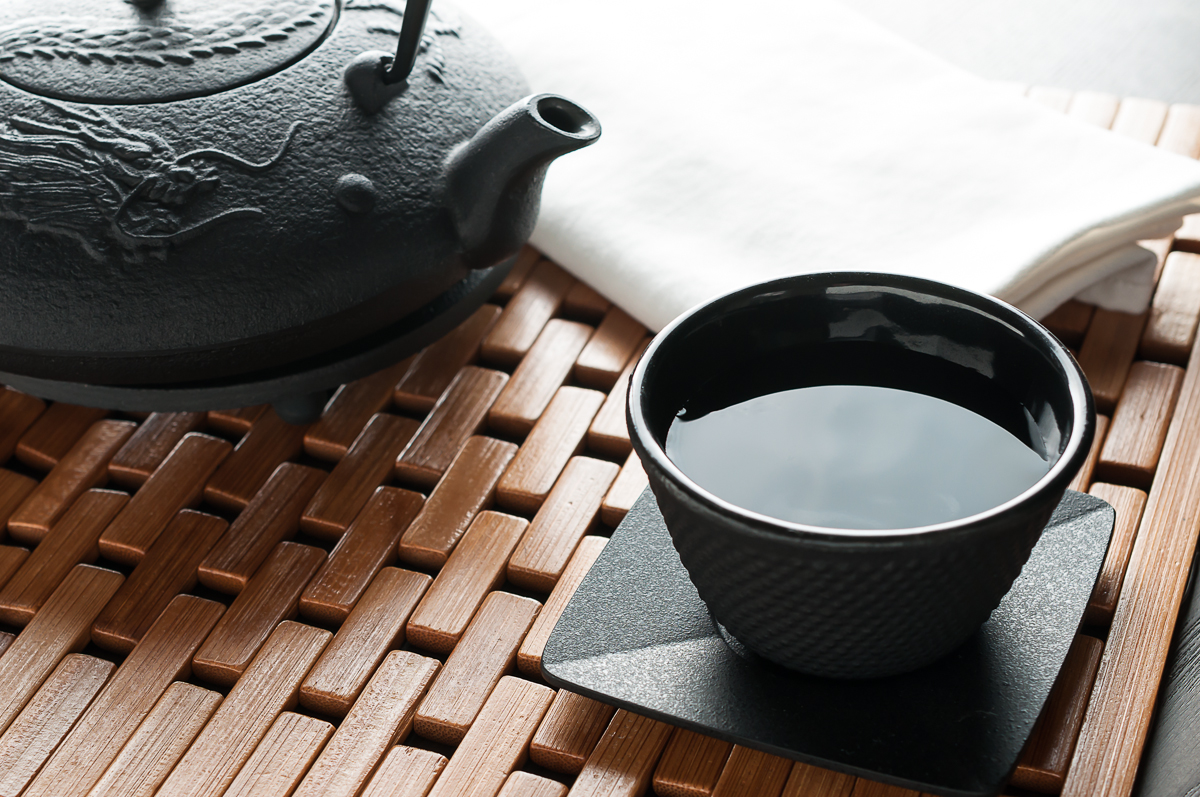
As the matcha bars baked, I got to work cleaning up for the next recipe: Duck soba. Jimi used this time to snap a few photos of ingredients and some knick knacks I had hanging around.
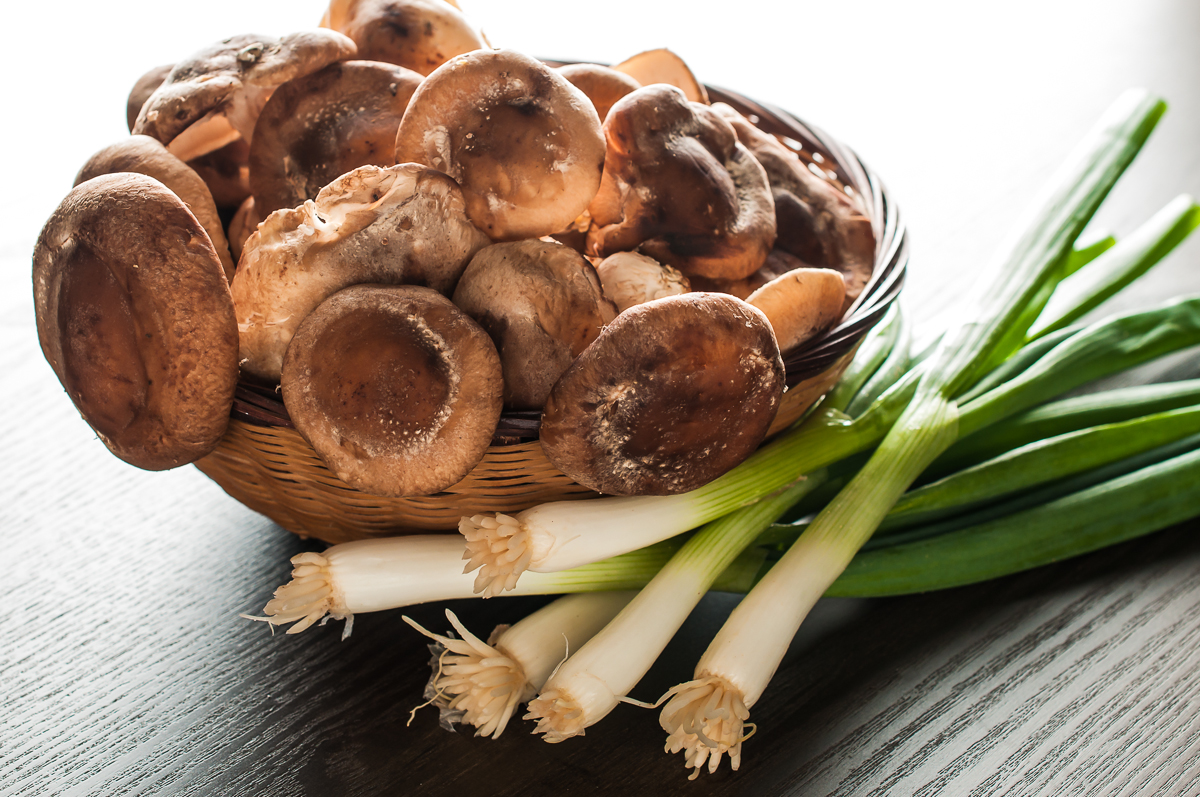
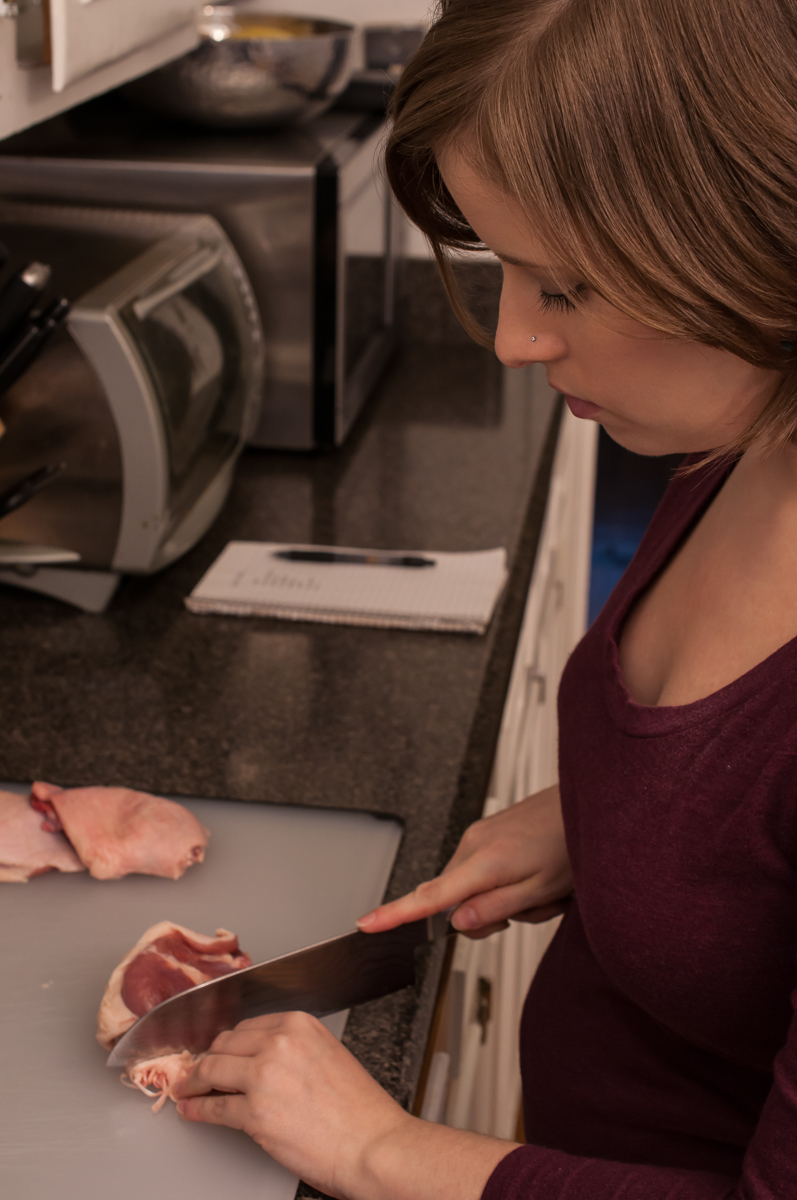
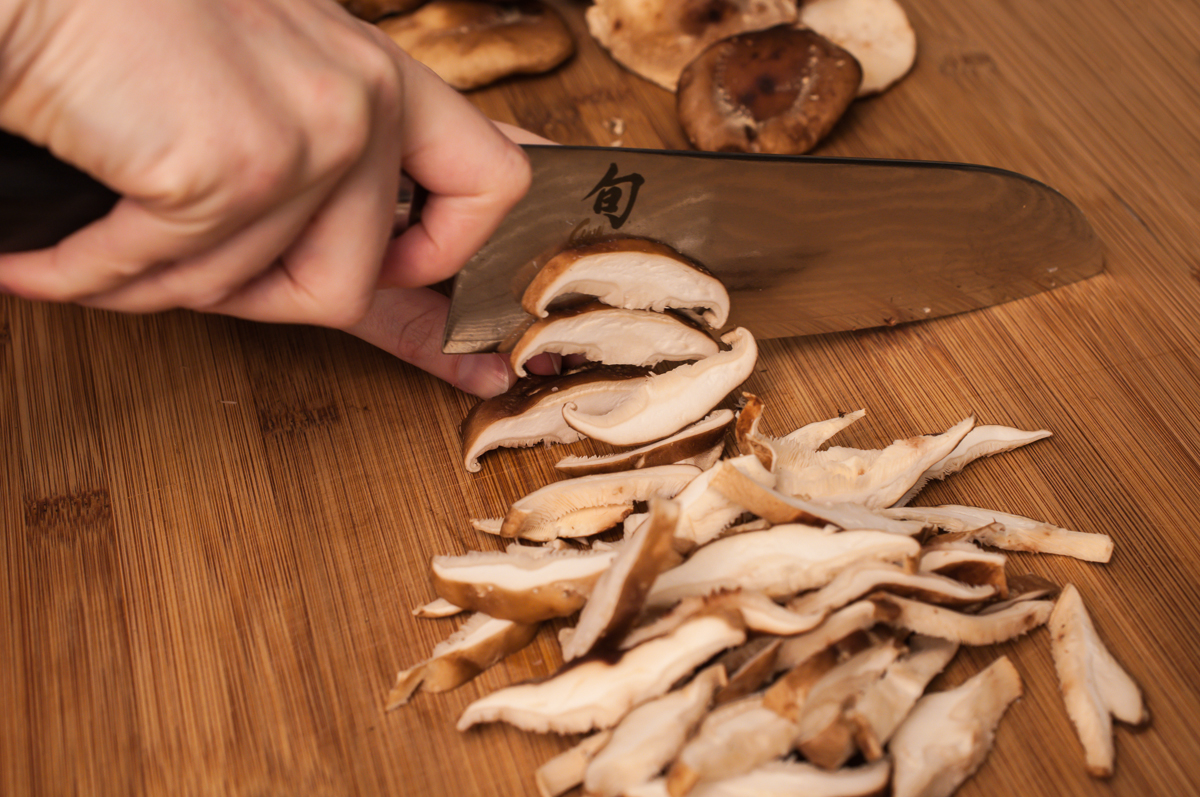
He then turned his focus to the prep work I was doing for the soba. I trimmed up some duck thighs and sliced a basket-load of shiitakes.
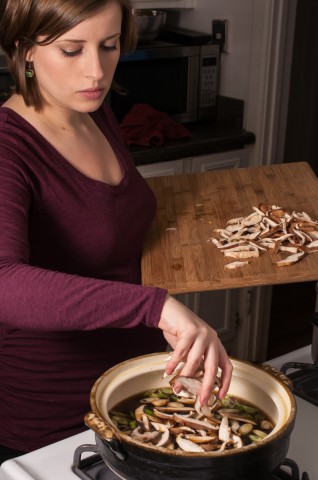
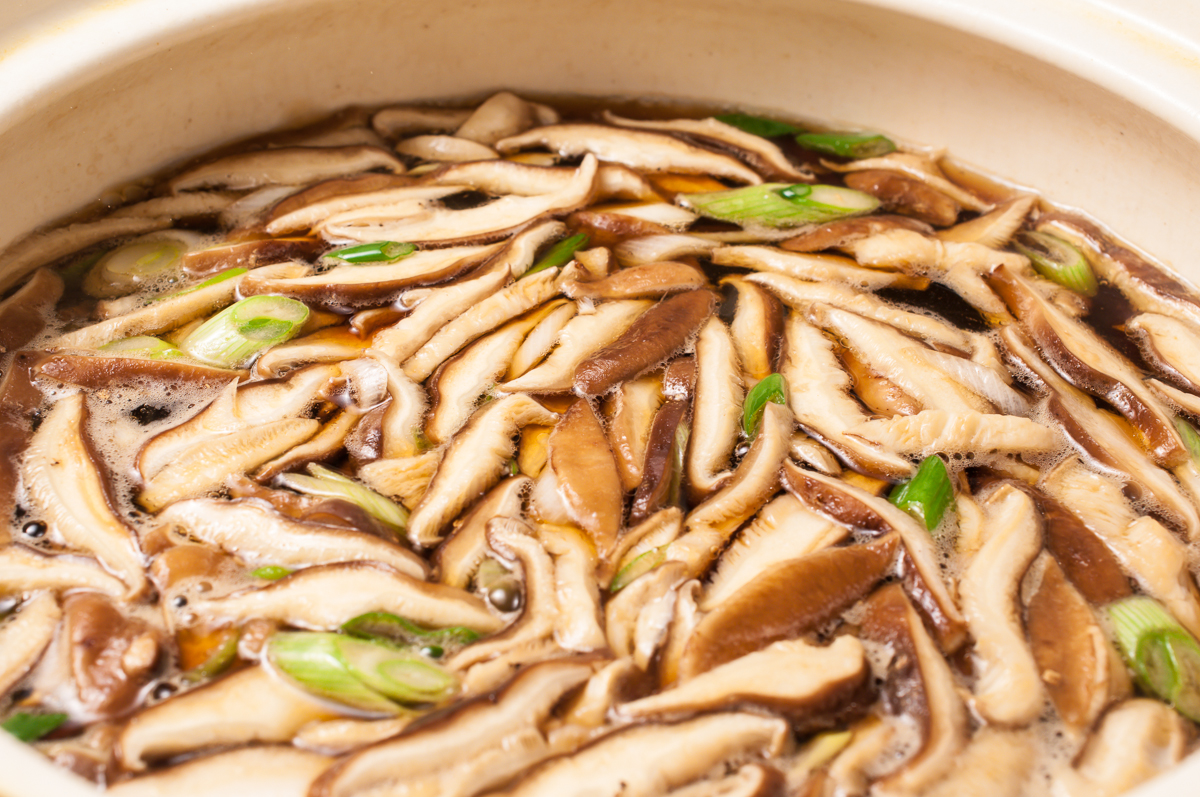
The duck thighs were seared in my donabe, or clay pot, one of my very favorite kitchen toys. After they came out, I made the broth in the same vessel making sure to scrape all the tasty brown duck bits off the bottom. The shiitakes went in too, along with the scallions, and the broth simmered away as I shredded up the duck to add back later. (BTW, this method for cooking the duck totally did not work and I ended up retesting this recipe later. I’ll tell you what method I settled on next week when I share the recipes from this shoot.)

So how did it all turn out? The matcha bars were a hit even though I feel that I overbaked them by a few minutes. I retested the recipe a few days later omitting an ingredient but didn’t like them as much. I think the original recipe minus 5 minutes cooking time will be the final version of these yummy treats.
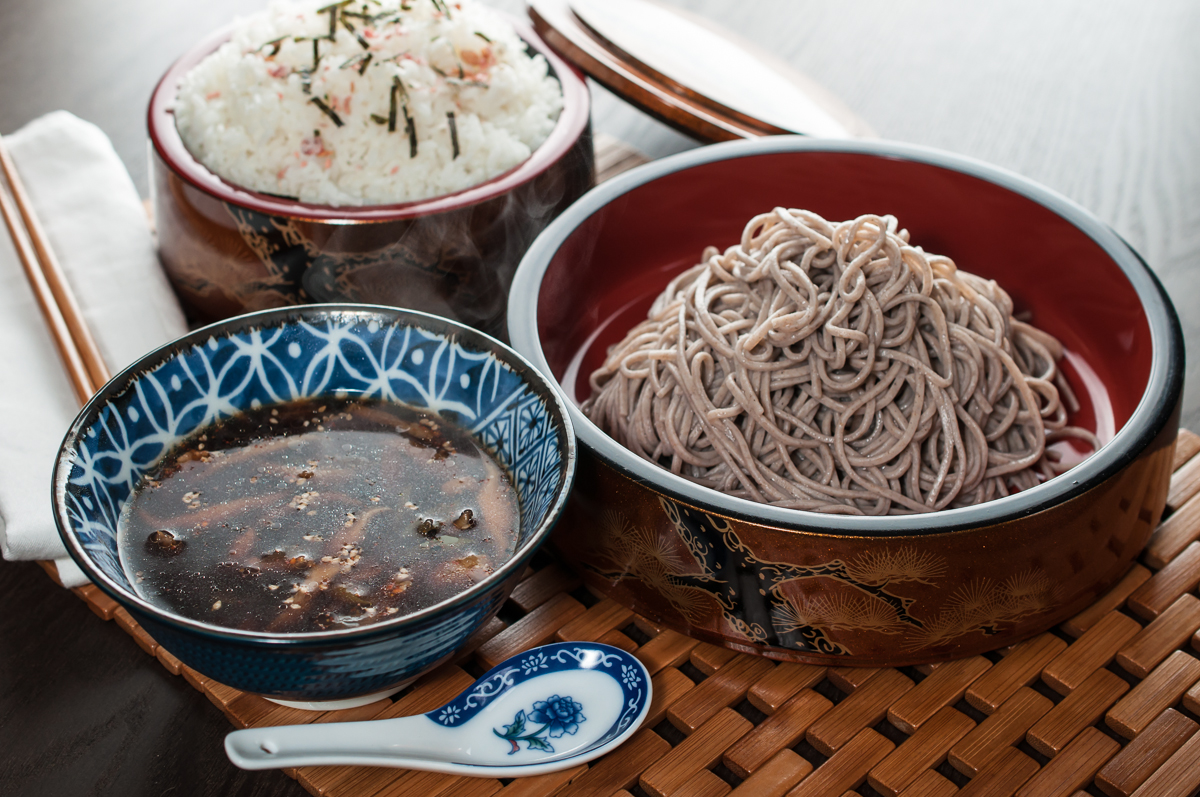
The soba was delicious as well. One more retest and I think I’ll be ready to post it on the blog. We all got to sit down and enjoy it for lunch while gabbing about our past careers and how both Jimi and I have sort of stumbled back into careers that revolve around a creative process, he with photography and me with cooking and writing.

All in all this was a really fun and interesting opportunity. I’m glad that Jimi got some new content for his portfolio, which he intends to write up as a photo essay in the future (I’ll share the link when it’s up.) And I appreciate that I got to use his shots for my blog. It’s kinda neat to see everything from the angle of an outside observer.
Check out his site for more of his photography (I’m particularly fond of the pet photos, so expressive!) and if you’re in the Atlanta area and need a photographer, hit him up! Recipes for the duck soba and the matcha bars with strawberry jam should appear on the blog next week!
All photos featured in this post are property of Jimi Filo Photography and were used with his express permission.