Skip to Content

category

Category: Discussion

post

Practically Raw Desserts – a cookbook review

It may come as a surprise to some that I actually consume a fair bit of raw foods. I don’t follow a raw food diet at all, but I do try to get plenty of fresh fruits and vegetables, nuts, and healthy fats into my diet as often as I can, and in as close to their natural states as possible. It will come as a surprise to no one though, that I love sweets. LOVE sweets. I could subsist on sweets alone if it wouldn’t eventually kill me.

Discovering raw foods has been like finding a massive loophole in the system. Cake for breakfast? Don’t mind if I do. Oh, and it’s healthy, you say? Well that’s a horse of a different color!

Raw food desserts really are both delicious and healthy, as long as you eat them in reasonable portions. Like any other food, too much of a good thing can be bad. But, if you get a mid-afternoon craving for a sweet snack and reach for a raw whole food treat rather than a processed cookie, you can get all the satisfaction of a decadent dessert without feeling guilty.

Practically Raw Desserts

I actually discovered blogs when I found a few vegan and raw food sites through StumbleUpon many years ago. Health and food were not really even on my radar back then, but I was drawn in by the beautiful and colorful food I saw on these first few blogs. It spiralled out from there as I sought to find more and more interesting blogs on the topic of food.

One of my early favorites was Almost Vegan, written by Amber Shea Crawley. Amber’s refreshingly offbeat personality and her enthusiasm for healthy but delicious food was infectious, and I’ve found myself excitedly following her career over the last few years as she’s transitioned from eager home cook, to professionally trained raw chef, to a twice-published cookbook author with a successful self-titled vegan blog, Chef Amber Shea.

Practically Raw Desserts by Amber Shea Crawley

I already have and love Amber’s first cookbook, Practically Raw, so I was thrilled when she announced that she was writing a follow-up cookbook focusing entirely on desserts. Practically Raw Desserts is just as lovely as Practically Raw, and I couldn’t wait to try a few of the recipes immediately.

Practically Raw Desserts

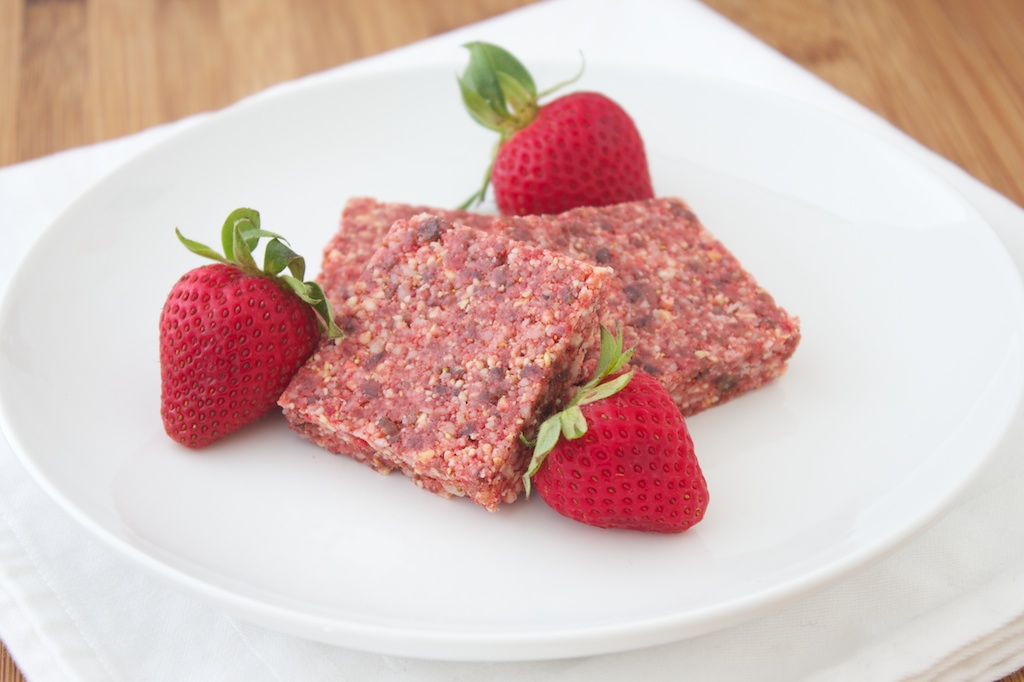
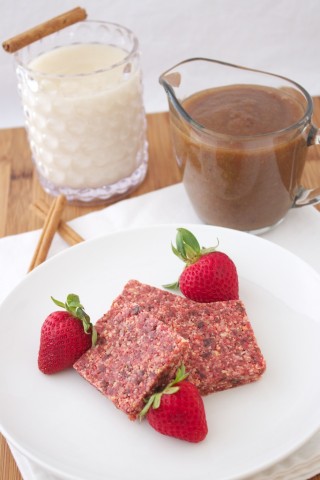
The recipe that caught my eye first was the one for Strawberry Blondies. Amber is kind of famous for her original raw blondie recipe, which I reviewed on the blog a few years back (please excuse the terrible photos in that post, I hadn’t gotten into photography yet.) Those raw blondies were so satisfying as a real dessert, with their buttery richness and golden flavor convincingly mimicking the flavor of a baked blondie. Of course, I couldn’t wait to try them with the addition of my favorite fruit.

They are soooo good guys. The addition of a little bit of vanilla extract really rounds out the tart fruit flavor, making it taste more like strawberries and cream. I’ve been eating one of these every day since I made them and they’ve really helped to satisfy my cravings for sweet treats.

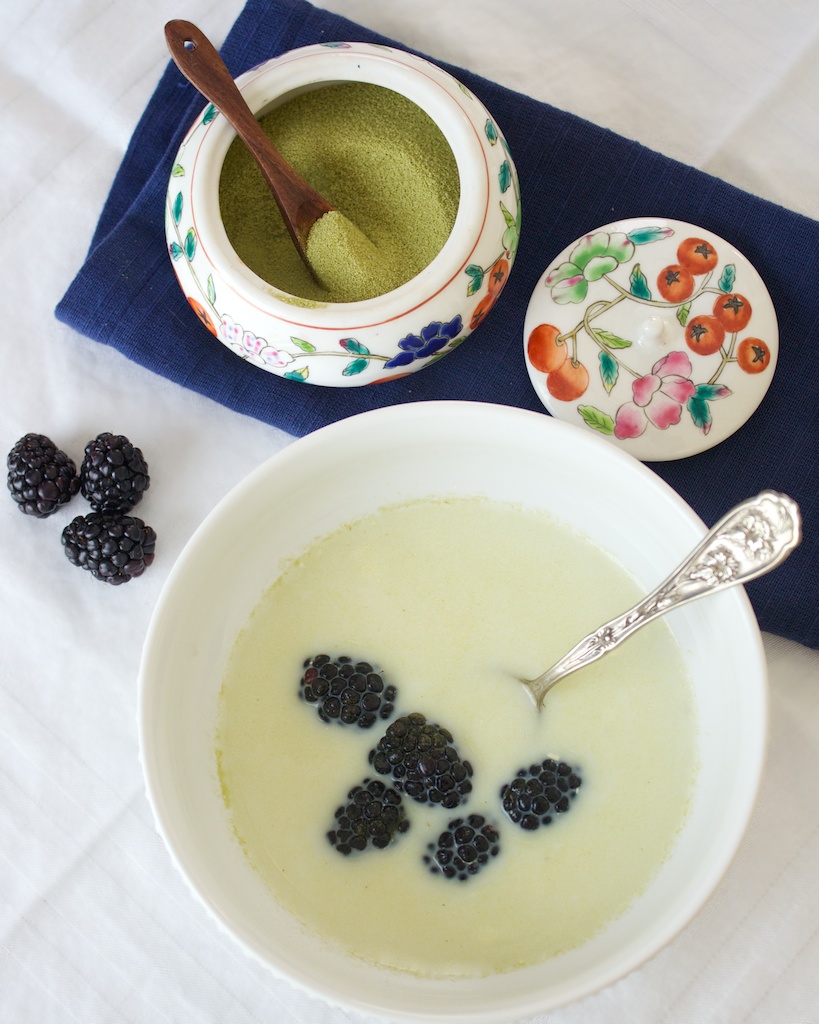
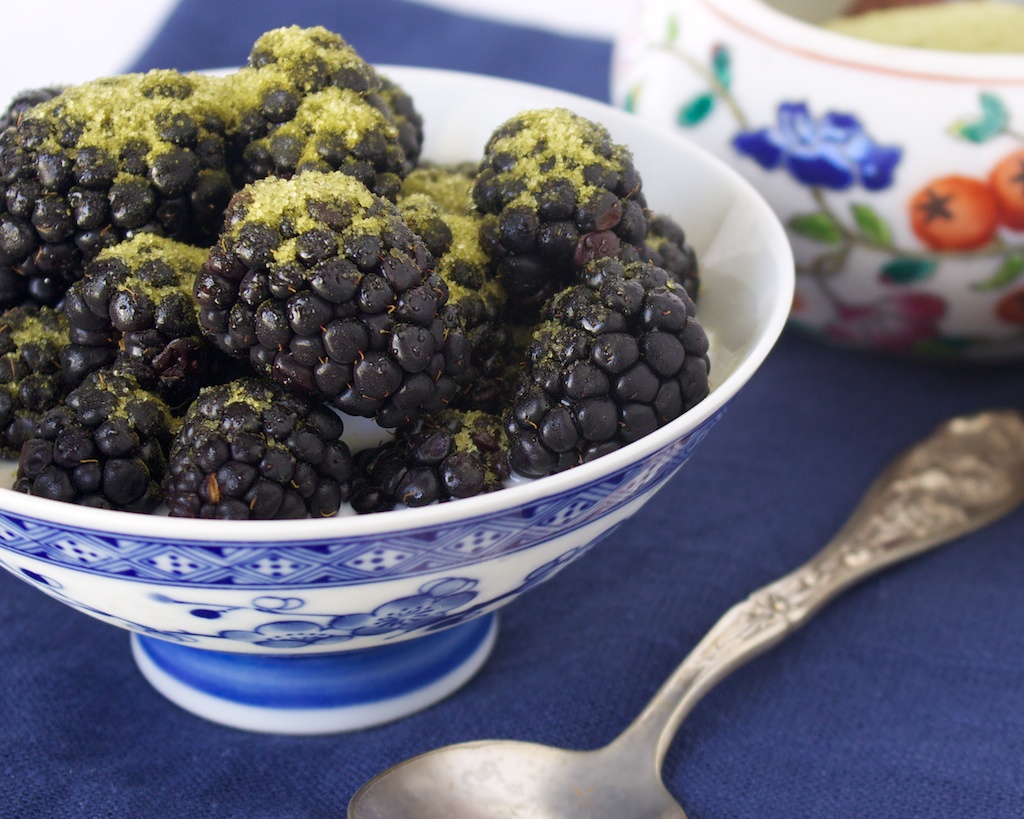
I went ahead and whipped up a few other quick recipes from the book too. This oat milk, pictured below, was great with a dash of cinnamon over a bowl of puffed wheat and fruit. Also, I sweetened the oat milk with another of Amber’s recipes, date syrup (in the first picture up top.) I made the syrup to use on pancakes this weekend, but it worked great to lightly sweeten the oat milk too.

Practically Raw Desserts

That leads me to one of my favorite things about the book: Amber has taken the time to list variations, substitutions, and alternative cooking methods for all of her recipes. After reading a few of the recipes and seeing the substitutions listed, I didn’t have to wonder if I could sweeten that oat milk with date syrup, it had become obvious with how versatile and interchangeable her recipes are that I could do it and that it would work perfectly. I really appreciate the confidence this approach instills in the reader, that’s it’s totally ok to just use whatever you have or whatever you prefer to make the recipe work for you.

Another thing I love is that the vast majority of the ingredients used are relatively common. The only ingredient I’m having trouble finding is coconut flour, but like I’ve already pointed out, I’m confident that I could just replace it with a nut or seed flour of my choosing and have it work perfectly in any recipe that featured coconut flour. I like that I don’t have to make a special trip to a health foods store to start enjoying the recipes right away.

So, I’m recommending Amber’s cookbook, Practically Raw Desserts, not only because I consider her a friend and want her to succeed, but because I think she’s turned out a truly quality product that can appeal to a much broader audience than just the avid raw food community. If you’re interested in making healthy desserts at home with minimal equipment needed, few hard-to-find ingredients, endless variations and substitutions, and NO baking required, then pick up Practically Raw Desserts on Amazon, or learn more about it here.

For a few of my own raw dessert recipes, try these on for size:

Raw vegan orange pistachio bars

Raw nectarine dream cookies


post

Green tea sugar

I remember when I was a kid we had blackberries growing in our backyard. They were on the corner of the property, twisting and winding out of Dad’s ever-growing pile of lawn clippings. I remember filling a mason jar with them and begging my Mom to bake them into a pie for me. She artfully dodged that bullet by instead making me a bowl of the berries in milk, sprinkled liberally with sugar.

I loved the tart berries with their sandy coating of sweetness swimming in a bowl of sugary milk- it was summer in a bowl.

Green tea sugar

I saw blackberries at the market a few weeks ago and thought they were looking ripe enough to try. Berries are one food I will never buy out of season, they’re a totally different and disappointing food when they haven’t had enough sunshine yet to sweeten them up properly. I had no idea what I wanted to do with them, but for some reason that memory of sugared berries that I hadn’t had since I was a child came to mind.

If I was going to do this I wanted to class the whole thing up a bit, make an “adult” version of my childhood treat. Green matcha tea sounded like the perfect grown-up sprinkling sugar flavor.

Green tea sugar

The flavor is still mostly sweet, with just a faint springy green flavor similar to the herbal flavor of mint. It’s not bitter at all. The best part may just be the leftover sugary green tea milk at the bottom of the bowl.

Green tea sugar
Green tea sugar

The recipe is super simple: 10 parts sugar to 1 part matcha. Easy as pie. I’d recommend using a small measure such as a teaspoon. I made mine in tablespoons and it ended up being quite a bit of sugar. I’m sure I’ll find something delicious to use the rest for.

Green tea sugar

This springy green tea sugar is great for sprinkling over fresh fruit, or anywhere a little sweetness is needed.

Prep Time: 5 minutes

Total Time: 5 minutes

Ingredients

  • 10 parts white sugar
  • 1 part powdered matcha green tea

Cooking Directions

  1. Whisk together sugar and matcha. Sprinkle on fresh fruit, buttered toast, or any way you use sprinkled sugar.
  2. Store in an air-tight container in the refrigerator or freezer.

Of course you don’t have to sprinkle it on blackberries either. I think it would be fantastic dusted over buttered toast, as a crunchy topping for donut muffins, or swirled into a lemonade. Just for fun-sies, I went ahead and used it to rim a glass of strawberry milk. Mmmmm!

Green tea sugar

Matcha green tea is one of my very favorite flavors and I’m always looking for new ways to inject it into the foods I love. It seems every time I make a new recipe, I find myself wondering if it would work in a matcha flavor. If I’ve learned anything so far, the answer is always YES.

Green tea sugar

What would you sprinkle this green tea sugar on?


post

Blueberry buckwheat scones

Today I’m trying something a little different. My friend Heather of Better With Veggies hosts a regular recipe link-up on her blog called Meatless Mondays from A to Z, where each week there is a theme ingredient chosen by its correlating letter of the alphabet. I watched the first round of MMAZ as I was writing my book and wished that I could participate, but I had no time to blog back then and this little site sat unloved for around 6 months. Luckily, Heather has decided to bring this popular link-up back for another round! I’m totally in this time.

This week, we’re on B, which has us utilizing blueberries. I missed A (for avocado) while planning for a recent vacation Jeff and I took, so I’m very eager to jump in and contribute this week!

Better With Veggies

Over the weekend, I tested this recipe for blueberry buckwheat scones, my first time ever making scones! I was so worried they would fail, but thankfully they came out perfectly crumbly, the nutty buckwheat base studded all over with huge juicy blueberries. I’ve been eating them sliced in half and slathered with a thin layer of butter and a little bit of blueberry jam. So good!

Blueberry buckwheat scones

Buckwheat flour, also known as soba flour in Japan, is a dense and nutty grain flour with a subtle natural sweetness. This is the same flour used in making soba noodles, which are most commonly served cold with a salty dipping sauce on the side. You pick up a big clump of noodles with your chopsticks, dunk them in the hot soup, and slurp them up making as much noise as you want! Soba has such a beautiful color- it’s kind of grey, almost purple sometimes. So pretty paired with the bluish-purple blueberries in these blueberry buckwheat scones.

Blueberry buckwheat scones

Blueberry buckwheat scones

Nutty buckwheat scones bursting with blueberries is a unique twist on this breakfast pastry classic.

Prep Time: 20 minutes

Cook Time: 40 minutes

Total Time: 1 hour

Yield: 8 scones

Ingredients

  • 1 and 1/4 cups* all-purpose flour
  • 1 cup buckwheat (soba) flour
  • 4 tbsp. sugar
  • 2 and 1/2 tsp. baking powder
  • 1/2 tsp. salt
  • 5 tbsp. cold unsalted butter
  • 1 large egg
  • 6 tbsp. cold milk
  • 1 cup frozen blueberries
  • + extra milk to brush top of scones
  • + extra sugar to sprinkle over scones
  • + extra flour for kneading dough on

Cooking Directions

  1. In a large mixing bowl, whisk together the buckwheat flour, sugar, baking powder, salt, and 1 cup of the all-purpose flour. Reserve the other 1/4 cup of all-purpose flour to use only if dough ends up too moist.
  2. Cut butter into small cubes and add to the dry mix, along with the milk and egg. Use a fork or potato masher to cut butter into the dough. Dough will be very dry and crumbly and seem like it won't come together completely.
  3. Rinse blueberries under cool water to remove any frozen juice on them. Use while still frozen, do not allow to thaw fully.
  4. Add blueberries to the dough and fold in with your hands. As you mix, some of the berries will burst and the juice will help the dough become moist enough to come together. If it is very wet by the time you get them incorporated, add the reserved 1/4 cup of all-purpose flour and mix in.
  5. Transfer dough onto the counter or a cutting board dusted liberally with flour. Dust surface all over with flour and pat into a circle shape.
  6. Cut dough into 8 wedges and transfer to a parchment-lined baking sheet. Brush each scone with milk and sprinkle with sugar.
  7. Bake scones for 35 to 40 minutes in a pre-heated 400F degree oven. Allow to cool before serving with butter, clotted cream, or jam.

I learned a few things about properly making scones in testing this recipe that I’ll share with you to help you make a tasty scone on your first try. As I was mixing the wet ingredients into the dry, I thought there was no way there was enough moisture to hold it all together and I started to second-guess my recipe. Once I added the berries though, they released so much juice into the dough that it became far too wet and sticky in an instant. Again, I feared that I’d ruined them. I simply added an extra 1/4 cup of flour, and they came together enough to feel good about trying to bake them.

Scone dough should be relatively dry. If it can’t hold its shape when patted into a circle, it’s just too wet. Don’t be afraid to add flour until it comes together into a ball. You also want to use cold butter to give it that irresistible flakiness upon baking and not mix with your warm hands too much for fear of melting the butter into the dough. A brush with milk on top adds a bit of protein to brown up in the oven. If you’ve done everything correctly, the scones should be crisp and brown on top, dry but tender in the center, and not very sweet at all. They’re a bready base for slathering on your favorite biscuit toppings.

Blueberry buckwheat scones

Very excited to be able to participate in Meatless Mondays from A to Z this round. Thanks Heather for bringing it back! No idea what I’ll make with cabbage when it’s time to move on to letter C.

Have you ever baked with buckwheat flour?