Skip to Content

blog post

Star of the stripes

Well, the wedding was last night and before you just die of suspense I’ll go ahead and tell you that the cake turned out beautifully and tasted delicious!

Today though, I wanna show you the last few steps in preparing the cake for it’s trip.

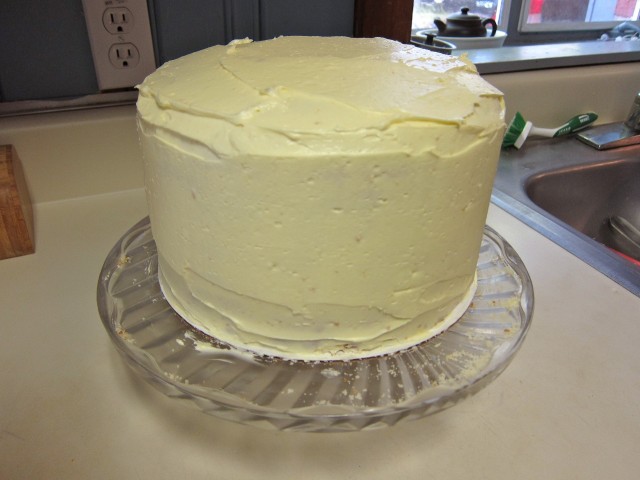
When we left off, I was finishing up frosting over the crumbcoat and was rolling out the white fondant to cover them.

Rolling out the fondant

I didn’t get any pictures of me covering the cakes in fondant because…well…I didn’t have any hands free! Jeff was home from work early because he had to pick up his tux that afternoon so he helped me to pick up the delicate yet heavy fondant and drape it over the cakes. Then I went to work on smoothing it out with my hands and cutting off the excess. When covered, I let them harden up in the fridge so that I could smooth the fondant some more without squishing dents in it.

I ended up using the entire 5 pounds of white fondant I had just to cover both cakes, so I had to run to the cake art supply store less than an hour before they closed to pick up more! I was beat by this point, but I had to get the fondant I was going to use to decorate with dyed that night if I was gonna have enough time to finish before we had to leave the next day.

Jeff and I spent an hour kneading fondant together to fully incorporate the dyes, our forearms were so sore after that! But this is what we came out with…
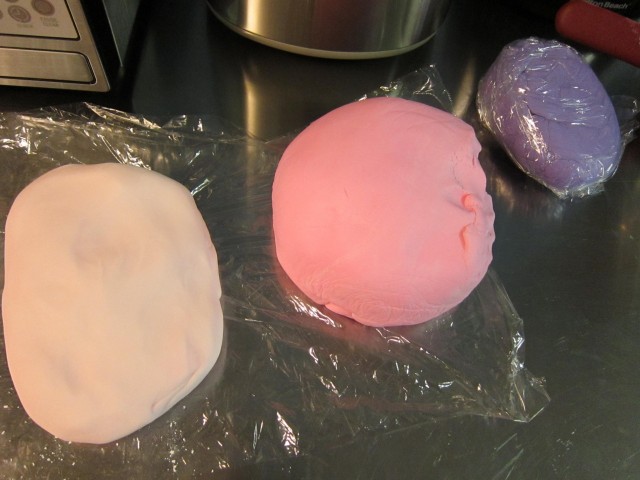
Dyed fondant

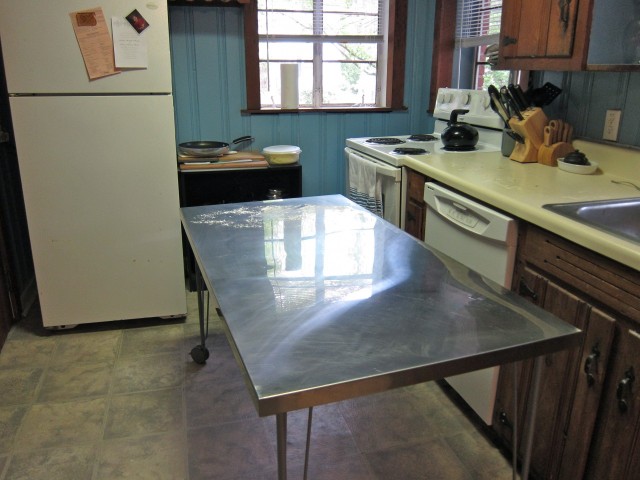
Friday morning was frantic. I got up and went straight to work on decorating. Jeff helped me to pull our table out of the dining room and into the kitchen so that I could shut the cats out and focus on work.

Prep table

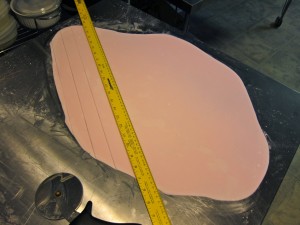
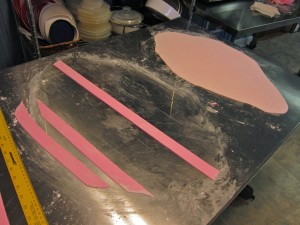
I started by rolling out the colored fondant as thinly as I could with the table dusted in powdered sugar to keep it from sticking. I used a pizza cutter and the edge of a ruler to cut wide bands of both pink shades.

Dark pink stripsCutting light pink strips

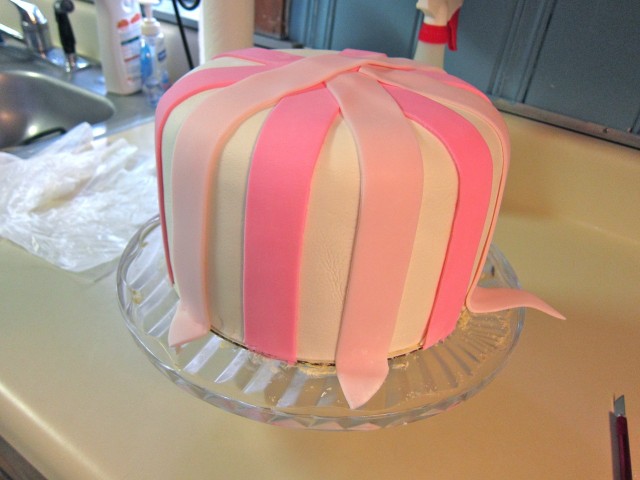
I laid out the darker pink first, trying to postion the stripes over any unfixable flaws.

Laying the first stripes

Then the lighter pink between those. I wasn’t adhering them at this point, just positioning so that I knew how many stripes I needed and how they would lay.

Layering stripes

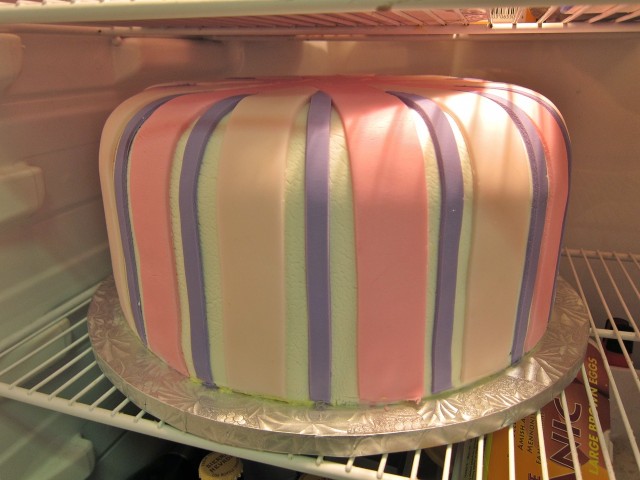
I rolled and cut the purple fondant into thin little strips and added those between the pink. Then I used an exacto knife to cut the excess pieces off the top of the cake so that the stripes fit together like tiles and made a nice flat top.

Finished striping

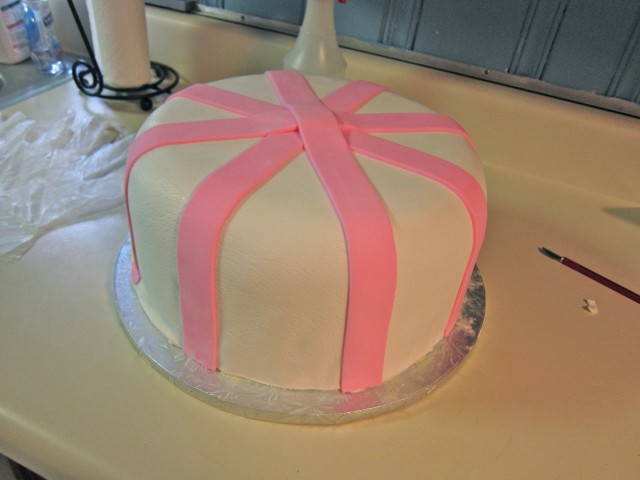
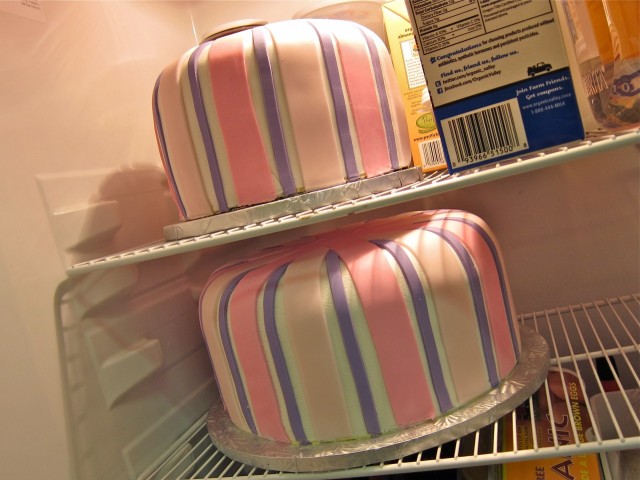
When everything was cut and positioned, I lifted each one up one by one and painted the bottoms with a little water and smoothed them into place. Water slightly dissolves fondant, making a sticky slurry that glues the stripes down to the base layer.

Whole cake finished striping

That was all that I could finish at home. Jeff and I rushed to clean the kitchen, pack our bags, get dressed, load the car, set out food for the cats…..AHHH! We barely made it out the door in time!

I cannot wait to show you what this looks like all put together tomorrow, it was incredible if I do say so myself. :)

The big reveal is tomorrow!
blog post

Scrambled tamago donburi

Whew! Cake-bakin’ week is almost complete! I am so done with looking at cake right now.

Jeff and I will be at the wedding today, so I’ll be sure to fill you in on how I finished the cake and how everyone liked it tomorrow. For today though, I thought I’d show you guys a quick dinner that I made earlier in the week that turned out amazing.

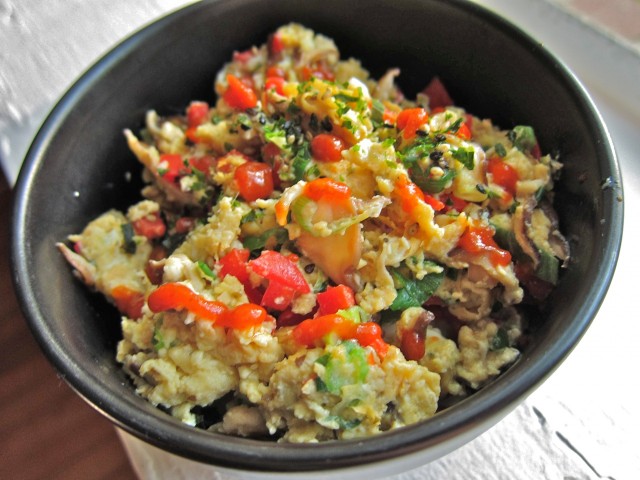
Scrambled tamago donburi….or scrambled egg rice bowl!

Tamago scramble donburi

This was ridiculously easy to make. I started by making some rice in the rice cooker. If you don’t have a rice cooker, you can use this method for how to make sushi rice.

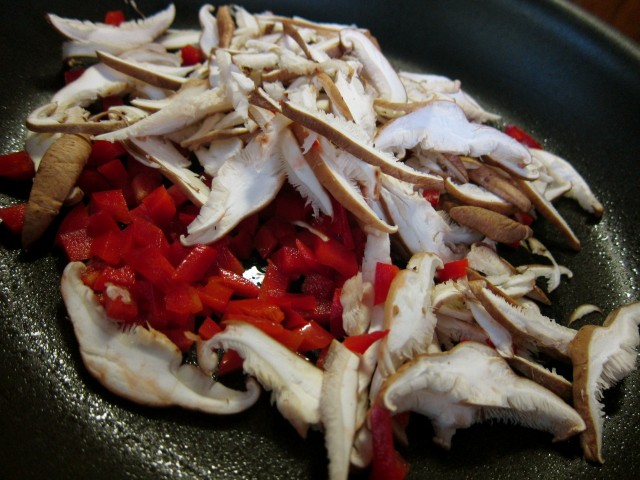
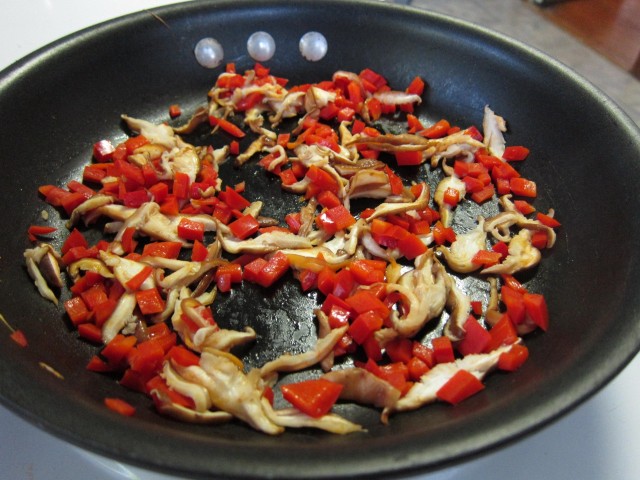
While the rice was going, I chopped up half a bell pepper into small pieces and sliced a handful of shiitakes thinly. I sauteed those together while I got my egg mixture together.

Bell pepper and shiitakes

Saute peppers and shiitakes

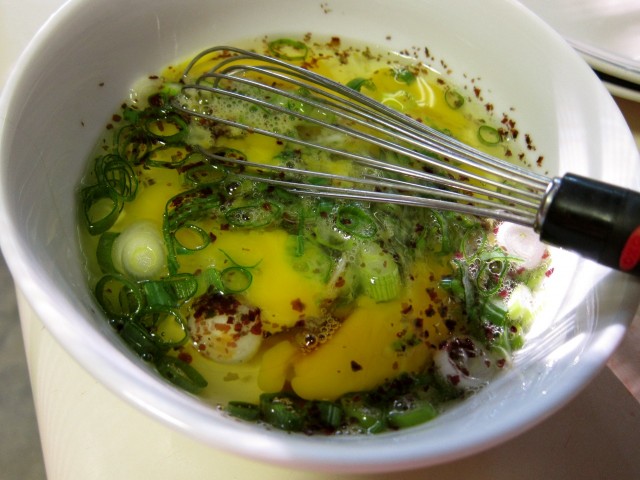
I used three eggs and whisked in about a tsp. each of soy sauce and rice vinegar. I mixed in a finely chopped scallion and sprinkled with seaweed flake.

Eggs with scallions

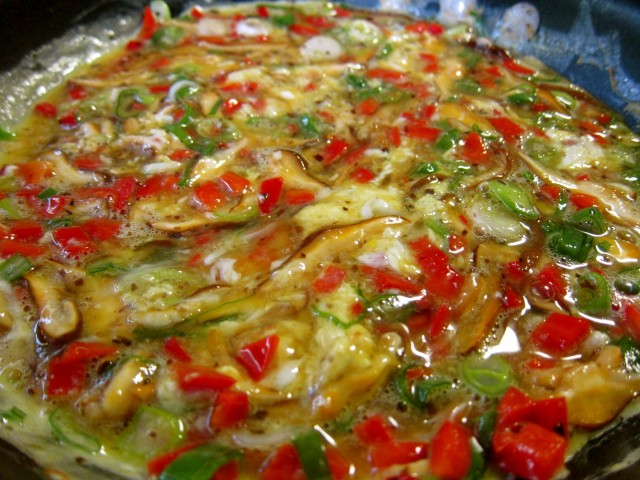
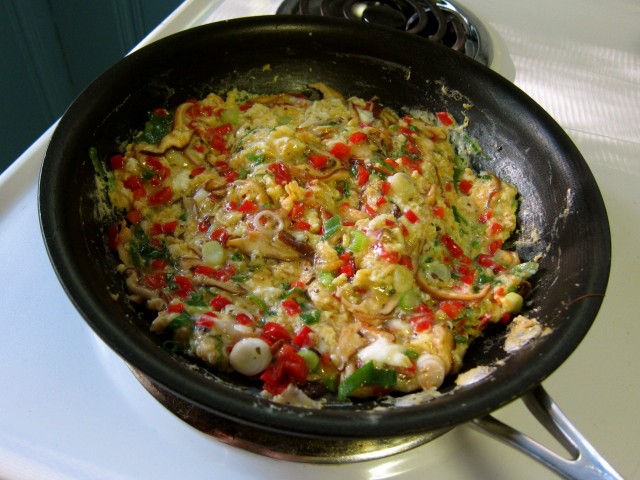
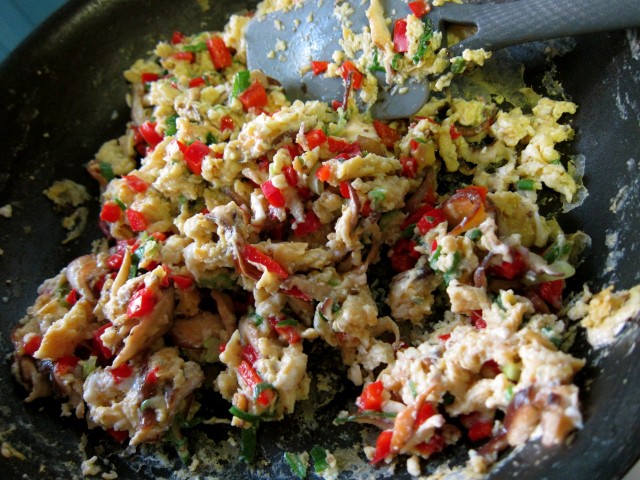
Once the veggies were cooked through, the egg mix was added to the pan and the veggies were mixed into it. It comes together pretty quickly at this point as the egg starts to solidify. Just keep moving a spatula through the mixture to break it up as it cooks, scrambling it.

Pour on the egg and mixStarting to scrambleTamago scramble

And that is all there is to it. I think it took about 10 minutes total to make the scrambled tamago topping, can’t argue with that!

Scrambled tamago donburi

Scrambled eggs with veggies over rice forms a quick and simple asian donburi.

Prep Time: 5 minutes

Cook Time: 5 minutes

Total Time: 10 minutes

Yield: 2 servings

Ingredients

  • half a red bell pepper (chopped)
  • a handful of shiitakes (sliced thin)
  • 3 eggs
  • 1 tsp. soy sauce
  • 1 tsp. rice vinegar
  • 1 scallion (sliced thin)
  • garnish with seaweed flake, sriracha, toasted sesame seeds
  • sesame oil for sauteing

Cooking Directions

  1. Saute peppers and shiitakes in sesame oil.
  2. Whisk eggs with soy sauce, rice vinegar, and scallions.
  3. When veggies are soft, add egg mixture and stir with a spatula until eggs are set.
  4. Serve over rice and top with seaweed, sriracha, or toasted sesame if desired.

Served over hot rice with a couple squirts of fruity-spicy sriracha and a sprinkle of noritamago furikake, it was a warm and comforting meal ready in under 15 minutes.

What is your favorite way to eat eggs? (Cake counts!)

blog post

Wear your crumbcoat

Man, I thought all-day-baking Wednesday was hard, but yesterday takes the cake! HA! 😀

Yeah, that really is my sense of humor, sorry.

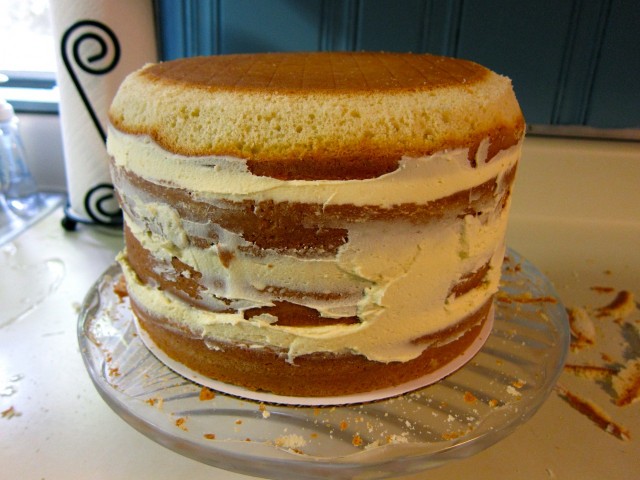
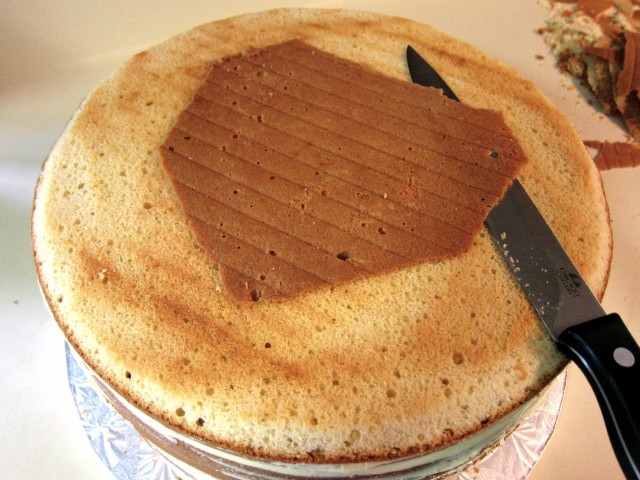
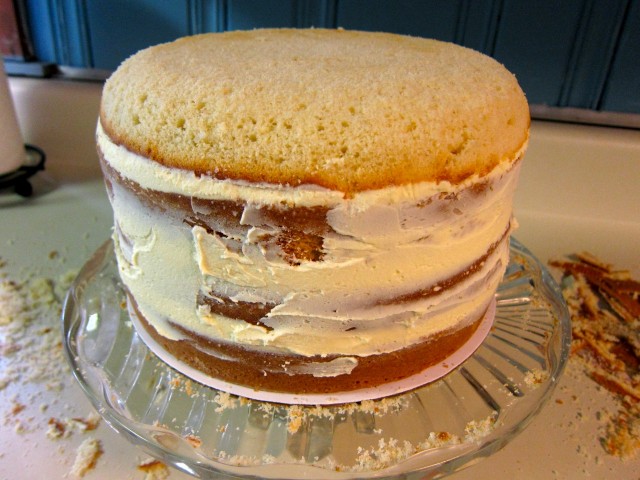
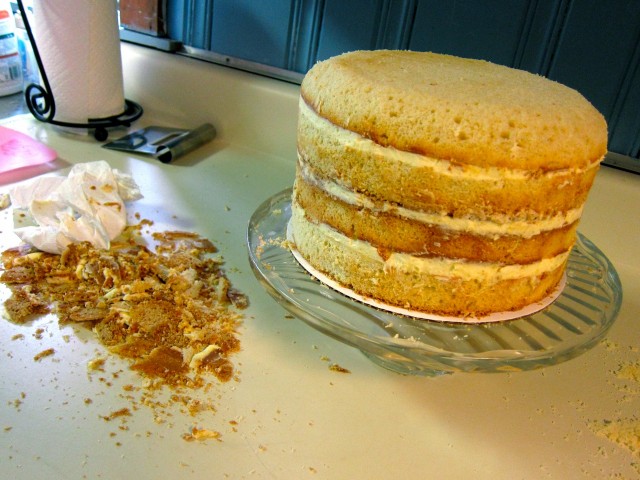
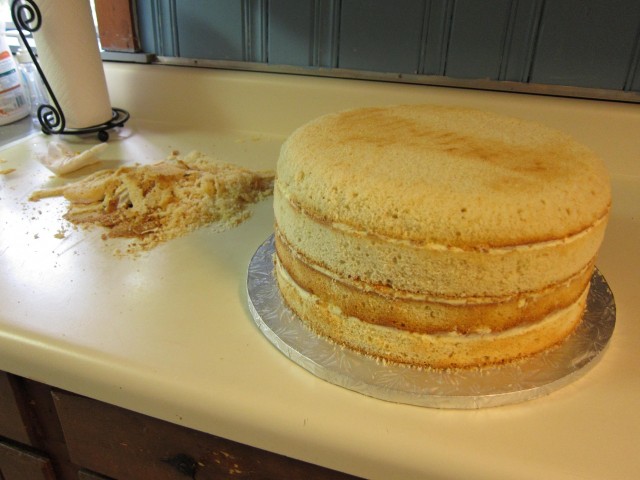
So you saw that I got all the baking done, and now it was time to carve the cakes and cover them in delicious buttercream. I started by trimming the edges and then removing all the brown crust. If I were just making a birthday cake or something I would leave the brown bits, but wedding cakes are expected to be more pristine so I removed it.

Starting to carveCutting off brown crustTop getting roundedNaked cake

Trimming and shaping the cakes was a task that I expected to take about 30 minutes or so. Ha! Try a few hours! It was warm in our kitchen and the buttercream was getting soft and moving the cake layers around as I cut them, so I had to keep returning the cake to the fridge to set back up again.

The second one was easier, it just decided to behave for me for some reason.

Carving next cake

Next up, crumbcoating.

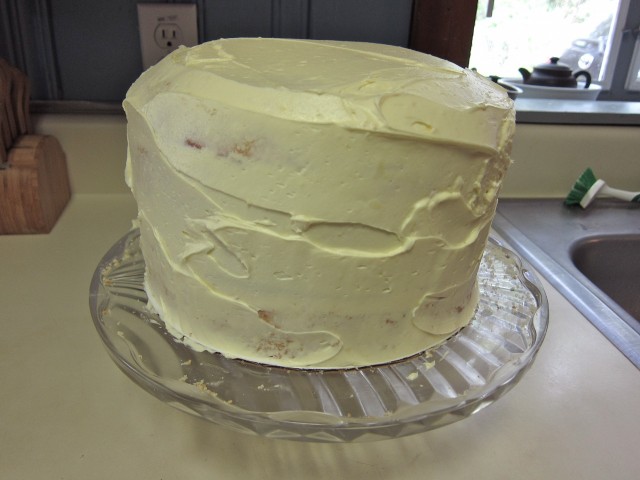
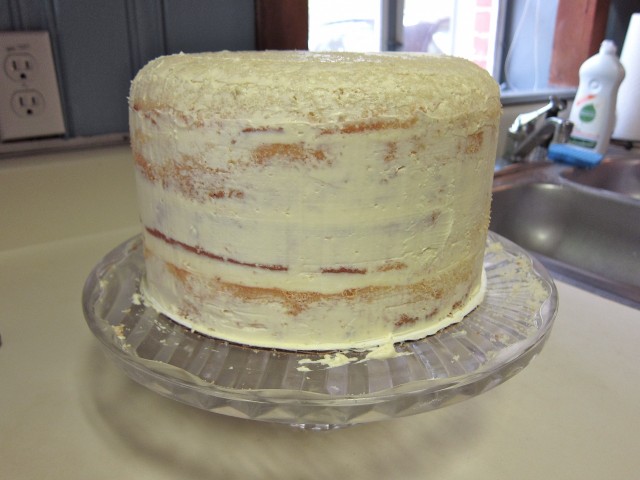
A crumbcoat is a really thin layer of frosting that seals in the crumbs, seals in the moisture, makes a smooth and even surface, and holds the layers in place. It’s essentially edible glue.

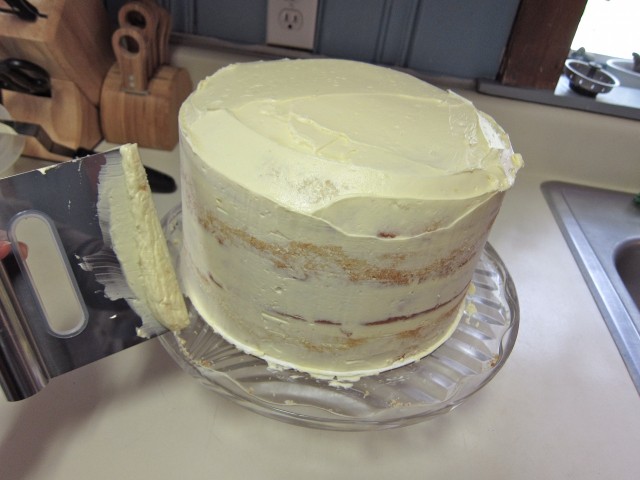
First, you generously apply buttercream to the cake.

Applying crumbcoat

And then you scrape it all off!

I like to use a dough scraper tool because it has a hard edge the drags smoothly across the cake surface. (This is my favorite part of the whole process, I could crumbcoat all day and be happy.)

Wax on, wax offSkimmed crumbcoat

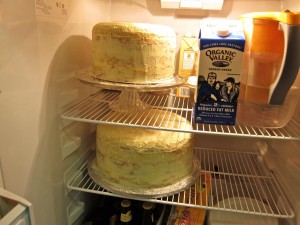
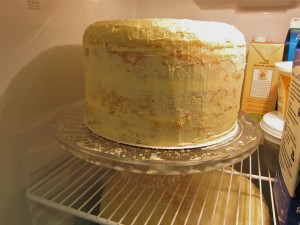
These got sent to the fridge to chill out for a while and let the buttercream crust.

Crumbcoats in fridge9 inch crumbcoated

Then you do it again!

You frost right over the crumbcoat heavily and then use the same tool to scrape it off again, but this time apply less pressure so that you leave more frosting behind. I didn’t get a picture of the finished frosting though, by this point I was getting off schedule for the next step so I wasn’t really thinking about pictures too much.

Applying frosting layer

Protip: Make sure to get the frosting pristinely smooth as any slight imperfections will show up through the fondant layer.

Speaking of fondant, I am (dis)pleased to introduce you to my nemesis…

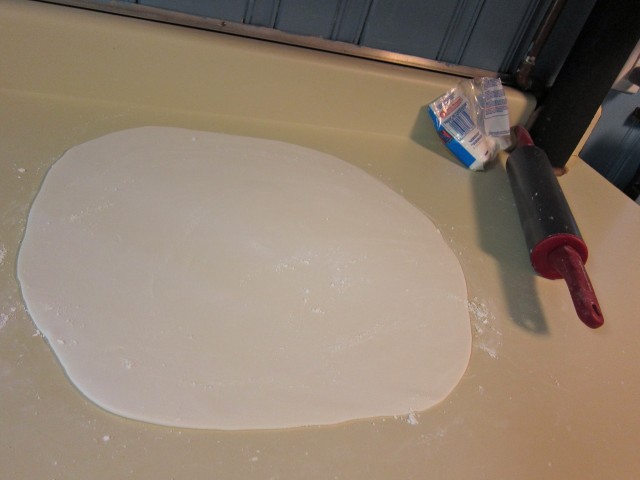
Rolling out the fondant

Fondant and I don’t get along so well. It’s partially because I’m a little weakling that has a hard time rolling it out thin enough and partly because the stuff is just so delicate and finicky and needs a lot of care to look smooth and nice.

I got it done though, and today I’ll be finishing up the last bits of decorating. The whole thing won’t come together though until the day of the wedding (Saturday) so it’ll be in pieces til then.

I’ll make sure to show the rest of the steps and the finished product soon!