Skip to Content

tag

Tag Archives: book

post

How to self-publish a book – Part 3: Photography Skills

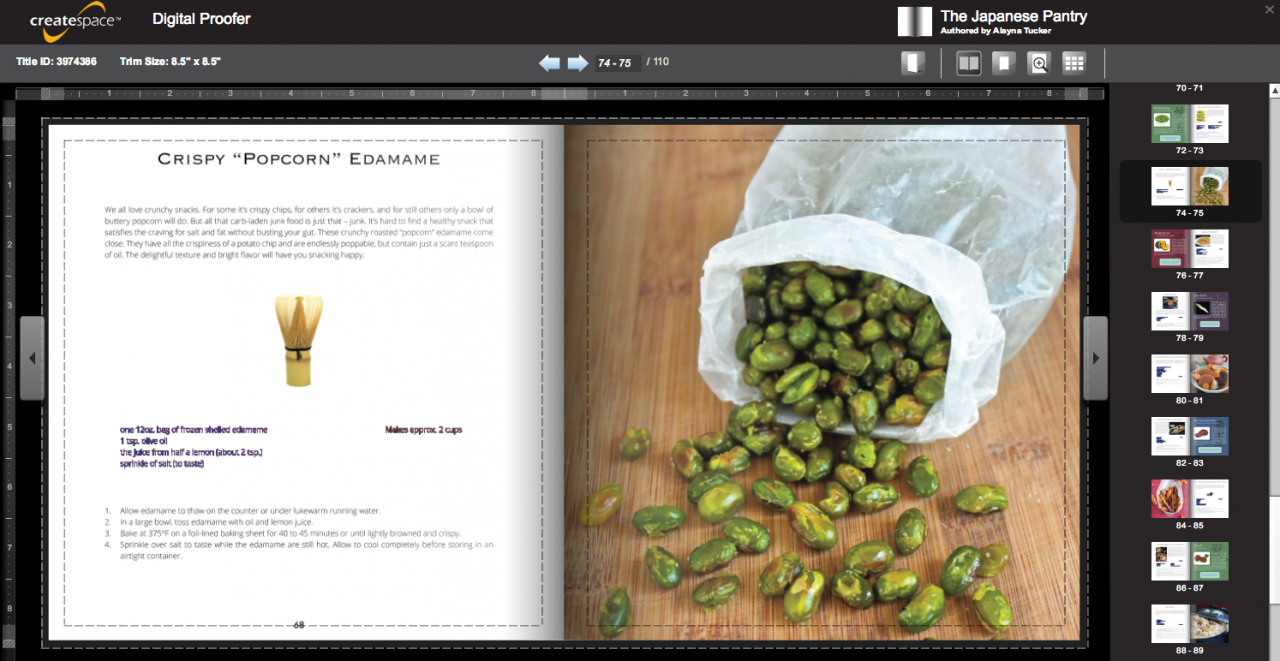
Before I even started writing The Japanese Pantry, I knew that I wanted to create a book full of color and life. I have a hefty collection of cookbooks on my shelf, and the ones I love the most are the ones that have a photo for every single recipe. I was a complete novice to photography though, so I knew that if I was going to create a cookbook full of stunning photos like the ones in the books by celebrity chefs, I was going to have to teach myself how to work a camera properly, and fast.

Understanding Exposure

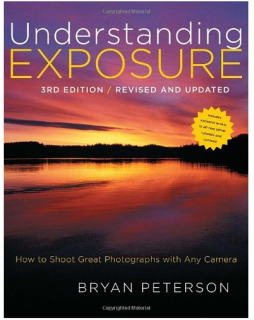
I purchased Understanding Exposure, by Bryan Peterson, to learn more about how a camera works and how to interpret light. I found this book extremely helpful, and set to work testing my new knowledge with my little point-and-shoot camera. I would set up little photo experiments where I would photograph the same object from the same angle multiple times, changing one of the cameras settings slightly each time to see the effect it created from the previous shot. My skills somewhat improved, but it still seemed that I just could not recreate the professional shots I was going for even when I did everything “right.”

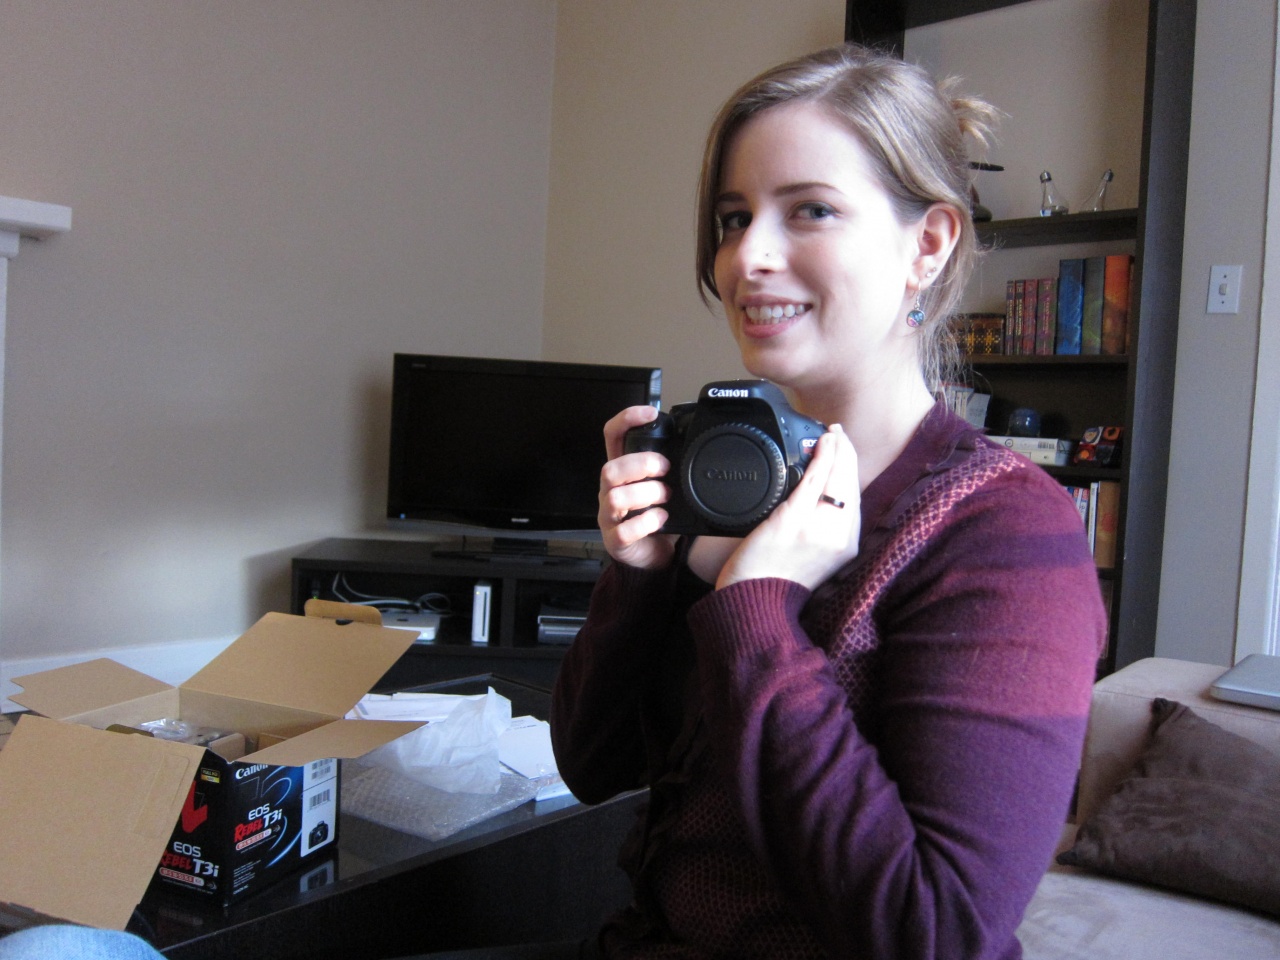
The game really changed for me when Jeff got me a DSLR camera for Christmas, a Canon Rebel T3i. It became so much easier to manipulate the camera to do what I wanted it to do. I was so impressed with the change in quality from our Canon Powershot S90 (which really is an excellent point-and-shoot if you can’t go full DSLR) that I ended up going back and retaking some shots for the book with the new camera. The Rebel is definitely a beginner’s DSLR, but I’ve found it to have plenty of functionality for my current needs.

Love my gift!

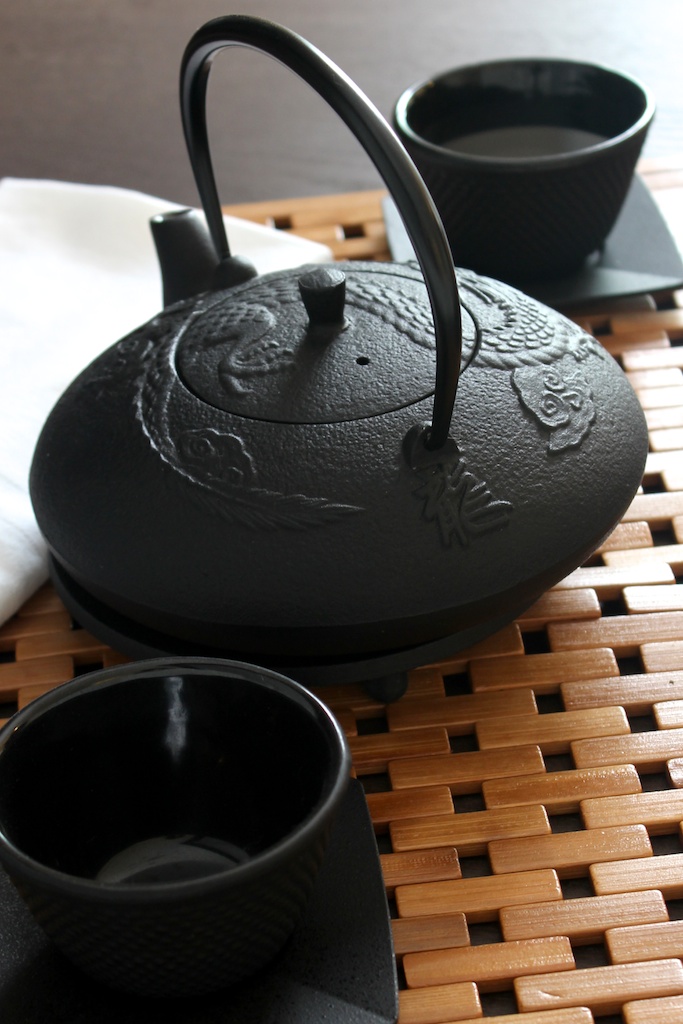
I also have to give some credit to IKEA for my rapid improvement in photography skills. Wait, what??? I mentioned this last year when I first announced that I was writing a book but it bears repeating because it’s kind of incredible when you really think about it. Every single picture that appears in The Japanese Pantry that was not taken in a light box, was taken on a little square IKEA end table. Every one. I had nothing else at the time.

My photography table

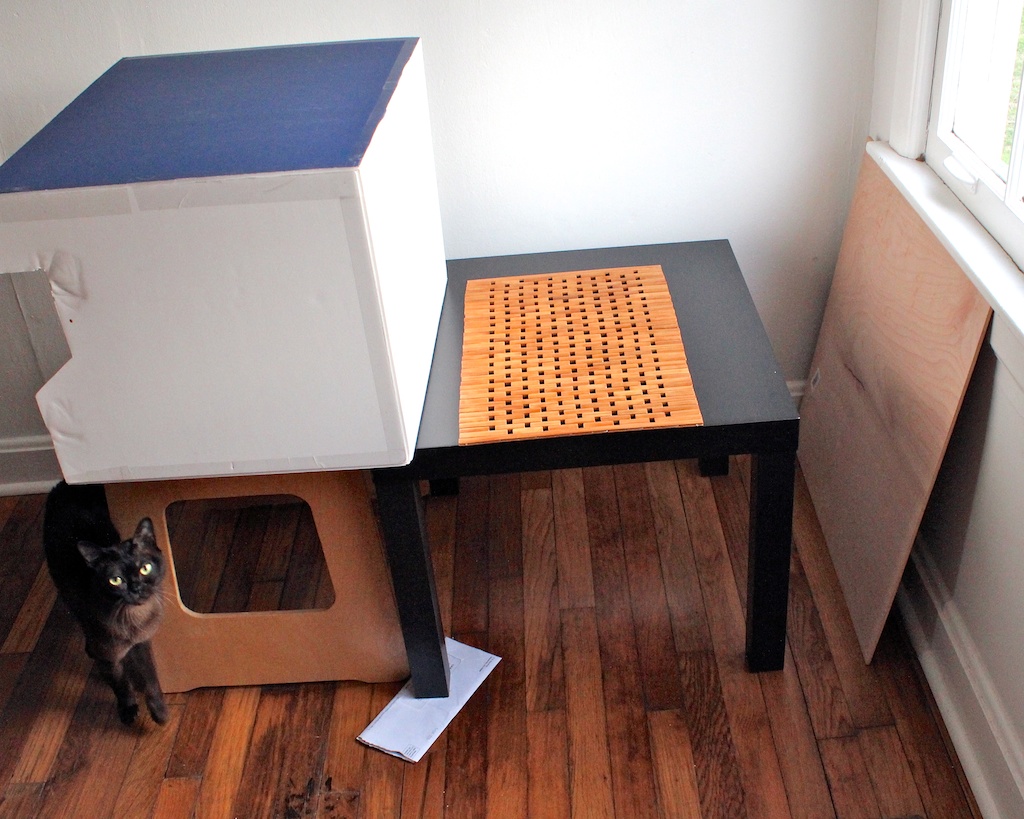
This tiny setting forced me to get really creative with my photography to keep every shot from looking the same. I spent a tremendous amount of time on each shot getting my angles just right, the focus right where I wanted it, being careful not to let any of the area around the table show up in the frame. And I didn’t have a tripod that would let me get low enough to the table either, so nearly every shot had to be hand held. I would take a deep breath and release the shutter as I breathed out, just like a sniper. Sometimes I would be able to get the shot in about ten tries, but oftentimes it would take 30 or even 40 or more shots to get everything just right.

Also, because I didn’t have the stability of a tripod to take longer exposures, I could only photograph recipes on bright sunny days with plenty of light. This was severely limiting for me and one of the major reasons why I missed every deadline I made for getting things done with the book. Sometimes we’d have entire weeks of rain and gloom during which I was unable to take any photos. I’d work on whatever else I could, but it was not uncommon for me to just not get any book work done for days due to insufficient lighting. I wish now that I’d invested in artificial lighting sources way sooner. I’ve only just recently starting using light kits to fill in for the sun, and I’m kicking myself for wasting so much time without them.

I did my very best to edit the shots I got with my computer’s stock photo editor, iPhoto, but quickly realized that I had the need for more professional editing software. In the next installment of this series I’ll show you what software I went with and discuss its strengths and limitations.

If you missed them…

Part 1: Getting serious

Part 2: Anthologize and CreateSpace

post

A really good week for Thyme Bombe

The last week has been kind of amazing for this little blog. Lots of good things happening that make me excited for what Thyme Bombe has become and where it’s going. Let’s start at the beginning…

Smitten Kitchen cookbook

On Thursday I hooked up with Laura, Carol, and Carol’s sister Anne to see Deb Perelman of Smitten Kitchen at her book signing at a local Atlanta bar. We had a great time listening to Deb’s entertaining stories about transitioning to blogging as a career and her long struggle to make a cookbook she could be proud of.

Deb Perelman

During the Q&A session, I asked Deb what she had learned about the publishing process that surprised her and was delighted to hear that her answer very nearly matched my own! She also struggled to meet deadlines and vastly underestimated how much time and effort it would take to make a product she was proud of. For her, she explained, making something excellent was much more important than making something on time. While I haven’t had the chance to delve into her cookbook yet, it’s clear that she’s put an incredible amount of work into it and I really respect that she took the time to make it perfect.

So speaking of cookbooks…I received my very first royalty payment for The Japanese Pantry! It’s really not much, but it feels so so good. I plan on hosting a giveaway for a signed copy soon, so if you haven’t gotten yours yet you may have a chance to win it!

And that leads me to some more exciting news… Several weeks ago when I announced the release of my book on my blog Facebook page, it caught the attention of a local photographer! Jimi of Jimi Filo Photography offered to do a collaboration with me so that he could take pictures of me cooking food for his photo blog that I could also use in a post. He and his wife set up at my house Saturday morning and snapped away in the dining room as I prepared 2 recipes for the blog – cold soba with hot duck soup for dipping and matcha bars with strawberry jam filling. I snapped a few pics too while I was waiting for things to cook.

tetsubin

Shiitakes and scallions

Hopefully Jimi will have his images ready in a week or two so I can share them with you all, along with the recipes for the delicious food I made. Seriously, those matcha bars were incredible.

Last bit of awesome news is that I had not one, but two, recipes accepted to Tastespotting this past week! This may not seem like such a big thing, but this news comes after submitting content to them for nearly 3 years and being rejected every time, so to have 2 recipes in a week finally accepted is just indescribable. I was floating all day when I found out. I’ve worked very hard to improve my photography skills over the last year, so having my work validated by such a notoriously picky site feels really good.

So that was my week!

What’s the best thing that happened to you in the last week?


post

How to self-publish a book – Part 2: Anthologize and CreateSpace

In part 1 of this series I discussed the huge realization I had that writing a book was going to be actual work. I have no idea how I got it in my head that I could just bang out quality content with no real plan and without any professional equipment or skills. Ha!

One of the first things I realized I would need to upgrade was the organization of the content I was creating. I had a random Google Doc filled with clusters of notes about various Japanese ingredients, a folder in iPhoto with all of the pictures I’d taken that had been edited to the best of the software’s ability, and some vague ideas in my head about what each page of the book would need to say and how it would all look. It was obvious that I needed to start pulling all this various stuff together and start laying it out closer to how I would display it in the book. Enter, Anthologize

Anthologize

Anthologize is a free WordPress plugin that allows you to write a book as if it were a series of blog posts. You can either use it to pull together existing blog content into a book format, or you can create new content by making a separate draft page for every page of your book and filling it with new material. I found it really helpful because I didn’t have to learn anything new to use it. I could write each page as if I were writing a blog post, laying out all the text and photos as I thought they might appear in the final book. I still have all the draft posts on my blog from when I was using Anthologize to write The Japanese Pantry, and I’ve even started my next two writing projects with it, using it to store my notes and ideas until I can start putting them into action.

I have to say that Anthologize is not perfect. It can be a bit slow to load changes and it’s somewhat cumbersome to go make a blank post draft first and then go into Anthologize and add it to your project. I would not recommend it for a book that has many parts or chapters. Mine had about 30 parts that I frequently needed to make changes to, and I’d say that was about the limit of how many parts I would be able to manage in this format. It is, however, free. It’s also much better than the scattered mess of book content I was dealing with before. I may look for something else to use once I start headlong into my next writing project, but I may not.

The other thing I needed to decide on before I could move forward was what service to use for publishing. I started out with a self-publishing service called Lulu, which is one of the more well-known and widely used online publishing tools. After trying to fit my content into some of their book-writing templates and looking at their costs, I decided that Lulu was not going to work for this particular project. I didn’t like any of the book layouts I was being forced into, I found the workflow tedious and confusing, and I was going to have to price my finished book very high to make any profit. After some more shopping around, I came upon my current self-publishing service – CreateSpace

CreateSpace


I decided to go with CreateSpace for several reasons. They’re owned by Amazon.com so they come equipped with a reputable sales channel that many people already use and feel comfortable buying from. Their production costs are low and their cut of the royalties is very reasonable; the author also has full control over setting the sales price to insure they receive an adequate royalty on each sale. There is an author dashboard that helps you keep up with all of the steps that need to be completed to make a book ready for sale…


checklist


CreateSpace also offers services for designing a book cover, laying out your book content, and marketing the finished work – all optional at an extra cost. You can even make a Kindle-ready version of your book fairly easily. Also, you can purchase an ISBN number (the unique numbers around the book’s barcode that serve to identify it electronically) for a drastically reduced cost through CreateSpace, as opposed to purchasing one directly from Bowker, the company all books published in the U.S. are registered with.

Unlike Lulu though, you cannot compose your book directly on the CreateSpace website. You must write it using your own software and then upload it in an appropriate format to CreateSpace. Once uploaded though, CreateSpace can check it for printing errors online using their Digital Proofer feature. It allows you to flip through your book as if it were sitting right in front of you, but with helpful annotations showing you exactly where you need to make adjustments to make your book files printable. It’s a little buggy though, and often shows errors that truly don’t exist. If you’re confident that you’ve fixed any real issues, you can skip this step and have it reviewed by an actual human to confirm that it is indeed printable.


Digital proofer


All in all I’ve been really happy with CreateSpace and will absolutely use them for any future self-publishing I do. Their customer service was able to help me with some issues I was having, and there are tons of support forums that will answer nearly any question you can think of. I would highly recommend them if you ever decide to self-publish a book of your own.

That was a long one! In the next part of this series I’ll talk about photography – how I improved my skills and what equipment I used.