Somehow it’s always the simplest recipes that manage to throw me for a loop.
Remember this line from my recent post on the photo shoot where I first made these supposedly simple matcha bars?..
“The bars were based on a similar recipe that I’ve made countless times, so I knew they’d turn out. The only thing I was really trying to figure out with this test was how much matcha to use and how long to bake them.”
Yeah, well, I ended up needing to make these 4 times to get them right. It cannot be said that I don’t care about you guys. I guess tasting 4 different versions of matcha bars wasn’t too bad though. 😉
When I made them for Jimi at the photo shoot, they really did taste incredible. But it was clear that I’d over-baked them and I wondered if maybe omitting the almond meal would help the green tea flavor to stand out more. On my second attempt I replaced the almond meal with more flour and was pretty pleased with how the dough looked before baking. But then…I over-baked them again.
No matter! I’ll try again! And so I did with the same all-flour recipe and this time I managed to bake them correctly. Hooray!
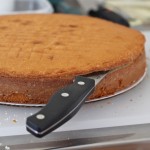
But wait…this all-flour version is so dry. And the crumbles are the texture of sand, and the whole thing crumbles into a sandy mess when you try to take a forkful of it. On top of that, I hated the photos I had taken of it. The bars looked brown and drab, not bright and green and springy.

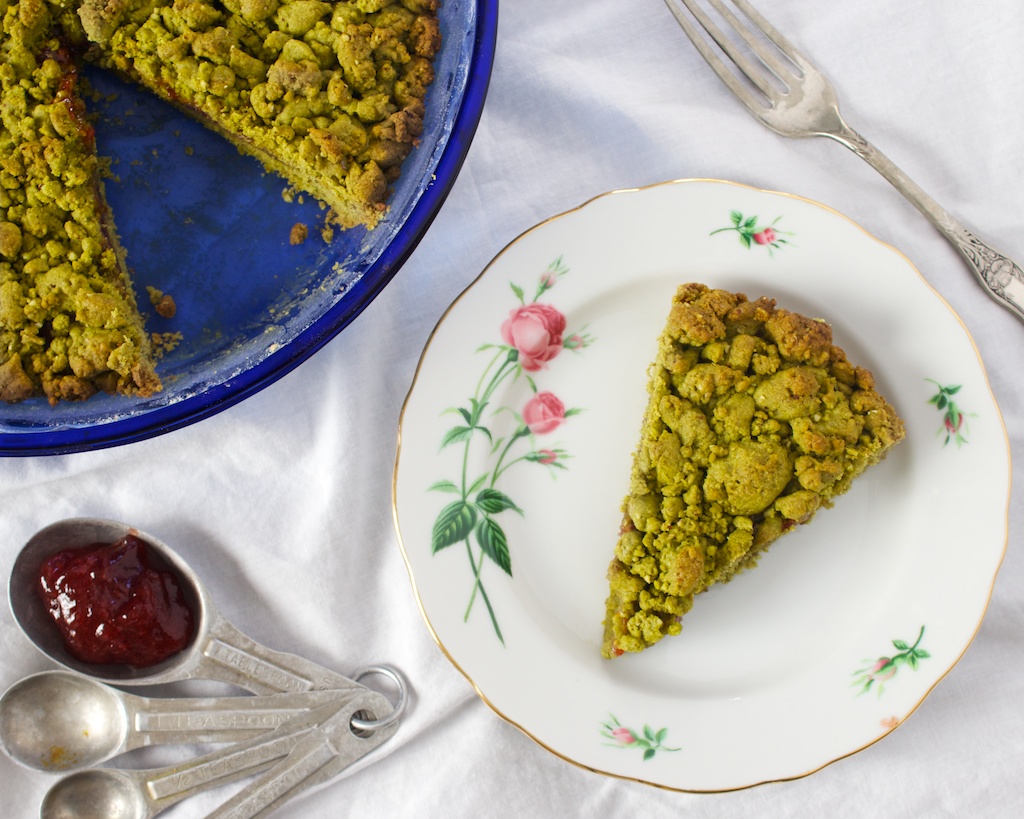
And here we are, come round full circle to the original recipe, just not over-baked. Finally. I swear they really are easy to make, I totally made it hard on myself for no reason.
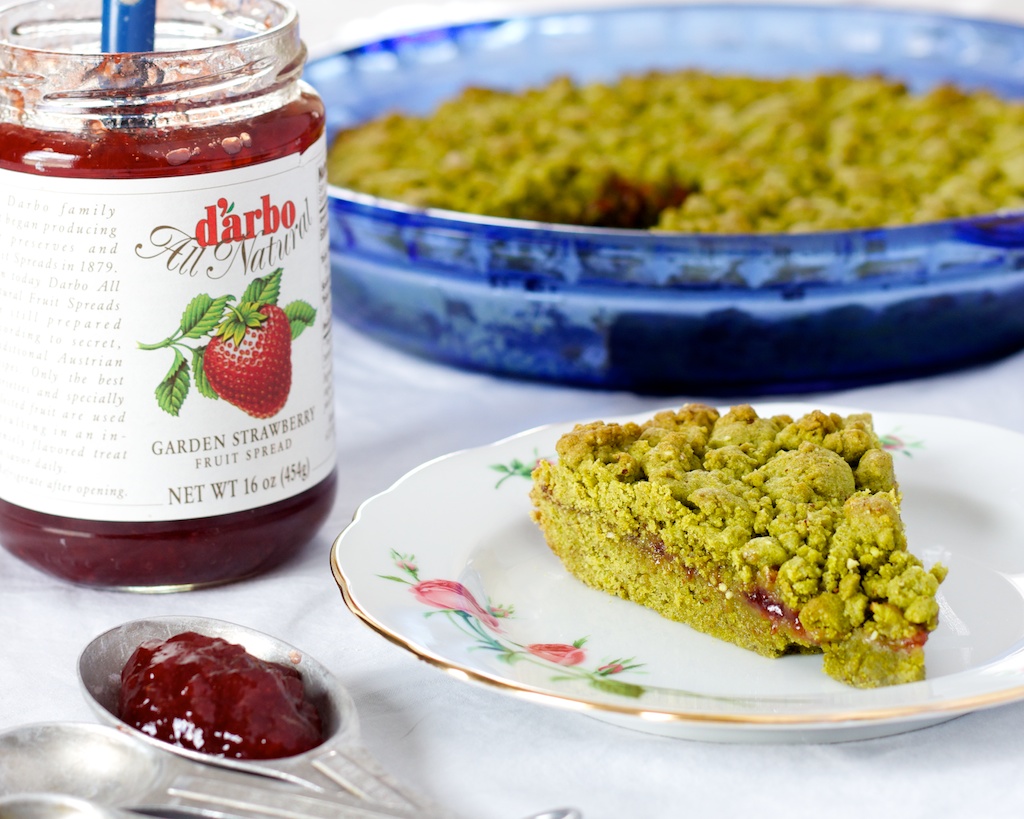
I hope you try them. The subtle grassy tea note is mellowed perfectly by the sweet jam. I love to eat them warm while the jam is still all molten and melty. They would be excellent as an Easter dessert or brunch pastry.

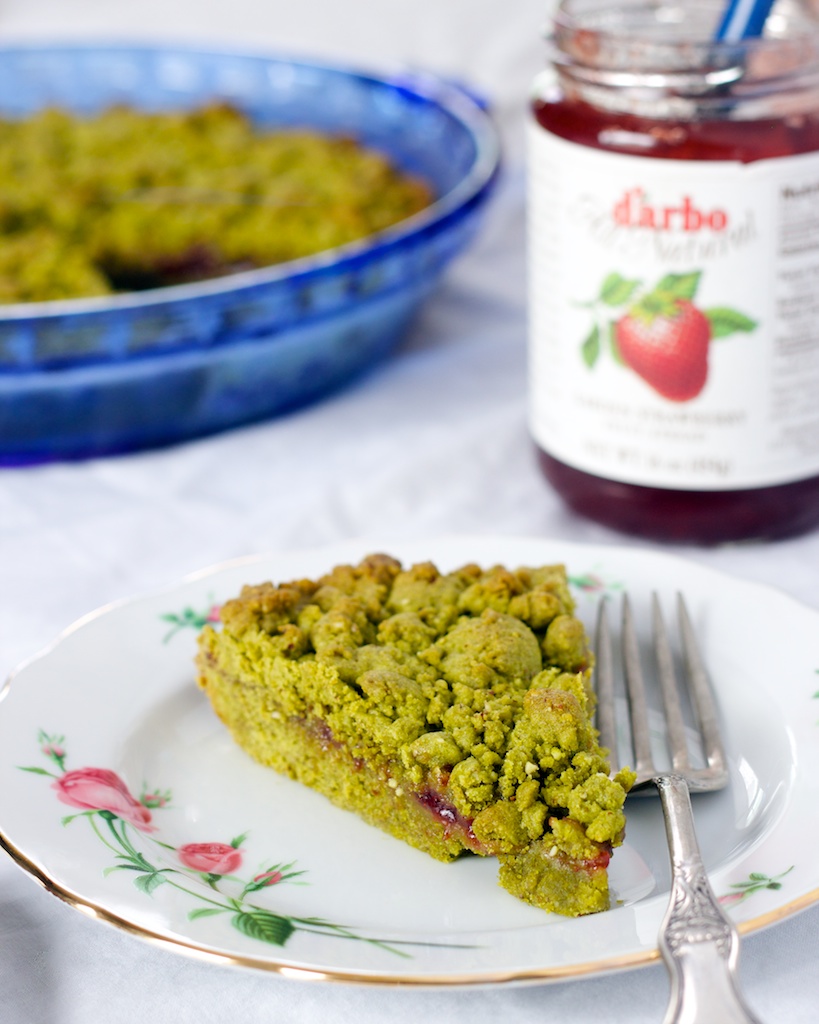
Matcha bars with strawberry jam filling
The springy green flavor of fine matcha tea contrasts with the sweetness of strawberries in this simple but stunning dessert.
Prep Time: 15 minutes
Cook Time: 40 minutes
Total Time: 55 minutes
Ingredients
- 1 stick unsalted butter
- 1/2 cup light brown sugar
- 1/4 cup white sugar
- 1 and 1/2 cups all-purpose flour
- 1/2 cup ground almond meal
- 2 tbsp. matcha powder
- 1 tsp. baking powder
- 1/4 tsp. salt
- 1 large egg
- 1/2 cup strawberry jam
Cooking Directions
- In a stand mixer, cream together room temperature butter with brown and white sugars.
- In a separate bowl, whisk together dry ingredients.
- Add half of the dry mixture to the wet and mix thoroughly. Add the egg and mix through.
- Pour in the last of the dry mix and mix until just combined.
- Remove the bowl from the mixer and scrape all excess dough off the sides and bottom with a spatula. Use your hands to finish mixing the dough.
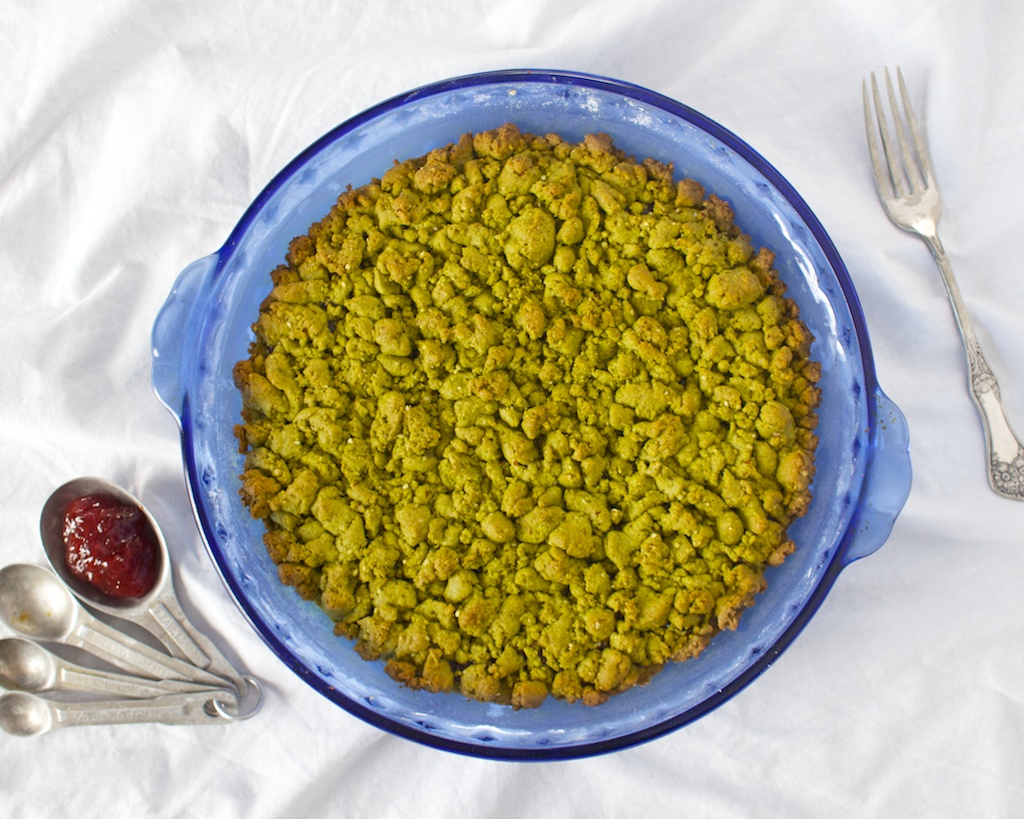
- Add half of the dough to a buttered and floured 9-inch round or square baking dish and pat down with your hands until it covers the bottom. Add jam and spread across the surface with the back of a spoon. Crumble the remaining dough over the top of the jam in small pieces.
- Bake at 350F degrees for 40 minutes or until just starting to brown around the edges. Serve warm or cooled and store covered at room temperature for up to 5 days.
I’ve had a hard time finding matcha in regular grocery stores that isn’t either of terrible quality or terribly expensive. I saw a single ounce being sold at Whole foods for $28. I don’t care how organic or artisan or made of magic it was, that’s a sucker price. I’ve been buying the 4oz. bag of this matcha from Amazon(full disclosure: this is an affiliate link) for less than $10 and have been really pleased with it. It may not be high quality enough for drinking, but it’s plenty nice for baking. I store it in the freezer between uses to keep it fresh and it’s been just as good as the day I bought it for several months now.
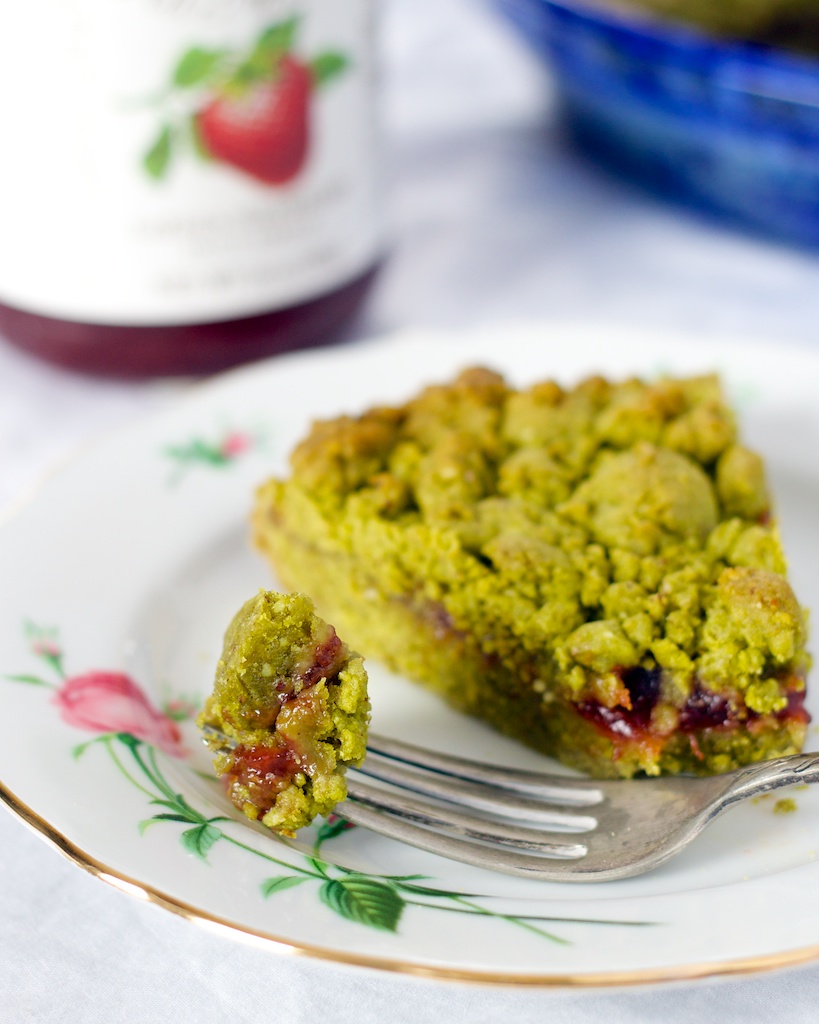
Mmmmm….jammy.
Have you ever baked with matcha (green tea powder) before?