Today I’m trying something a little different. My friend Heather of Better With Veggies hosts a regular recipe link-up on her blog called Meatless Mondays from A to Z, where each week there is a theme ingredient chosen by its correlating letter of the alphabet. I watched the first round of MMAZ as I was writing my book and wished that I could participate, but I had no time to blog back then and this little site sat unloved for around 6 months. Luckily, Heather has decided to bring this popular link-up back for another round! I’m totally in this time.
This week, we’re on B, which has us utilizing blueberries. I missed A (for avocado) while planning for a recent vacation Jeff and I took, so I’m very eager to jump in and contribute this week!

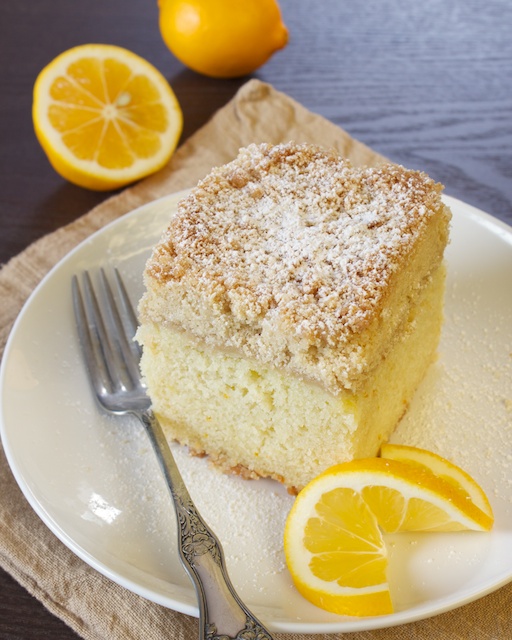
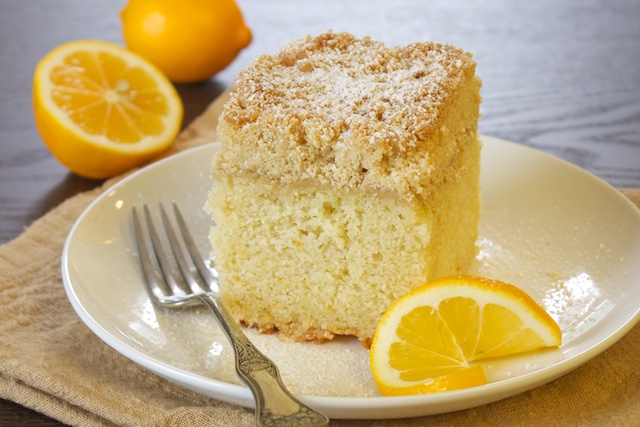
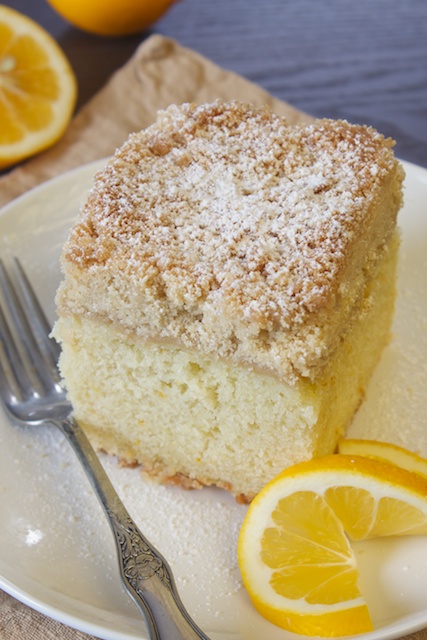
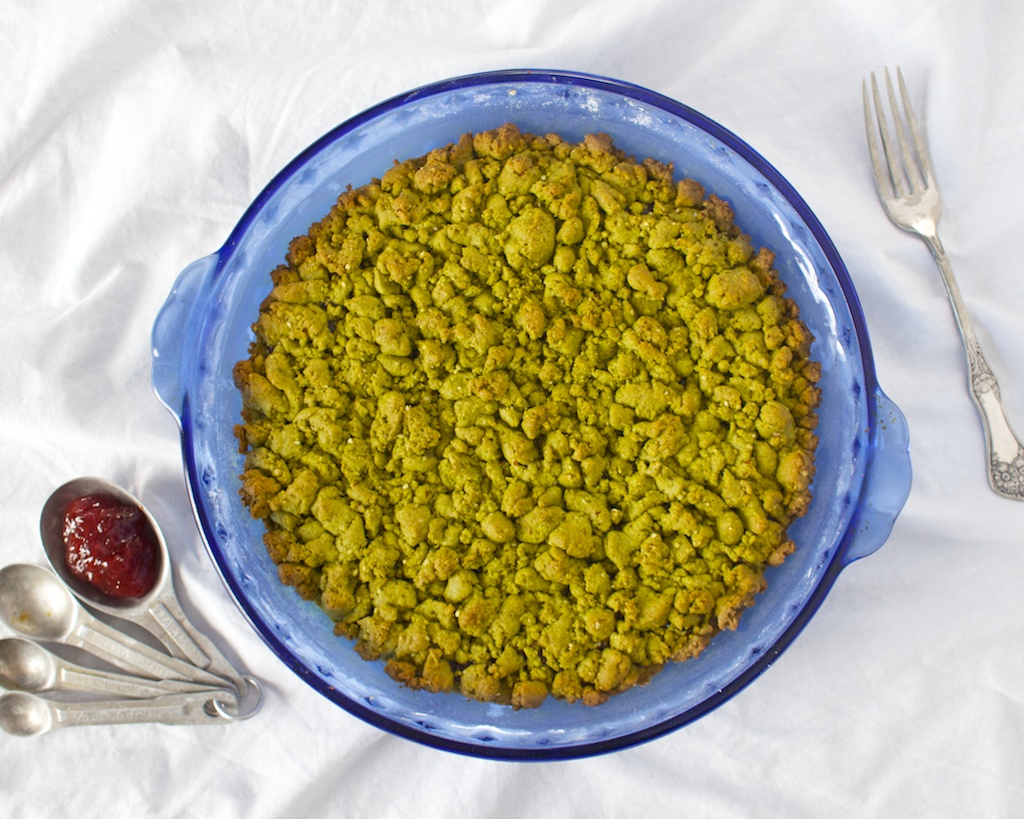
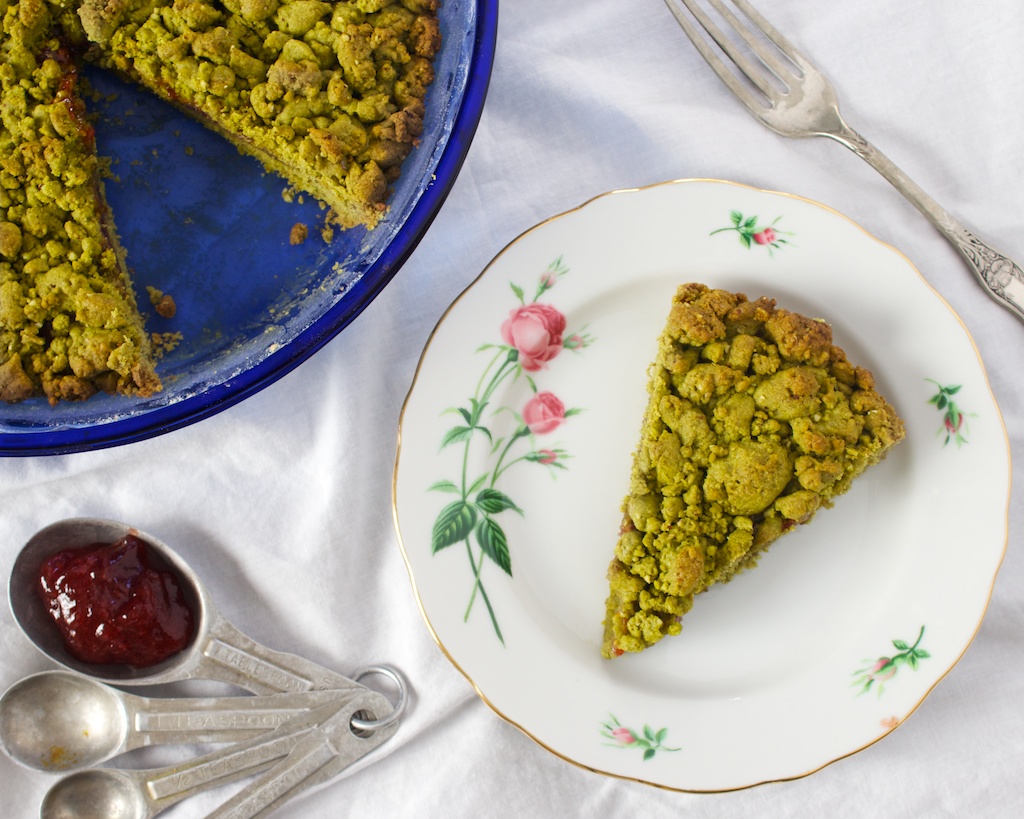
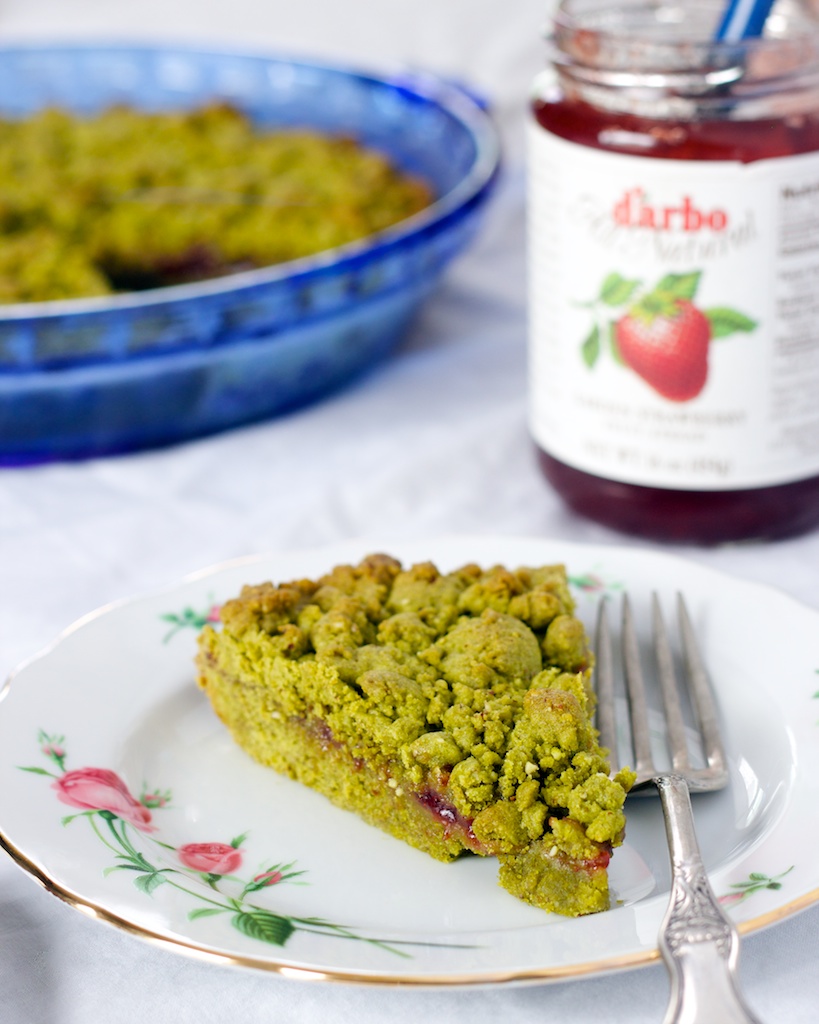
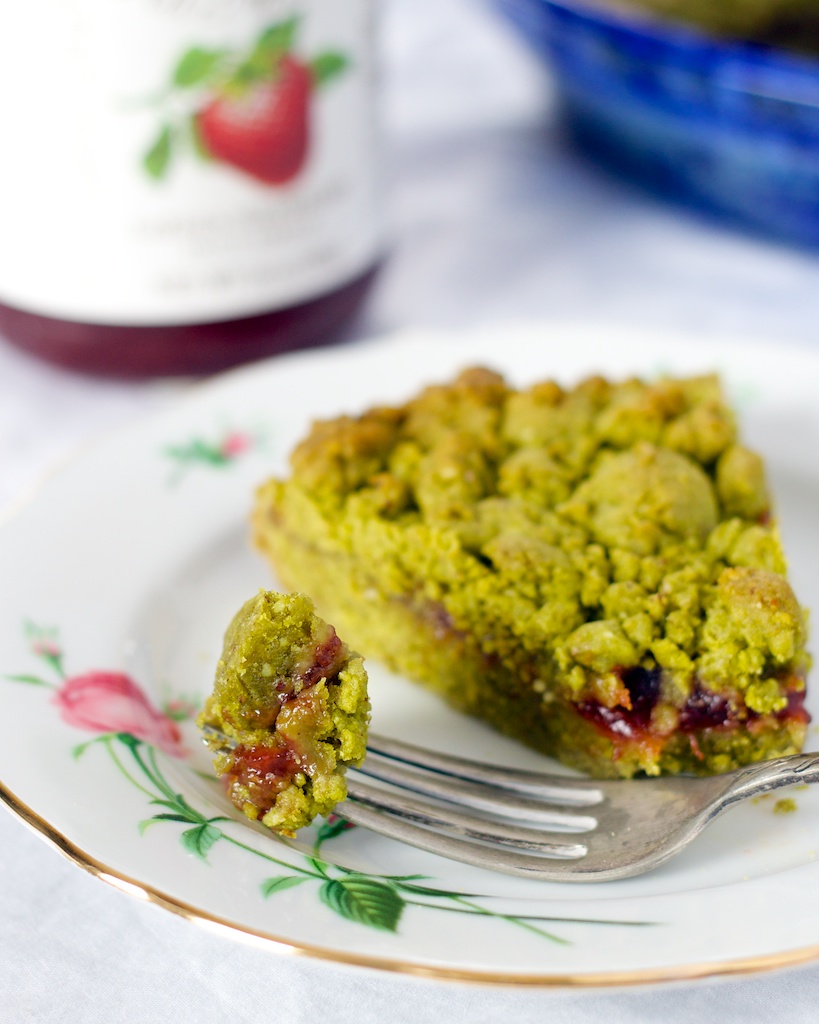
Over the weekend, I tested this recipe for blueberry buckwheat scones, my first time ever making scones! I was so worried they would fail, but thankfully they came out perfectly crumbly, the nutty buckwheat base studded all over with huge juicy blueberries. I’ve been eating them sliced in half and slathered with a thin layer of butter and a little bit of blueberry jam. So good!
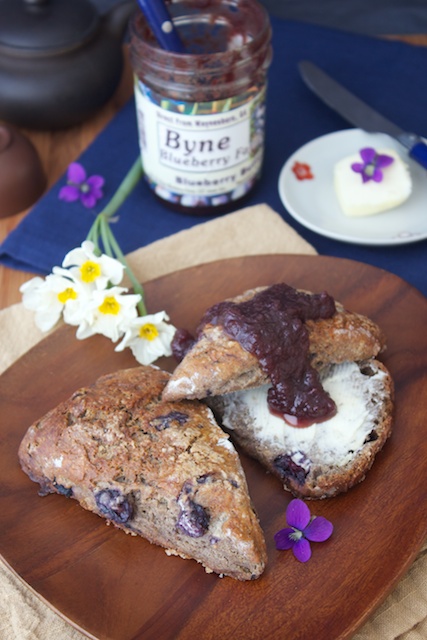
Buckwheat flour, also known as soba flour in Japan, is a dense and nutty grain flour with a subtle natural sweetness. This is the same flour used in making soba noodles, which are most commonly served cold with a salty dipping sauce on the side. You pick up a big clump of noodles with your chopsticks, dunk them in the hot soup, and slurp them up making as much noise as you want! Soba has such a beautiful color- it’s kind of grey, almost purple sometimes. So pretty paired with the bluish-purple blueberries in these blueberry buckwheat scones.

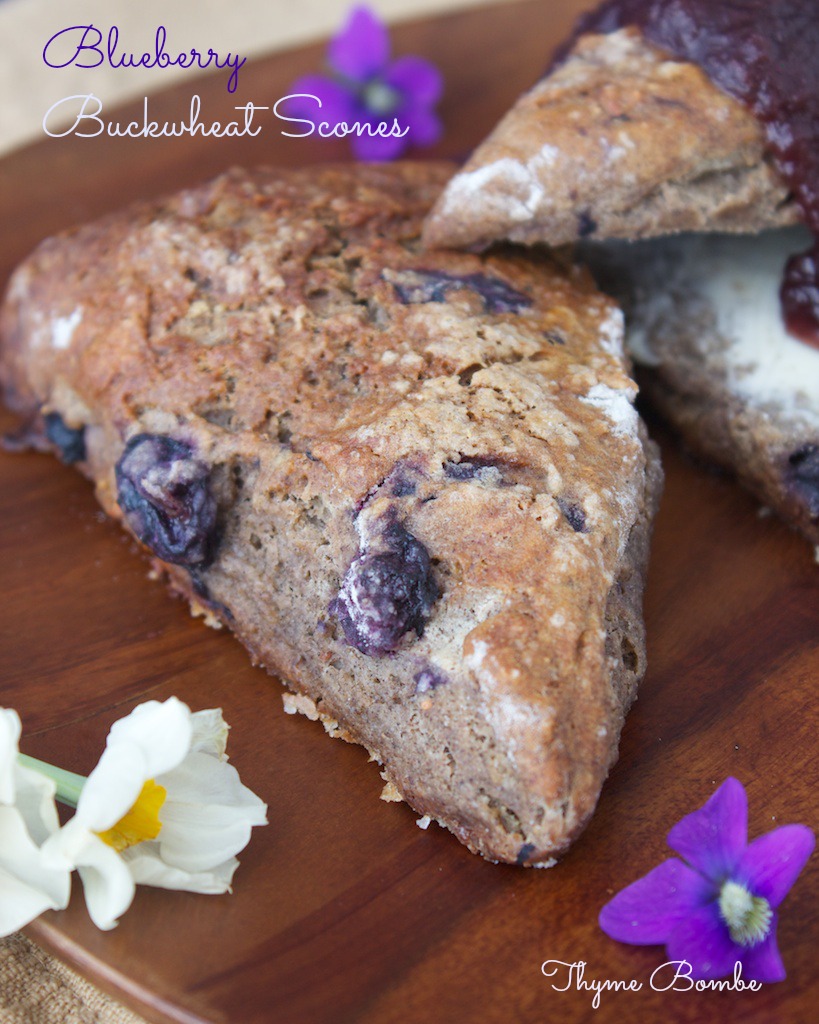
Blueberry buckwheat scones

Nutty buckwheat scones bursting with blueberries is a unique twist on this breakfast pastry classic.
Prep Time: 20 minutes
Cook Time: 40 minutes
Total Time: 1 hour
Yield: 8 scones
Ingredients
- 1 and 1/4 cups* all-purpose flour
- 1 cup buckwheat (soba) flour
- 4 tbsp. sugar
- 2 and 1/2 tsp. baking powder
- 1/2 tsp. salt
- 5 tbsp. cold unsalted butter
- 1 large egg
- 6 tbsp. cold milk
- 1 cup frozen blueberries
- + extra milk to brush top of scones
- + extra sugar to sprinkle over scones
- + extra flour for kneading dough on
Cooking Directions
- In a large mixing bowl, whisk together the buckwheat flour, sugar, baking powder, salt, and 1 cup of the all-purpose flour. Reserve the other 1/4 cup of all-purpose flour to use only if dough ends up too moist.
- Cut butter into small cubes and add to the dry mix, along with the milk and egg. Use a fork or potato masher to cut butter into the dough. Dough will be very dry and crumbly and seem like it won't come together completely.
- Rinse blueberries under cool water to remove any frozen juice on them. Use while still frozen, do not allow to thaw fully.
- Add blueberries to the dough and fold in with your hands. As you mix, some of the berries will burst and the juice will help the dough become moist enough to come together. If it is very wet by the time you get them incorporated, add the reserved 1/4 cup of all-purpose flour and mix in.
- Transfer dough onto the counter or a cutting board dusted liberally with flour. Dust surface all over with flour and pat into a circle shape.
- Cut dough into 8 wedges and transfer to a parchment-lined baking sheet. Brush each scone with milk and sprinkle with sugar.
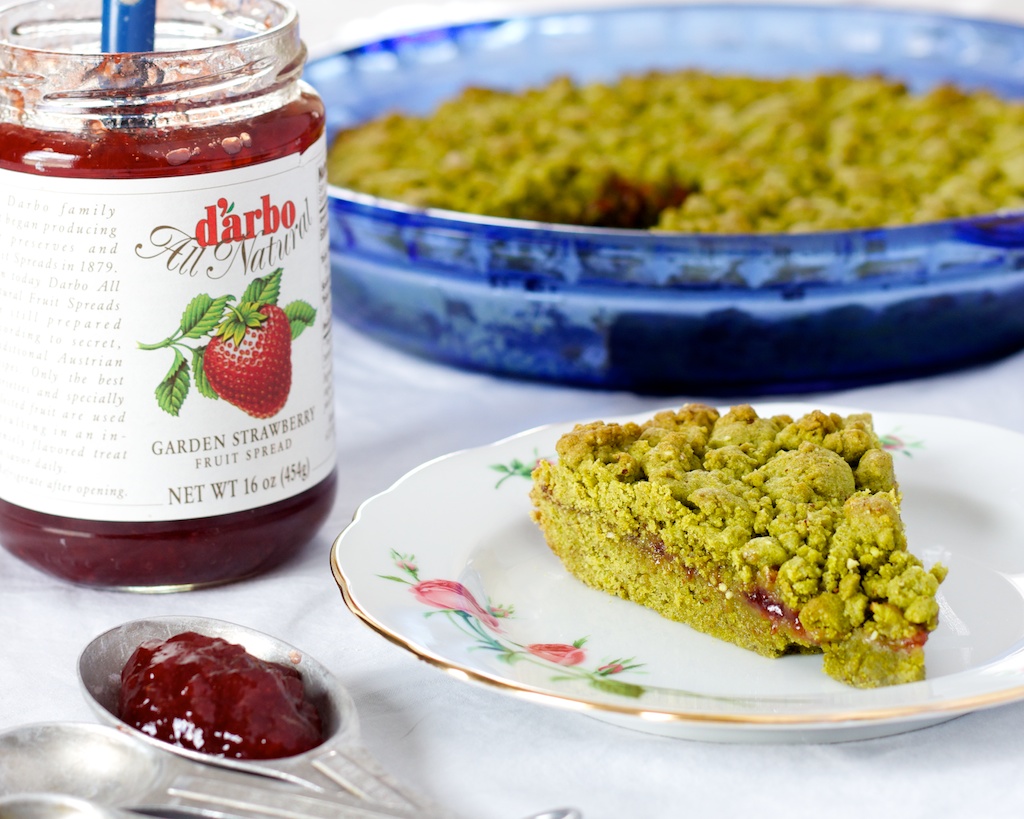
- Bake scones for 35 to 40 minutes in a pre-heated 400F degree oven. Allow to cool before serving with butter, clotted cream, or jam.
I learned a few things about properly making scones in testing this recipe that I’ll share with you to help you make a tasty scone on your first try. As I was mixing the wet ingredients into the dry, I thought there was no way there was enough moisture to hold it all together and I started to second-guess my recipe. Once I added the berries though, they released so much juice into the dough that it became far too wet and sticky in an instant. Again, I feared that I’d ruined them. I simply added an extra 1/4 cup of flour, and they came together enough to feel good about trying to bake them.
Scone dough should be relatively dry. If it can’t hold its shape when patted into a circle, it’s just too wet. Don’t be afraid to add flour until it comes together into a ball. You also want to use cold butter to give it that irresistible flakiness upon baking and not mix with your warm hands too much for fear of melting the butter into the dough. A brush with milk on top adds a bit of protein to brown up in the oven. If you’ve done everything correctly, the scones should be crisp and brown on top, dry but tender in the center, and not very sweet at all. They’re a bready base for slathering on your favorite biscuit toppings.
Very excited to be able to participate in Meatless Mondays from A to Z this round. Thanks Heather for bringing it back! No idea what I’ll make with cabbage when it’s time to move on to letter C.
Have you ever baked with buckwheat flour?