Skip to Content

tag

Tag Archives: vegan

post

Cold cure drink to kick the sick

Well kids, I think I might be getting sick.

The strange thing is, I’m kind of excited about it in a way. No, I don’t enjoy wallowing in misery with a box of tissues in one hand and bowl of soup in the other, lying languidly on the couch watching bad day-time TV.

No, what I’m excited about is that I finally have a reason to share with you my recipe for a cure-all drink that I make whenever Jeff or I gets sick that manages to knock out our illnesses within 2 days every time. Yes, I have been waiting to get sick to share this recipe. My posts need context!

(Stuff you already know:  I’m not a doctor and though this drink may or may not make you feel better when you’re feeling icky, it is not meant to replace real medicine.)

Anyway, here it is in all its healing glory:

Cold cure drink

I make this drink anytime I'm feeling ill. Especially good for clearing up colds and sinus problems.

Prep Time: 5 minutes

Cook Time: 5 minutes

Total Time: 10 minutes

Ingredients

  • apple cider or juice
  • slices of lemons and/or oranges
  • a handful of cinnamon sticks
  • about 10 whole cloves
  • as much fresh grated ginger as you can stand (seriously, put a lot)
  • a tablespoon or two of maple syrup
  • 1/2 tsp. cayenne pepper (I got crazy and used red pepper flake too!)
  • 1/2 tsp. turmeric
  • 1 to 2 bags of your favorite tea (chai or black teas taste best in this)

Cooking Directions

  1. Heat everything up in a large pot and allow to simmer for several minutes.
  2. Either drink it strong as is or dilute with water as desired.

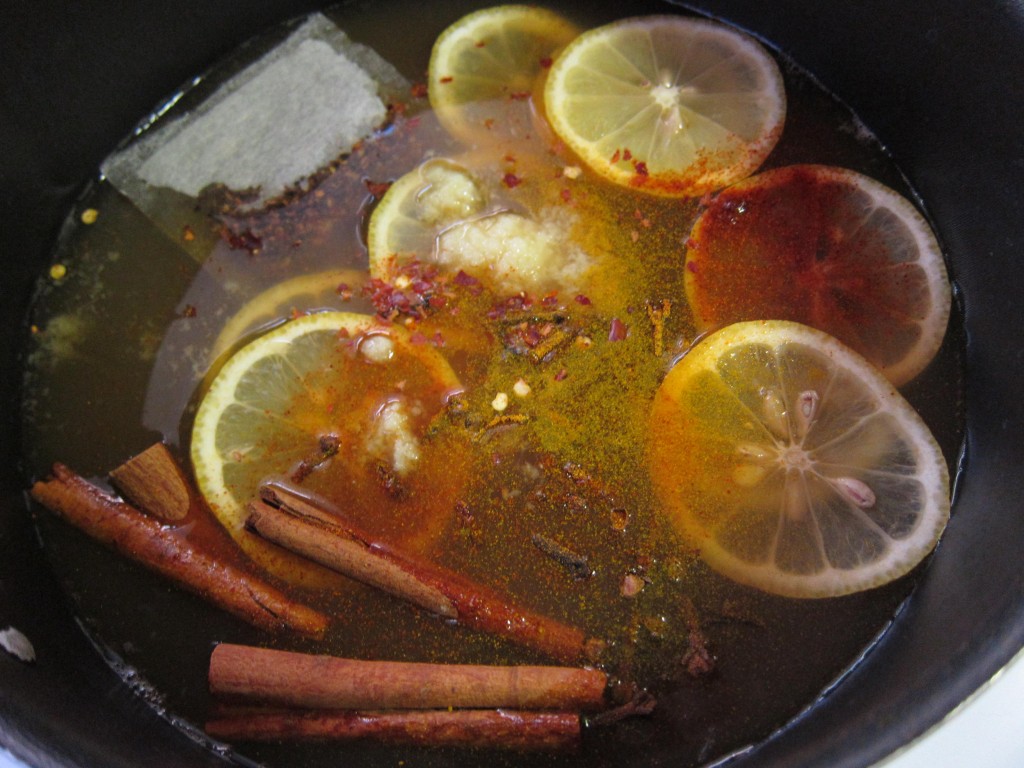
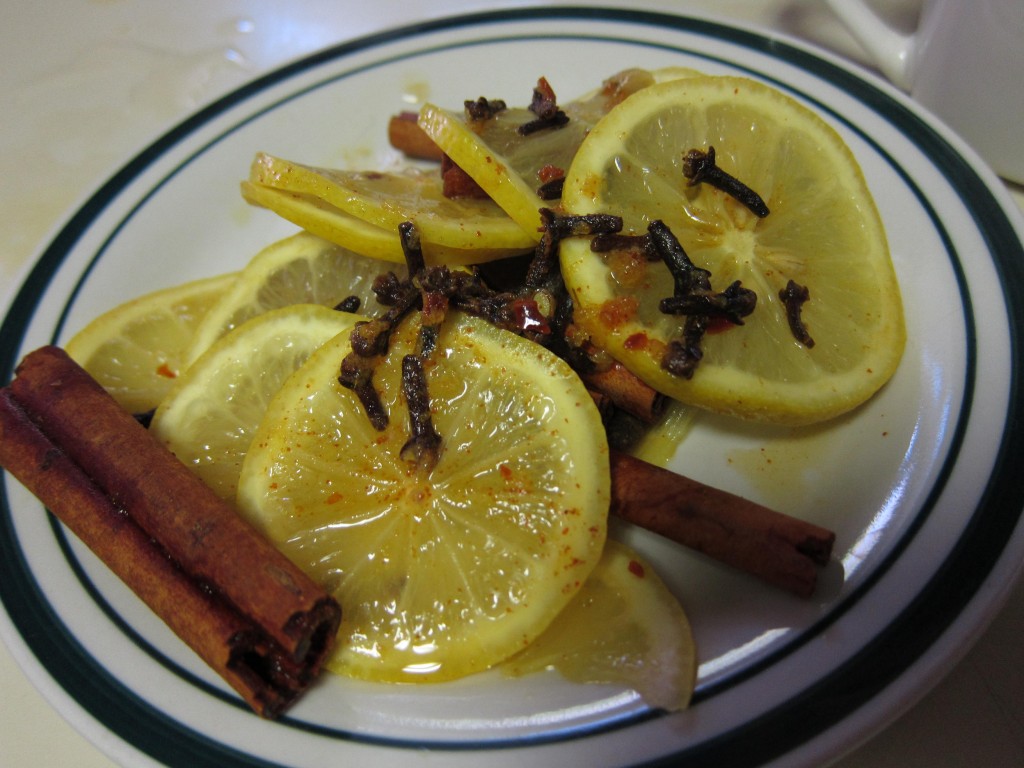
What you need to do is get a big pot and fill it 3/4 of the way with the cider and start bringing it up to a high simmer.  Add everything else and let it simmer for a few minutes.(I don’t know how long, just do it until the tea is steeped and you can smell that the cinnamon and clove have infused into the liquid.) Discard all the citrus slices, cinnamon sticks, cloves, and tea bags.

What you’ve just made is a very potent and intensely-flavored drink.  There are two methods for using it: either drink it as-is two to three times a day in a small quantity, or dilute the whole thing with lots of water and sip on it constantly all day.  Option one will really help to give you an immediate jolt to be able to face the day, option two is good if you have to force yourself to go to work so you can just take it in a travel mug and sip on it all day. It’s up to you what method will suit you better, I personally like to drink it strong once in the morning and once after dinner but not too close to bedtime.

Now, if you are really laid-up and don’t wanna crawl yourself to the store to acquire all of this stuff don’t worry, you can make an abbreviated version with just a few things. The absolute most important ingredients are the fresh ginger and cayenne pepper, and if you do nothing more than add a bit of those two things to a cup of tea, you’ll at least be on the right track.

The ginger does a few things: it calms your stomach so you don’t feel on the edge of puking all day, it snaps you awake without caffeine, and it will make you feel slightly more energized immediately. I know it sounds gross to put cayenne pepper in a beverage, but it’s really important! It helps to clear up mucous, not just in your nose but also in your stomach as that’s part of what makes your tummy feel nauseous in the first place.

The one I made today was insanely spicy because I put both cayenne pepper and red pepper flake in it. The spicier the better though. This ain’t a martini folks, it’s medicine!

I’m pretty sure this is not the kind of recipe they had in mind for Vegan MoFo, but since it is technically vegan and I am technically not making anything else today, it’ll just have to work.

Hope it’s as amazing and fantastic and magical for you as it has been for me!

post

Parsnip fries save the day! (sort of)

I’ve been interested in making the parsnip fries I keep hearing so much about from Caitlin of Healthy Tipping Point. I mean, we’ve all the had the original potato fries and sweet potato fries are becoming pretty common as well, so what is new and hip on the fry front these days??? Parsnip fries, that’s what!

More about those in a minute…

However, I thought that I would be really clever and develop an even newer, even cooler fry that would put all other fries to shame! And so I made…..daikon fries!

OH…MY…GAD!  These were easily one of the most disgusting things that I have ever had the misfortune of putting in my mouth! This is coming from someone who will try anything. Just don’t do it; I don’t think it was a factor of personal taste, I think these would be repugnant to nearly everyone.

So, with my epic daikon fry fail looming in the back of my mind, I decided that I must correct this with a tried and true fry that may not be new to everyone but was at least still new to me.

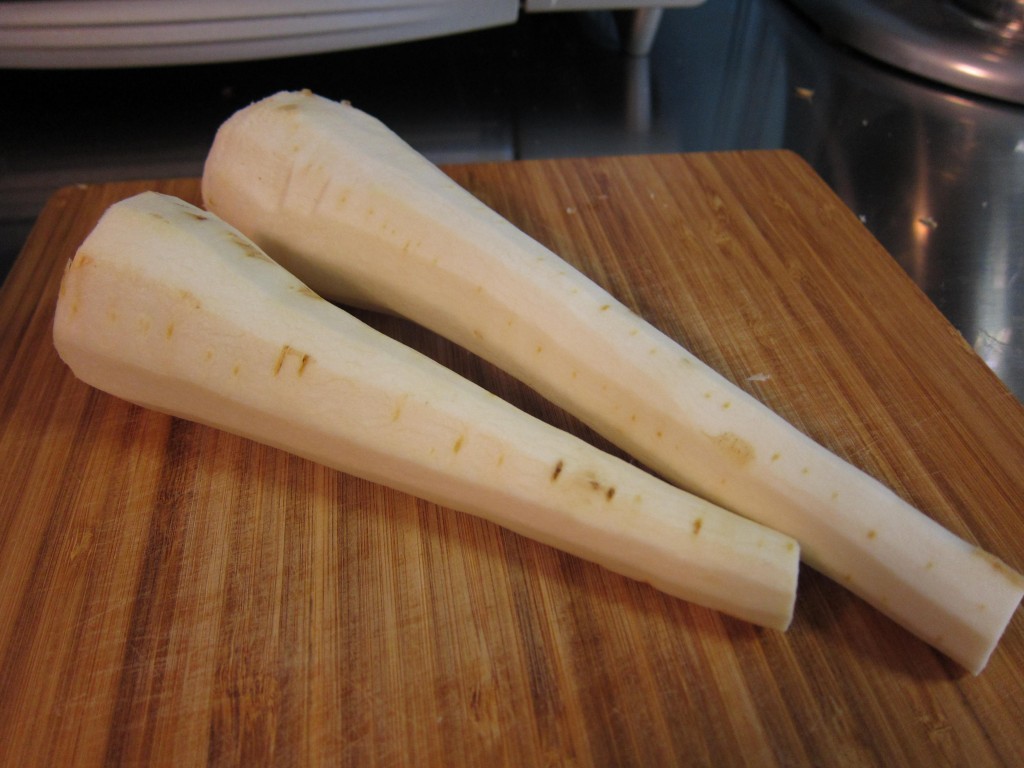
I took two parsnips and ran a peeler over them…

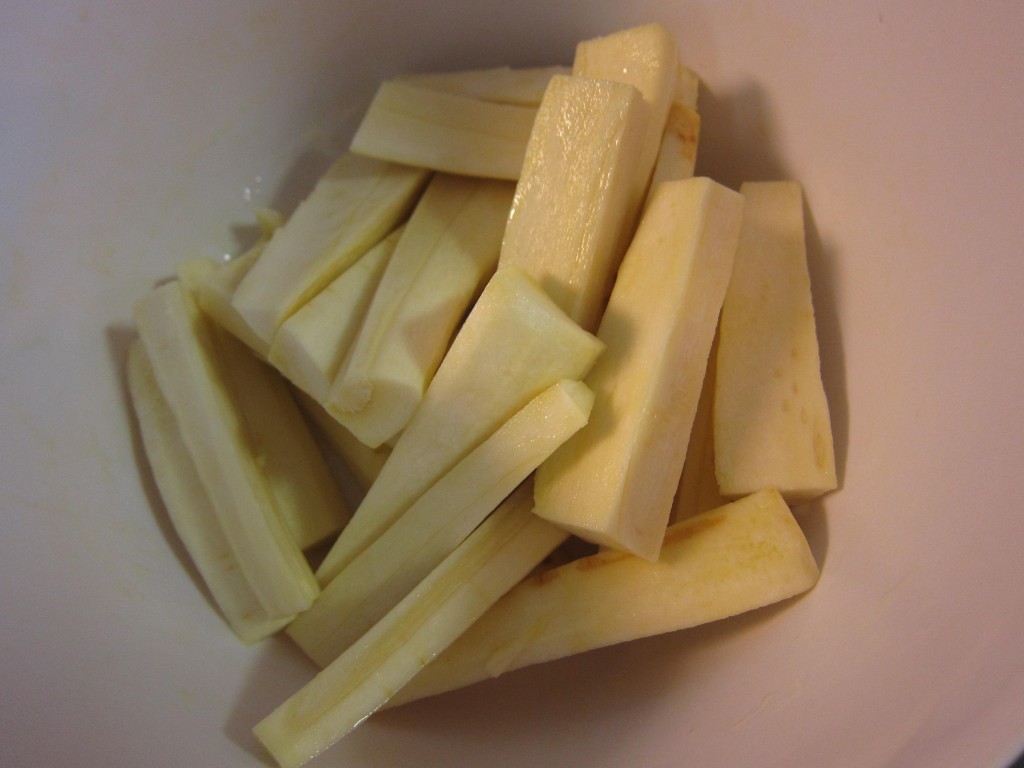
I then cut them into fry-sized sticks and tossed them with olive oil.

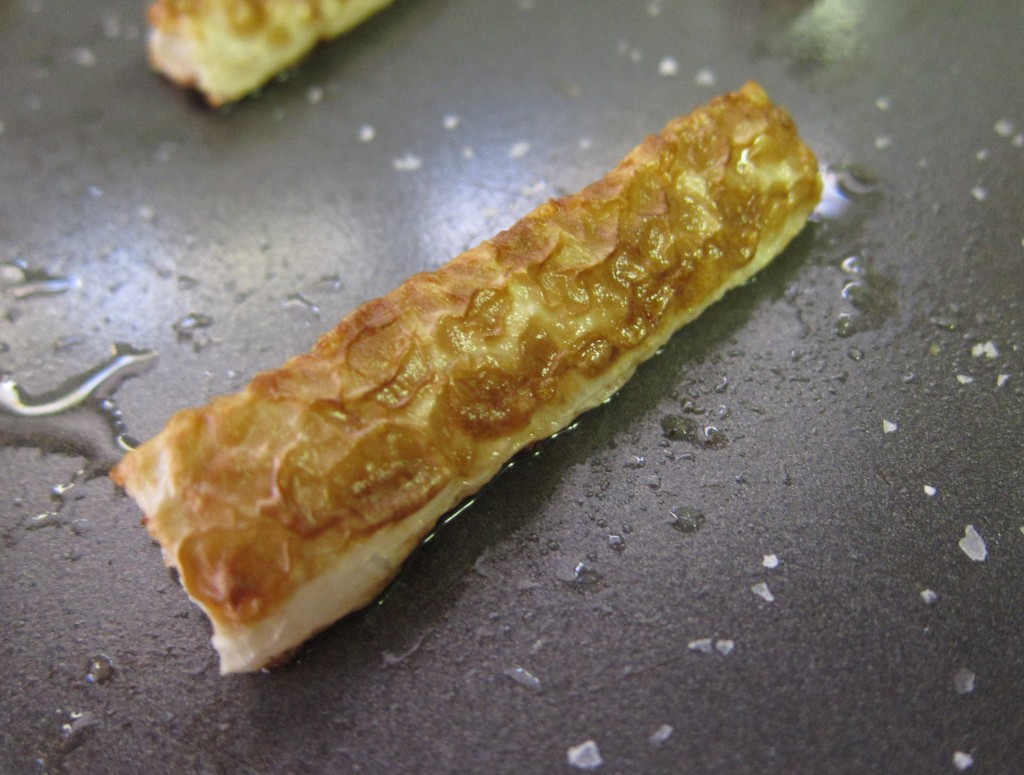
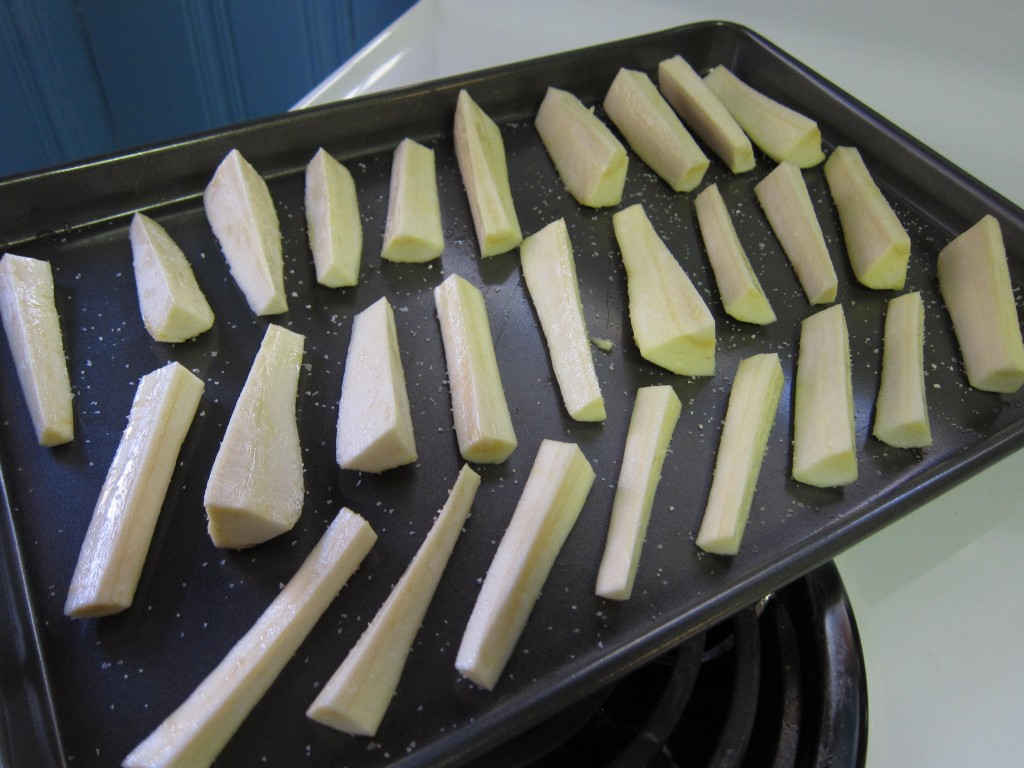
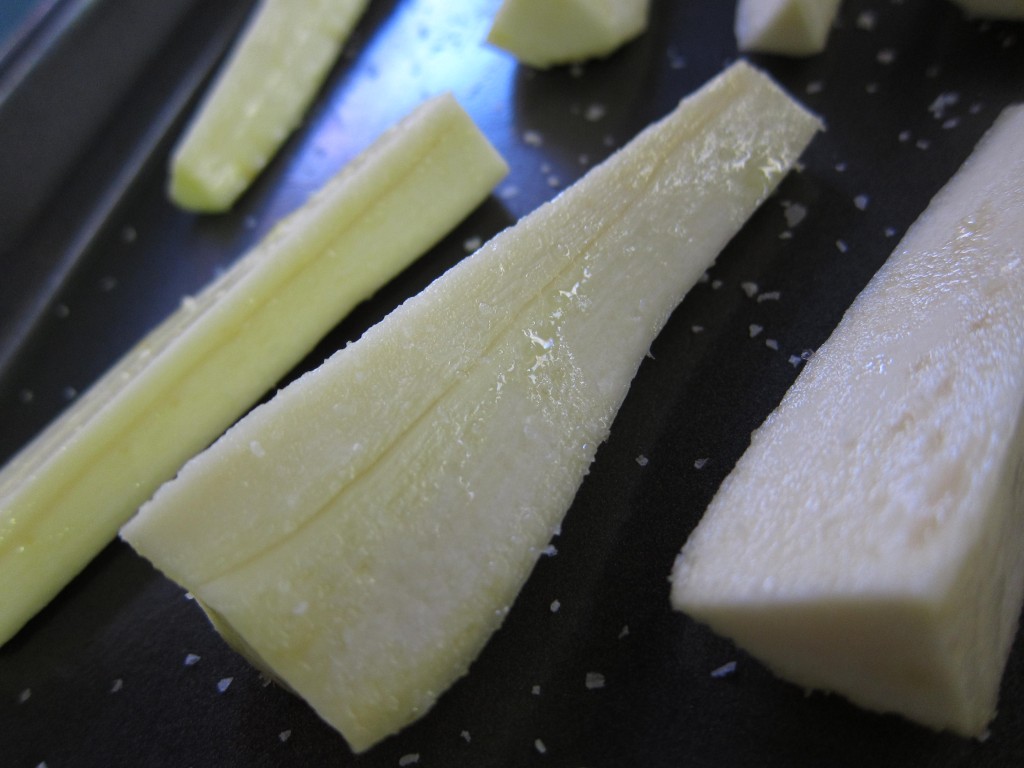
They were then placed on a non-stick baking sheet and sprinkled with salt.

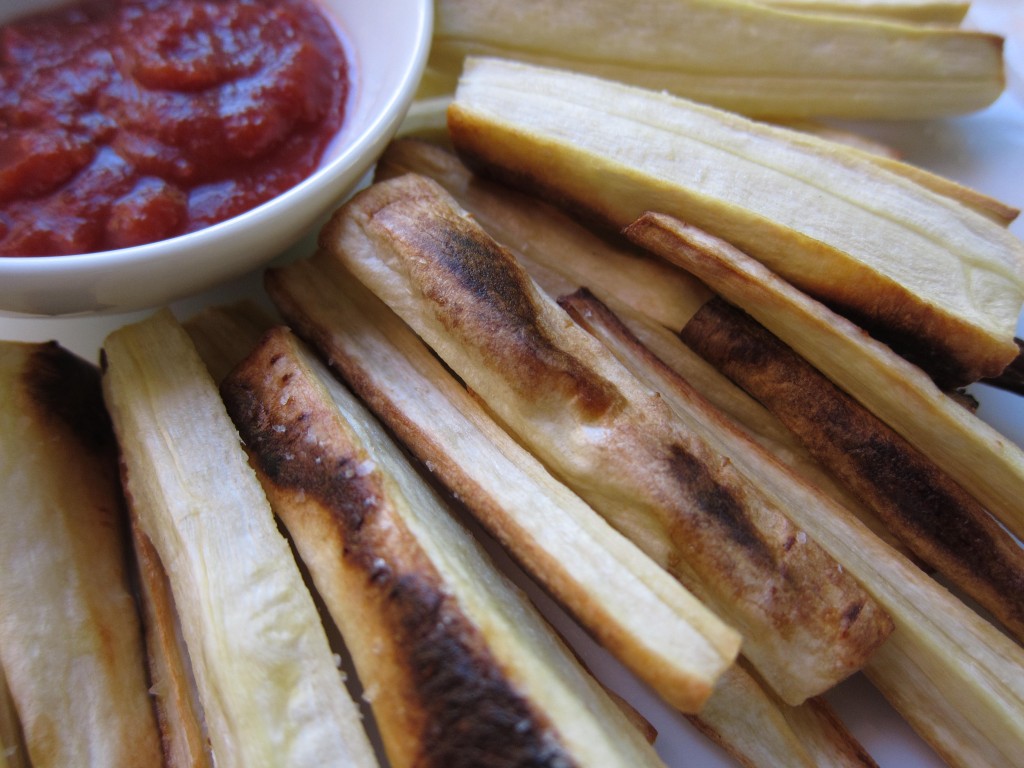
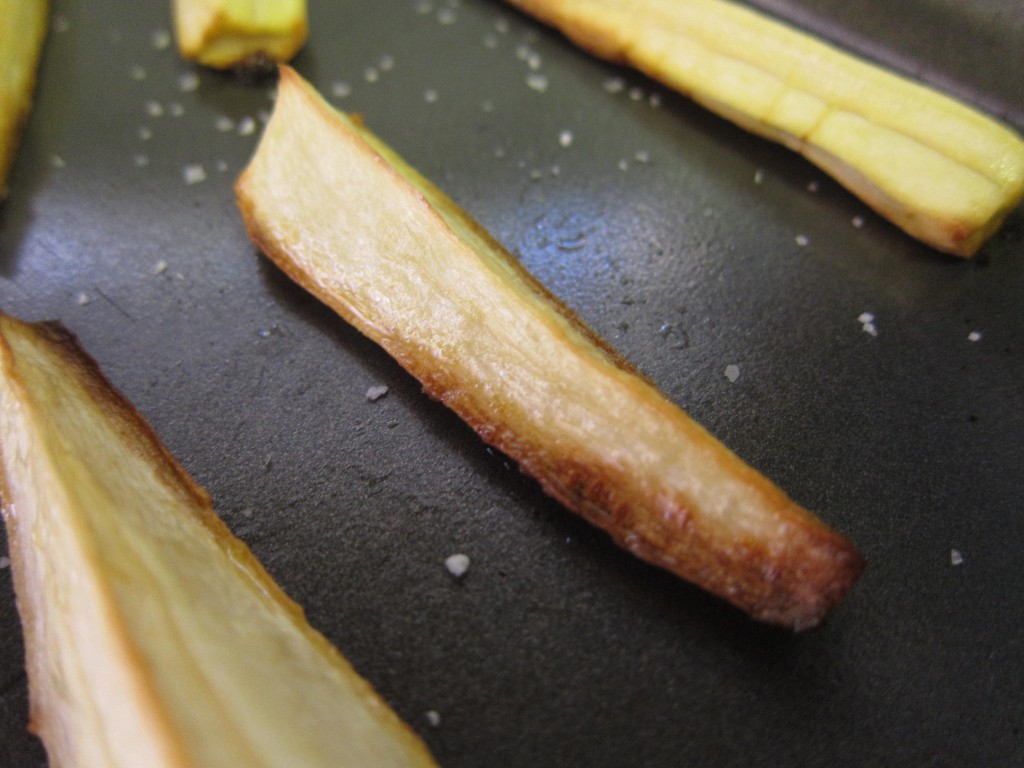
I baked them at 400 degrees for 30 minutes until the edges were crispy and browned…

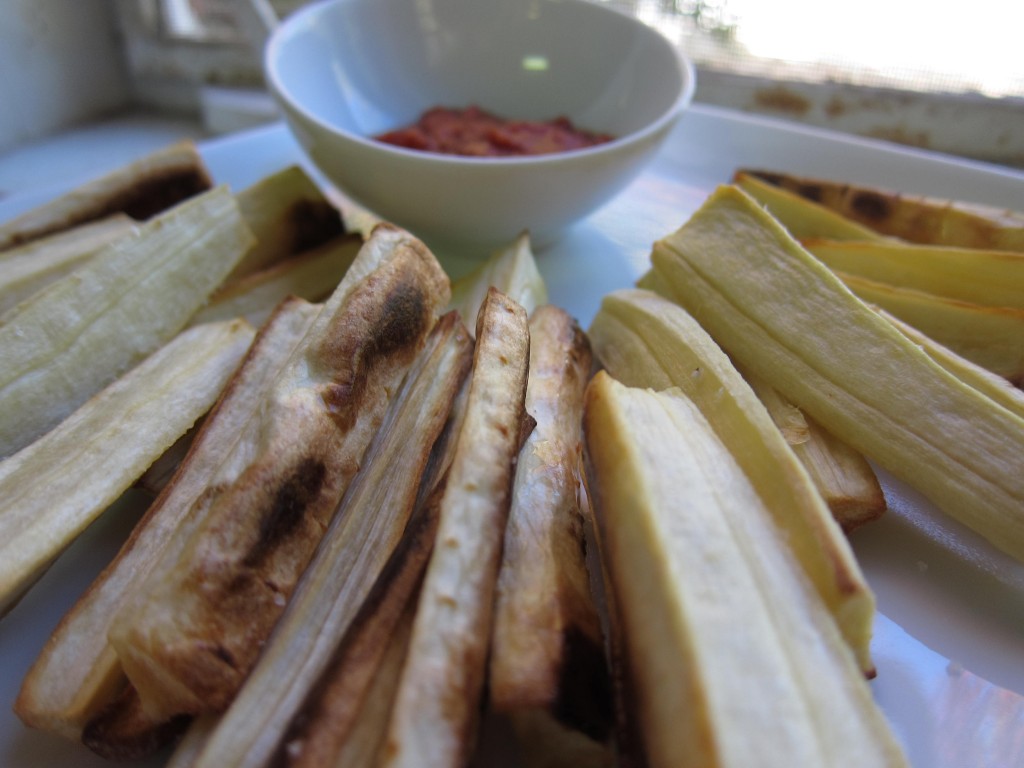
…and served them up alongside some ketchup to get the full fry effect.

It’s hard for me to explain how I felt about these. I would eat one and think “Mmmm, kinda sweet and earthy!” Then I would eat another one and think “Meh, these are weird,” and the two fries had tasted the same. Jeff and I ate all of them though, so I know I didn’t hate them. I think I just don’t like root vegetables that much.

If you’re planning on trying them for yourself, I’d suggest cutting out the core of the parsnip and discarding it as it was pretty tough and unpleasant to eat.

All in all, the parsnip fries were worlds better than my soggy, mushy, turnip and dirt flavored daikon fries, and they’re an interesting break from typical potato fries. If you know you love root vegetables, these might just be right up your alley.

Parsnip fries

Golden baked parsnip fries are an interesting alternative to everyday potato fries.

Prep Time: 10 minutes

Cook Time: 30 minutes

Total Time: 40 minutes

Ingredients

  • 2 parsnips
  • olive oil and salt to coat

Cooking Directions

  1. Peel, core, and slice parsnips into sticks.
  2. Toss in olive oil.
  3. Place on a non-stick baking sheet and sprinkle with salt.
  4. Bake at 400 degrees for 30 minutes or until golden brown.

post

Maple cinnamon breakfast quinoa

Q: What do vegetarian zombies eat?

A: GRRAAAAAAIIINNNSSSS!!!!

I crack myself up. 😉

Anyway, that’s what I wanted this morning too.  I was really in the mood for some kind of hot cereal; oats just weren’t going to cut it. This is what I decided on after rummaging through my bulk storage containers…

Don’t you just love the little tails on cooked quinoa?  I know I do.

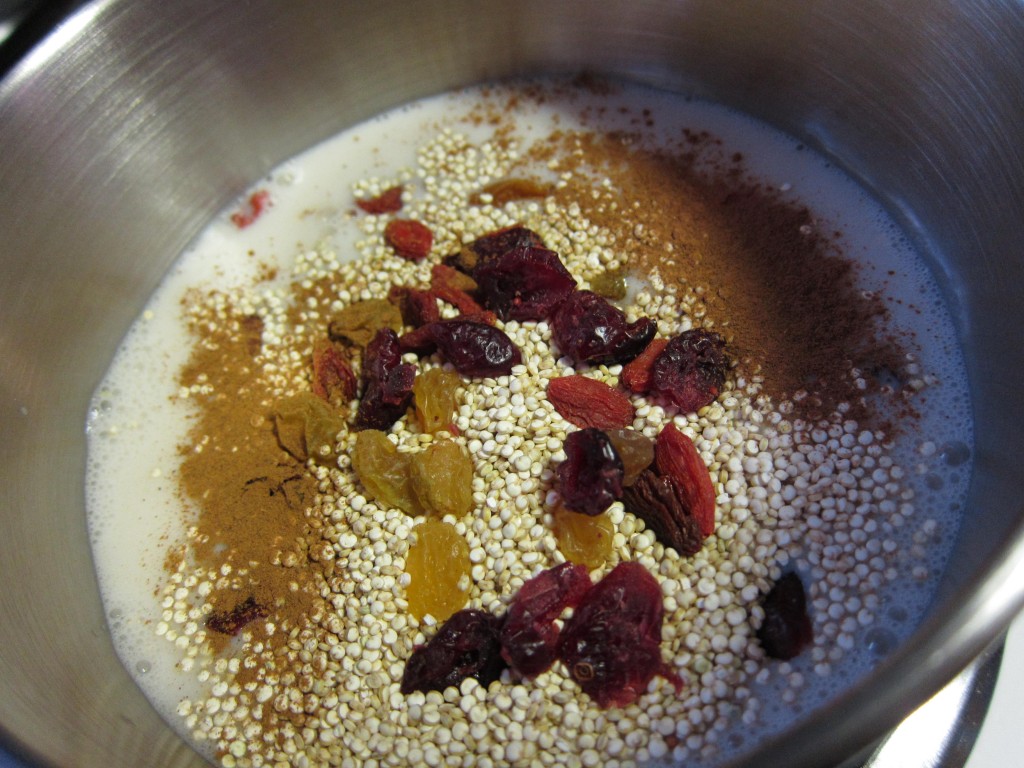
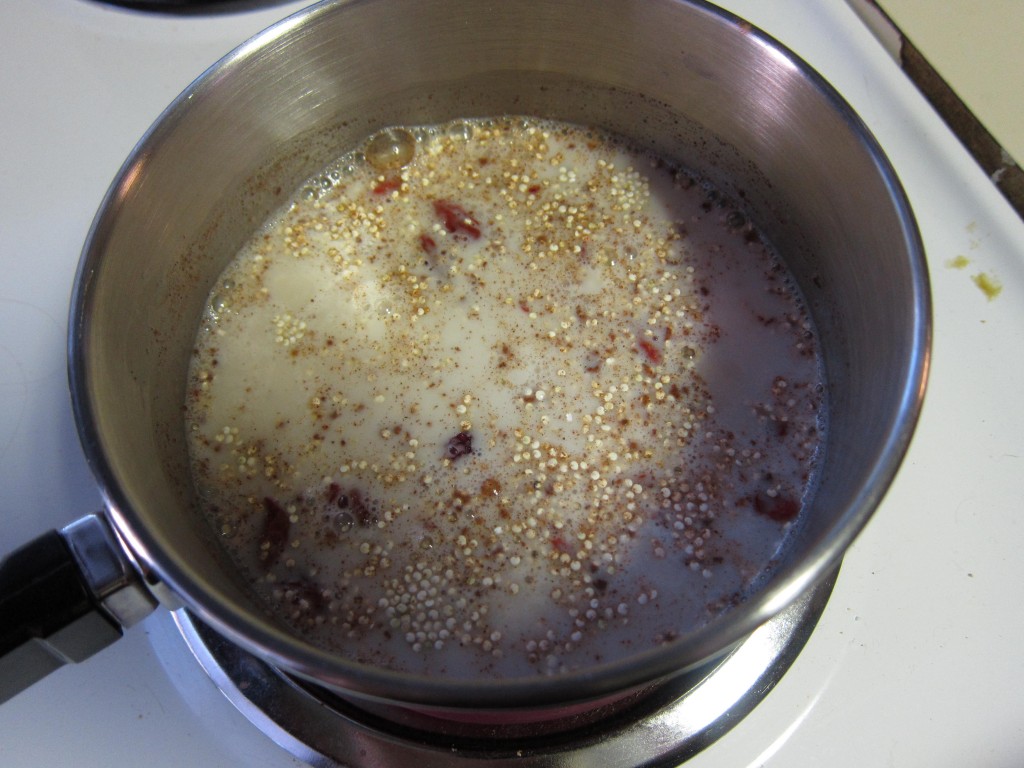
It all started with chucking these few things in a pot…

  • 1/2 cup quinoa
  • 1 cup almond milk
  • sprinkle of cinnamon
  • 1 tbsp. maple syrup
  • various dried fruits

After mixing…

I let it come to a boil uncovered then turned it down to low and put the lid on. It cooked on low for about 15 minutes, then I turned off the heat and let it sit covered for another 10 minutes.

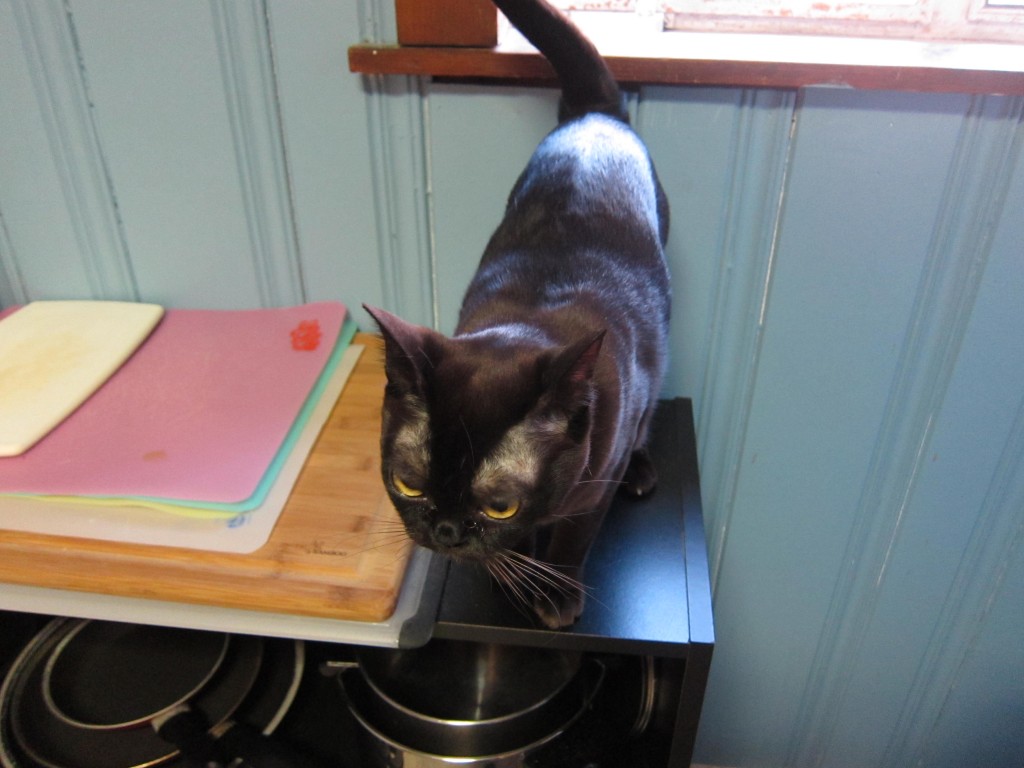
While I was waiting, I attended to the needs of this rather insistant individual…

Did you miss him? He and Liam have been spending most of their time sleeping in a pile due to the colder weather, so he hasn’t been in my face as much recently. I had to pick him up and rock him to get him to calm down this morning though. He loves to be held!

By the time Lucas was sufficiently soothed, breakfast was ready!

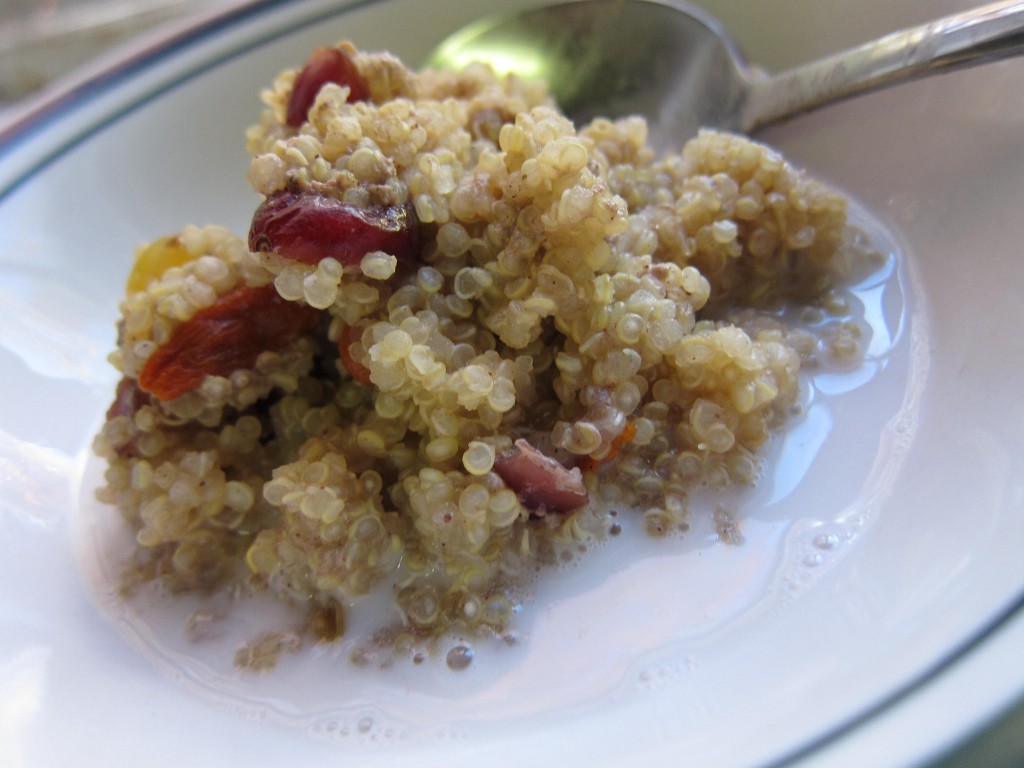
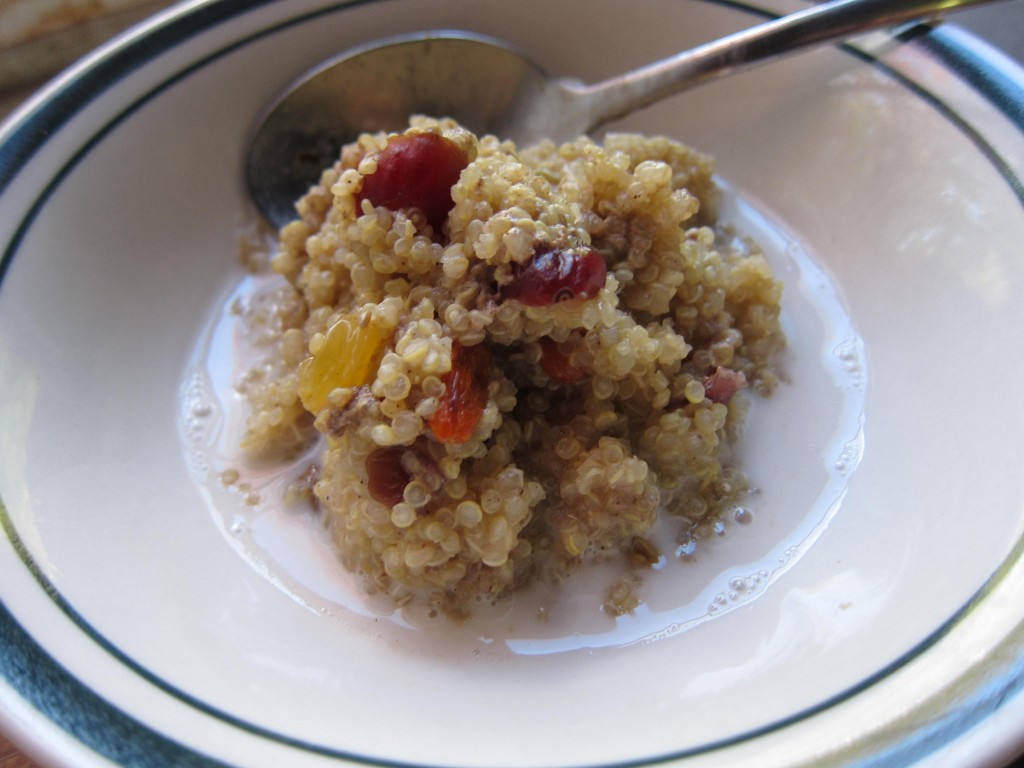
I poured a little more almond milk in my bowl to make a sauce…

It was sweet and warm and satisfying, just what I needed.

Maple cinnamon breakfast quinoa

A hot breakfast cereal made from quinoa with the flavors of maple and cinnamon.

Prep Time: 5 minutes

Cook Time: 25 minutes

Total Time: 30 minutes

Yield: About a cup

Ingredients

  • 1/2 cup quinoa
  • 1 cup almond milk
  • 1 tbsp. maple syrup
  • sprinkle of cinnamon
  • as much dried fruit as desired

Cooking Directions

  1. Add everything to a pot and allow to come up to a boil uncovered.
  2. As soon as it boils, cover and turn the heat down to low.
  3. Cook on low for 15 minutes, then turn off the heat and allow it to sit for another 10 with the lid on.
  4. Serve with a drizzle of almond milk if desired.

Time to finish my tea and get on with enjoying the weekend!