Skip to Content

blog post

Getting my art on

I have been saying for literally years that I’ve wanted to start making art for myself again. Since high school, I’ve only made a handful of pieces, and most of them have been gifts for other people. I’m not sure why it’s been such a struggle for me to make art, though I think it may have something to do with the fact that as I’ve grown I’ve gotten better at expressing myself more directly, so I no longer need to get my emotions and ideas out on canvas when I’m actually voicing them.

So, I’ve started my first art piece this year, hopefully one of many to come. I thought I’d share the process of creating this piece on the blog mostly just for fun but also so that if anyone wants to create something similar, the steps will be right here for you to follow!

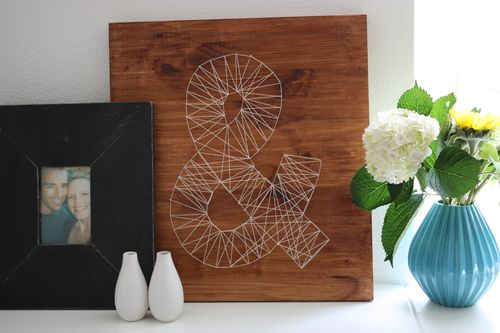
Maybe you’ve seen some of the string and spirograph inspired art that’s been really popular lately…

I wanted to create something similar but with a colored background and bright eye-popping string. First though, I had to build a canvas. I’ve had the materials for a while now but just got around to putting them together yesterday.

I bought a pre-cut piece of poplar and 4 poplar slats for the sides. I positioned the slats on the wood canvas and marked off where I needed to cut them to fit.

Measuring wood slats

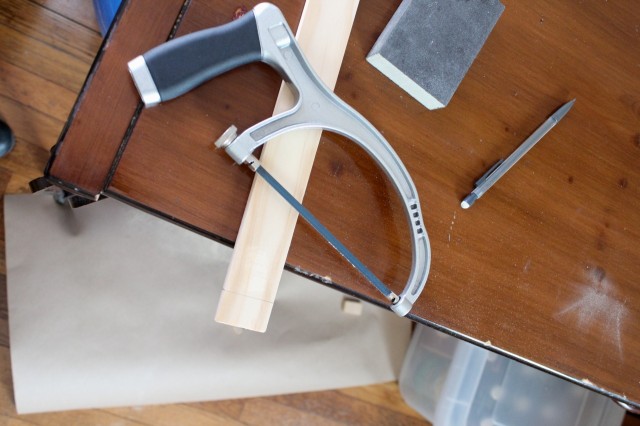
I used a tiny handsaw from our toolkit to cut through each slat one at a time, with a sheet of paper on the floor to catch the sawdust.

Sawing off excess wood

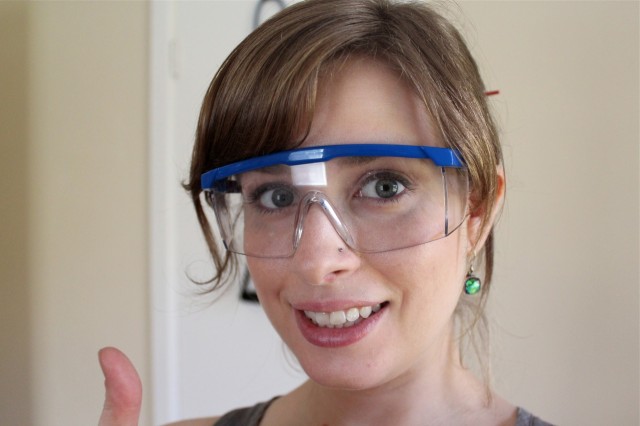
Safety first!

Safety first

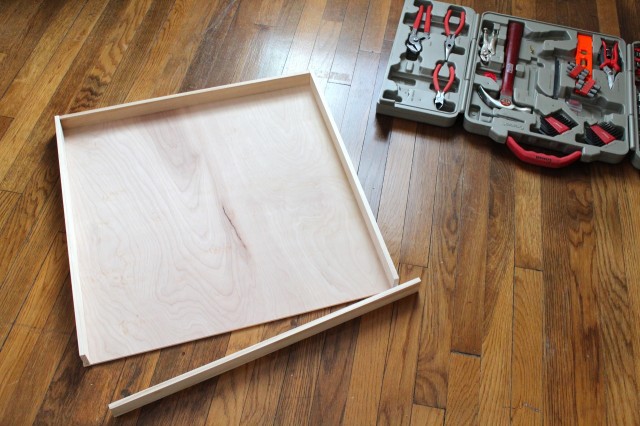
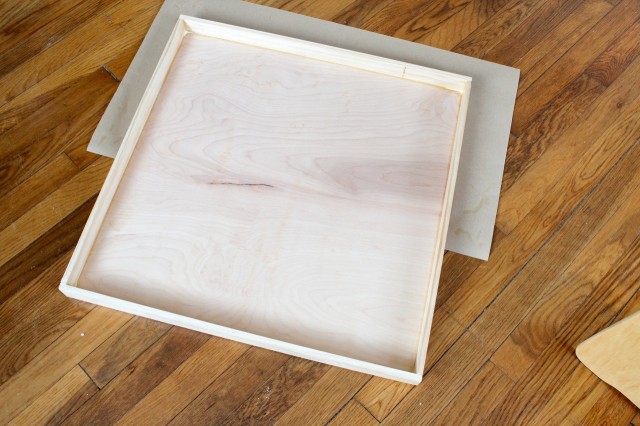
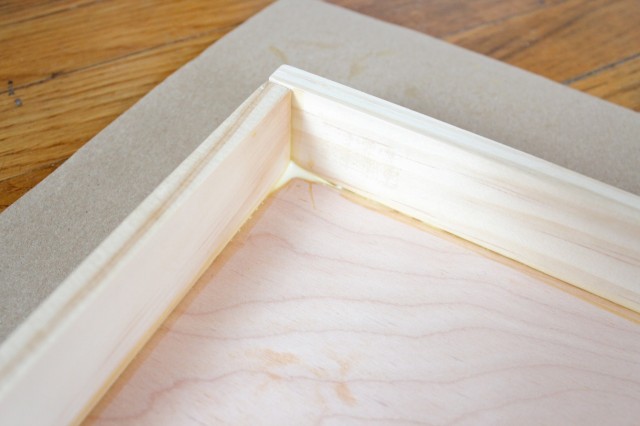
When the canvas was assembled, I put some heavy books on top of it to weigh it down and let it sit for a few hours to dry. Then I ran a bead of wood glue around the inside edge and smoothed it out with my finger to add further stability.

Assembled canvas drying
Bead of glue on the inside

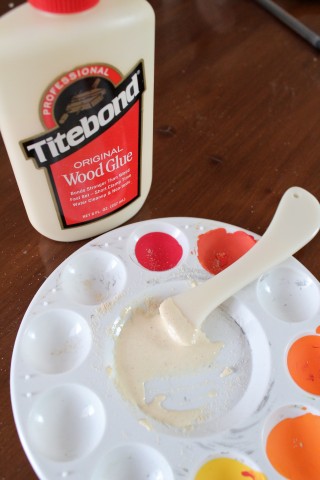
Next step, fixing imperfections. I took the sawdust that fell onto the paper and mixed it with wood glue to make a sand-able paste.

Paste of wood glue and sawdust

Then I spackled it into any cracks, dents, rough edges, or low spots. It doesn’t have to be perfect since it’ll get sanded.

Applied sawdust paste

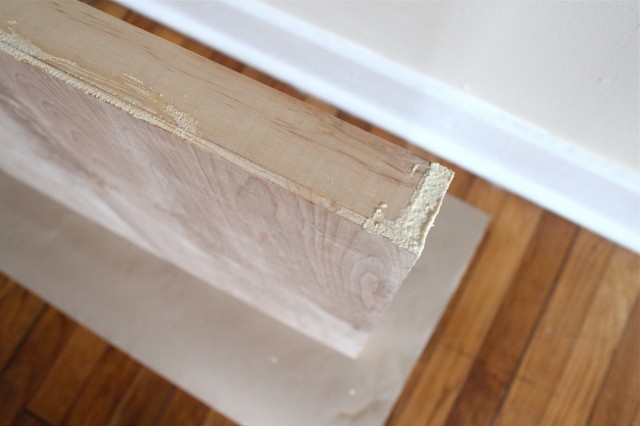
After drying, I applied one more coat of the sawdust spackle. Now it’s drying until tomorrow when I’ll sand it down and add the first coat of paint.

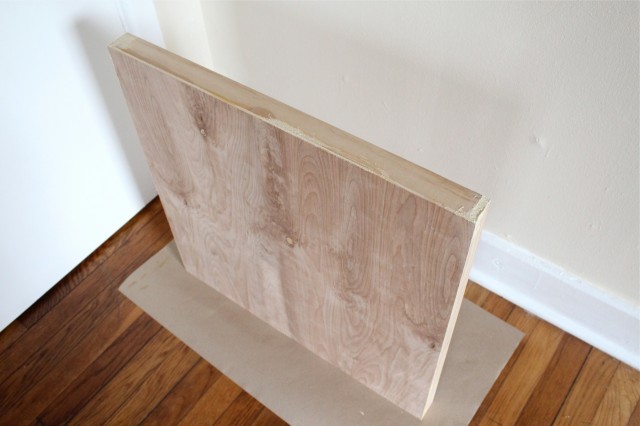
Completed canvas drying

And that is how I made a wood canvas! I’ve been wanting to experiment with painting on wood because it’s so much smoother than canvas. I don’t like all the cloth texture that a fabric canvas has. Anyway, I’ll update as I work on it some more.

Have you ever recreated a craft project from one you saw online or on tv?


blog post

Shooting a book

I am a total slave to the light right now. Everything I do these days is planned around the weather forecast. Sunny days are spent at home shooting book photos, and if it’s dreary or rainy out I go run errands. It’s not fun to spend the pretty days indoors doing work and the gloomy ones out slogging around in the elements.

One perk of writing a cookbook though…you get to eat your props!

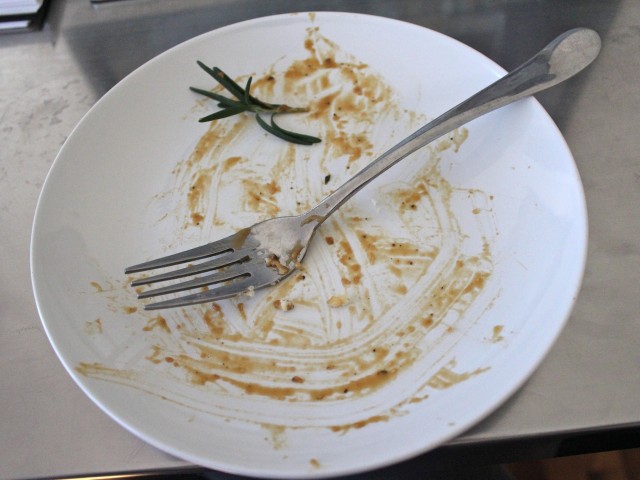
Eaten biscuits and shiitake gravy

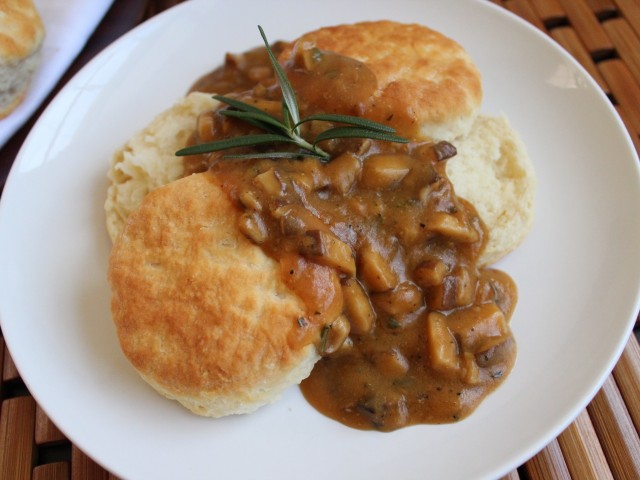
I shot some biscuits with miso shiitake gravy yesterday morning and had them for lunch as soon as I was sure I got the shot I needed, along with some green tea that was also in the photo. This isn’t the shot I’ve chosen for the book, but you can see how delicious all this hard work can be!

Biscuits with shiitake gravy

Yeah, it can’t all be bad when there’s biscuits and gravy afterwards. 😉

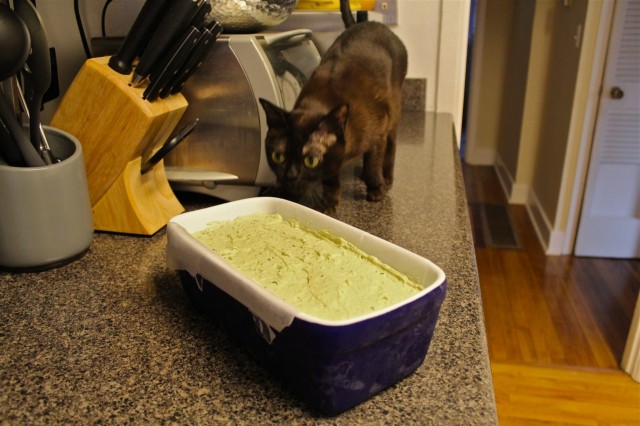
It is hard to get any work done when there are nosy cats around though. Liam loves to sniff at my recipes, like this green tea and pistachio frozen yogurt before I put it in the freezer to set up.

Liam sniffs a semifreddo

He likes to swarm me while I’m setting up shots too, knocking things over with his tail and just generally being in the way.

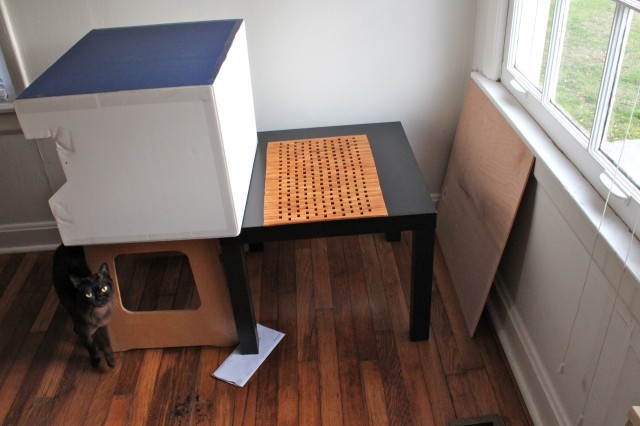
Photo table setup

Almost all of the book shots are being taken at this little table next to a window, with my light box being used as a light bounce and various props used to change the look of the table surface and with different colored backdrops taped up behind it all. I am so proud of the photos I’ve been taking and I can’t wait for you all to see them. You’d never know they were taken on a tiny Ikea table propped up with some old mail on an uneven floor.

Today is a gloomy-ish day so I’m out of the house shopping for ingredients for more book photos to take as soon as the sun comes out. It seems like a never ending cycle, I seriously won’t know what to do with myself when this book is done. In fact, I’m already planning another one!

It will be nice when I can spend a sunny day outdoors again though, so that’s what I’m working towards. Gotta get it done in time for spring!

blog post

Brew #2

Nope, no Valentine’s Day post. Jeff and I just sat on the couch and watched How I Met Your Mother over a plate of freshly baked chocolate chip cookies. Neither of us really care about Valentine’s Day. And after having worked in restaurants for nearly a decade, I always feel a terrible anxiety in restaurants on holidays because I get this constant terrible feeling that I need to quit goofing off and get back to work. Makes it difficult to enjoy myself.

We did do fun stuff over the weekend though. Sunday was our second ever brew day, and this time Jeff invited a bunch of folks over to have beer and chit chat with us while we all stood around and watched water boil. I can now say with certainty that a watched pot will indeed boil. 😉

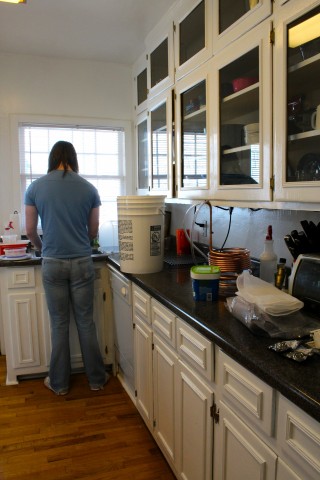
He prepped all the equipment while I cleaned up the house.

Jeff prepping for brew guests

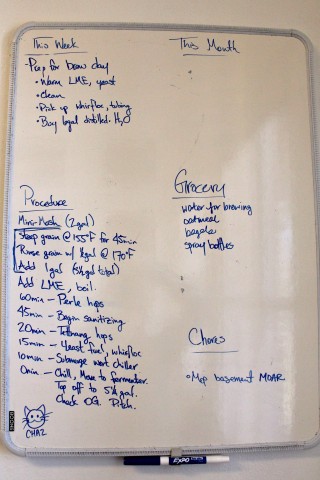
And he wrote out all of our brew plans on a white board so everyone could follow along with what we were doing.

Brew day instructions

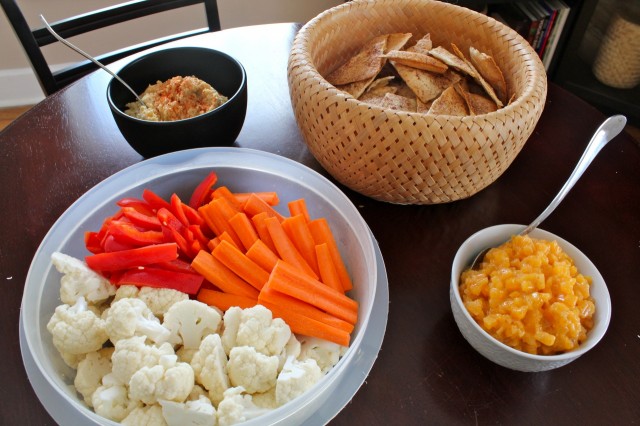
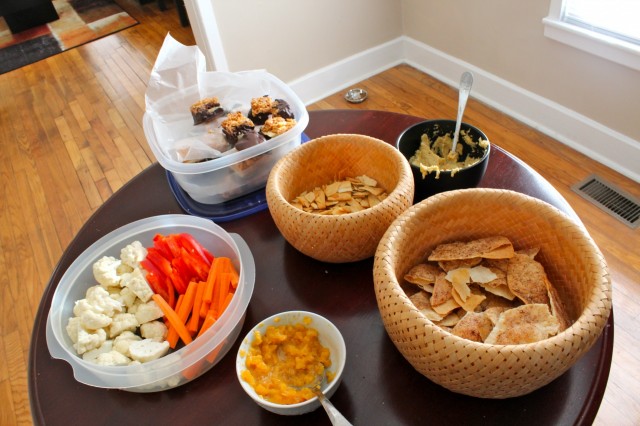
I made some snacks, a roasted garlic and chickpea dip with veggies and a persimmon yogurt dip with cinnamon chips.

Roasted garlic dip and persimmon yogurt dip

Our friends, Kelly and Marshall, brought some homemade vegan samoa bars too that were so yummy! The snacks disappeared fast!

Brew food plus samoa bars

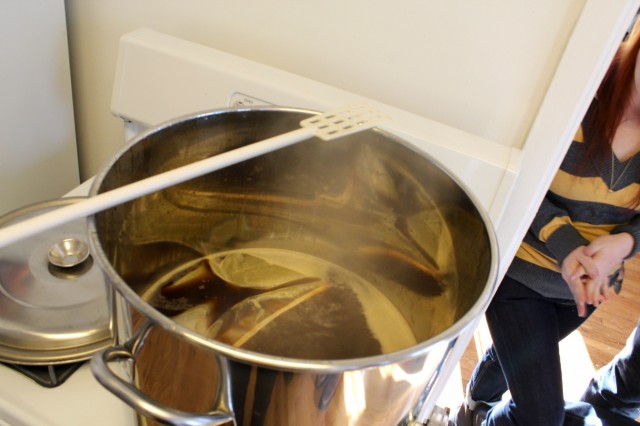
This brew was much shorter than last time, about 3-ish hours rather than 8, because we were doing a mini mash. Basically we were brewing a smaller quantity of liquid, but super concentrating it with flavor and then diluting with water later.

Steeping the grain in a mini mash

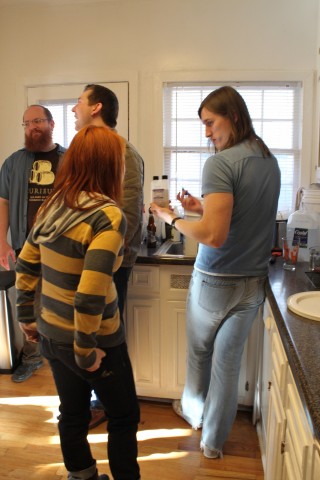
I really liked having friends over for brew day. It was fun to stand around and talk over the bready smell of infusing grain, and having a few extra sets of hands helped too.

Brew day chatter

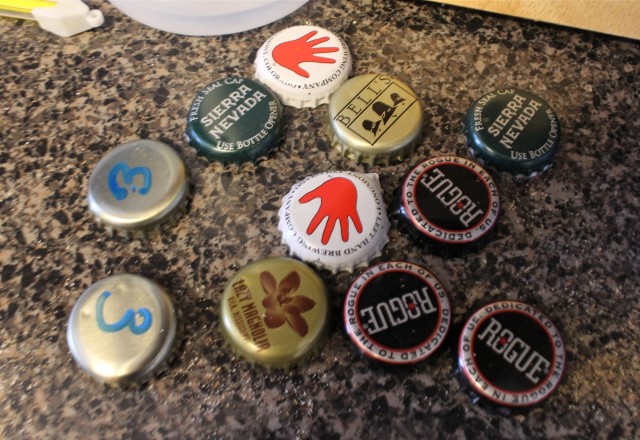
And not to mention the beer drinking!

Getting our beer on

Really, any excuse to get friends together to drink beer is a good one. I think we’ll be doing this brew day party again, and maybe expanding it next time. I know it’ll be more fun in the spring when we get a propane burner and can take this party outside to brew (and drink) in the sunshine.

And wouldn’t you know, the beer from our first batch is finally ready for consumption and we should be popping the first bottle open sometime this weekend! I see myself having a lot of dinner parties in the upcoming months for the sole purpose of having people over to help us drink all this beer. I’ll be sure do do a full review of our first brew when we crack it open!