Skip to Content

tag

Tag Archives: baking

post

Layered matcha loaf

Being trapped in the house and bored for most of the day tends to lead this girl to baking something.

I’ve had this recipe bookmarked for a while and thought I’d give it a shot since I had everything to make it on hand. I’m kind of on a green tea kick right now too, so it sounded delicious.

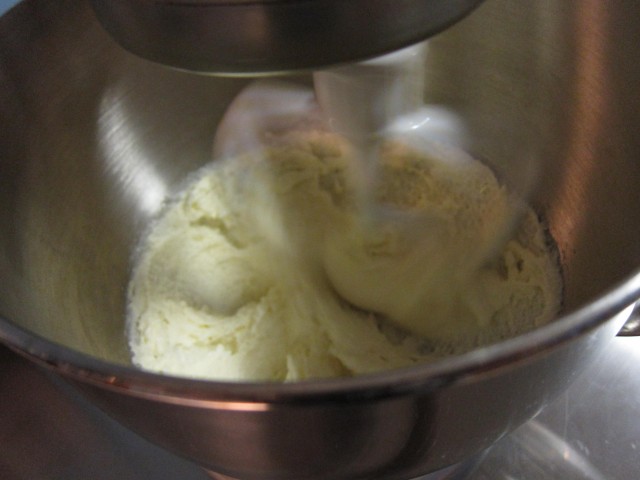
You start like many other cake recipes by creaming together the butter and sugar.

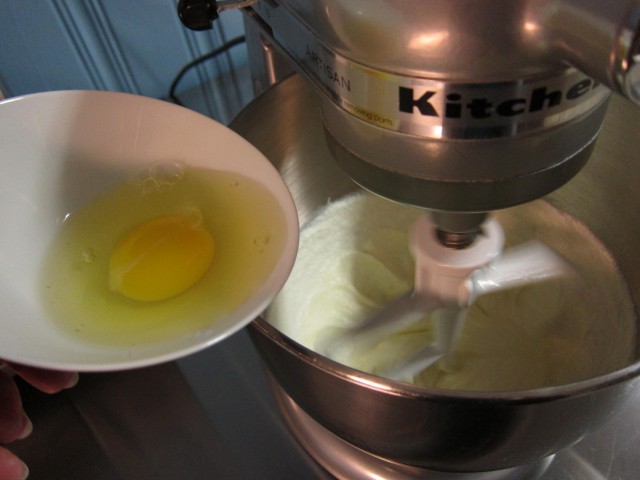
Then adding the eggs one at a time, followed by the vanilla extract.

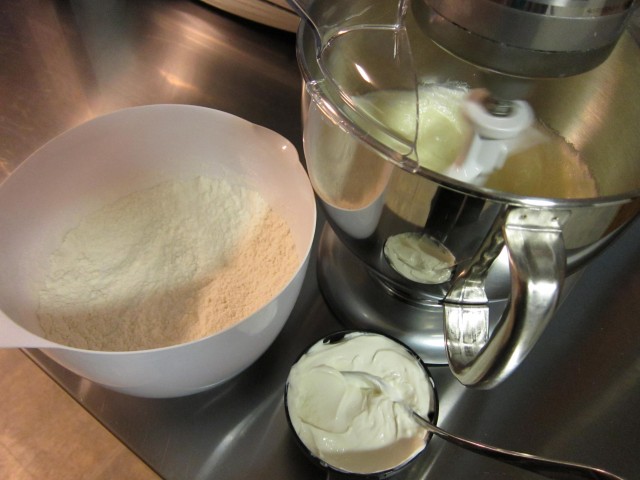
From here on alternate adding the sour cream (I used plain yogurt instead) and the dry ingredients (pre-mixed together) until everything is included.

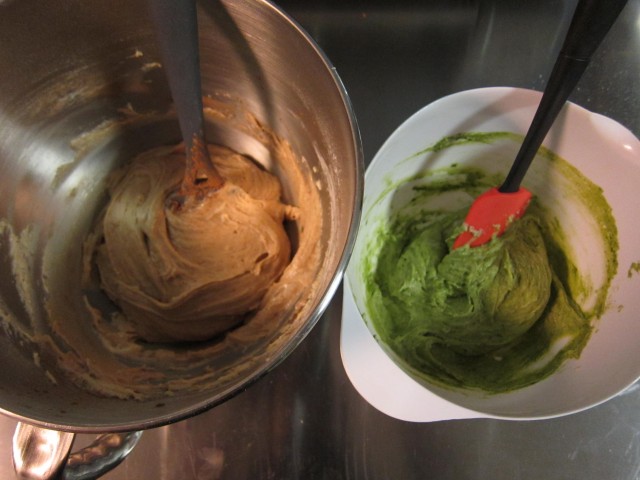
Then separate out half of the batter into another bowl. I added matcha to one and the last dregs of cocoa powder I had left to the other.

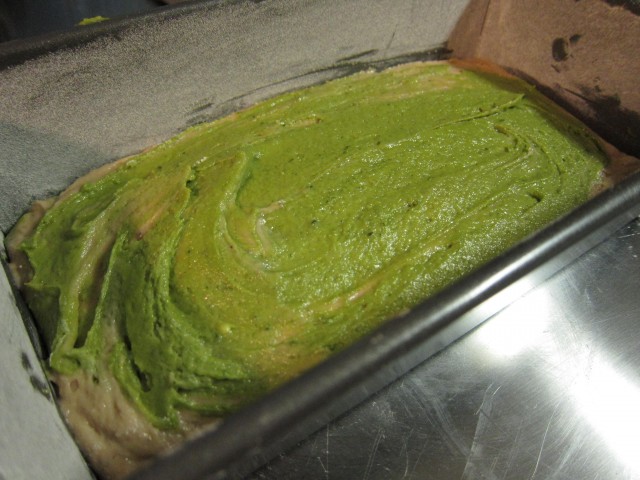
Butter and flour a loaf pan. Alternate adding layers of one batter, then the other, and smooth out on top.

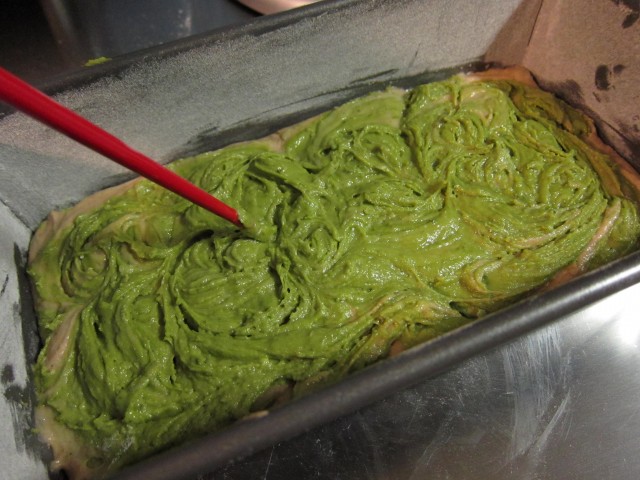
I used a chopstick to swirl the top of the batter hoping for a marbled affect in the finished loaf.

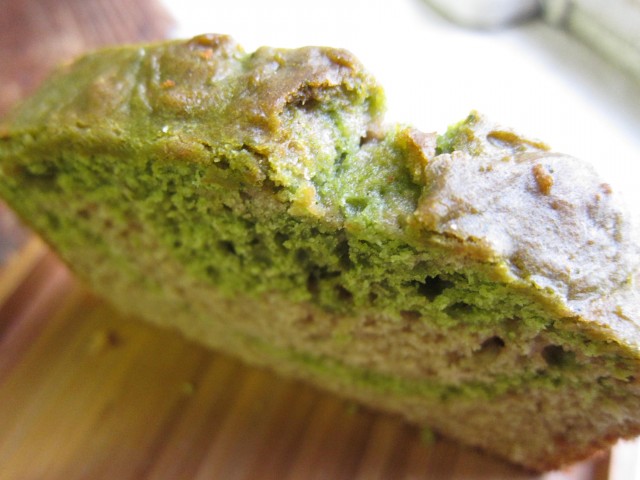
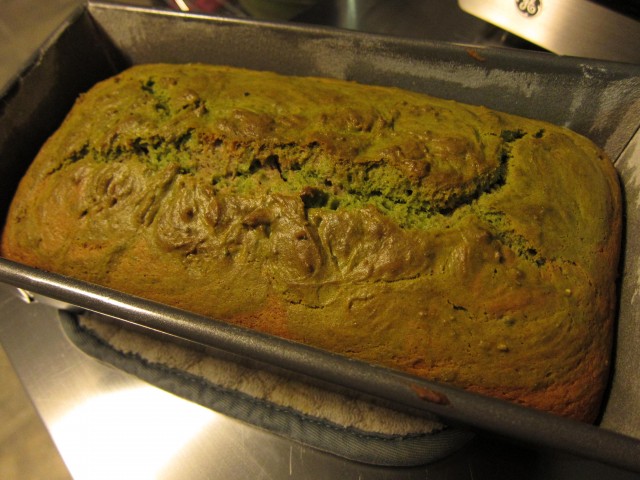
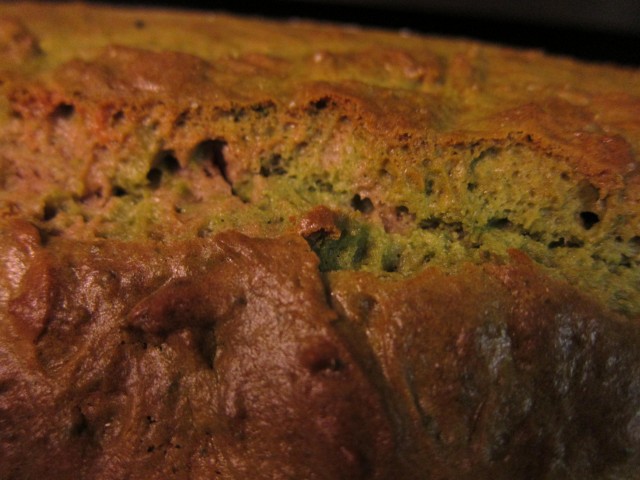
Oooo…after 55 minutes at 350 degrees it came out golden and rounded and smelling sweetly of fresh green tea.

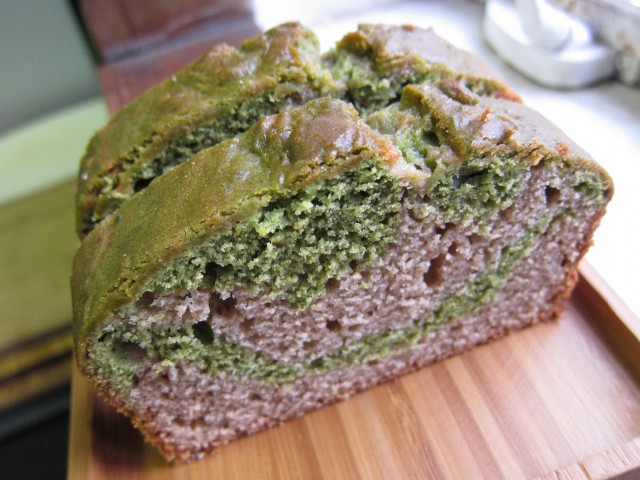
You can see the two colors peeking out of the crispy crack in the loaf.

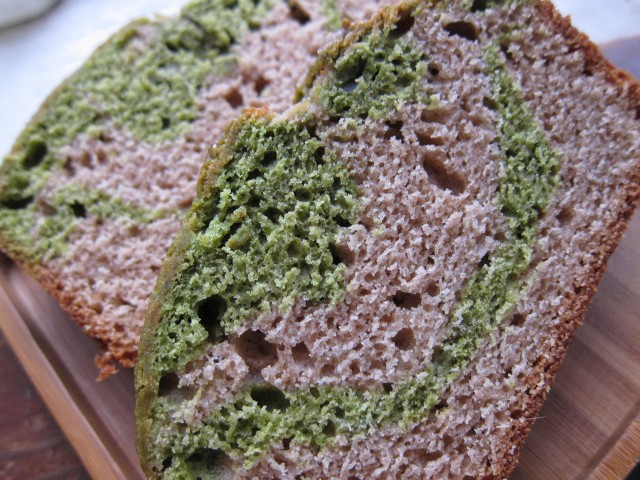
I didn’t get much of the marbling I was hoping for, but the undulating layers of springy green and warming cocoa were still beautiful together.

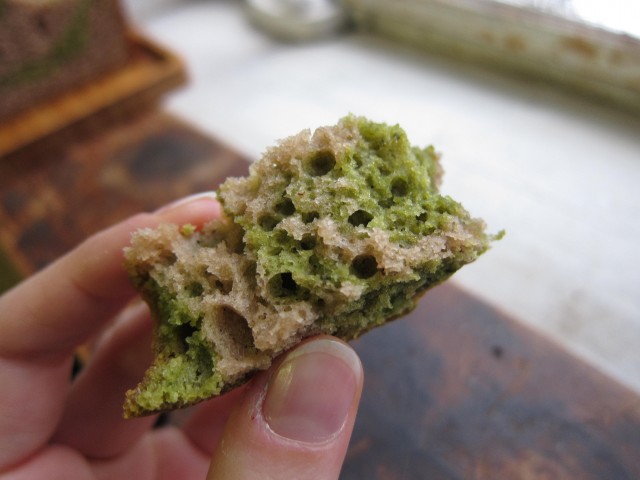
It’s really tender and not overly sweet. Moist but not damp or oily. A perfect cake to have as a snack or tea accompaniment.

I officially have too many sweets in the house now, with this cake and a plastic container full of green tea dorayaki.

Somehow though, with threats of ice on the roads until Friday, I think there may be even more baking in my immediate future.

post

Vegan banana (er…pumpkin) bread

So, we’ve had a bunch of bananas in the freezer for kind of a while now and I’ve been meaning to turn them into banana bread for as long as they’ve been in there.
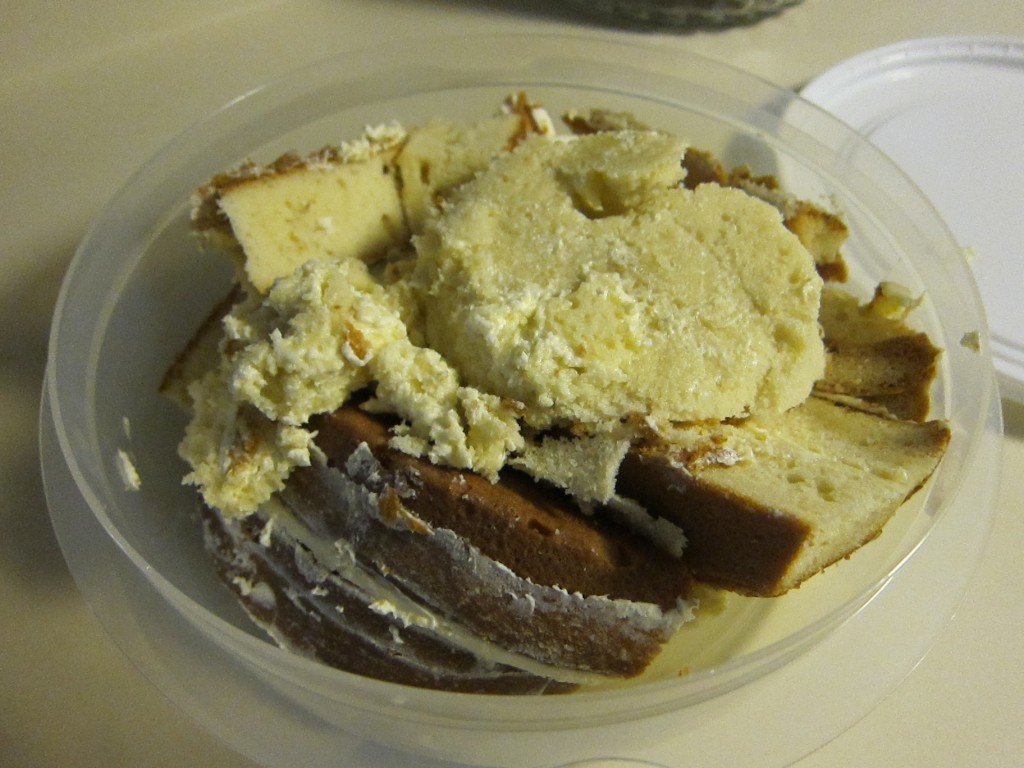
Today was the day! Banana bread for everyone! Yay to using up left-overs!

Not really.

I put the bananas in the fridge to thaw over-night and what greeted me this morning was not pleasant. They had oozed out a brown banana-scented liquid all over the fridge and were sagging and falling apart.  They were in an unsalvageable state.

Enter pumpkin, our hero of this tale! I knew I made all that pumpkin puree for something!

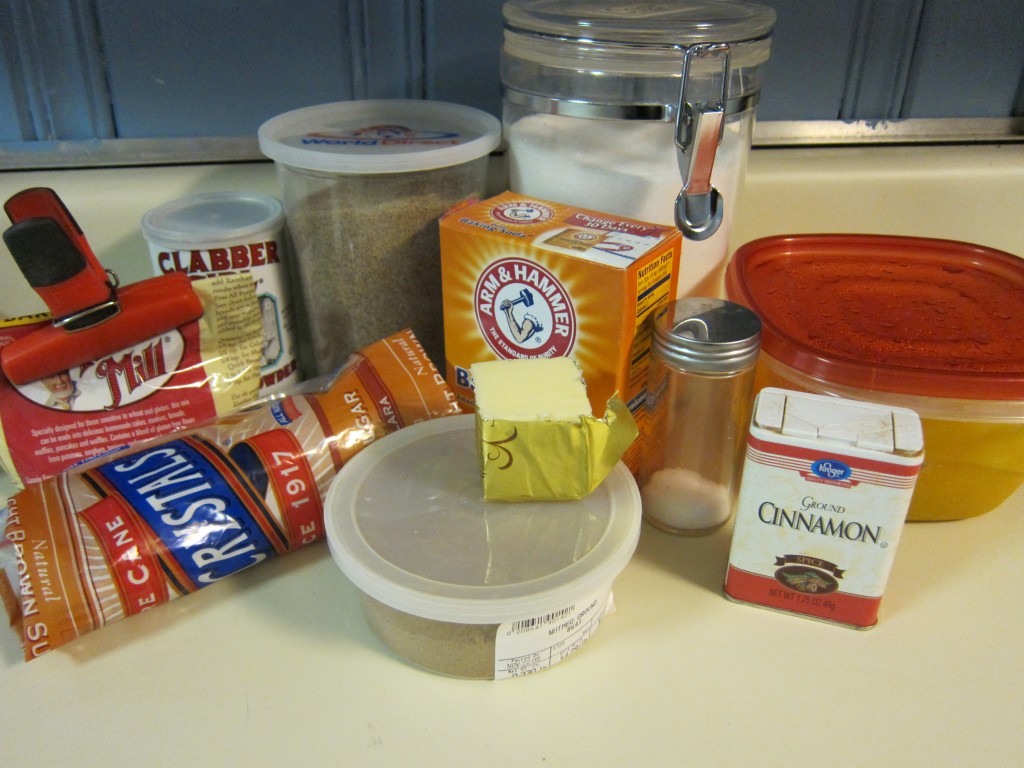
I was inspired by this recipe.  I’ve made quite a few changes to the original so I don’t feel bad about writing it out with my adjustments for you:

  • 1 cup pumpkin puree
  • 1/4 cup softened Earth Balance
  • 1/2 cup brown sugar
  • 1/4 cup white sugar
  • 1 cup gluten-free all-purpose flour
  • 1/2 cup flax meal
  • 1 and 1/2 tsp. baking powder
  • 1 tsp. baking soda
  • 1/4 cup almond milk
  • 1/4 tsp. salt
  • 1/2 tsp. nutmeg
  • 1 and 1/2 tsp. cinnamon

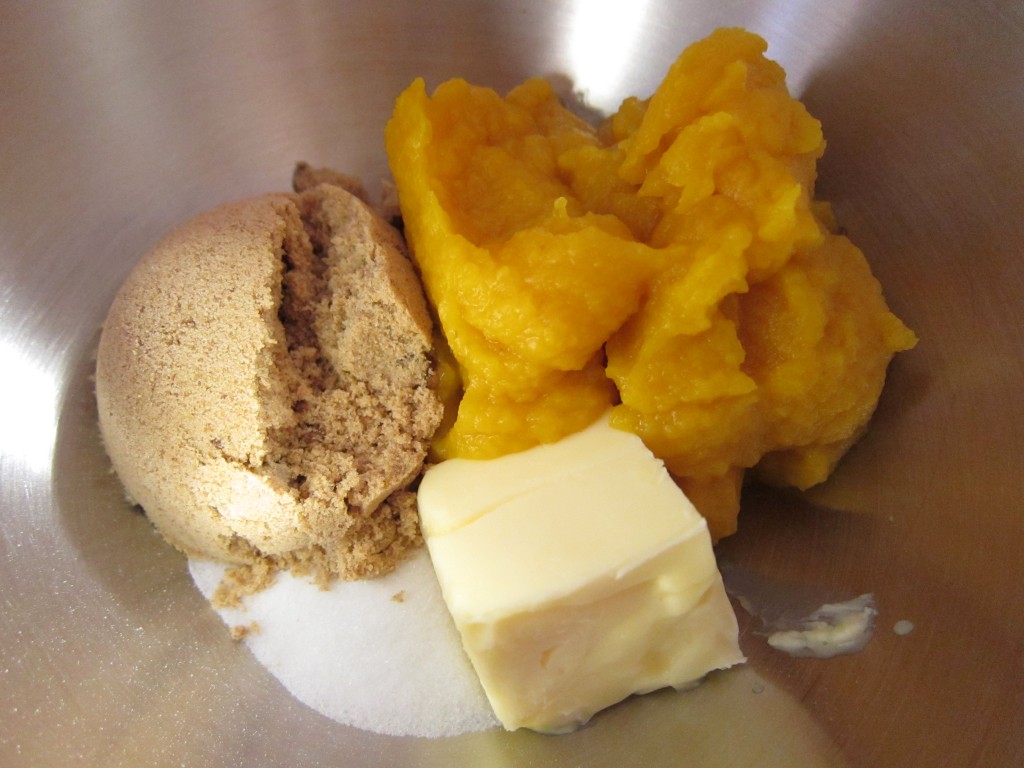
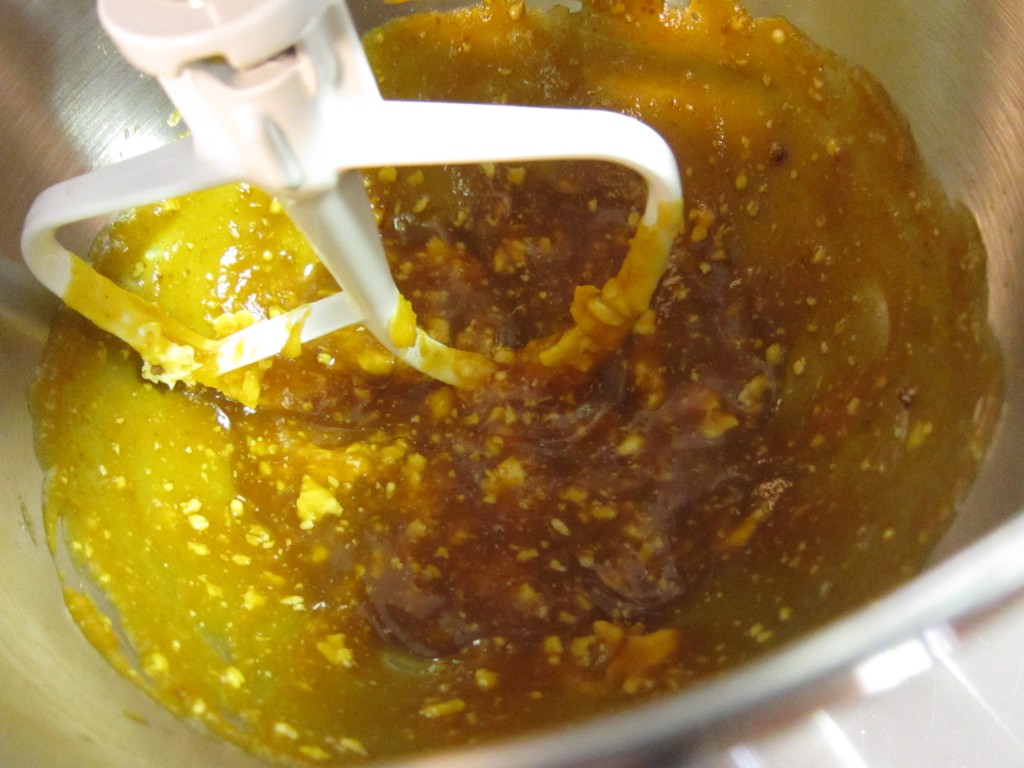
Start by creaming together the vegan butter and sugars, then add the pumpkin. This picture shows the wrong way to do it…

I got ahead of myself here and added the pumpkin in with the sugars because that’s what the original recipe said to do. The butter clumped though, and I think it would have incorporated better without the pumpkin present. The finished product didn’t seem to be affected by the uneven butter though, so no worries if you do it this way.

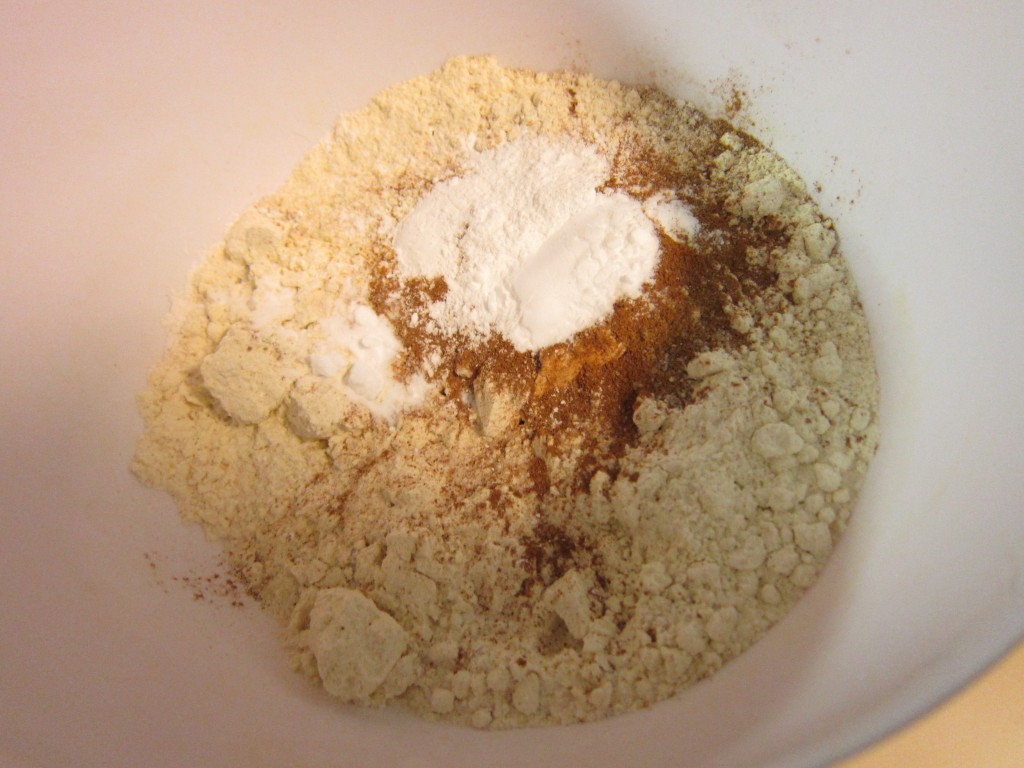
Meanwhile, mix all the dry stuff together…

Add it to the wet slowly, in three installments.  When it’s completely incorporated, add the almond milk and mix through.

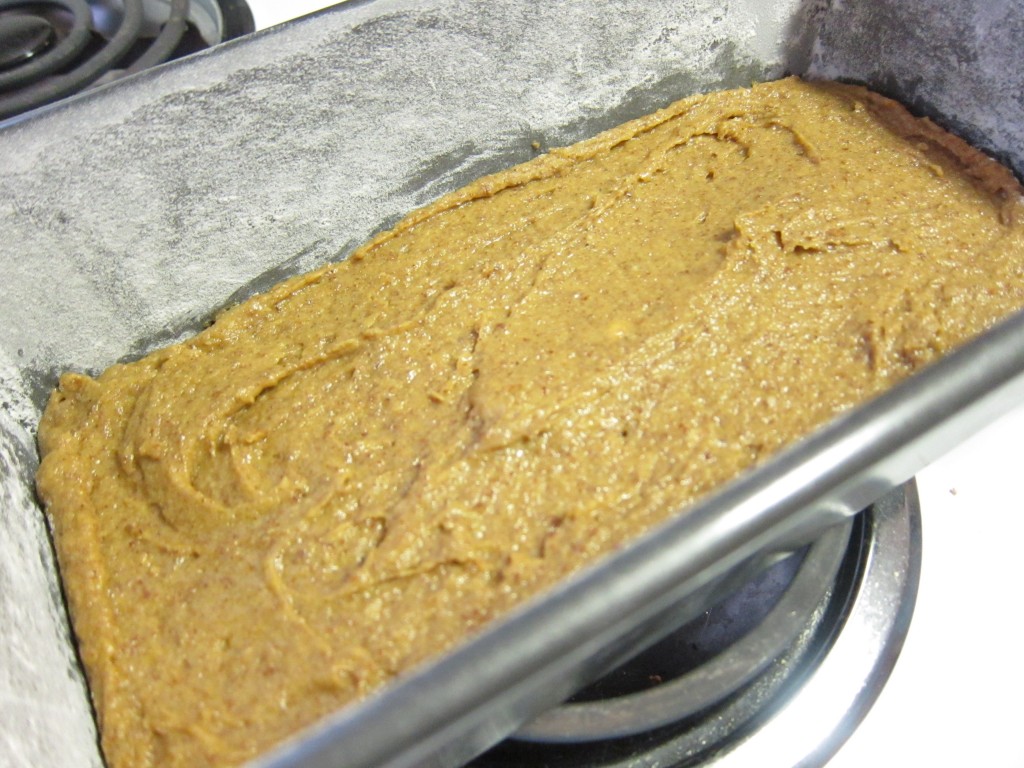
Pour into a buttered and floured loaf pan and spread to the edges.

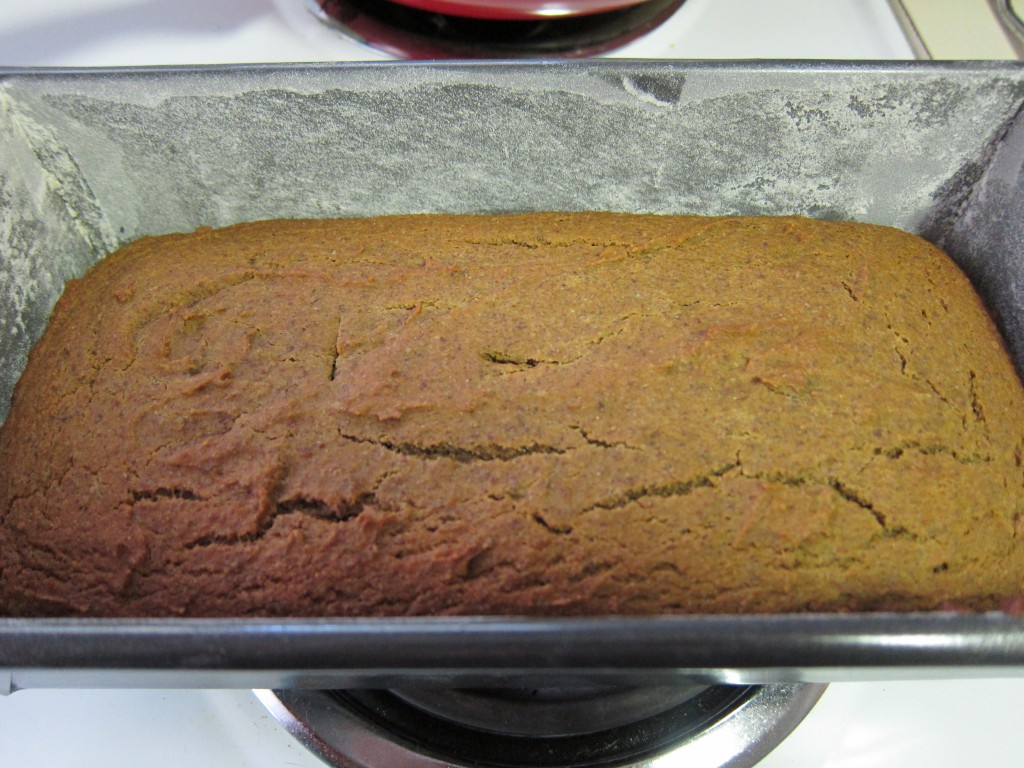
Bake for 35-40 minutes at 350 degrees.

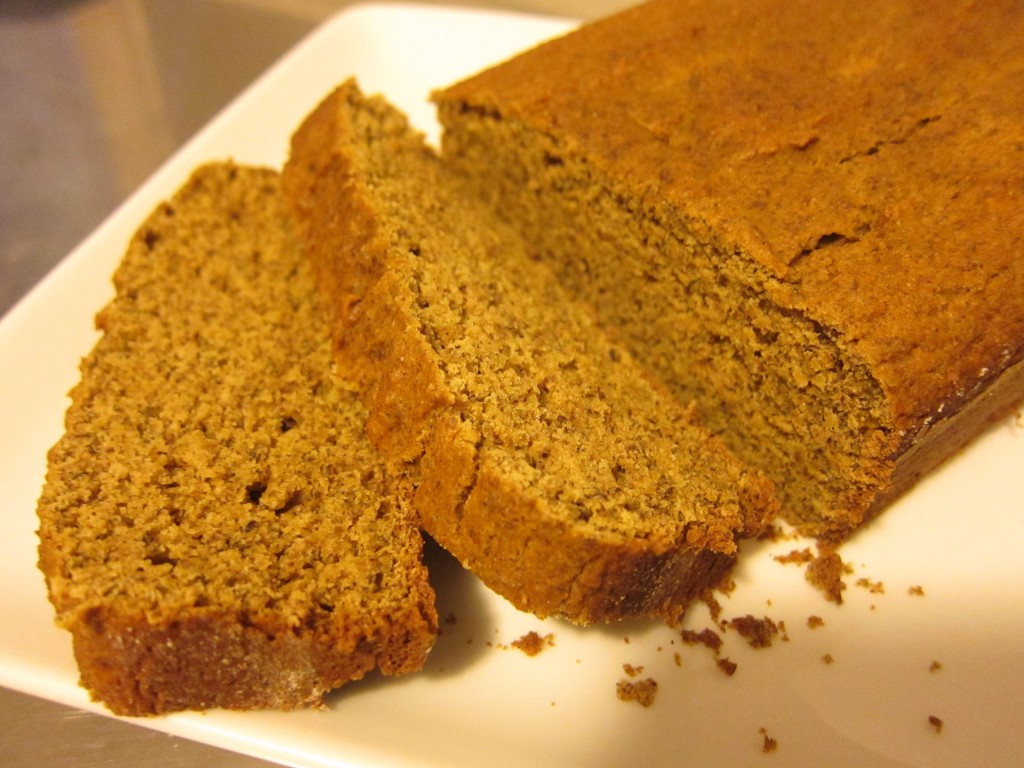
And here she is!…

I let it sit until it was cool enough to pick up then turned it out of the pan and let it cool on a rack.

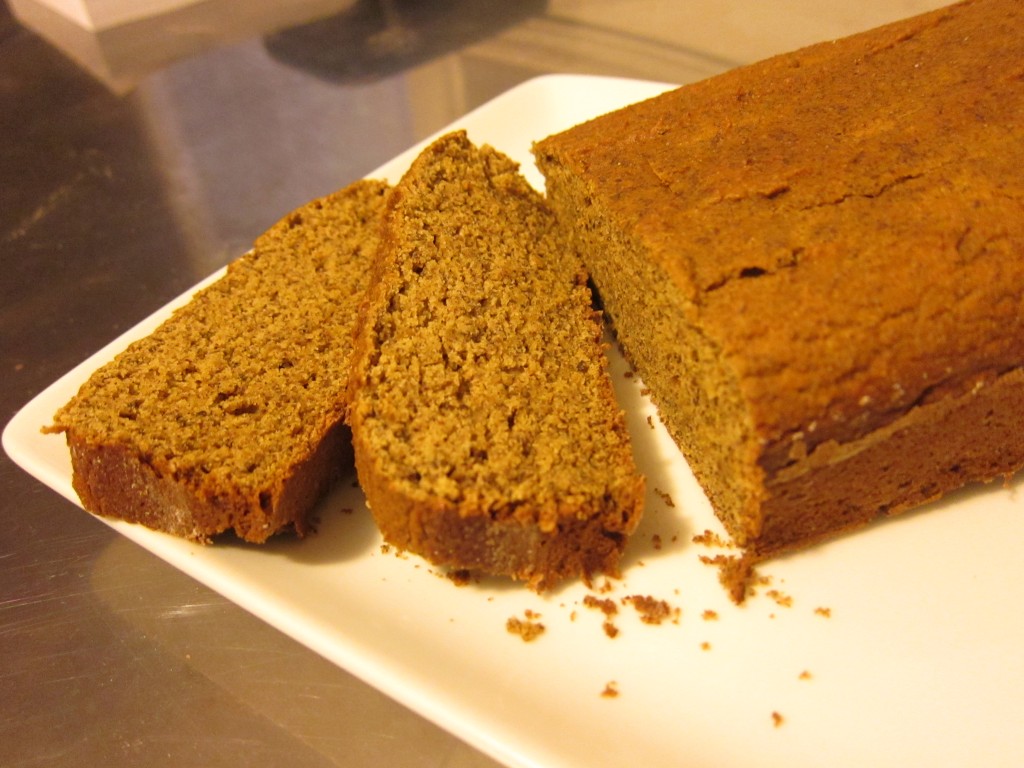
I did not have high hopes for this bread, the batter tasted kind of awful. The finished bread is a real winner though.  It’s not too sweet; should make a great breakfast bread. It may look a bit dry in the pictures, but I assure you it’s nice and supple!

I’d say this is a triumphant ending to the great banana massacre that took place in my fridge.

Oh, pumpkin.  You’re my hero!

post

A proper crusting buttercream

(Update: For an even better explanation of my favorite crusting buttercream recipe, as well as my favorite recipe for vanilla cake, try this post instead.)

Sorry I’ve been missing for a few days. As you’ll soon see, I’ve been quite busy!

I’ll show you the buttercream icing I made for my wedding cake practice later in this post….first though, I have got to share with you the amazing breakfast I’m currently scarfing down while I type this.

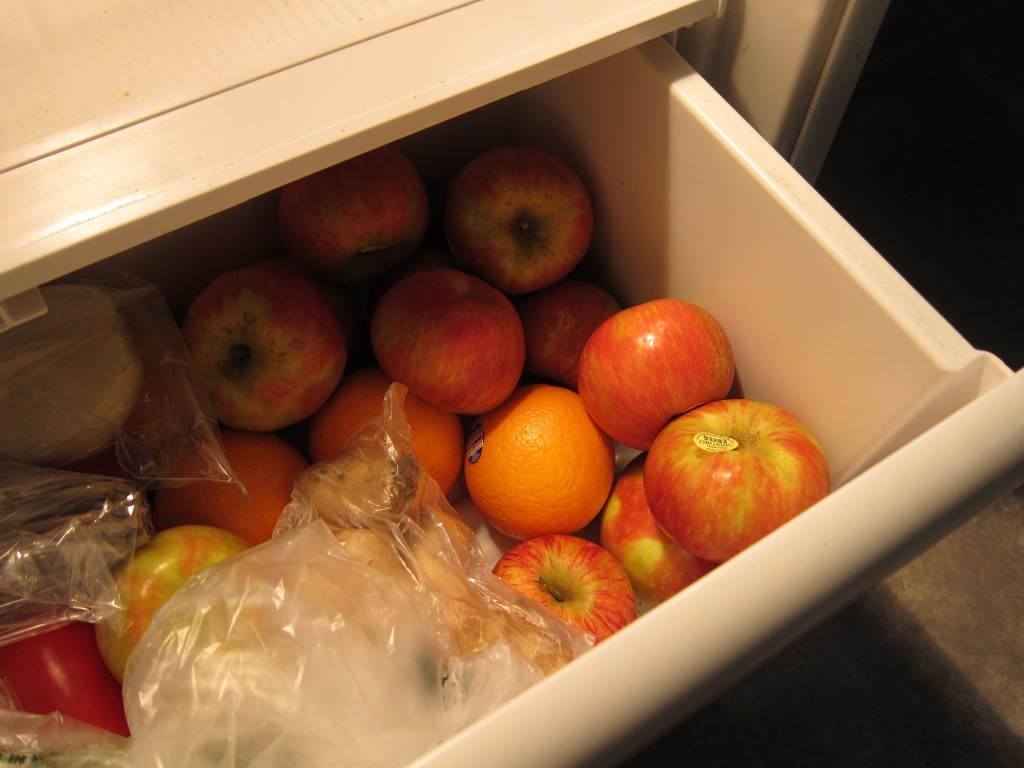
I found my favorite apples at the market two days ago, the Honeycrisp!  Nearly bought the lot of them…

I lay awake in bed last night dreaming of my intentions for these apples this morning. Here’s what I did…

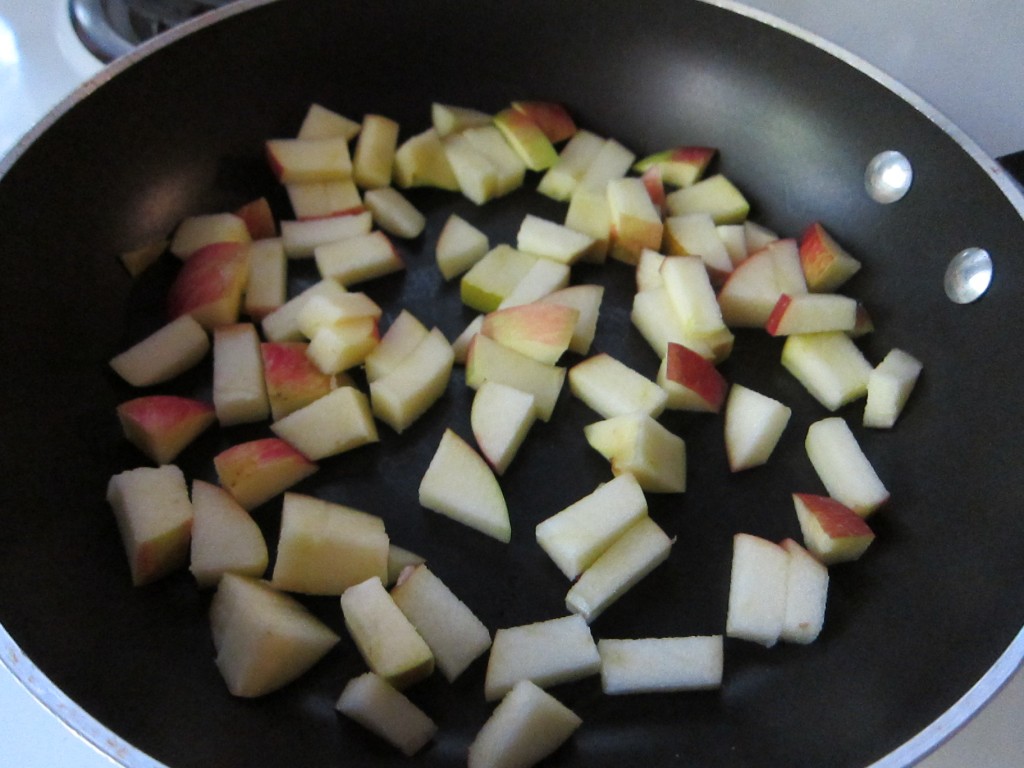
I cut up one small Honeycrisp and sauteed it with cinnamon, nutmeg, and a little apple cider.

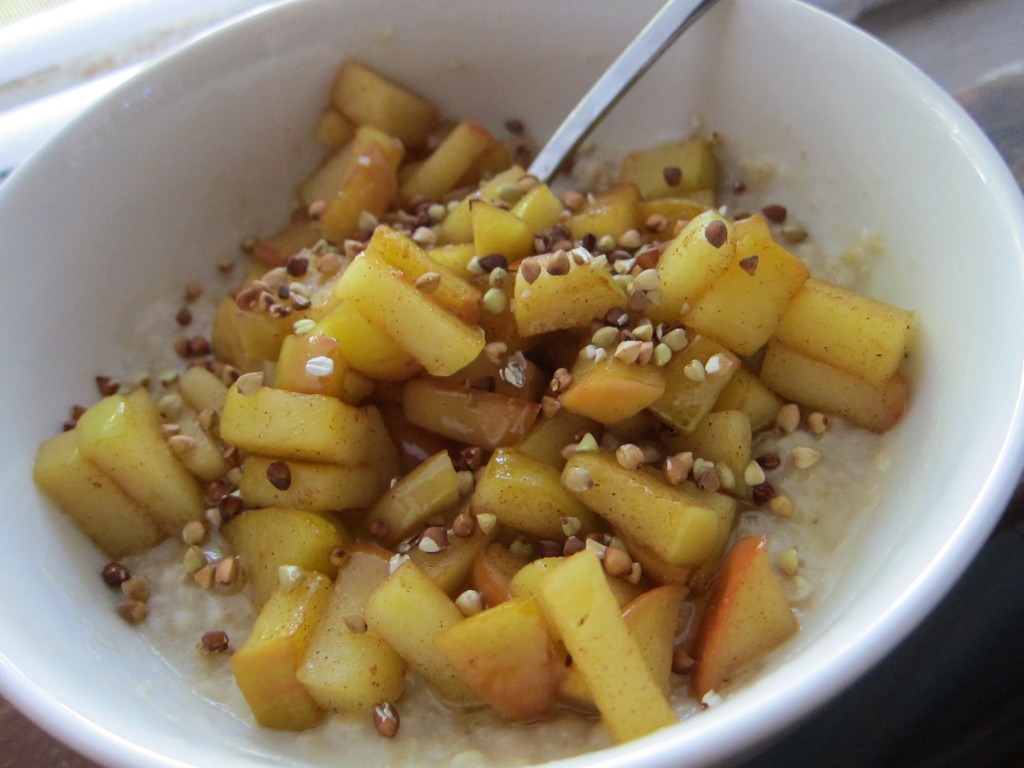
Behold what emerged!..

I put these warm, glossy apples over oatmeal cooked in almond milk and topped it all with toasted buckwheat and honey!  The apples are still slightly firm but not crunchy and all the flavors are just perfect together.

It’s really helping to warm me up in our chilly apartment.  We’re trying not to turn the heat on until it’s really necessary.

So anyway, glorious breakfast aside, this post is really about what I spent my day on yesterday…

That is a vat of frosting, my friends. It was finally time to assemble the wedding cake I’ve been working on!

This is the recipe I used for this crusting buttercream icing:

  • 2 sticks room-temperature butter
  • 1 and 1/2 cups (12oz.) butter-flavored Crisco shortening
  • 1/2 tsp. salt
  • 2 tsp. vanilla extract
  • approx. 2 lbs. powdered confectioner’s sugar
  • milk or water to thin for consistency

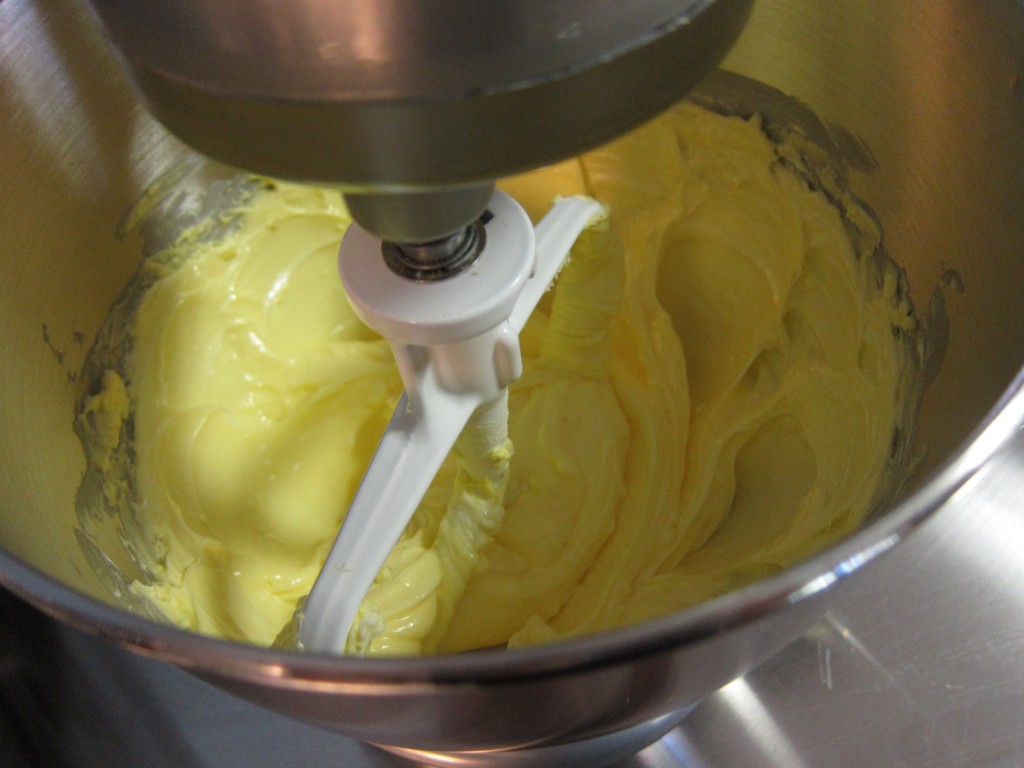
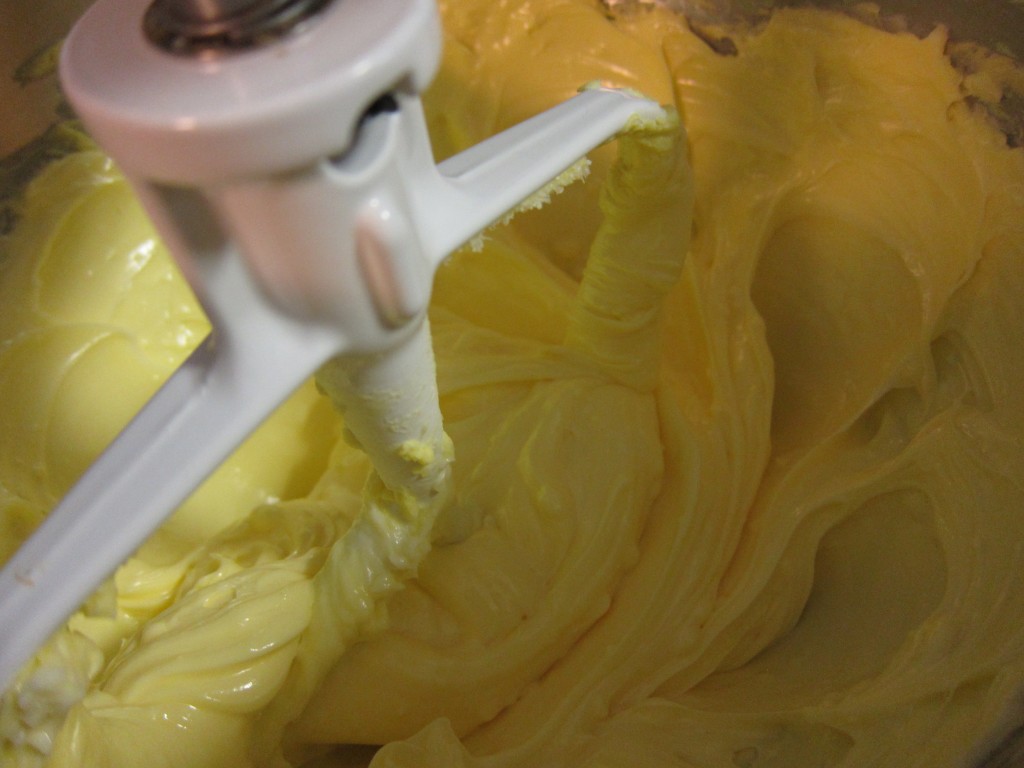
You start by incorporating the butter and shortening together in a mixer.

Then add the salt and vanilla and mix until it’s glossy.

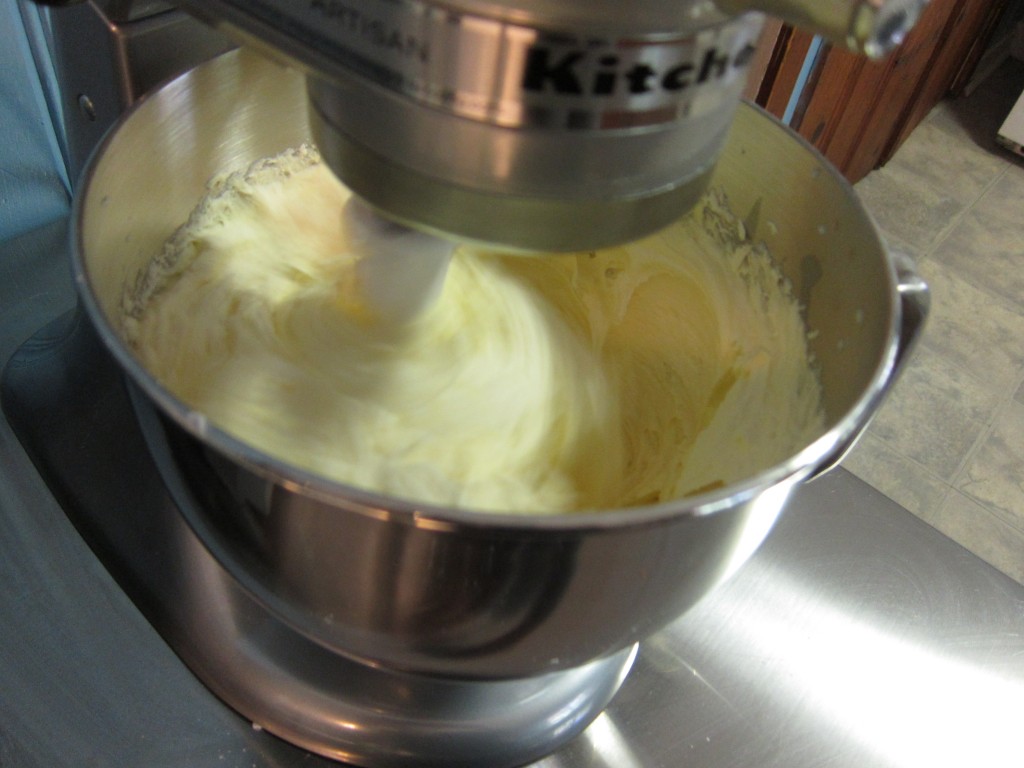
I added the sugar in about six installments to allow it to incorporate completely, then let it whir away to get nice and fluffy.

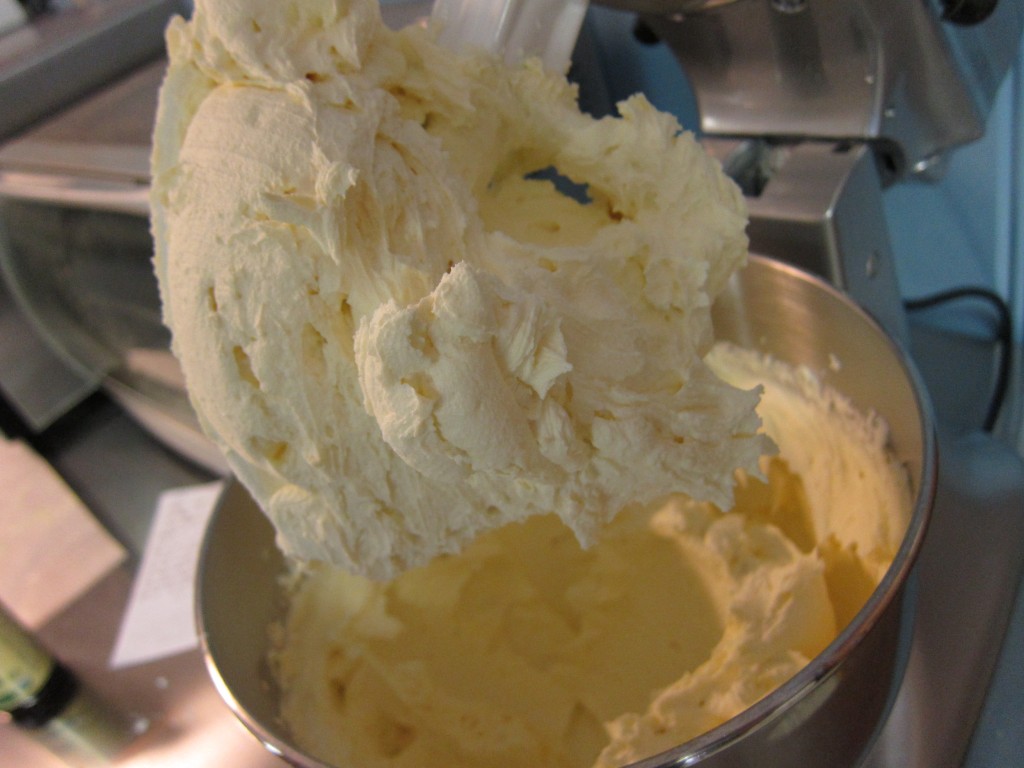
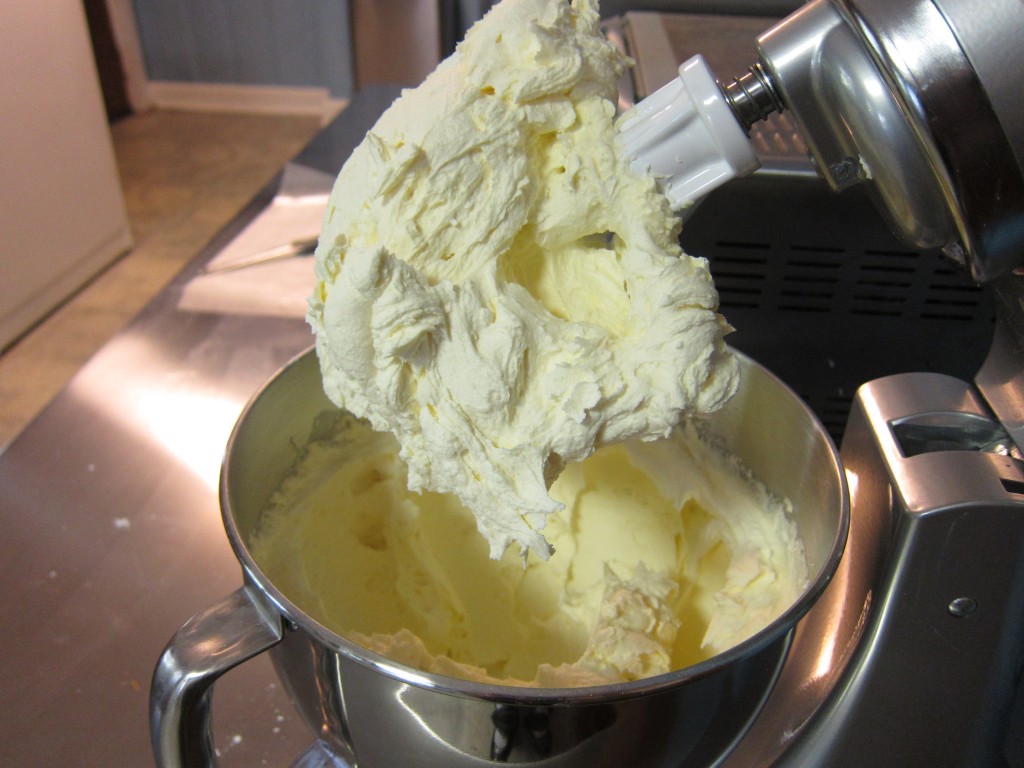
Here’s what came out…

I added just a splash of milk and gave it one more spin to help it to loosen from the blade a little better.

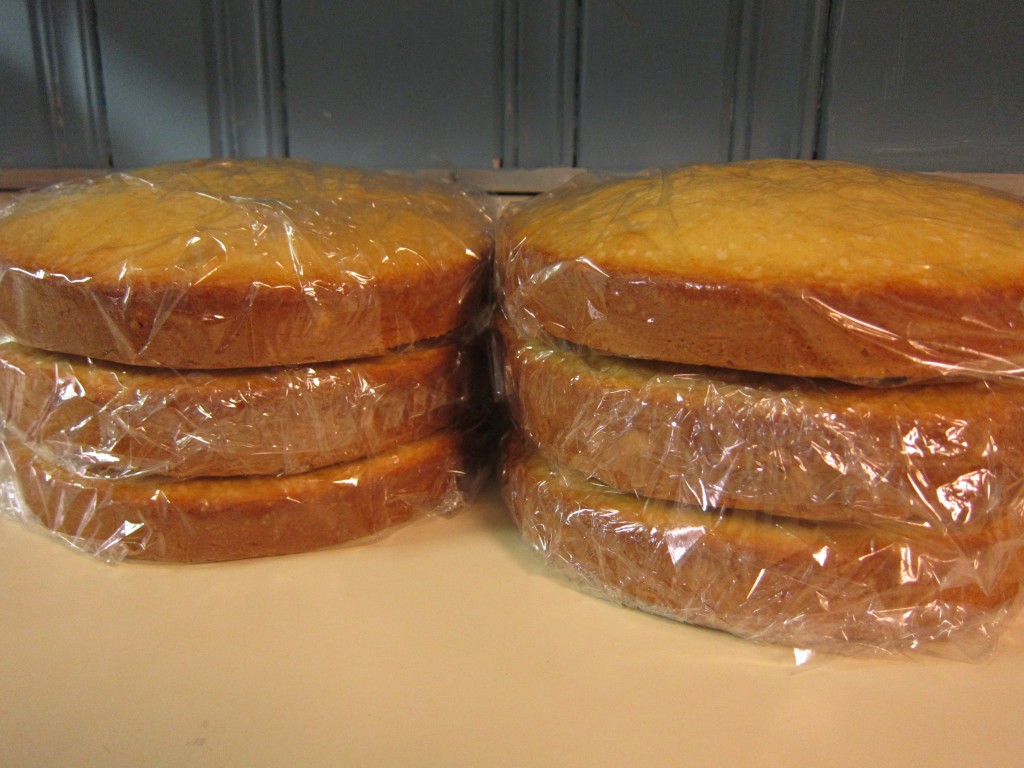
I trimmed the muffin tops off of my pre-made cake layers…

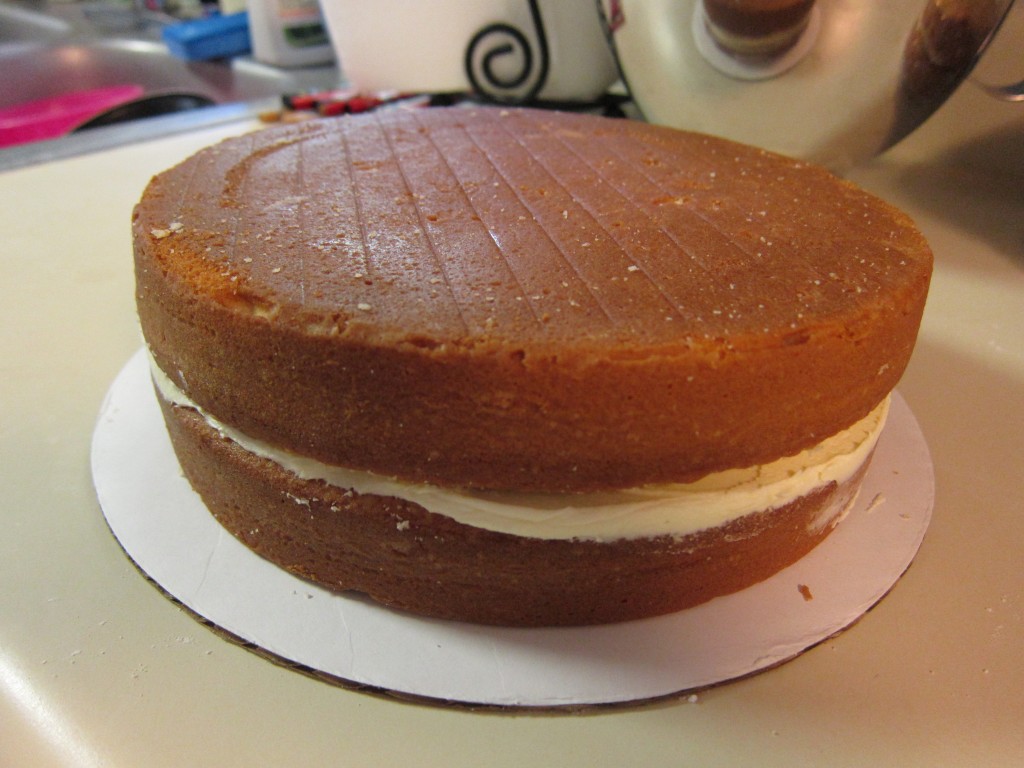
And started building…

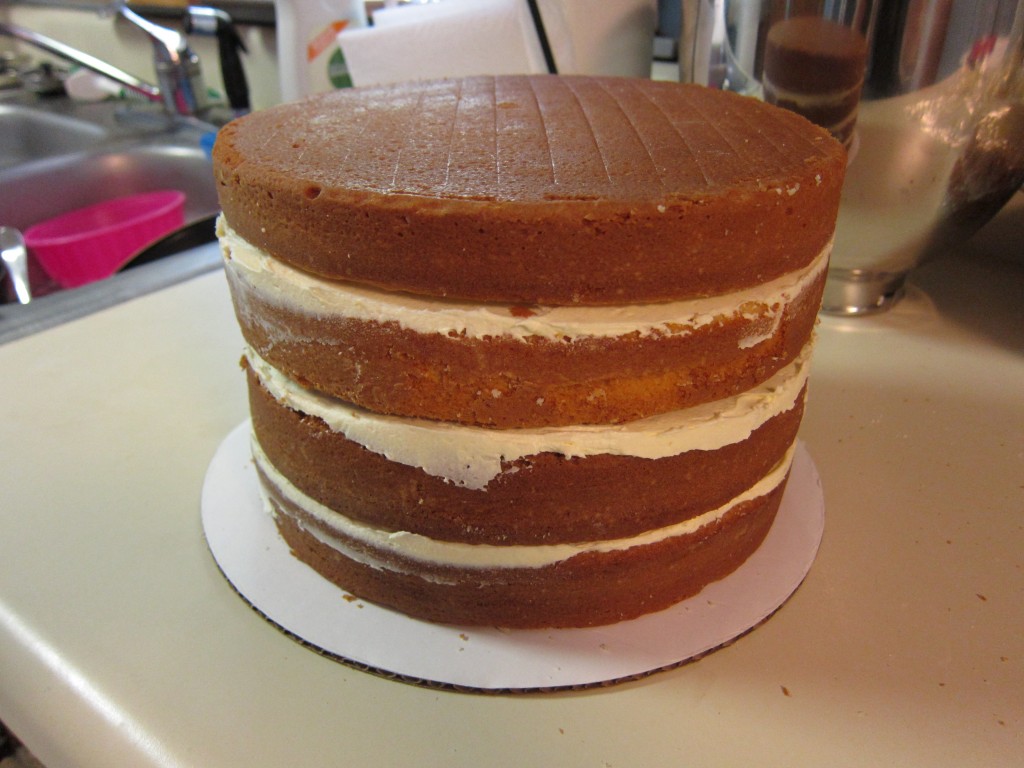
Here’s a few more layers…

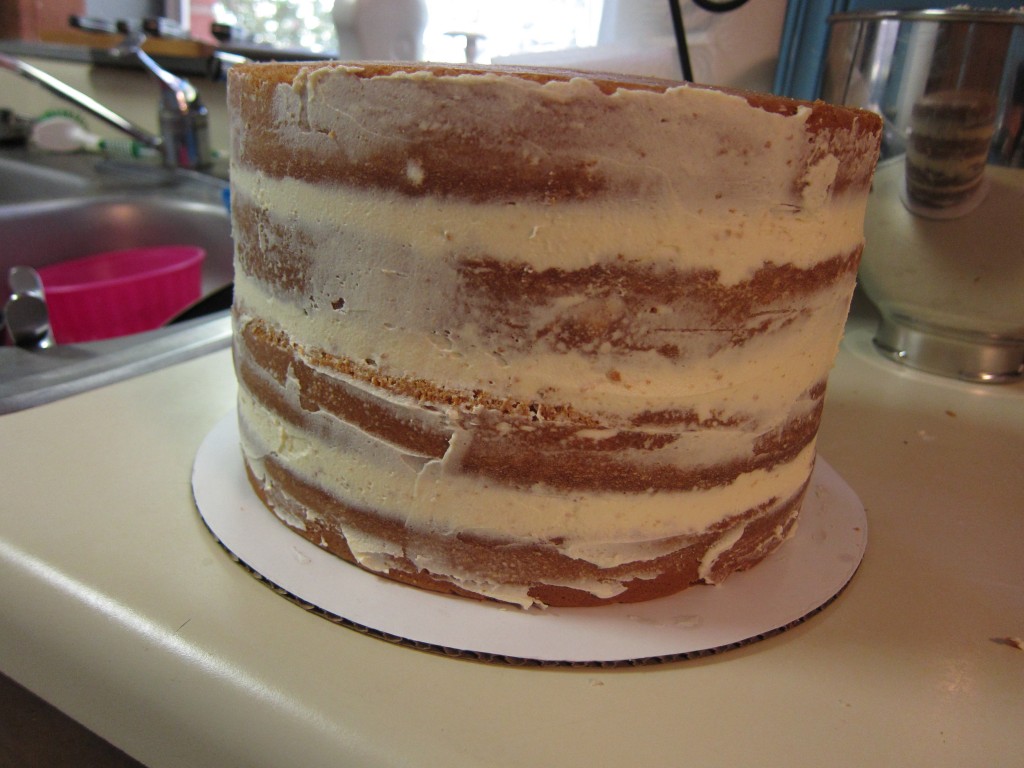
And the crumb coat…

Let that bad boy set up in the fridge for a few hours to let the buttercream “crust.”  That’s when it gets hard and crispy.  You want that for a few reasons; it seals in all the crumbs so that your cake isn’t slowly breaking apart while you’re trying to work with it, it seals the cake to prevent moisture loss so you don’t have a stale cake on wedding day, it makes for one solid structure so that the layers aren’t sliding around all over each other, and it also makes for a smooth and clean surface to lay fondant over so that no bumps or imperfections show through the fondant.

Anyway, I spent the rest of the evening making a video of how to take that rough column of cake and turn it into a finished layer for a three-tier topsy-turvy cake!  Hopefully I’ll have that up sometime tonight, I need Jeff’s help to edit it so I have to at least wait for him to get home from work.

Here’s what I get to try to avoid for the rest of the day…

Cake scraps!  Maybe just one little piece?