Skip to Content

tag

Tag Archives: oatmeal

post

How to make instant oatmeal awesome

I tend to classify the processes in the aim of “making food” as either cooking, baking, or assembly.  Upon waking, I am usually stuck in a half-dream state and able to comprehend little more than the aching grumble of my lonely stomach, so I normally forgo the former two more laborious processes and opt for assembly.

“Real” oatmeal, cooked slowly over the stove, is a wonderful thing and a totally different animal from the instant variety.  However, in an effort to do less for a similar result, I have become very skilled at elevating a packet of plain ole’ instant oatmeal into something much more praise-worthy.

Here’s what I did this morning:

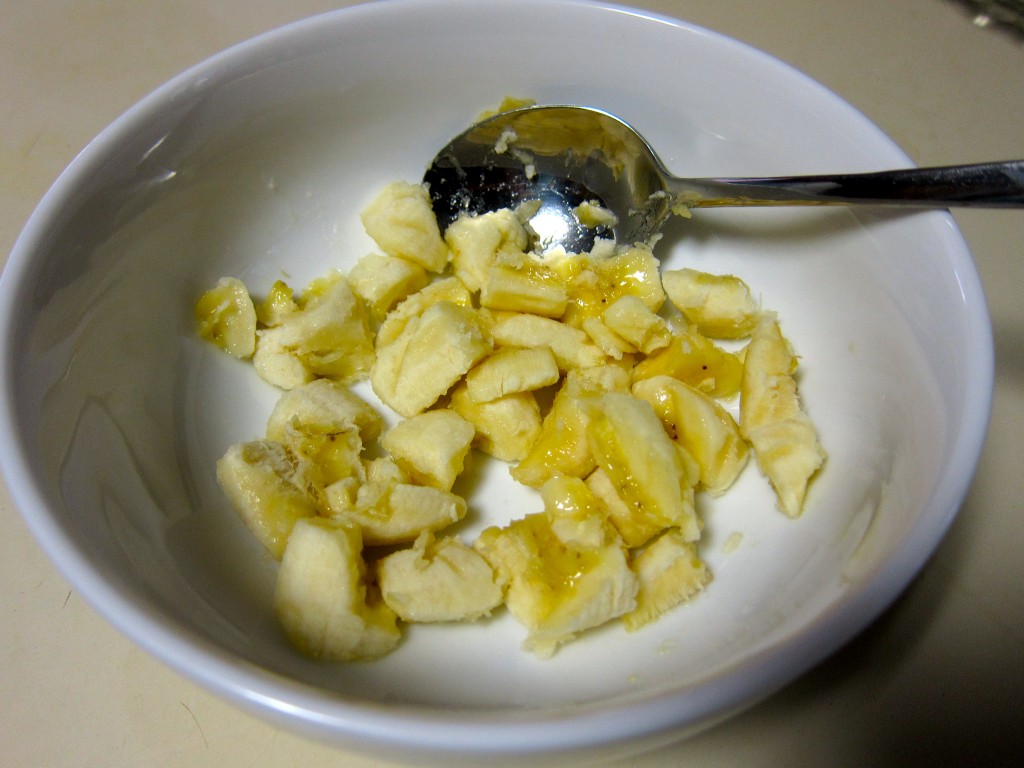
It always starts the same way, I tear up a banana and cut it up further with a spoon, but I don’t mash it.  The banana serves as the sweetener in the oatmeal; I really won’t need to add any more sugars once this little baby heats up in the microwave.

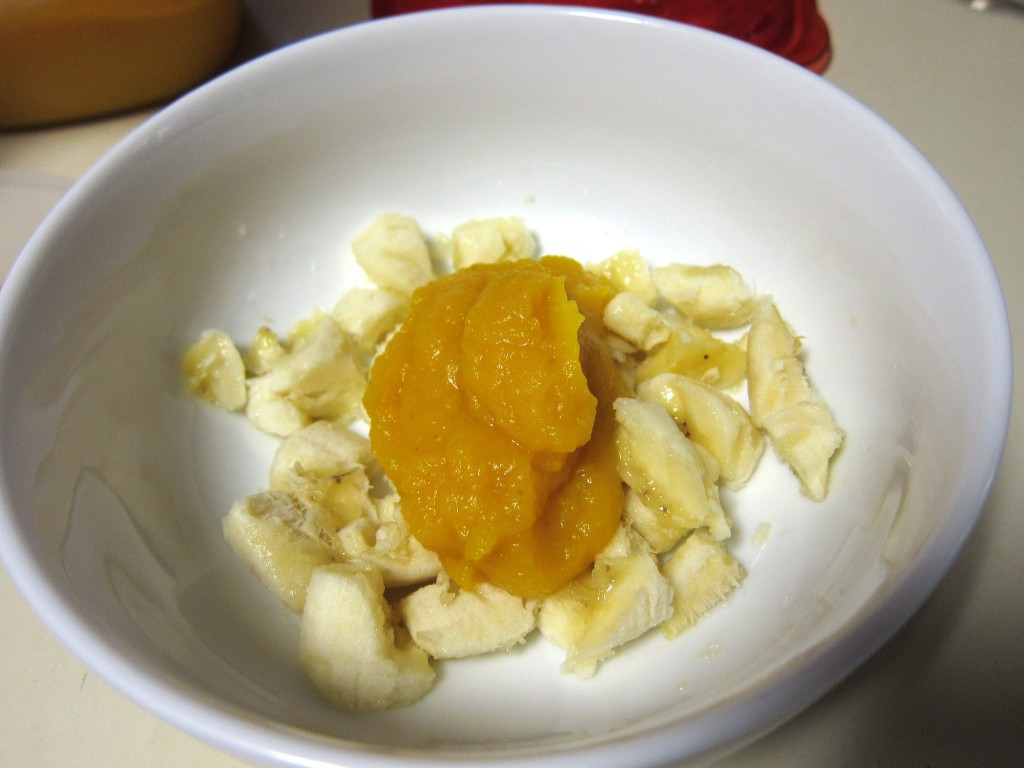
Today I added a generous plop of pumpkin puree because I have a ton of it that I need to use up.

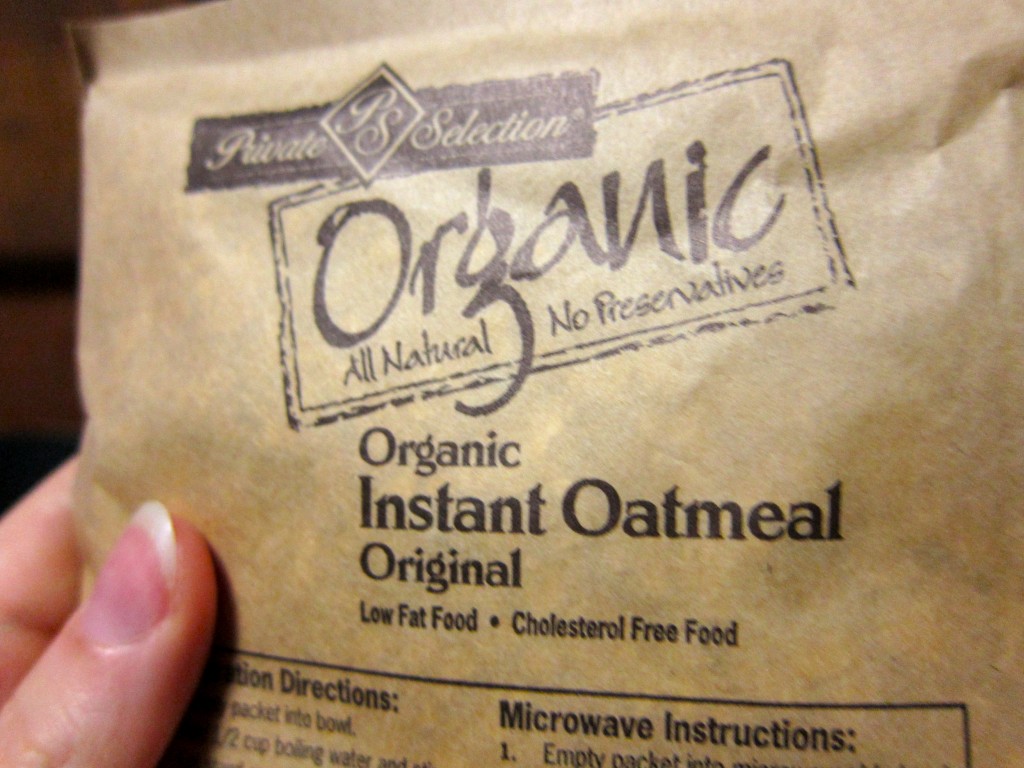
I buy this plain store brand oatmeal and I’m pretty pleased with it.

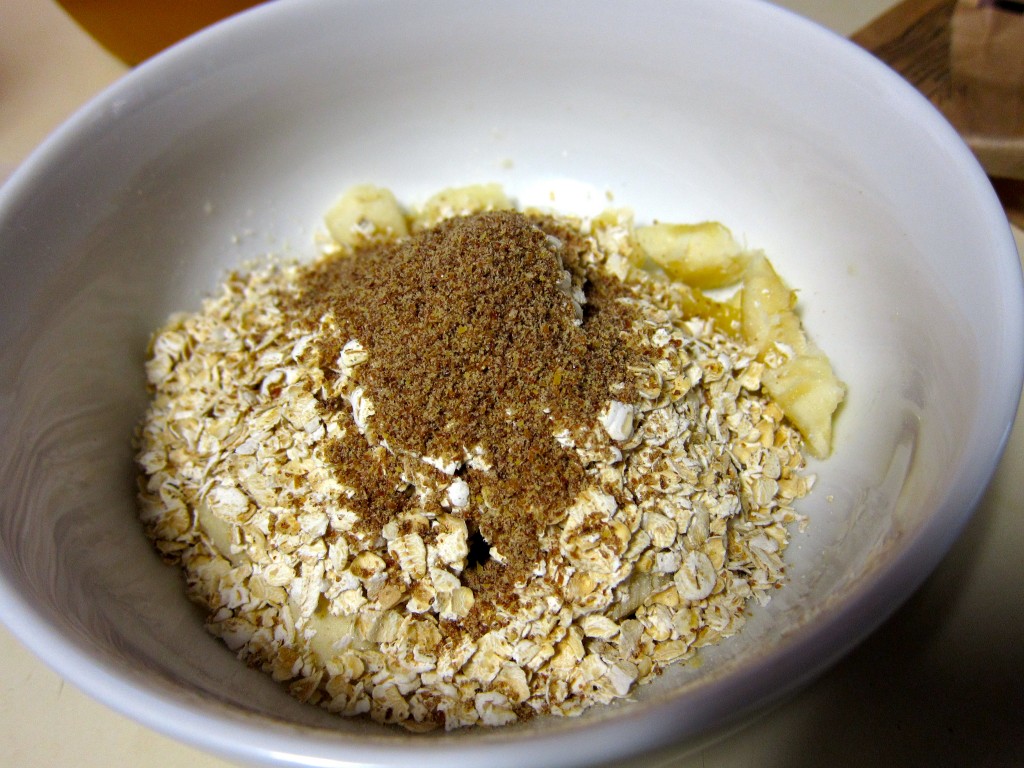
I just pour the oats right over everything else and add a spoonful of flax meal.

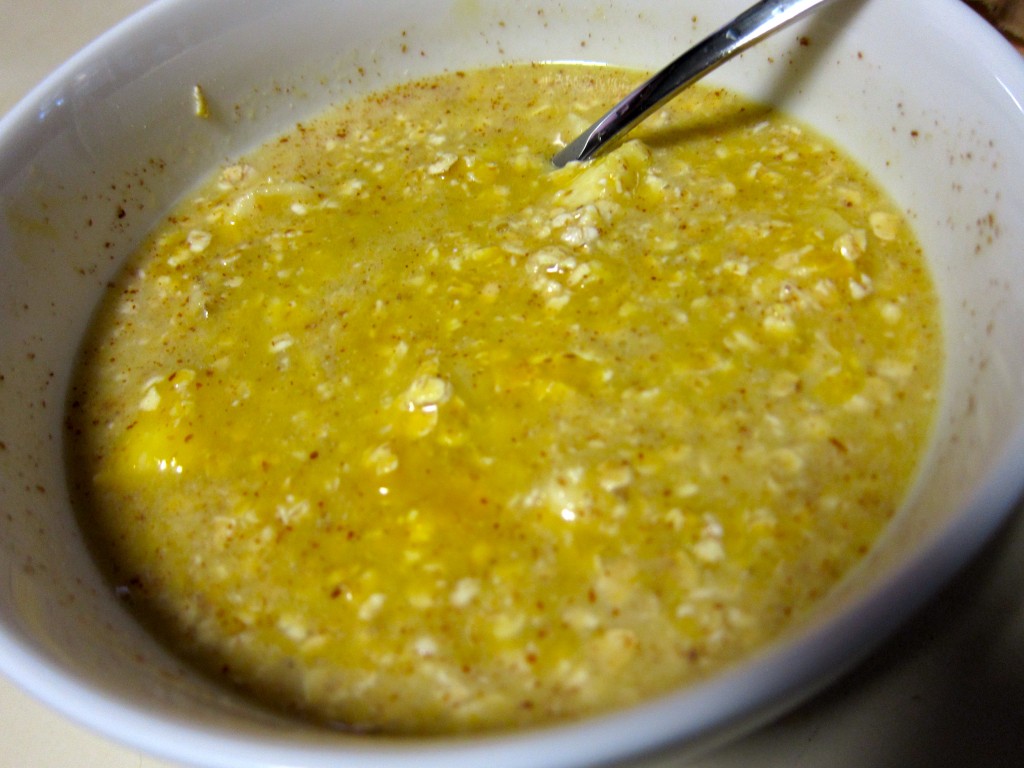
Next I pour over almond milk and water and stir it all up.  I’ve found that if I add all almond milk and no water, it’s a little too rich for me to finish all of it.  It should look a little soupy, it’s gonna thicken a lot.

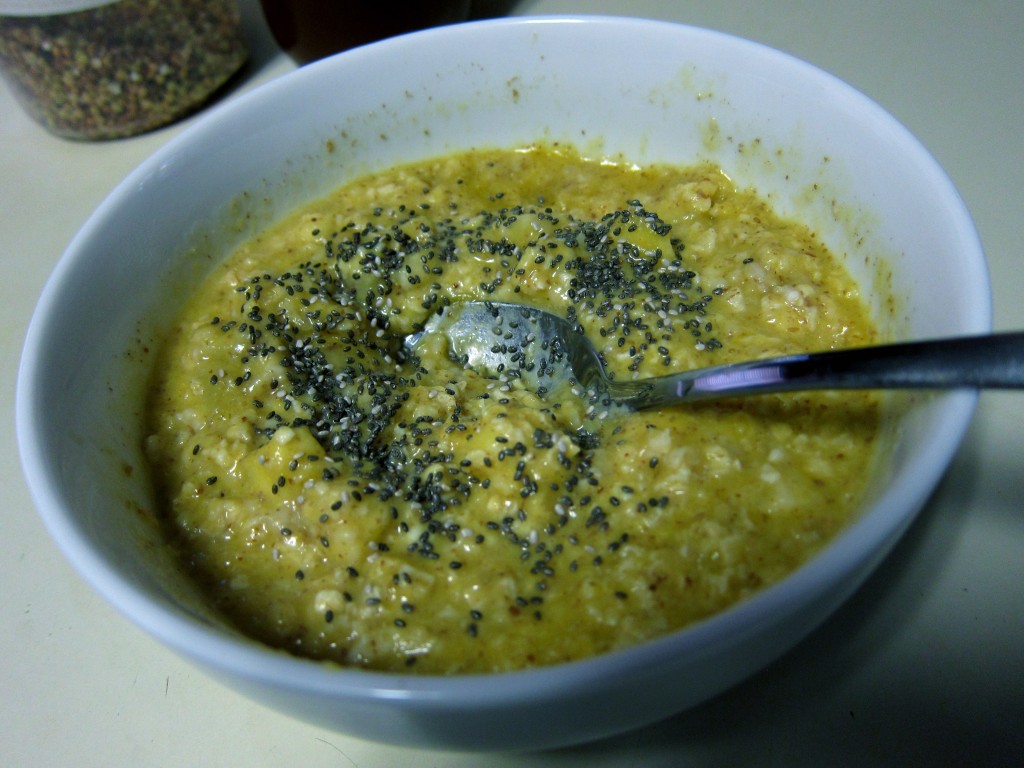
You have to microwave it about 30 seconds longer than the package suggests because there’s a lot more stuff to heat and some of it is coming from a refrigerated state.  I added chis seeds at this point and stirred them in.

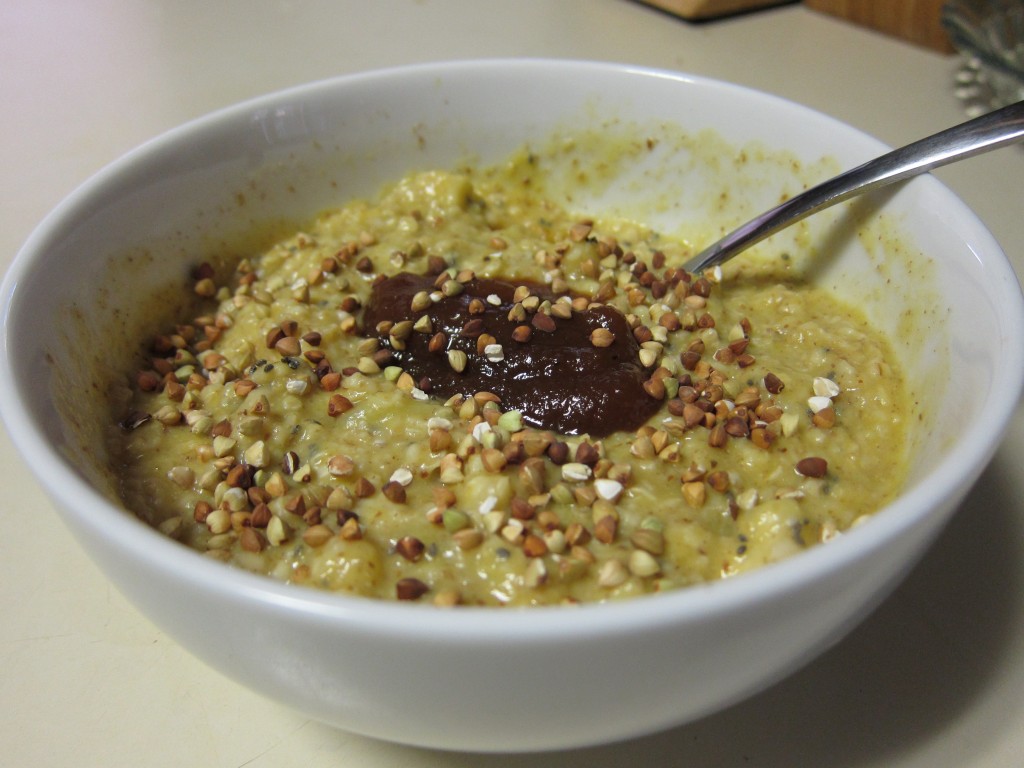
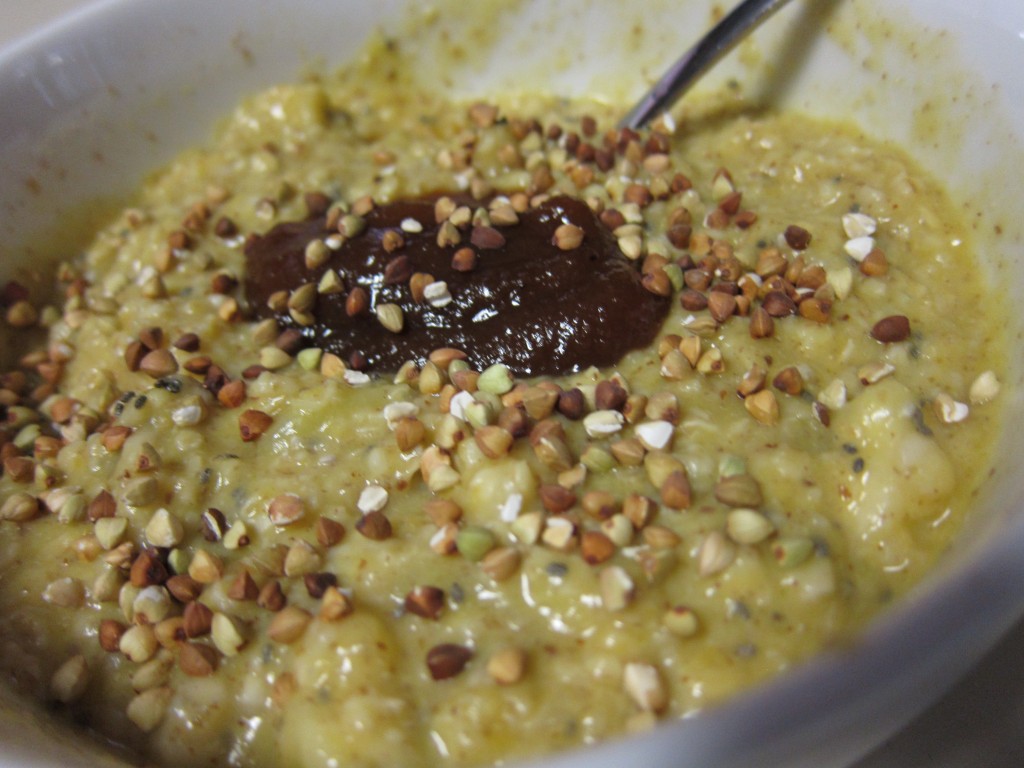
That is pretty much it.  I topped it with apple butter and toasted buckwheat because that’s the kick I’m on right now, but you can eat it plain or top it with anything you want.

It really is amazingly good. You would not guess that this was microwaved oatmeal. I often eat it with just the chopped banana and oats; it’s easy to put together at the office that way too. Another quick trick is to just use a spoonful of jam and microwave that with the oats, makes for a really sticky sweet oatmeal.

I’m not ashamed of my instant oatmeal, I’m really lucky to even be able to put that together after just waking up.

With a cup of tea, it’s a fabulous breakfast.

post

Epic pumpkin oats and veggie sandwich

This morning I really wanted to use my pumpkin puree that I made yesterday, so I made a batch of pumpkin oatmeal for Jeff and I with a few extra additions.

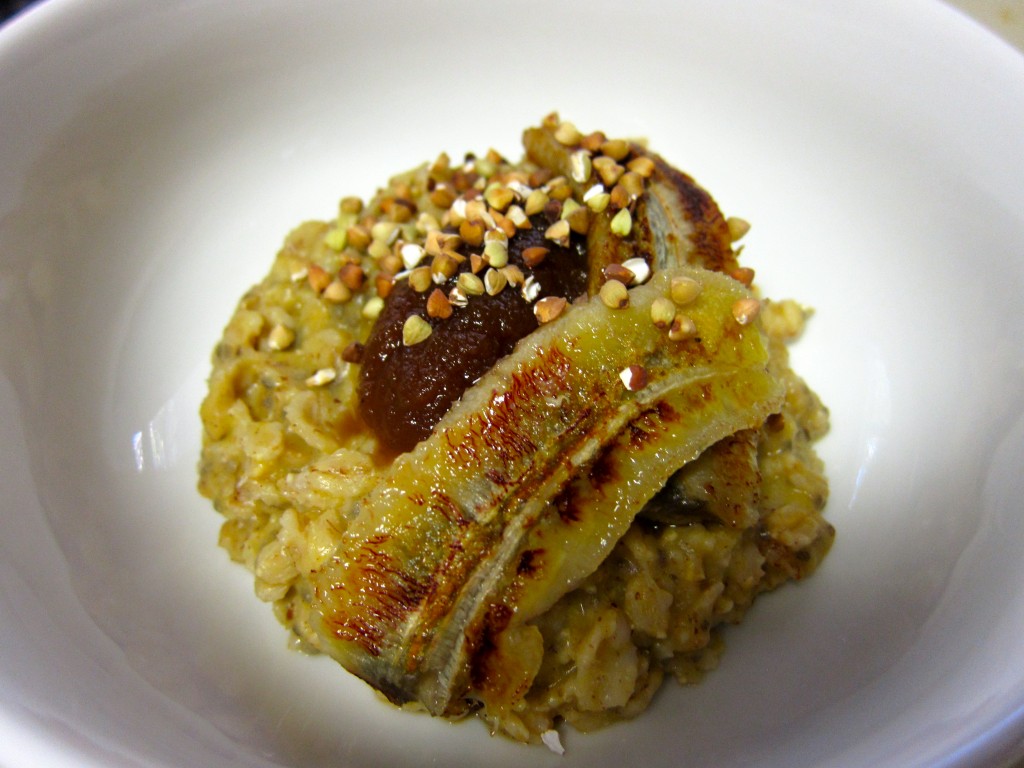
Yes, that’s a caramelized banana and apple butter!  Wow, this was so good.  Here’s how it came to be:

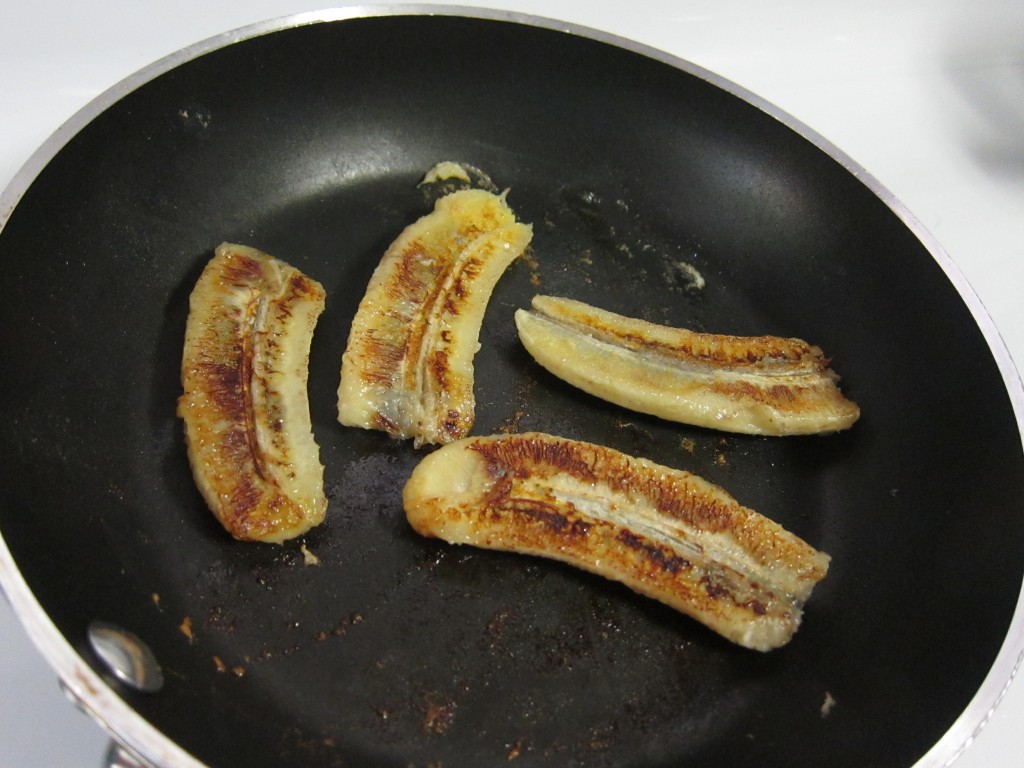
I started by slitting a banana in half and heating it in a non-stick pan…

And in a pot I added the following:

  • 3/4 cup rolled oats
  • 1 cup almond milk
  • 1/4 cup water
  • 1 tbsp. flax meal
  • 1 tbsp. chia seeds
  • 1 tbsp. maple syrup
  • one huge scoop of pumpkin puree

I basically just let the liquid come to a boil then add all the stuff, stir, turn it to low and let it sit covered for about 5 minutes.  Then I just stir vigorously until it thickens up nicely and serve.

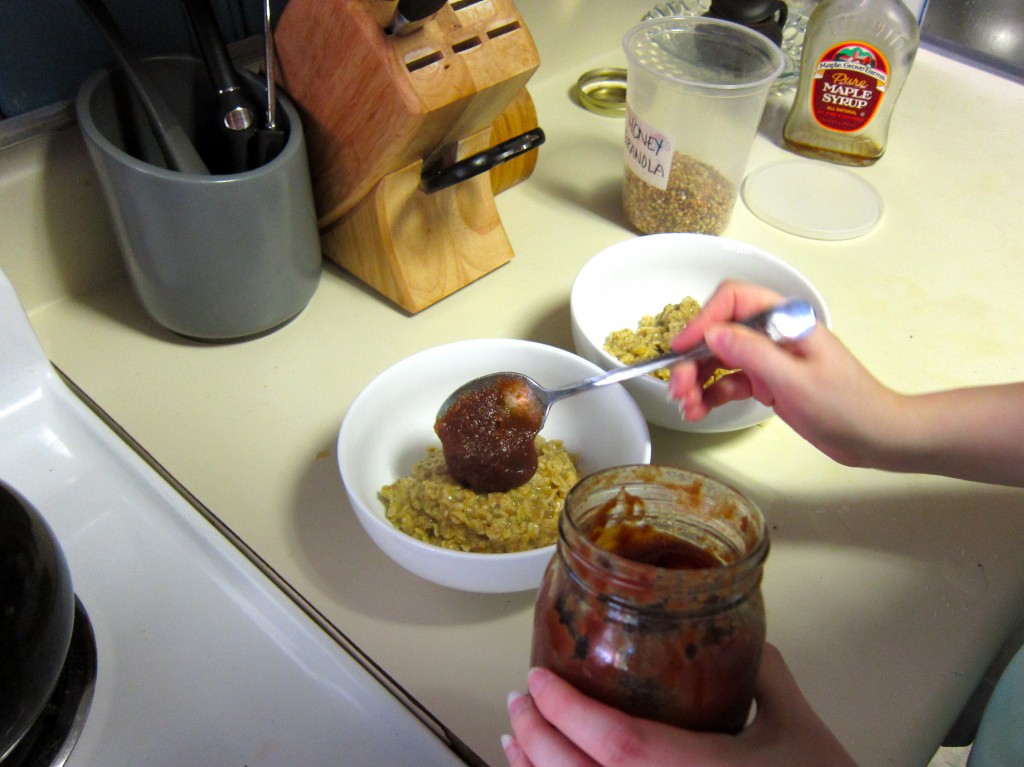
Add the toppings…

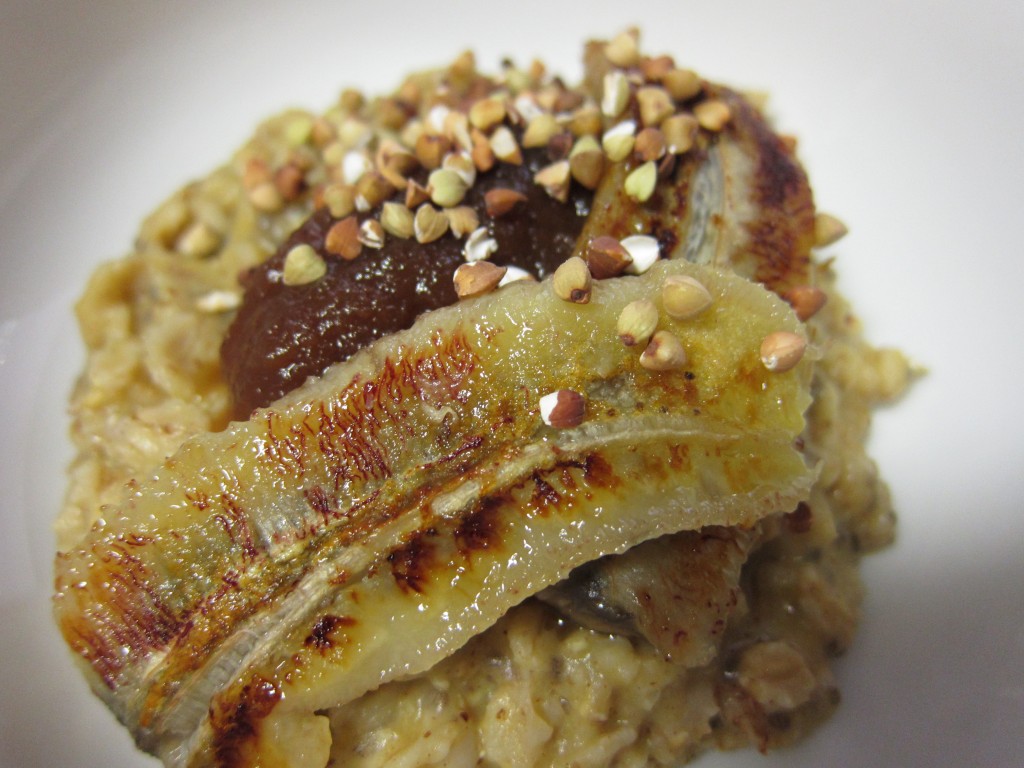
And serve! Just look at the “veins” on that caramelized banana, creepy but epically good!

Moving on to my equally epic lunch…

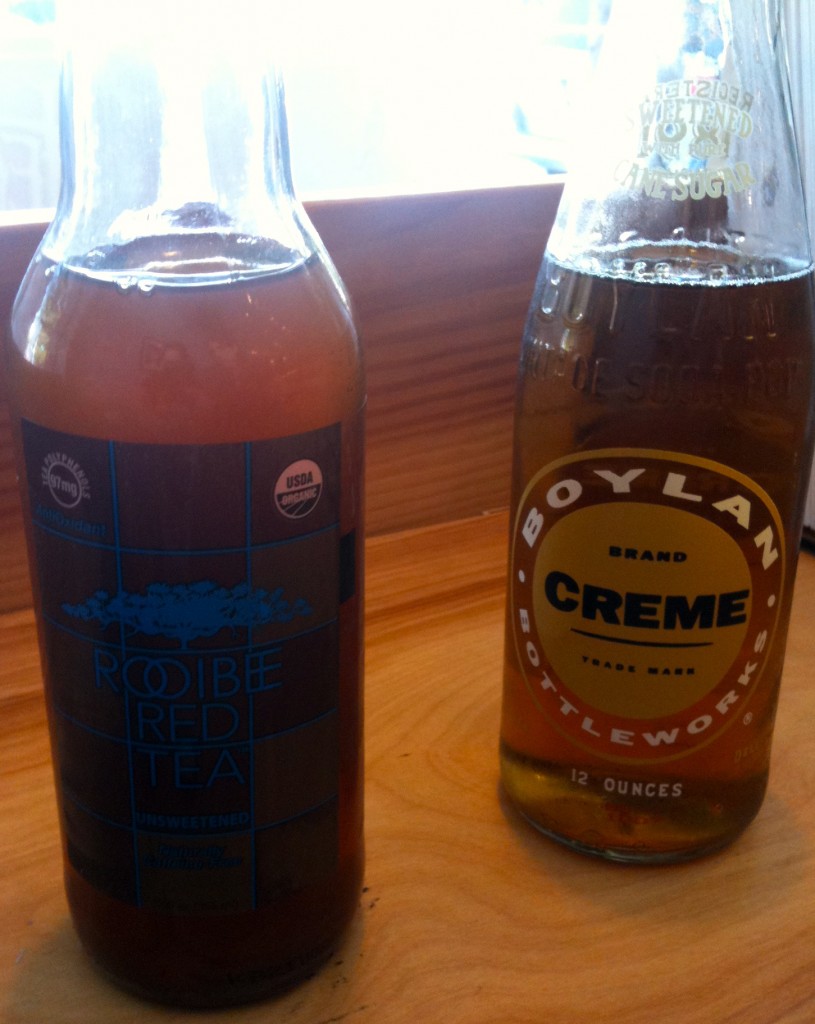
Jeff and I went for a walk to enjoy the glorious day going on outside and to try to grab some lunch.  We ended up at Sawicki’s, a sort of general store/ delicatessen/ sandwich shop in downtown Decatur.  While we waited for our sandwiches to be made, Jeff sipped on a cream soda and I tried a chilled rooibos tea.

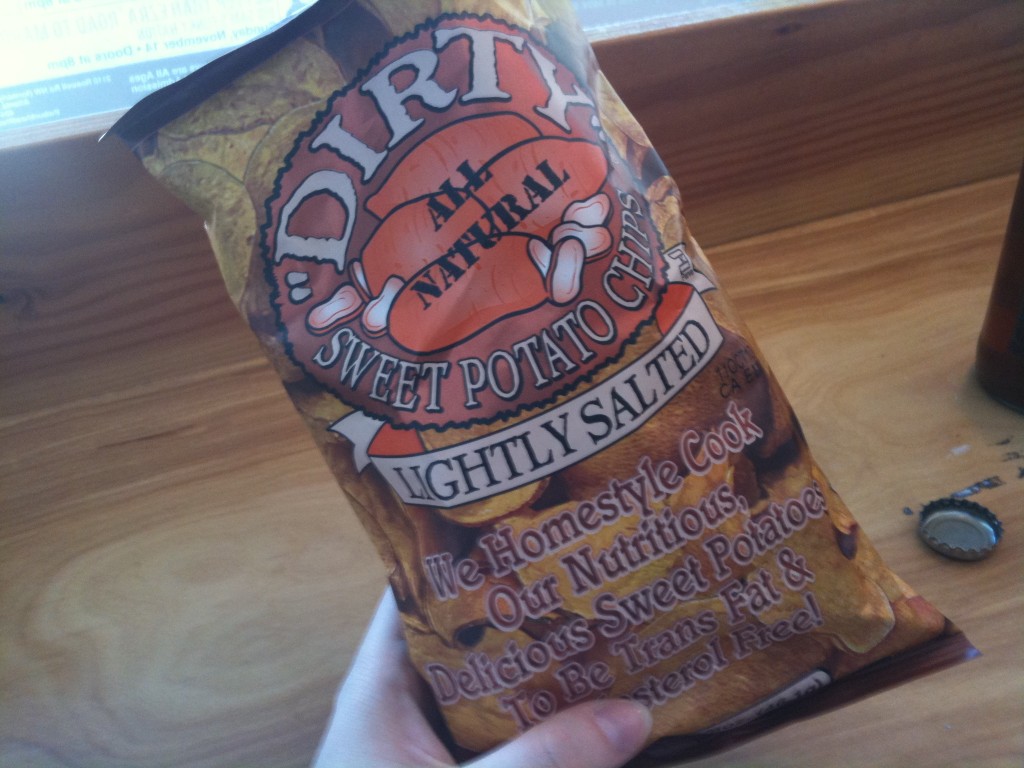
And we shared some sweet potato chips…

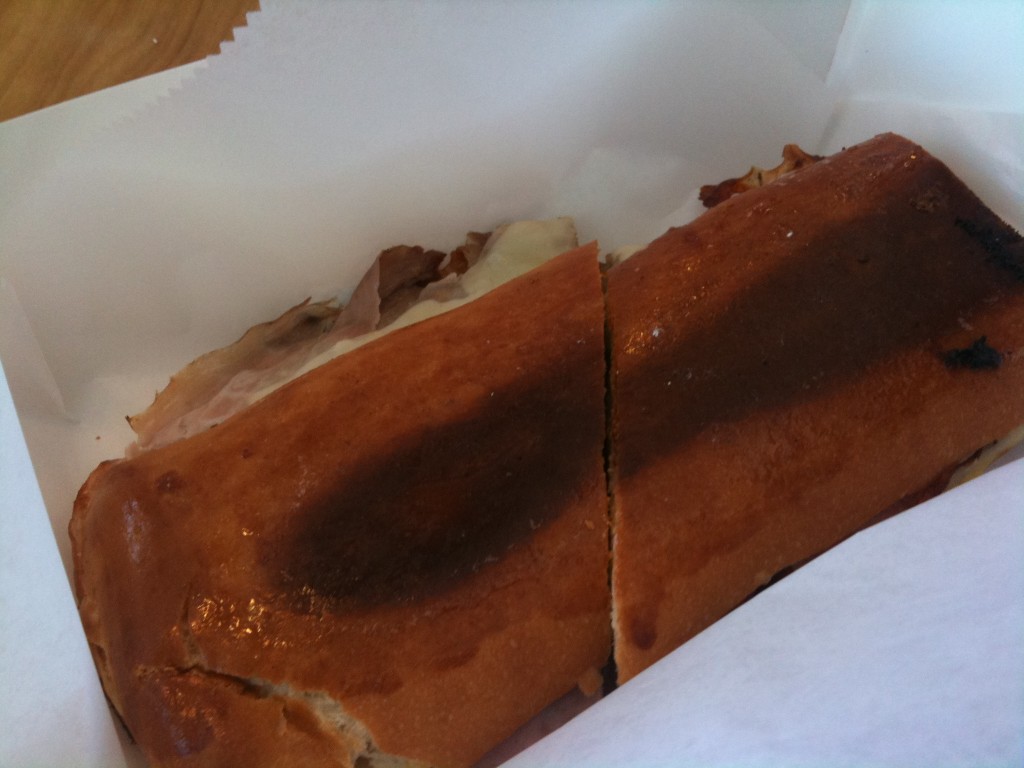
Jeff got the cuban, which he said was excellent…

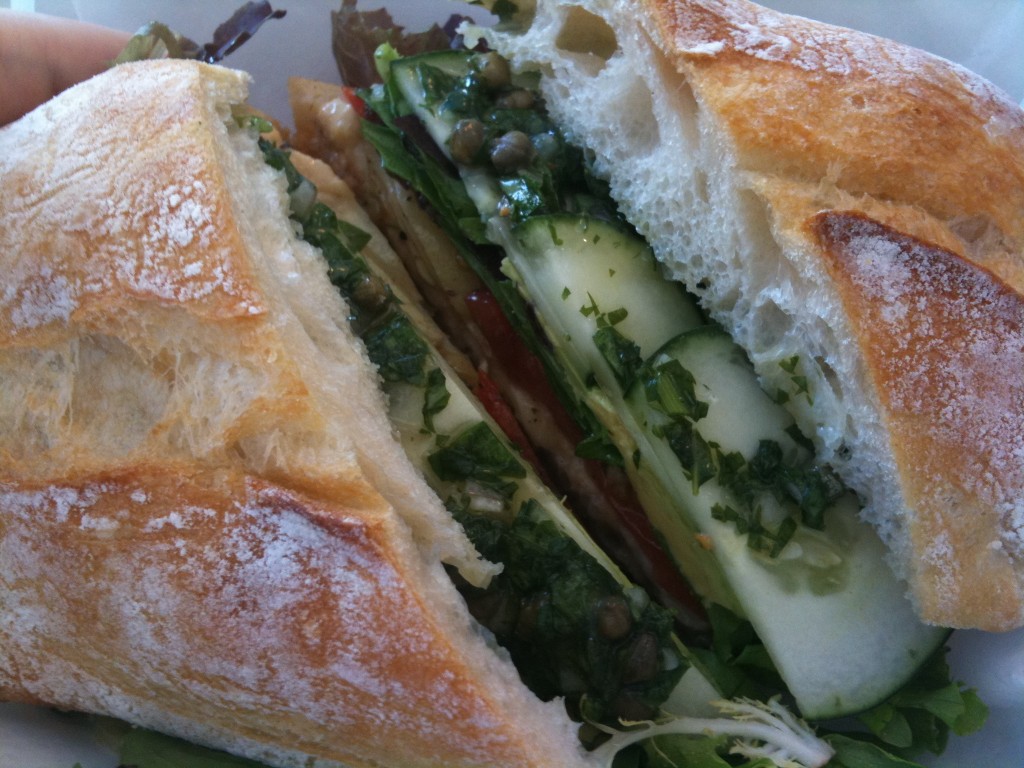
And I had the single best veggie sandwich I have ever had…

It was spring mix lettuces, avocado, cucumber, artichoke, tomato, hummus, and basil caper vinaigrette on the most delicious crusty roll ever.  EPIC.

We will definitely be hitting up Sawicki’s again, can’t believe it took us this long to try it.

I have an interesting dinner planned for tonight, maybe I’ll hit the trifecta?

P.S.: Yes, I still plan to put up a video of my wedding cake practice, “life stuff” has gotten in the way, but it does exist and I do intend to get it on here soon.

post

A proper crusting buttercream

(Update: For an even better explanation of my favorite crusting buttercream recipe, as well as my favorite recipe for vanilla cake, try this post instead.)

Sorry I’ve been missing for a few days. As you’ll soon see, I’ve been quite busy!

I’ll show you the buttercream icing I made for my wedding cake practice later in this post….first though, I have got to share with you the amazing breakfast I’m currently scarfing down while I type this.

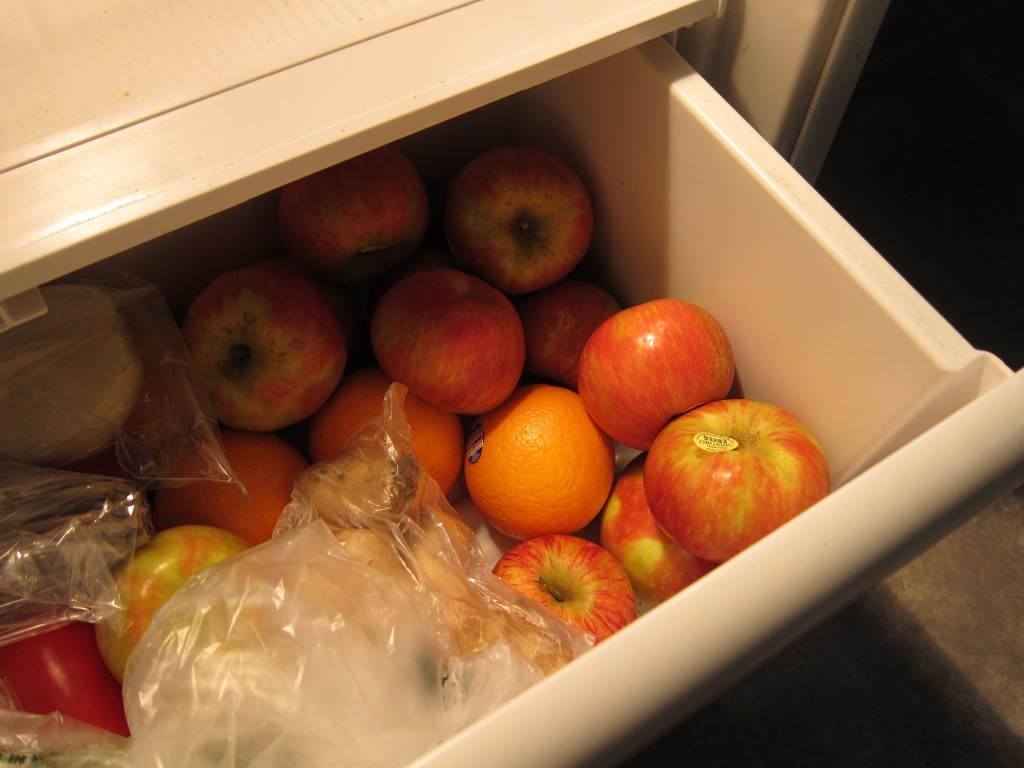
I found my favorite apples at the market two days ago, the Honeycrisp!  Nearly bought the lot of them…

I lay awake in bed last night dreaming of my intentions for these apples this morning. Here’s what I did…

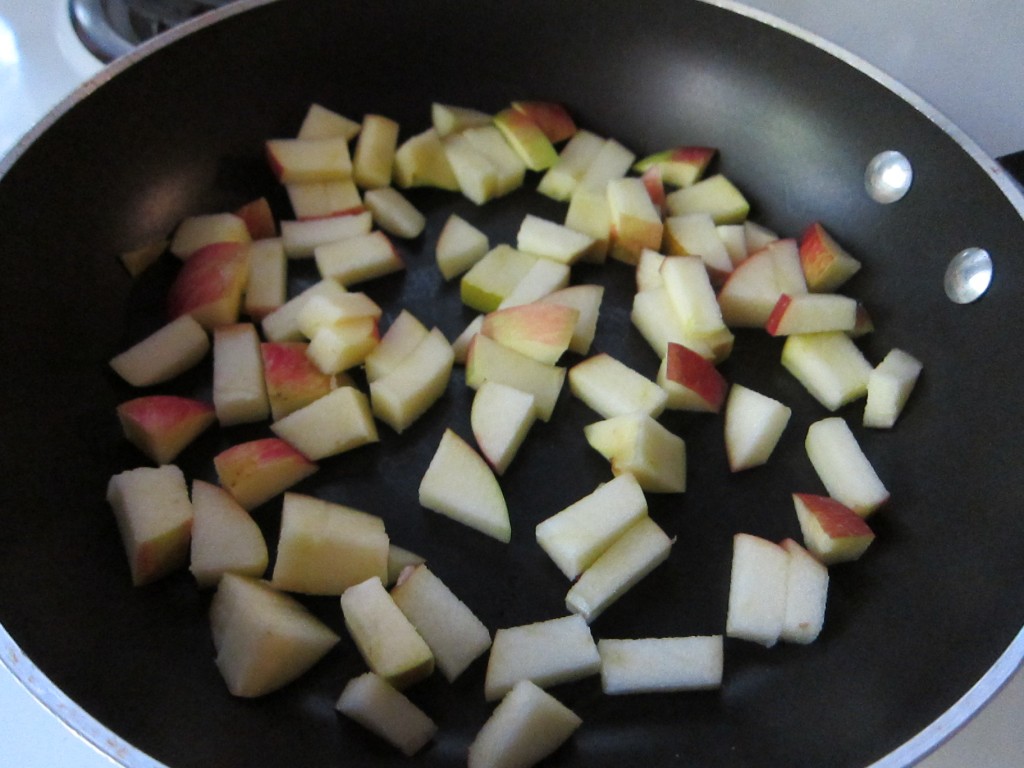
I cut up one small Honeycrisp and sauteed it with cinnamon, nutmeg, and a little apple cider.

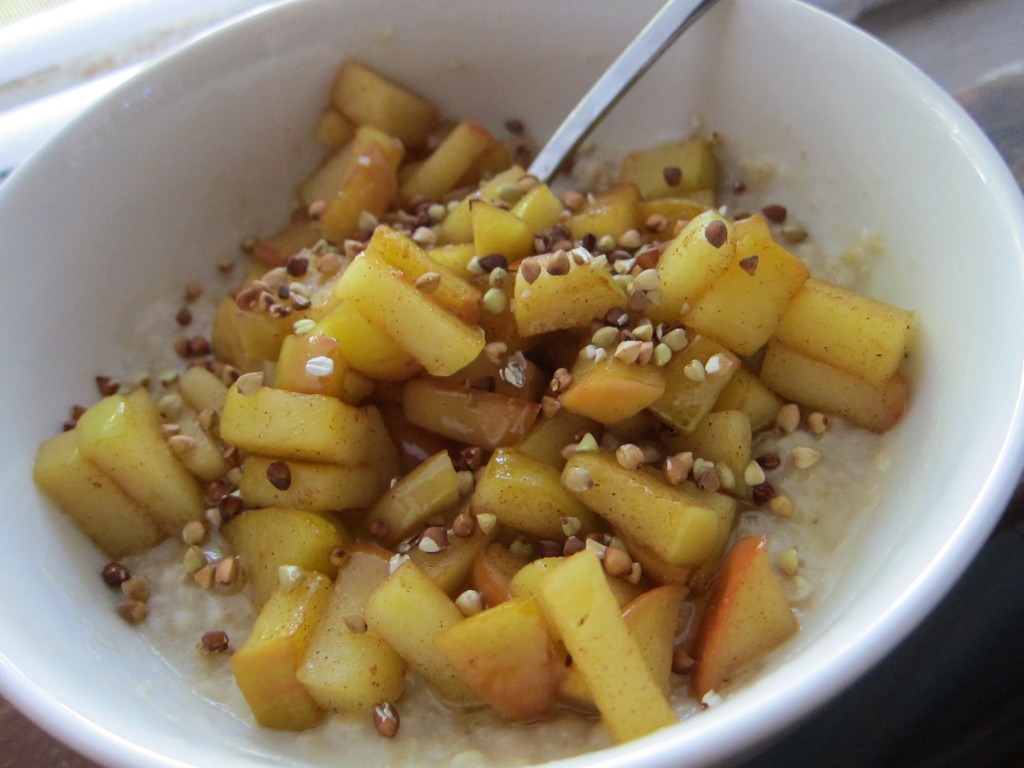
Behold what emerged!..

I put these warm, glossy apples over oatmeal cooked in almond milk and topped it all with toasted buckwheat and honey!  The apples are still slightly firm but not crunchy and all the flavors are just perfect together.

It’s really helping to warm me up in our chilly apartment.  We’re trying not to turn the heat on until it’s really necessary.

So anyway, glorious breakfast aside, this post is really about what I spent my day on yesterday…

That is a vat of frosting, my friends. It was finally time to assemble the wedding cake I’ve been working on!

This is the recipe I used for this crusting buttercream icing:

  • 2 sticks room-temperature butter
  • 1 and 1/2 cups (12oz.) butter-flavored Crisco shortening
  • 1/2 tsp. salt
  • 2 tsp. vanilla extract
  • approx. 2 lbs. powdered confectioner’s sugar
  • milk or water to thin for consistency

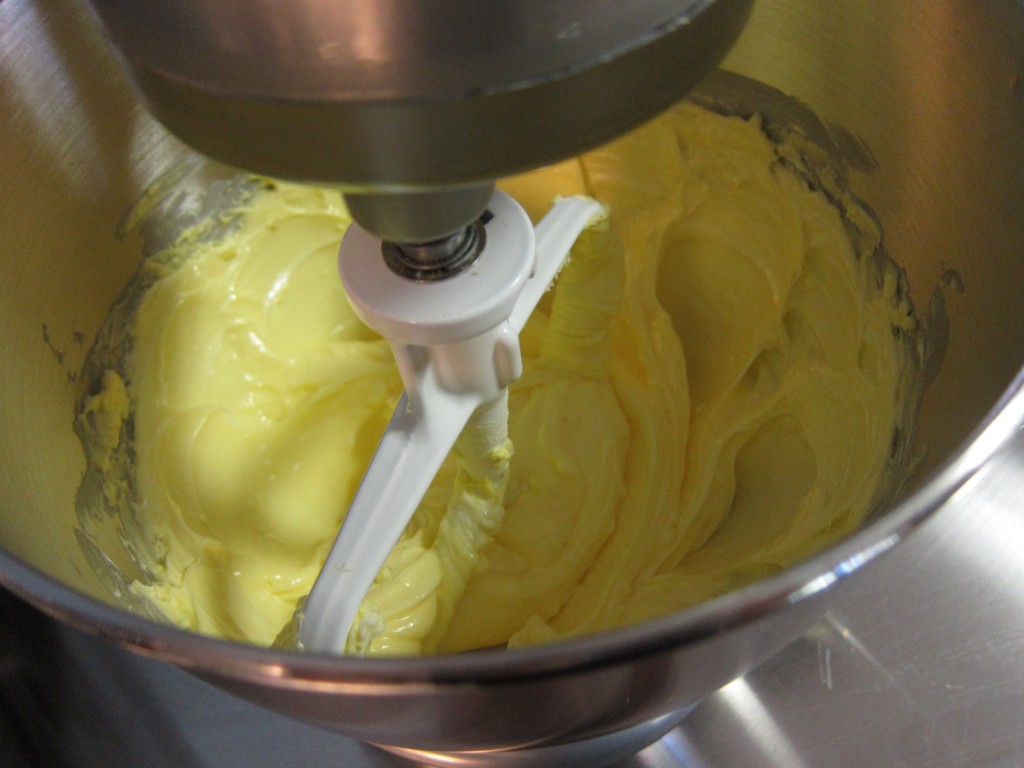
You start by incorporating the butter and shortening together in a mixer.

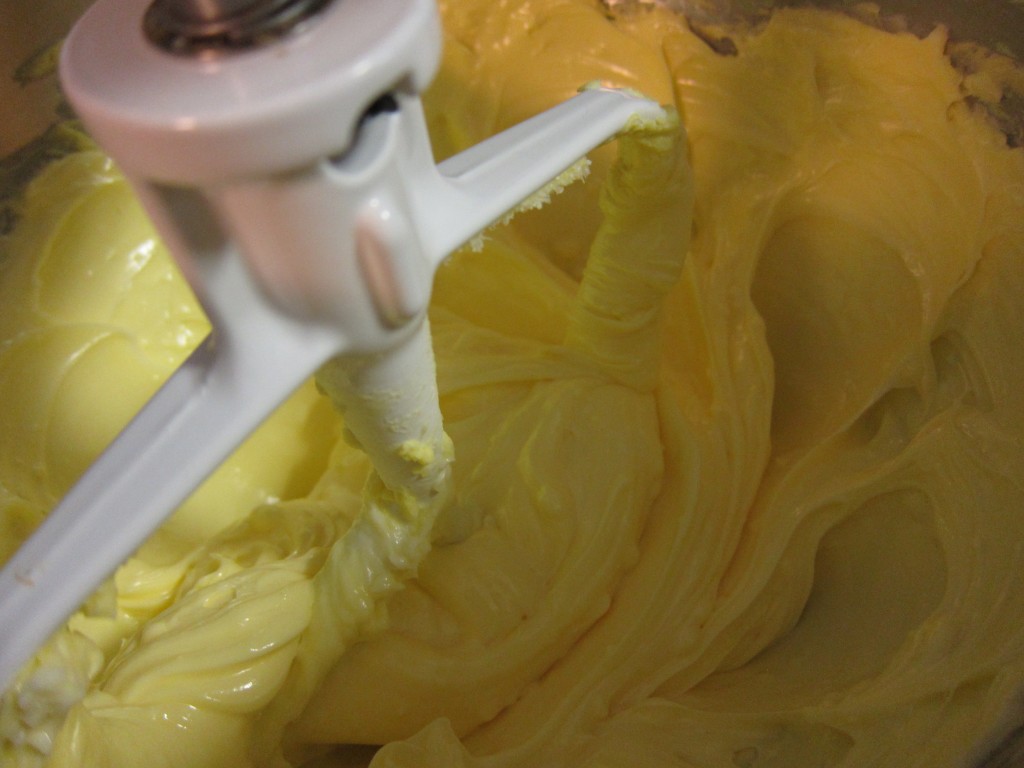
Then add the salt and vanilla and mix until it’s glossy.

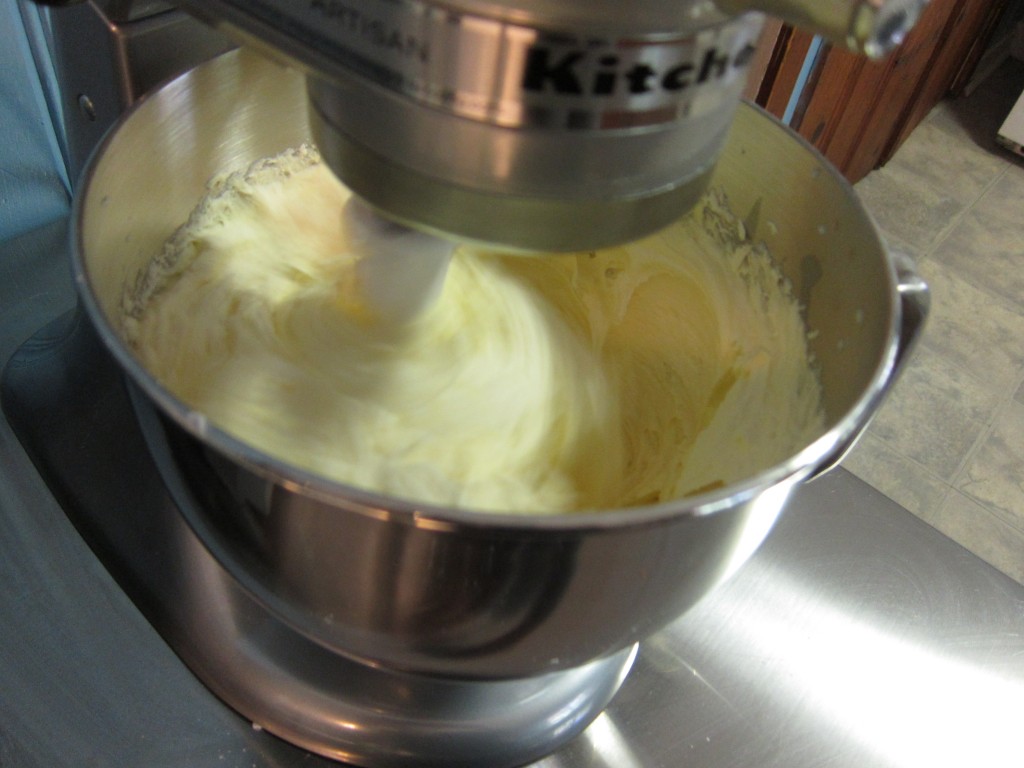
I added the sugar in about six installments to allow it to incorporate completely, then let it whir away to get nice and fluffy.

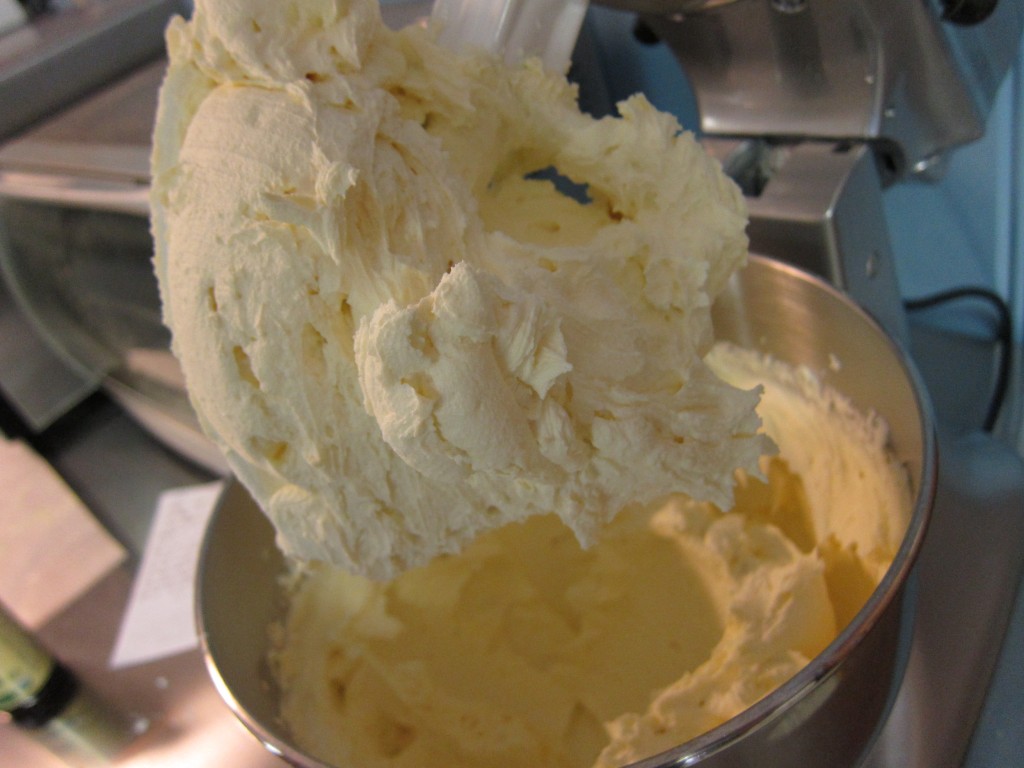
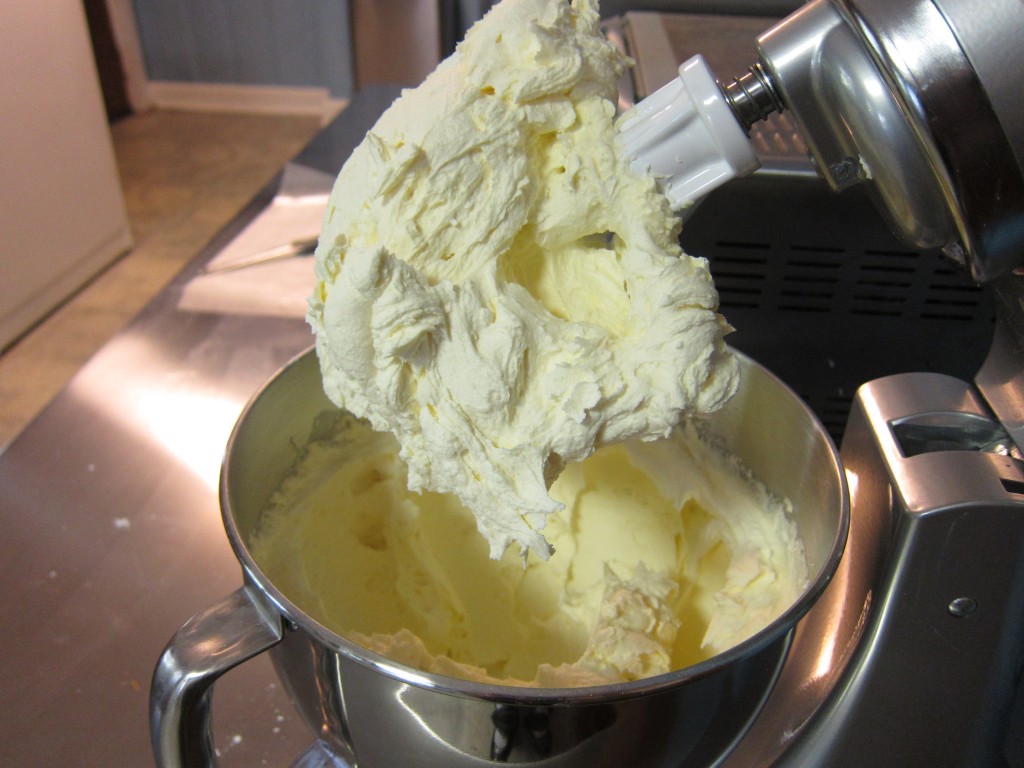
Here’s what came out…

I added just a splash of milk and gave it one more spin to help it to loosen from the blade a little better.

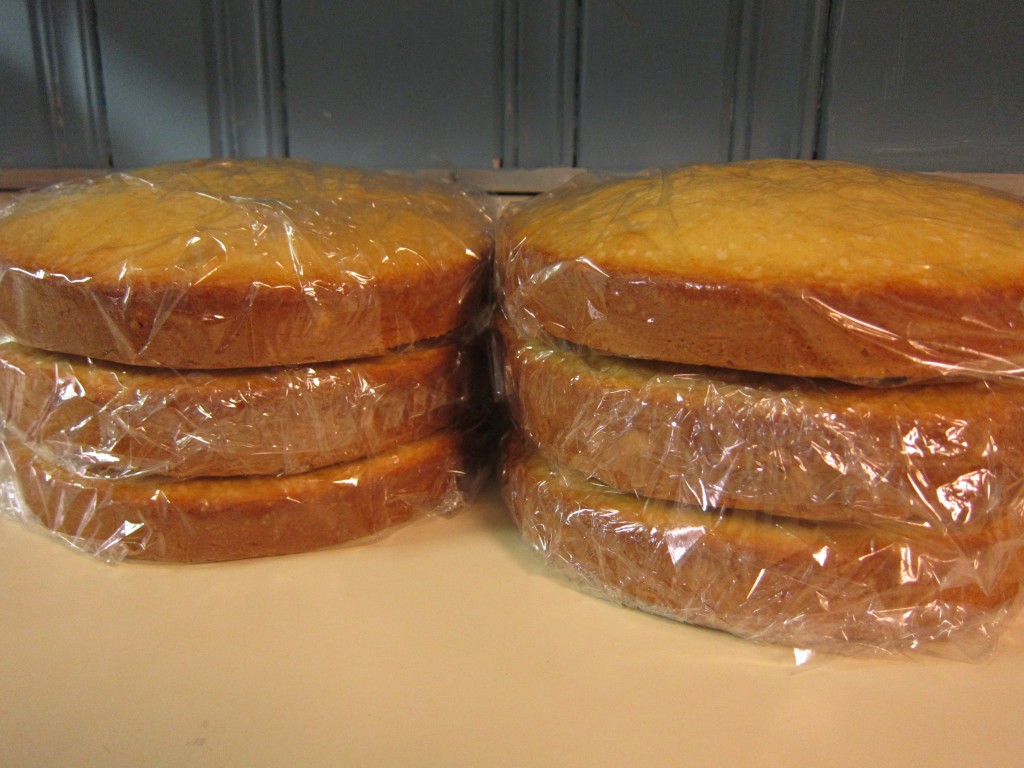
I trimmed the muffin tops off of my pre-made cake layers…

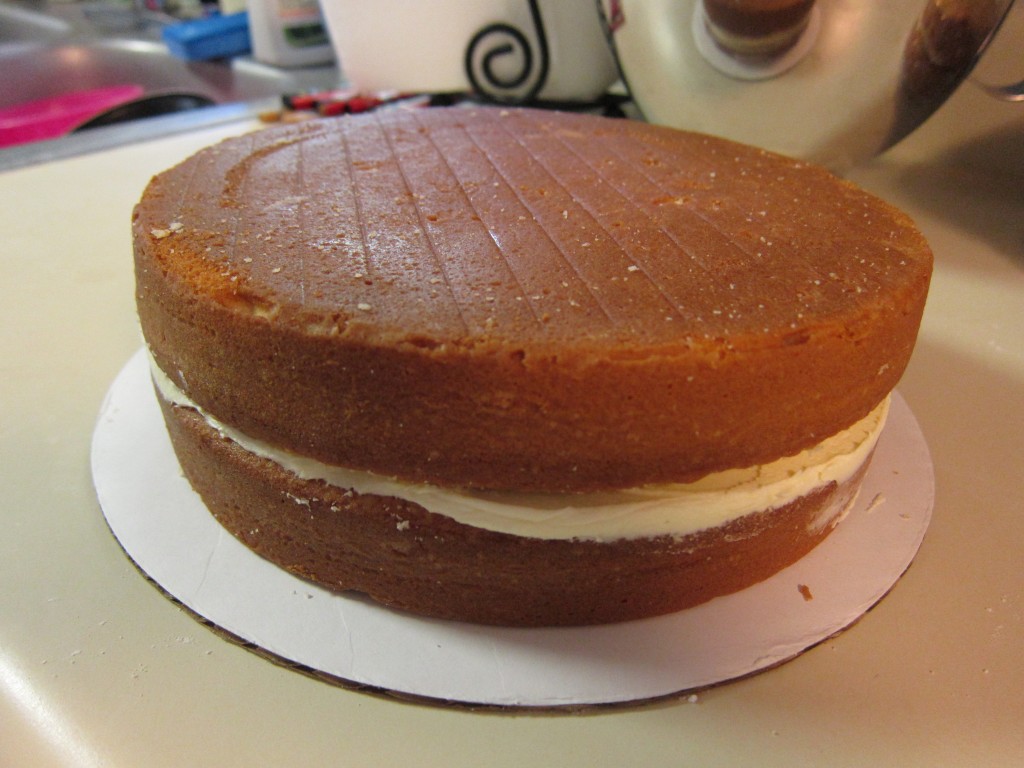
And started building…

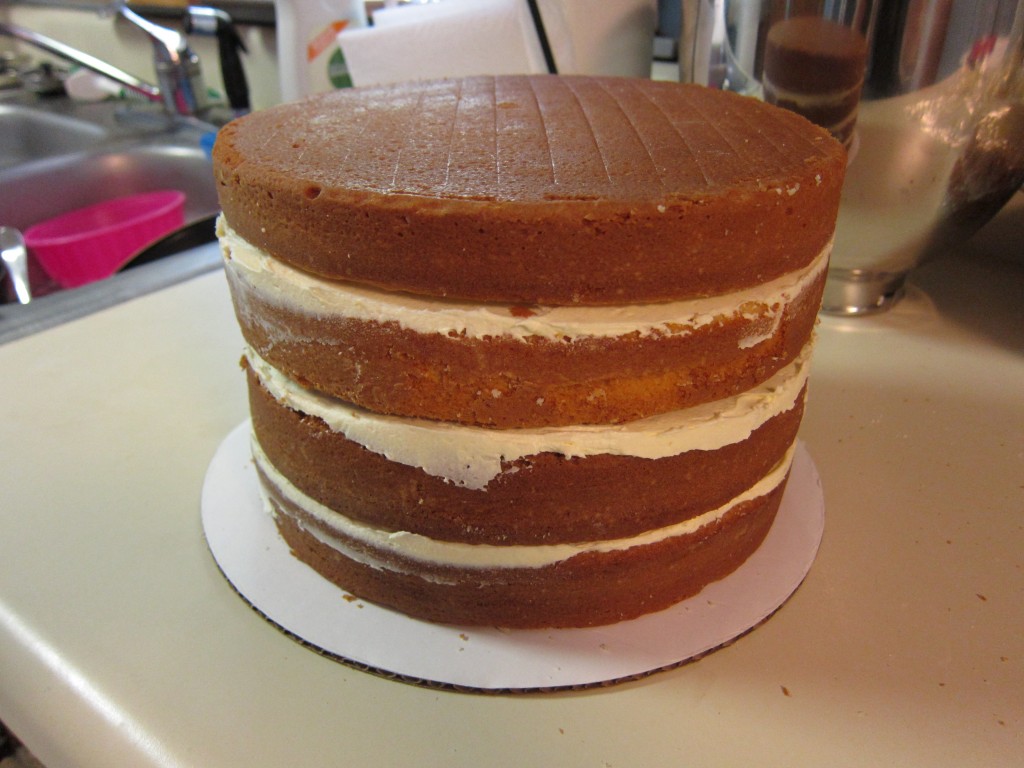
Here’s a few more layers…

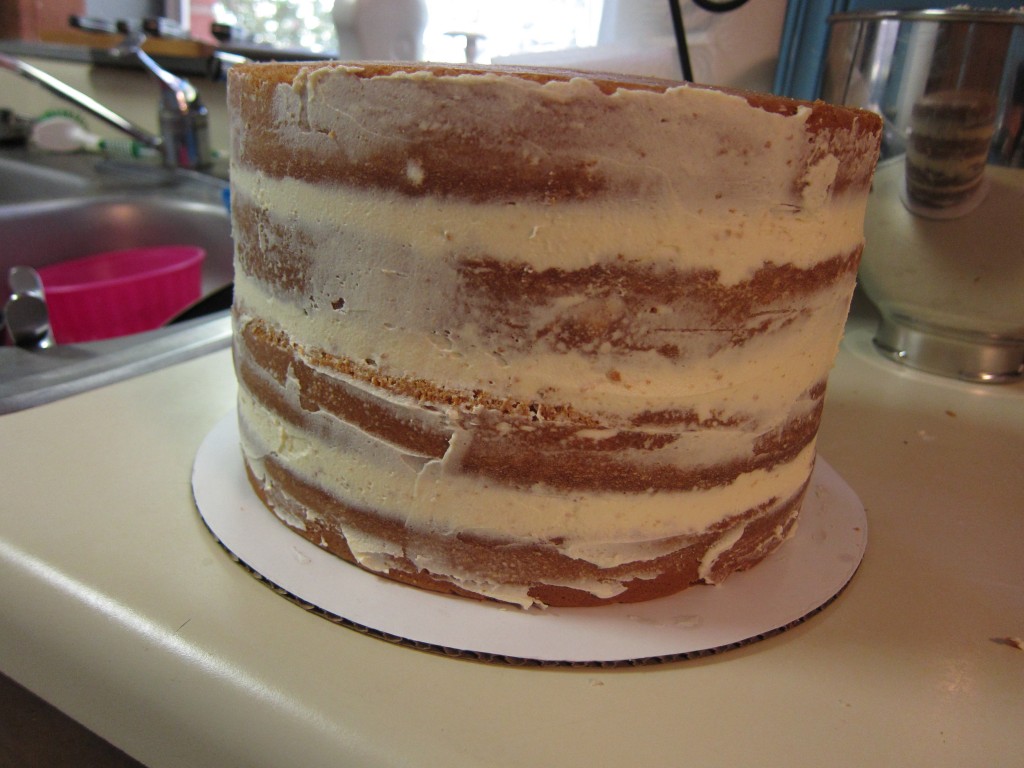
And the crumb coat…

Let that bad boy set up in the fridge for a few hours to let the buttercream “crust.”  That’s when it gets hard and crispy.  You want that for a few reasons; it seals in all the crumbs so that your cake isn’t slowly breaking apart while you’re trying to work with it, it seals the cake to prevent moisture loss so you don’t have a stale cake on wedding day, it makes for one solid structure so that the layers aren’t sliding around all over each other, and it also makes for a smooth and clean surface to lay fondant over so that no bumps or imperfections show through the fondant.

Anyway, I spent the rest of the evening making a video of how to take that rough column of cake and turn it into a finished layer for a three-tier topsy-turvy cake!  Hopefully I’ll have that up sometime tonight, I need Jeff’s help to edit it so I have to at least wait for him to get home from work.

Here’s what I get to try to avoid for the rest of the day…

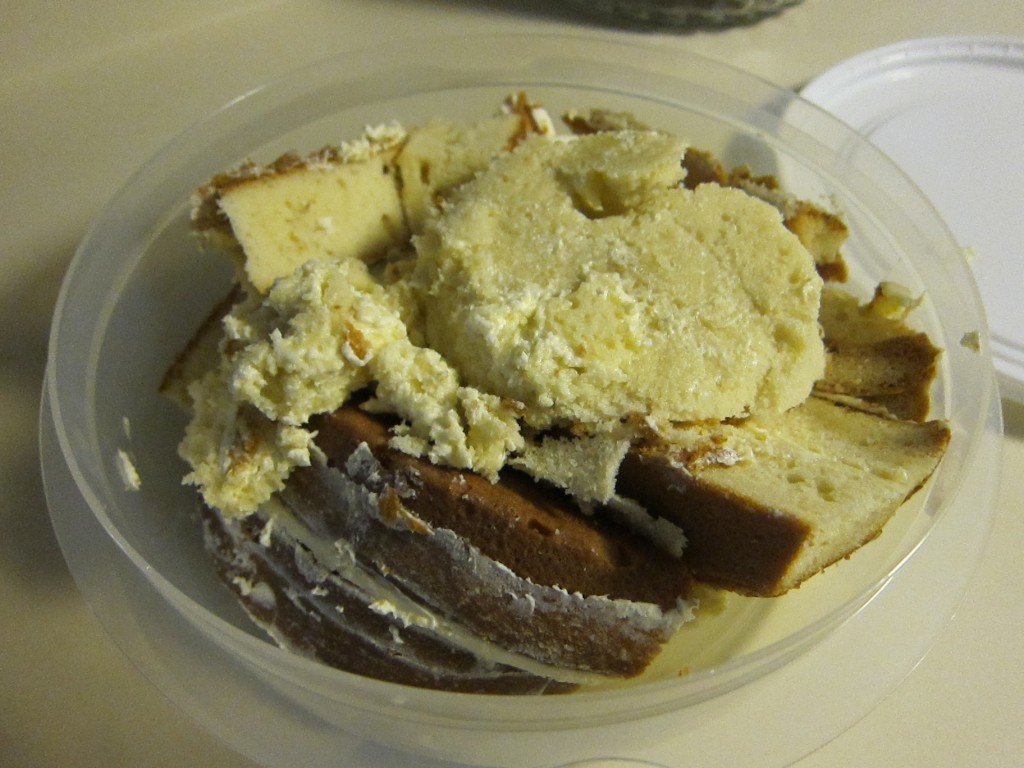
Cake scraps!  Maybe just one little piece?