Skip to Content

category

Category: Discussion

post

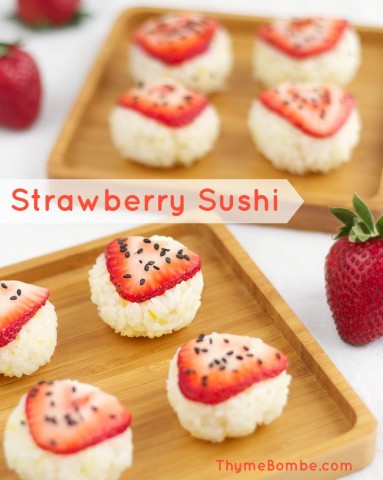
Strawberry sushi

I’ve been entertaining the idea of this recipe in my head for ages. Long before berry season I dreamed of these little bite-sized treats and couldn’t wait for my favorite fruit to ripen so that I could make these over and over throughout the warmer months. Strawberries have been tasting sweet and ripe for a few weeks now, but for some reason I’ve had a really hard time getting myself to finally make this recipe that I so longed for all winter.

Strawberry Sushi

What it took was a visit from a far-flung friend. Hannah of Wayfaring Chocolate has been staying with me for the Atlanta leg of an epic travel adventure/ global slumber party that she’s about 10 months into now. It has been so much fun to spend time with someone that before only existed in pictures and writing. Blogging is so wonderful in that it has allowed me to create many such friendships with kindred spirits I might never have had the chance to meet in “real life” otherwise. And now that she’s in my house, I must look productive! Cook all the things!

Strawberry Sushi

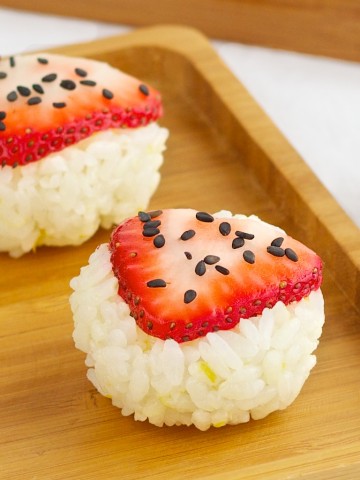
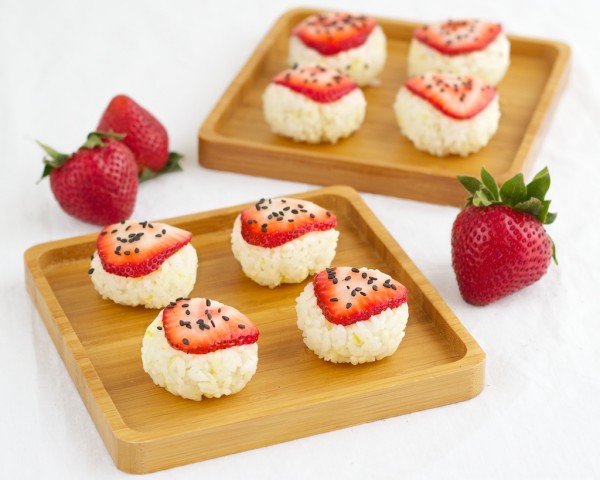
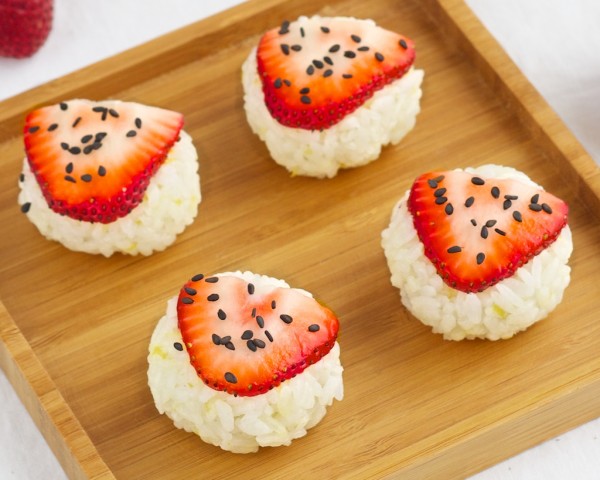
We both enjoyed sampling these sweet little strawberry sushi. The rice is just lightly sweetened with sugar and zinged up with the subtle tartness of fresh lemon juice and zest. The texture of the thinly sliced strawberry on top is strangely but appropriately reminiscent of fresh sushi-grade fish – firm but giving way to softness and a burst of bright flavor.

Strawberry sushi

A simple to make sushi featuring fresh strawberries pressed into balls of lightly sweetened sushi rice.

Prep Time: 15 minutes

Cook Time: 25 minutes

Total Time: 40 minutes

Yield: Makes 12 to 14

Ingredients

  • 1/2 cup short grain rice (sushi rice)
  • the zest of one lemon
  • 1 tsp. lemon juice
  • 1 tsp. sugar
  • 5 or 6 medium-sized strawberries
  • black sesame seeds for garnish if desired

Cooking Directions

  1. Prepare the rice: Rinse rice under cool water until water runs clear. If using a rice cooker, follow the instructions for making one cup of rice using the provided measuring cup.
  2. For stovetop rice: Rinse 1/2 cup of rice and bring to a boil with 3/4 cup of water in a medium sauce pot. As soon as water boils, turn heat down to lowest setting and place the lid on the pot. Allow rice to cook on lowest setting for 10 minutes, then turn off the heat and allow to continue steaming for an additional 10 minutes. Do not remove lid at any time during cooking or steaming.
  3. Transfer rice to a dish and fluff it with a rice paddle or spatula using cutting and folding motions.
  4. Add zest, juice, and sugar and incorporate using the same cutting and folding motions.
  5. Slice strawberries into thin slices. Place a slice in the center of a sheet of plastic wrap and top with a small ball of rice. It helps to dip your hands in water before handling the rice to keep it from sticking as much.
  6. Pull the plastic wrap up around the ball of rice and twist to form a tightly packed ball. Repeat until all the rice is used.
  7. Brush the top of each strawberry with a lemon wedge and sprinkle over sesame seeds to garnish.

These sushi are extremely easy to make. They are made in the temari-zushi style where all the ingredients are compacted into a little ball shape that is meant to resemble an object of Japanese folk art. A temari is a toy ball covered in ornate patterns of colorful thread and sometimes scraps of luxurious kimono fabric. These days, this intricately crafted object is much more art than toy – a collectible piece made by talented artisans while the toy versions are mass produced out of less expensive materials.

Strawberry Sushi

I use the plastic wrap method to make them. Just lay down a square of plastic wrap, place a slice of strawberry (or whatever topping you’re in the mood for) in the center of the plastic, add a small handful of rice, and then twist the plastic wrap up around it to compact the whole thing together. You can use as much or as little rice as you prefer. It helps to keep them bite-sized so that you can pop the whole thing in your mouth in one bite and not have to worry about them falling apart upon biting into them. If you make it too big, just pinch off a bit of rice and twist the temari back together again.

Strawberry Sushi

Hannah and I both loved these, and I was inspired to try out another long-dreamed-about recipe with her yesterday which also turned out delicious but needs a bit of tweaking before I can debut it here. Her visit is coming to an end soon (sadness!) but we’ve managed to cram in tons of great food memories that I’ll share with you soon too. Making food with friends is so much more fun!

Have you ever made sushi at home?

What flavor dessert sushi would you make?


post

Matcha mousse pops

On Sunday, I ate an entire pineapple all by myself. That has nothing to do with this post, but I needed to tell someone. I feel better now.

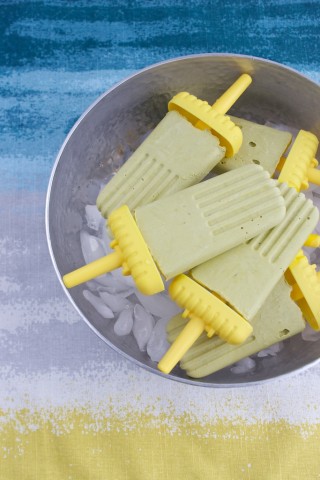
This post is about popsicles. Matcha mousse popsicles, to be exact.

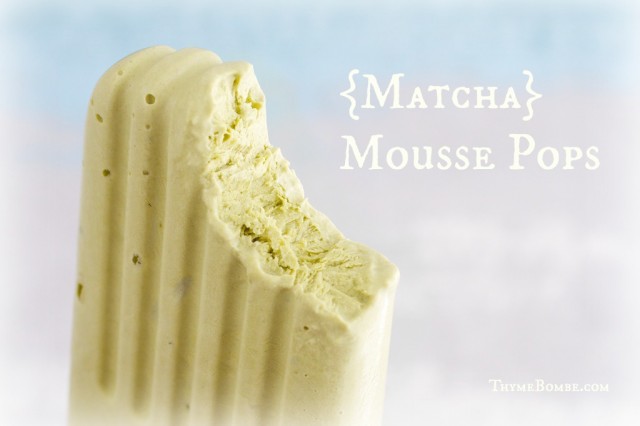
Matcha Mousse Pops

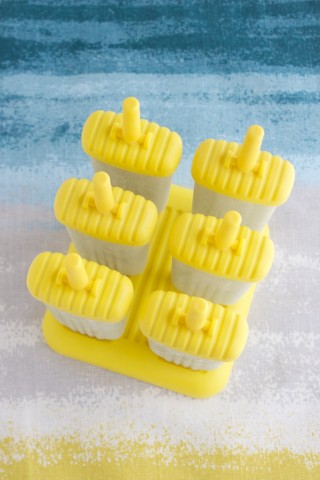
I’ve been reorganizing my kitchen and recently came across a set of popsicle molds that I haven’t used in a long time. I immediately thought to try making popsicles using a similar technique as that of the Green Tea and Pistachio Semifreddo recipe in my book, which uses freshly whipped cream as the base for a moussey texture.

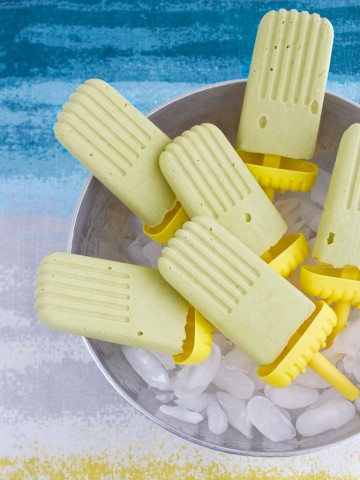
I have this set of Tovolo popsicle molds* and I love them. Easy to use and easy to get the popsicles out of. It’s one of those kitchen gadgets that you know you don’t really need, but as soon as you’ve tried them you’ll never be satisfied with the old crooked-stick-in-a-paper-cup method again.

Matcha Mousse Pops

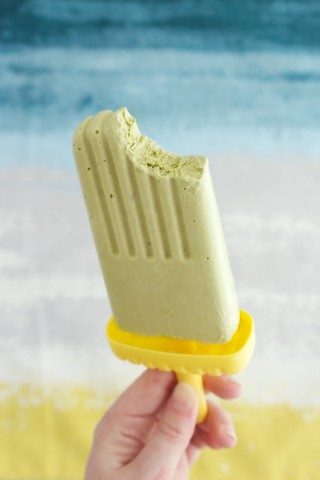
I loved the flavor of these. The tangy yogurt is powerful, but the matcha can stand up to it. They’re just lightly grassy and not too sweet.

The texture is the best part though. You can bite right into them without breaking a tooth. They give easily and dissolve in your mouth like cotton candy.

Matcha Mousse Pops

Matcha mousse pops

Cloud-like moussey popsicles with the springy flavor of matcha green tea and tangy yogurt.

Prep Time: 3 hours, 10 minutes

Total Time: 3 hours, 10 minutes

Yield: 6 popsicles

Ingredients

  • 8oz. (236mL) heavy whipping cream
  • 1 cup plain unsweetened yogurt
  • 1/4 cup white sugar
  • 4 tbsp. powdered matcha green tea

Cooking Directions

  1. In a mixer with a whisk attachment, beat the cream and sugar until stiff peaks form.
  2. Gently fold in yogurt with a spatula and sift over matcha powder.
  3. Beat again to incorporate and re-fluff the mixture to stiff peaks.
  4. Spoon mixture into popsicle molds up to about a centimeter from the top and cap with the provided handles.
  5. Freeze pops for at least 3 hours. To eat, run the mold under warm water until the popsicle slides out of the mold.


If green tea is not your thing, I’d imagine it would be fantastic to substitute cocoa powder to make a delicious chocolate mousse treat. You could even try using protein powder and convince yourself that it’s an appropriate post-workout snack. 😉 (Hint: It’s not.)

Matcha Mousse Pops

Speaking of my book, Amazon has recently dropped the price on it by a few bucks! This is great news to me since I’ve wanted it priced lower but have been unable to due to the constraints of the printer. Now though, you get it for less and I don’t make any less per sale. WIN! So if you’ve been thinking about picking it up, now would be a great time. I have absolutely zero control over Amazon’s pricing choices so this new price could change at any time and I would have nothing to do with it.

If you’re interested, click the banner in the sidebar or check it out here.

Matcha Mousse Pops

Have you ever made your own popsicles?

What flavor mousse pop would you like to make?

*This is an affiliate link. Product links on this website will always link to items I have actually used and find value in.


post

Pineapple with lime and mint

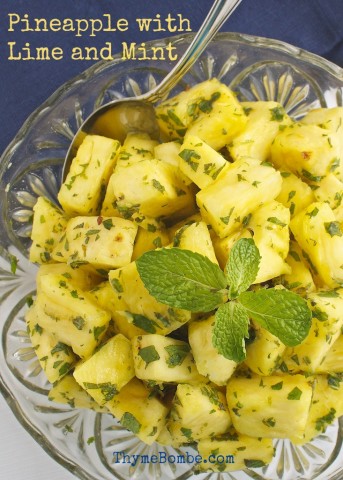
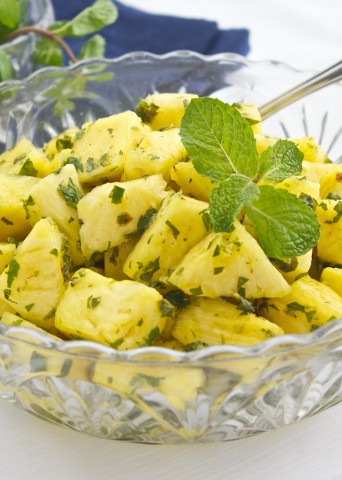
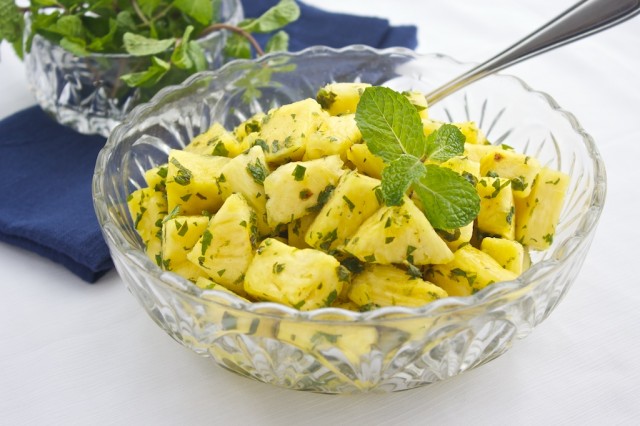
So, mint… yeah, I’m still obsessed with it. I devoured every single one of the mojito bites I made last week and desperately needed another minty treat to munch on. I’m also loving on pineapple right now and had the idea to toss it in mint in an effort to get more of both of those things into my face. I added lime juice, zest, and sugar to make a bit of a sweet syrup and the results are fantastic!

Pineapple with Lime and Mint

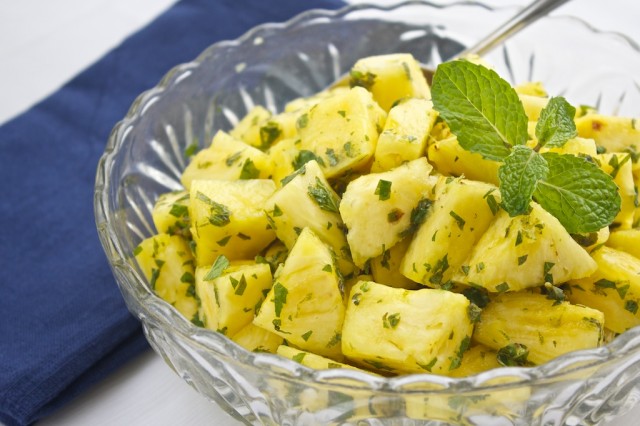
I totally made this for myself with no intention of putting it on the blog, but it was so tasty that I just had to share it. I had some of it alongside a quesadilla for lunch yesterday and it was a perfect match. It’s so refreshing and summery, fantastic served cold to beat the heat.

Pineapple with Lime and Mint

And it only took a few minutes to put together.

Do you know how to break down a pineapple? I know it looks intimidating but it really only takes a minute to do. Just take a large sharp knife and slice off the top and bottom, then stand it on one of the ends and slice down the sides to remove the last of the scaly exterior, making sure to remove all of the brown parts. You’ll be tempted to not cut in too deep in an effort to get more pineapple, but don’t – you really need to remove all of the brown pitted parts, they’re not pleasant to eat. Then just cut the fruit off the core. I slice down one side of the core, then rotate and slice down again, leaving 4 large pieces. Again, don’t cut too close to the core, it’s too fibrous to eat! You can then chop the fruit into whatever size pieces you want. Sounds like a lot of work, but it really only takes a minute.

Pineapple with lime and mint

A simple snack of fresh pineapple with herbs and citrus.

Prep Time: 10 minutes

Ingredients

  • 1 small pineapple
  • 2 tsp. sugar
  • the zest and juice of 1 lime
  • a handful of fresh mint leaves (chopped fine)

Cooking Directions

  1. With a large sharp knife, slice the top and bottom off of the pineapple. Stand the pineapple up on one of the cut ends and slice the sides off, making sure to remove all of the brown bits.
  2. Cut the pineapple off of the core in 4 large pieces and chop into bite-size pieces.
  3. In a large bowl, combine cubed pineapple with sugar, zest, juice, and mint. Stir to combine and allow to sit for 30 minutes in the refrigerator before serving.
  4. Store any remaining in an air-tight container in the refrigerator for up to 5 days.

Pineapple with Lime and Mint

I managed to eat an entire pineapple by myself last week, so I don’t see this lasting very long in my house. That’s ok though, I still have half a bag of fresh mint to use up, so I’ll just have to buy another one and make more!

Pineapple with Lime and Mint

I asked you guys on my Facebook blog page yesterday what foods you’re craving lately, too. Looks like basil is a theme for many of us. I’m personally hooked on Thai basil at the moment, but I do use sweet Italian basil quite a lot too. In fact, I have some plans in the works for using both types of basil in a few different recipes that should appear on the blog in a few weeks. I think I feel a new obsession coming on…

What is your current favorite fruit?

What do you like to pair basil with?