Skip to Content

category

Category: Recipes

post

Pumpkin buttah

I’m nearing the end of my beloved jar of apple butter.  Sigh…  I know I can always buy more, but for some reason it still gives me heartache to see those last dredges lying listless at the bottom of the jar.

So in the wake of this obvious tragedy, I decided to take the last pie pumpkin sitting proudly and patiently atop my fridge and grant him with a most noble calling… that of becoming pumpkin butter.

Ok. That was way too dramatic.

But seriously, I almost bought some overpriced pumpkin butter at Whole Foods the other day and snapped myself out of it when I realized that I had a whole pumpkin at home and that I could totally make it myself.

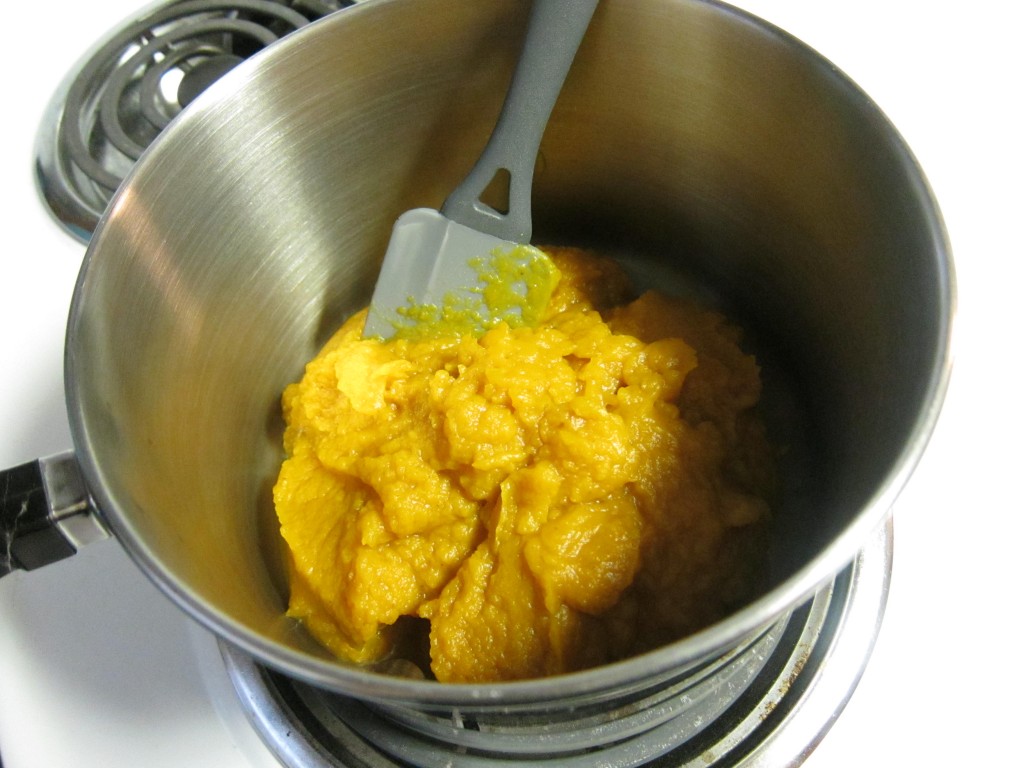
I started by making pumpkin puree and transferring it to a heavy-bottomed pot.

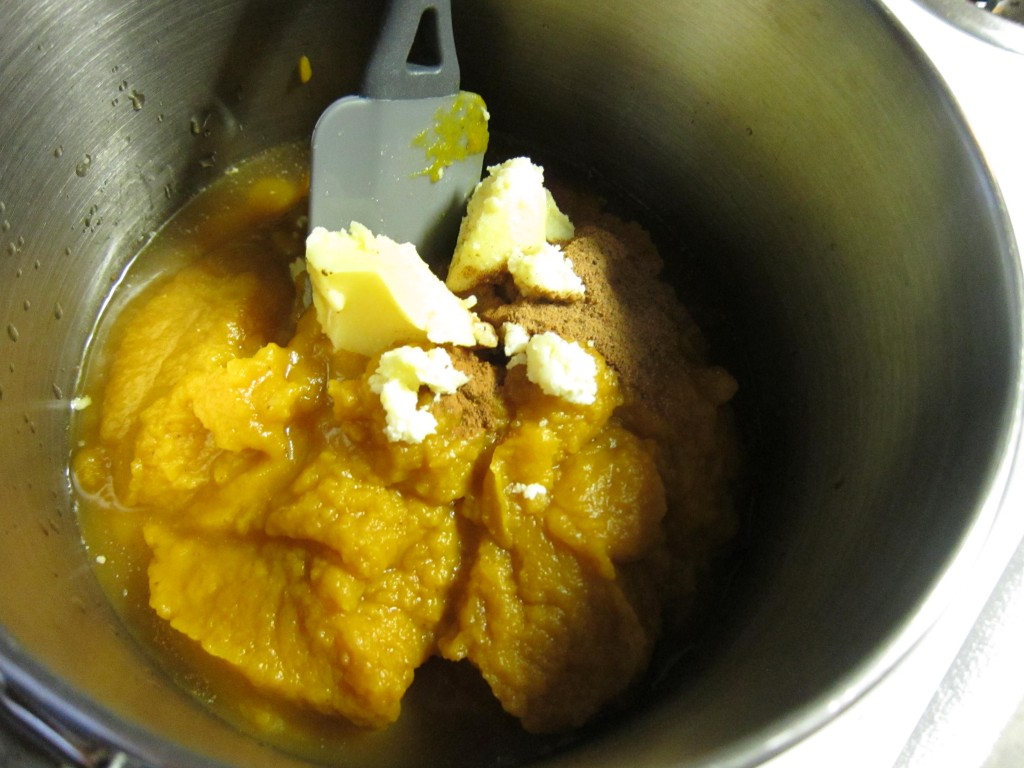
I added about 1/4 cup of apple cider, a hunk of Earth Balance (1-2 tbsp.), 4 heaping tablespoons of brown sugar, and 1 tsp. each of cinnamon and nutmeg.

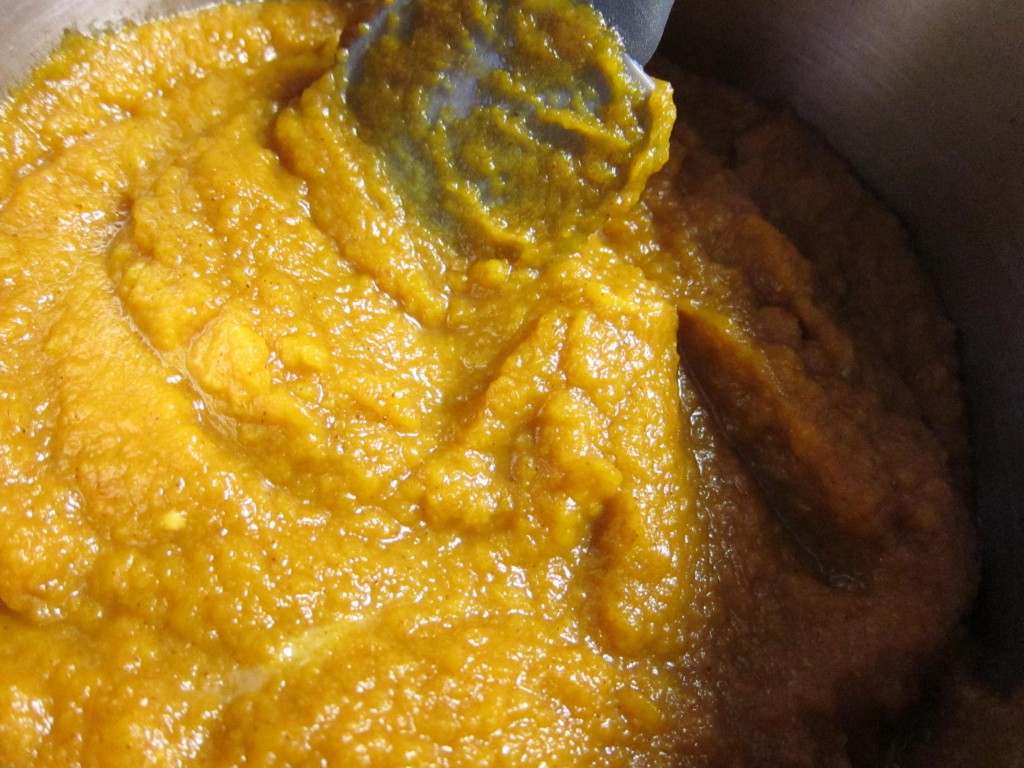
I turned the heat on to medium-low and stirred until everything was melted and incorporated.

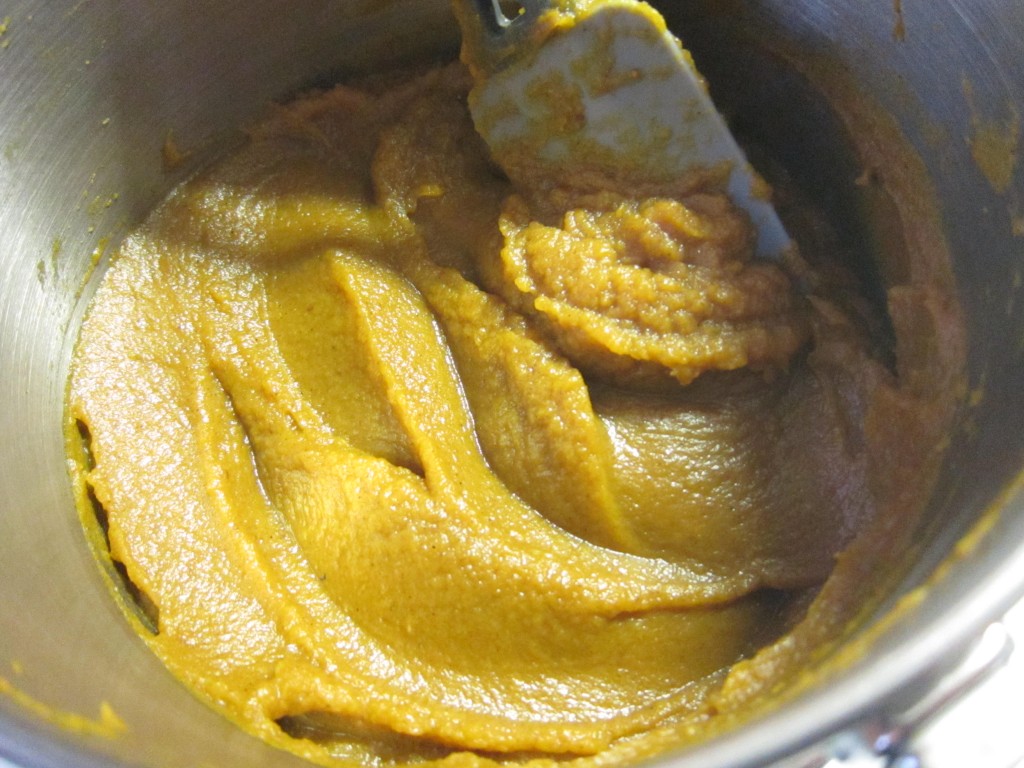
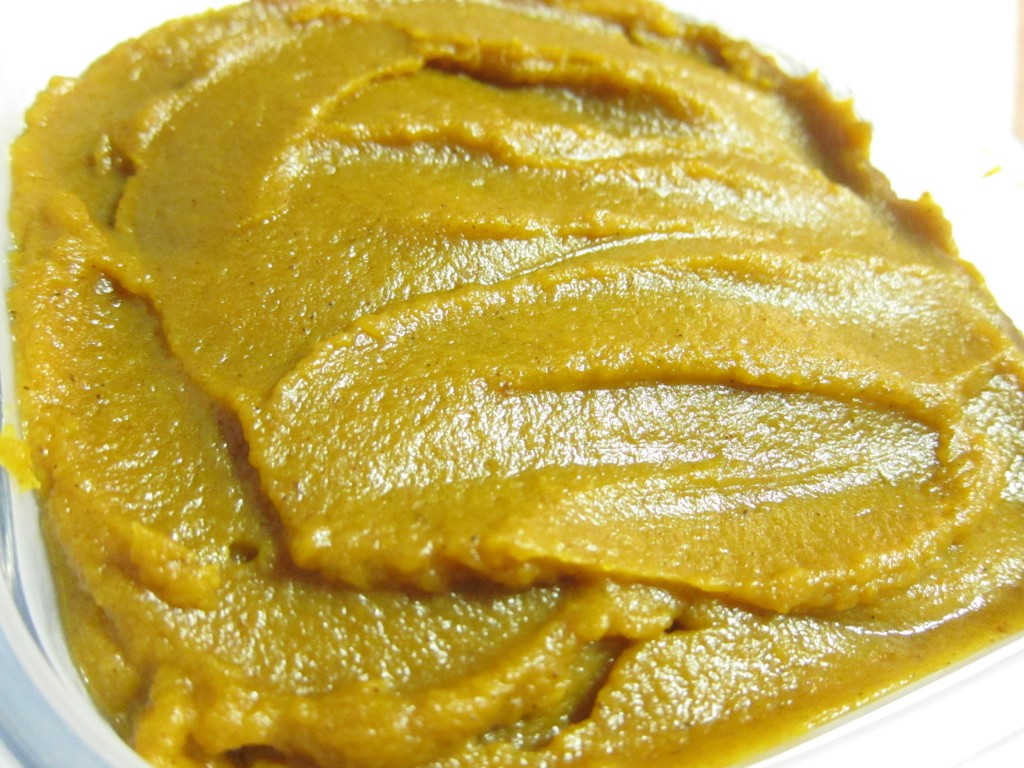
After about 25 minutes of cooking, having stirred often throughout, it turned into this luscious creamy spread…

I turned off the heat and stirred in about half a teaspoon of vanilla extract.  I covered it and let it cool on a windowsill for a few hours.

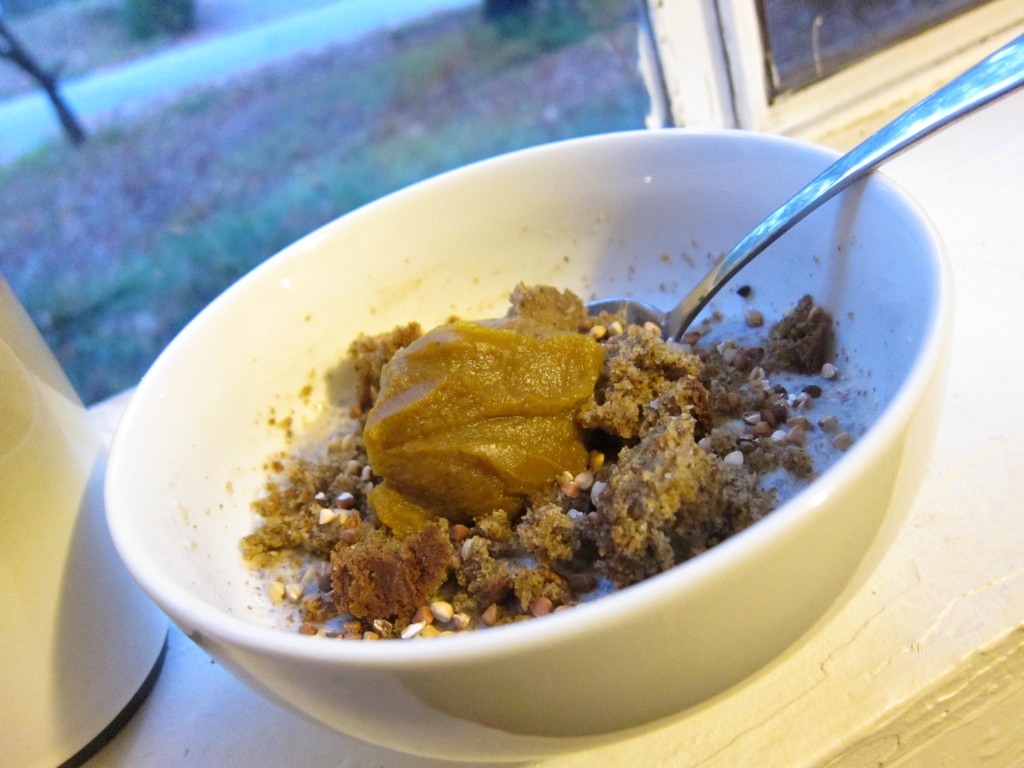
And this was my marvelous breakfast this morning!…

Homemade oatmeal topped with a bit of crumbled vegan pumpkin bread and a generous dollop of the rich autumn-scented pumpkin buttah!

Yes, it was awesome.  Thank you for noticing.

So the verdict is that yes it was worth it to make it myself.  Mine was just as rich and decadent as store-bought pumpkin butter and not terribly labor-intensive.

What if I made oatmeal with pumpkin butter and apple butter!?!?  I know what I’m having for breakfast tomorrow.

post

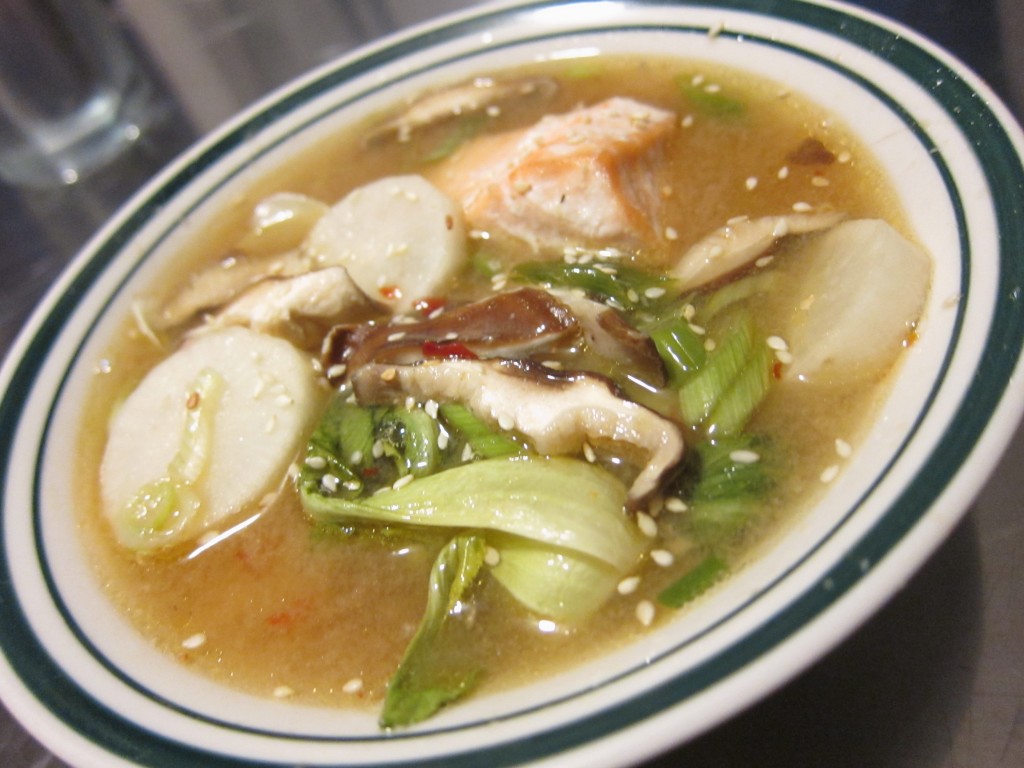
“Claypot” salmon with asian vegetables

One of the best dishes I’ve ever had at a restaurant was the Seafood in a Claypot at Ma Li. It’s full of noodles, ginger, mushrooms, a piece of fish, some squid, some shellfish; all cooked in a personal-sized clay pot that seals in all the juices, making for a rich and delicious broth.

When Jeff and I were honeymooning in Japan, we looked for a clay pot to take home with us, but they were all very large, heavy, and expensive.  We were already lugging around more than we could comfortably carry, so we opted to not purchase one while we were there.

I’m still looking for a good clay pot, but that hasn’t stopped me from trying to recreate my favorite dish with what I have available.

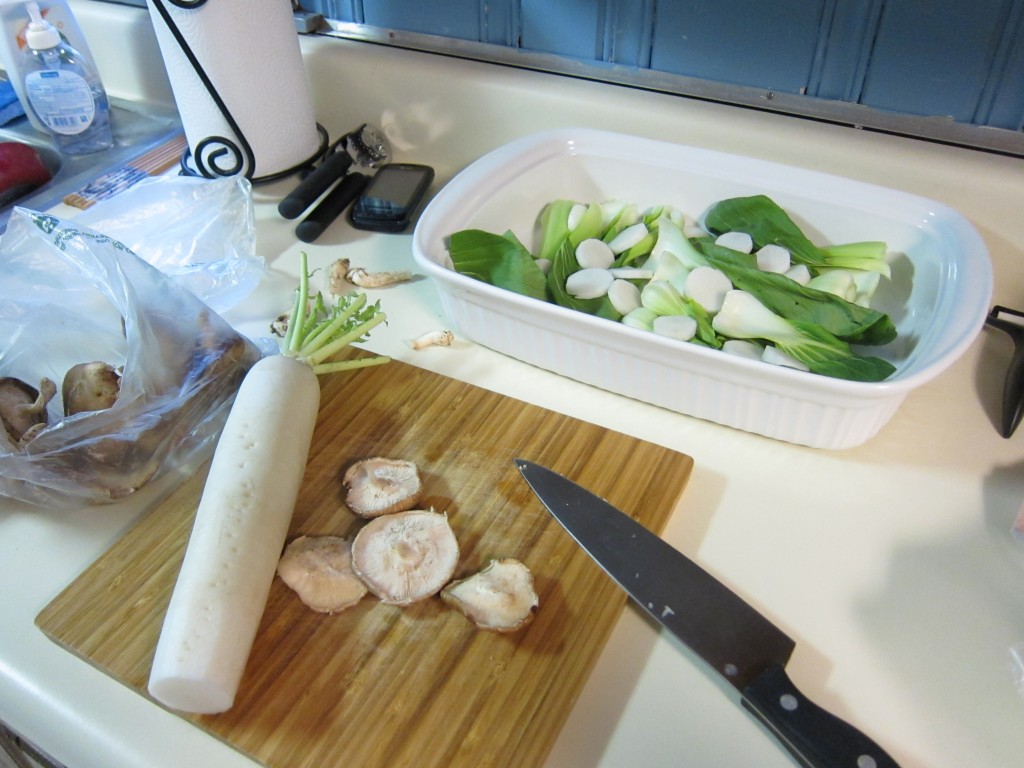
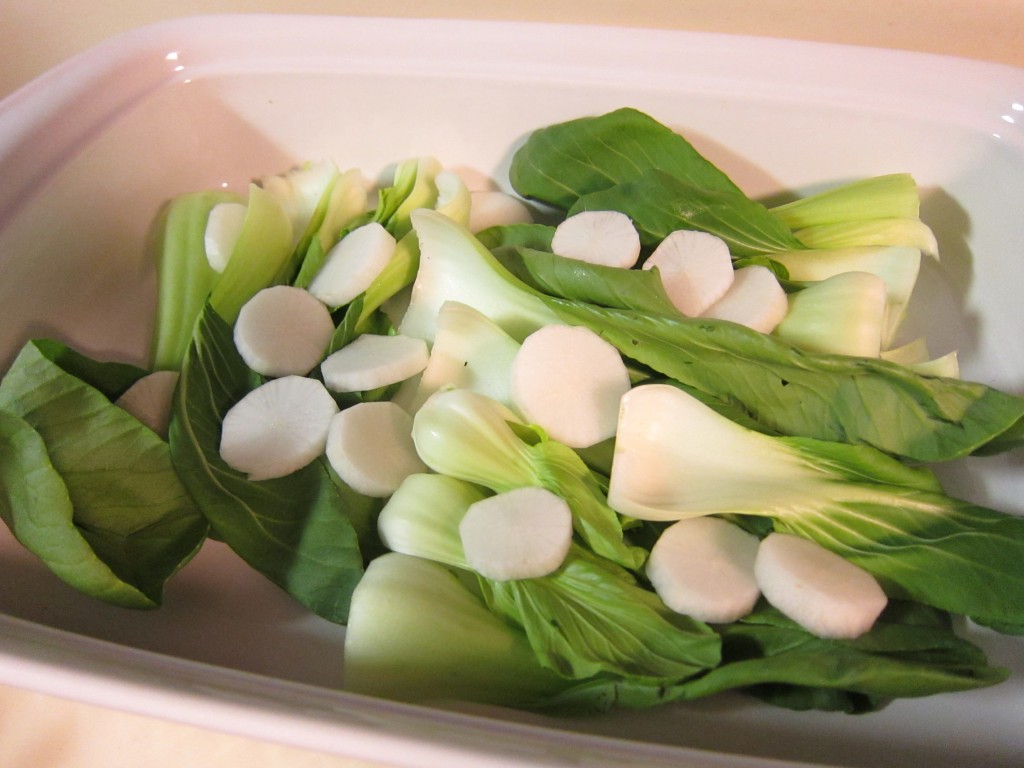
I chose to use a large baking dish to make my soup in.  I started with a layer of bok choy and slices of daikon radish. I just cut the ends of the bok choy and separated the leaves a bit, then I used a vegetable peeler on the daikon to remove a layer and cut it into thin slices.

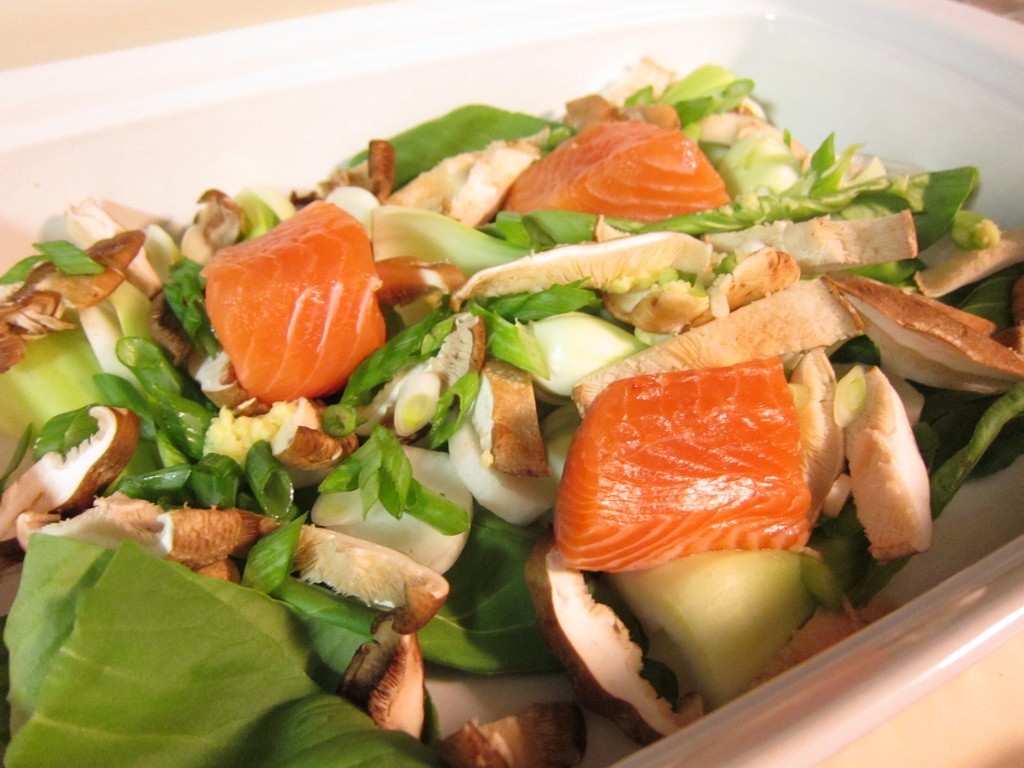
Next I sliced up some shiitakes and scallions and spread those over, then grated about an inch-long piece of ginger over the top. I cut a portion of salmon into a few smaller pieces and nestled them into the vegetables.

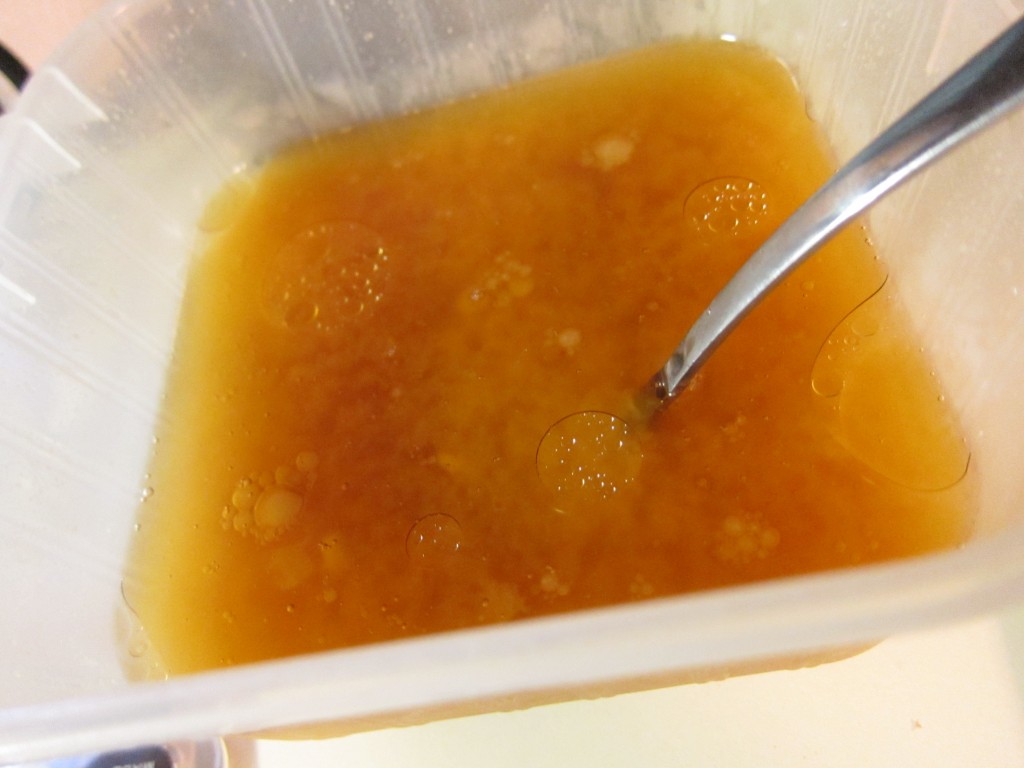
I used some leftover miso soup and added a swish of soy sauce and about a tablespoon of toasted sesame oil.  If you don’t wanna make miso soup, just use vegetable or seafood broth and add a bit of miso paste.

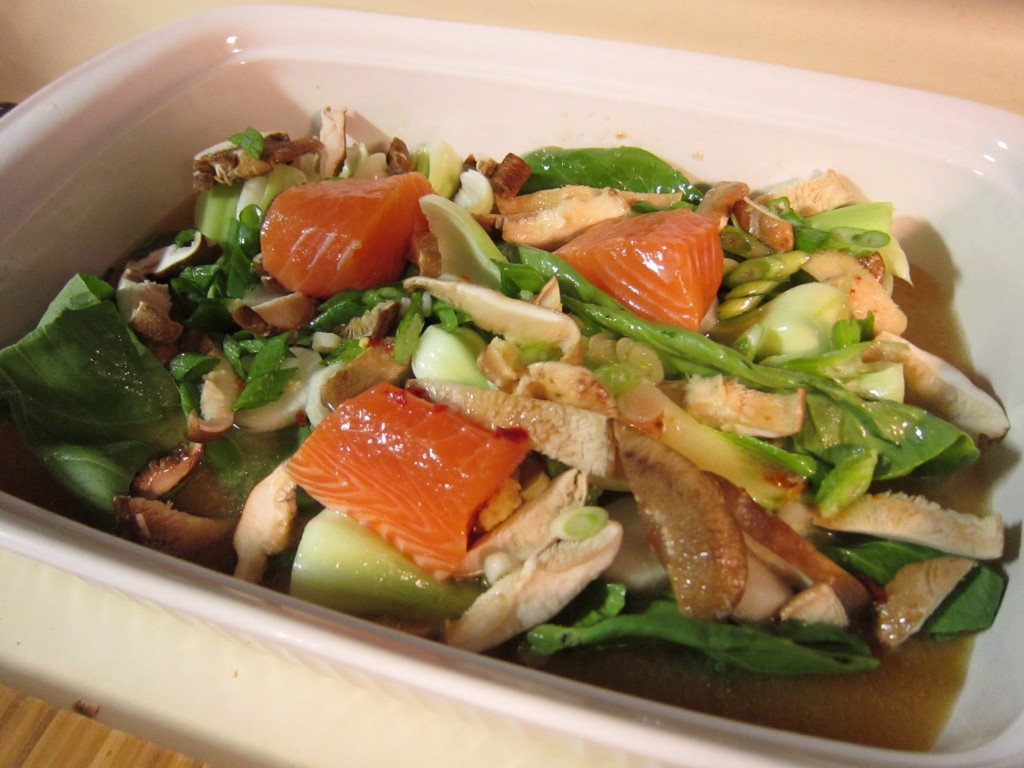
I poured it over the vegetables and salmon along with some water and covered the dish with aluminum foil with a few holes poked in the top.

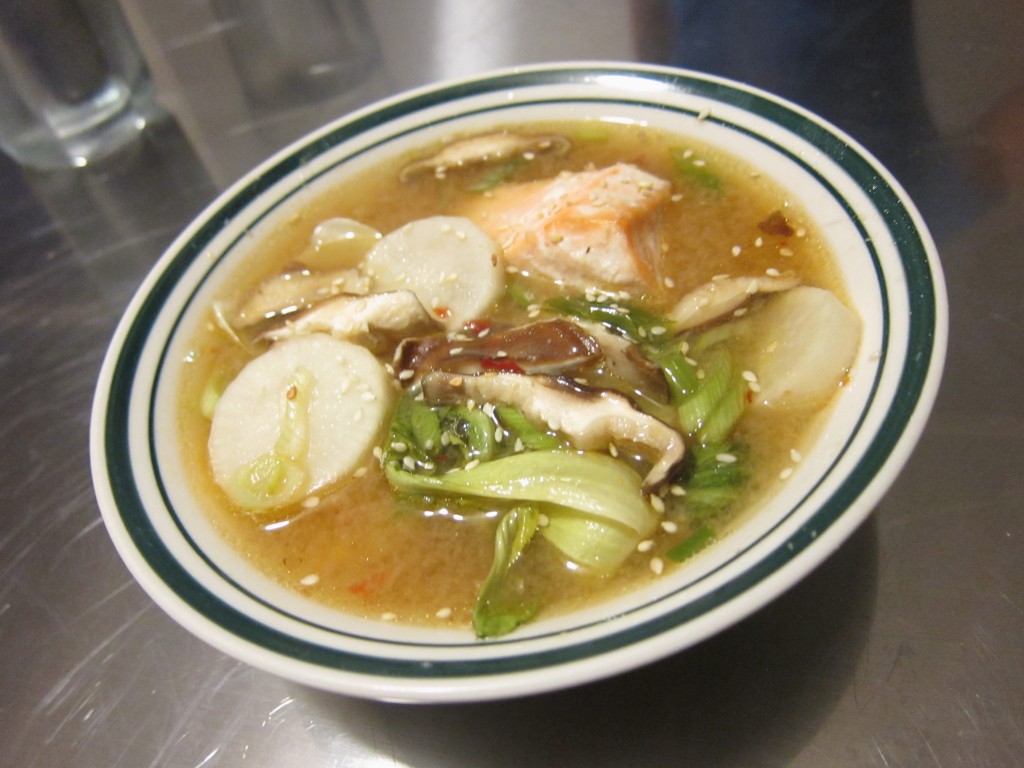
Baked at about 425 degrees for 20 to 25 minutes, it comes out looking and smelling intensely divine. I like to add a drop or two of chili oil to the top to finish it off.

This dish is so easy because it’s mostly just assembly. There’s nothing you need to stand around and monitor while it’s cooking, you just stick it in the oven and go do something else.

I still want a real clay pot to try this with, but the baking dish works surprisingly well. I’m sure this technique could work with many other kinds of soup too.

Mmmm…warm and spicy soup sounds so good right now.

post

How to make Sushi Rice

As promised, here’s a little tutorial on how to make sticky sushi rice like a pro at home!

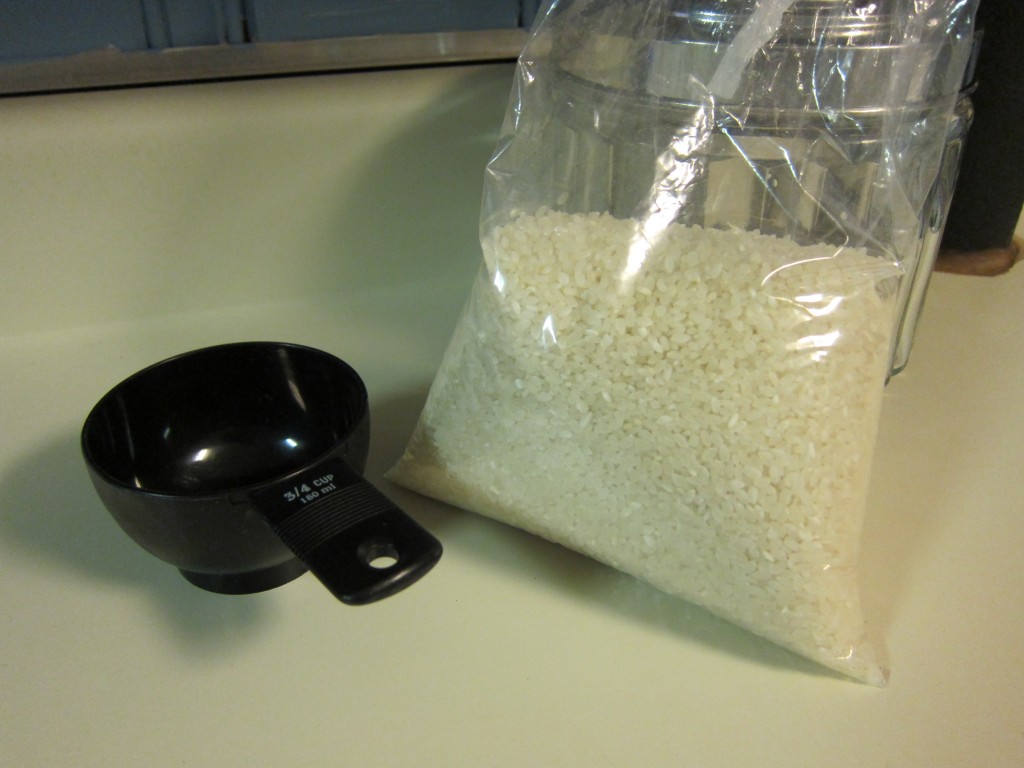
I buy my sushi rice from the farmer’s market in bulk but I’ve seen it in grocery stores too. This whole bag is a little over a buck!

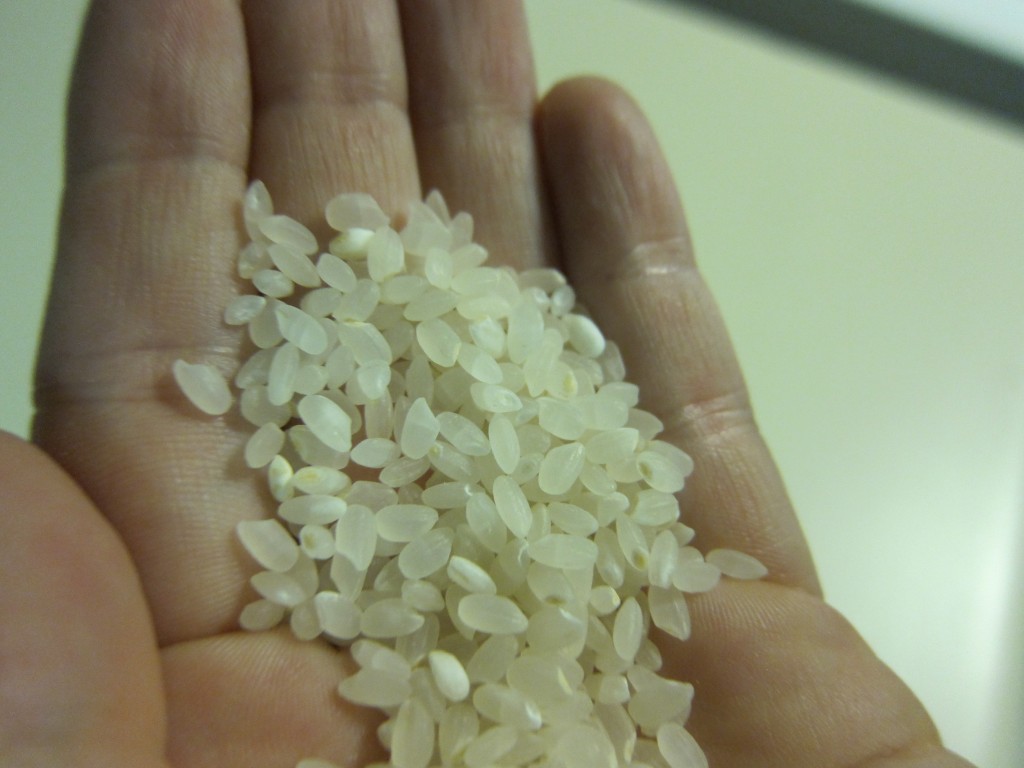
Sushi rice is different from regular rice in that it’s a short grain, (you can see it’s kind of rounder and fatter) and it’s more glutinous than regular rice, which makes it sticky when cooked.

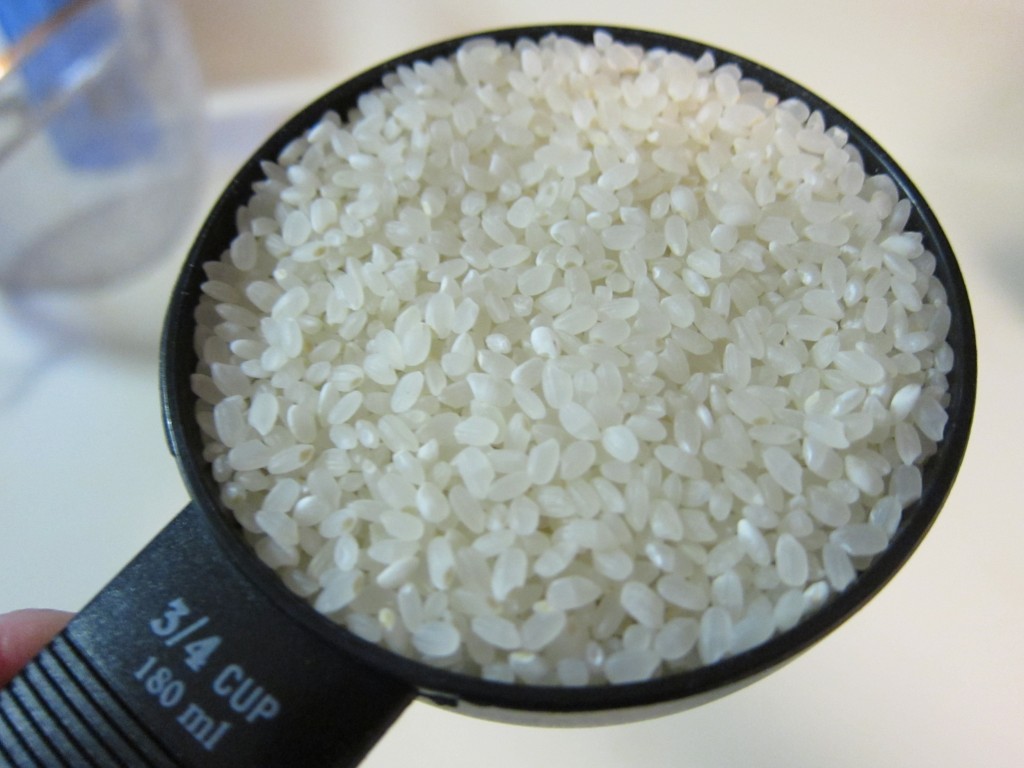
For two people, 3/4 cup of uncooked rice should be enough.  If you’re super hungry, make a full cup. The rice to water ratio is 1 to 1, easy to remember.

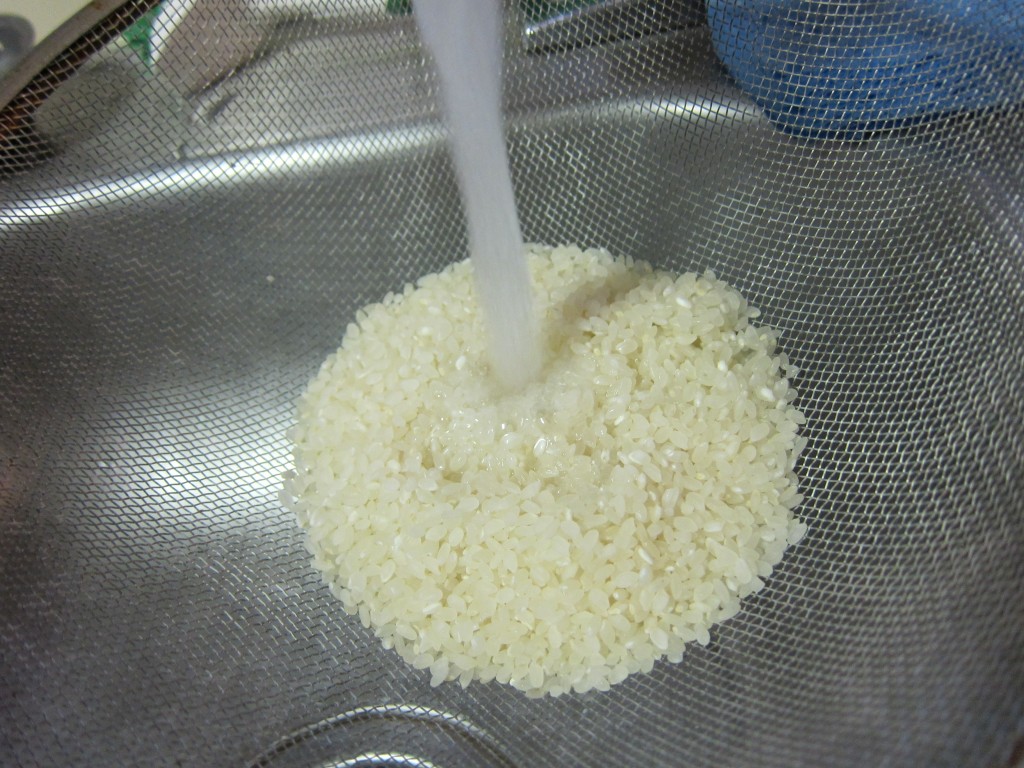
Before you cook it you need to rinse it. Just run some cool water over it until the water that drains out is mostly clear, not cloudy.  This takes out some of the starch so that it doesn’t just form a gluey porridge when cooked.

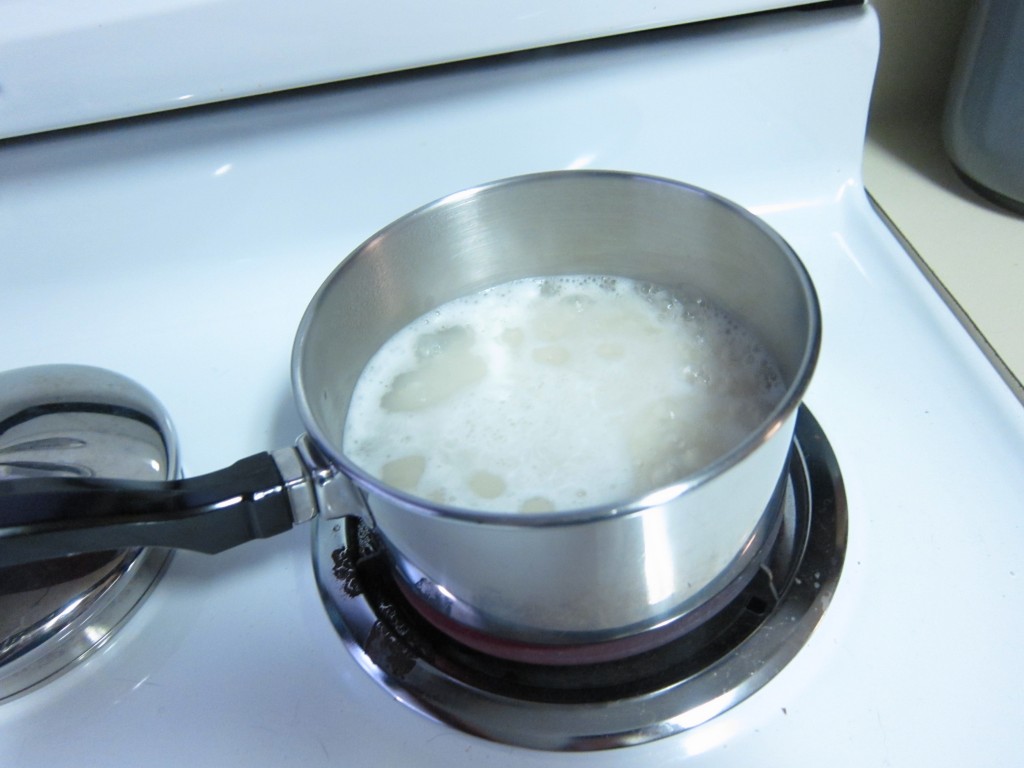
Put both the water and the rice in a pot that has enough room for it to expand some and steam.  Now here’s where the important stuff starts.  Turn the temperature up to high and wait for it to boil uncovered.  As soon as it boils, turn the heat all the way down to the very lowest setting and put the lid on.  Set a timer for 15 minutes and get ready to make the seasoning.

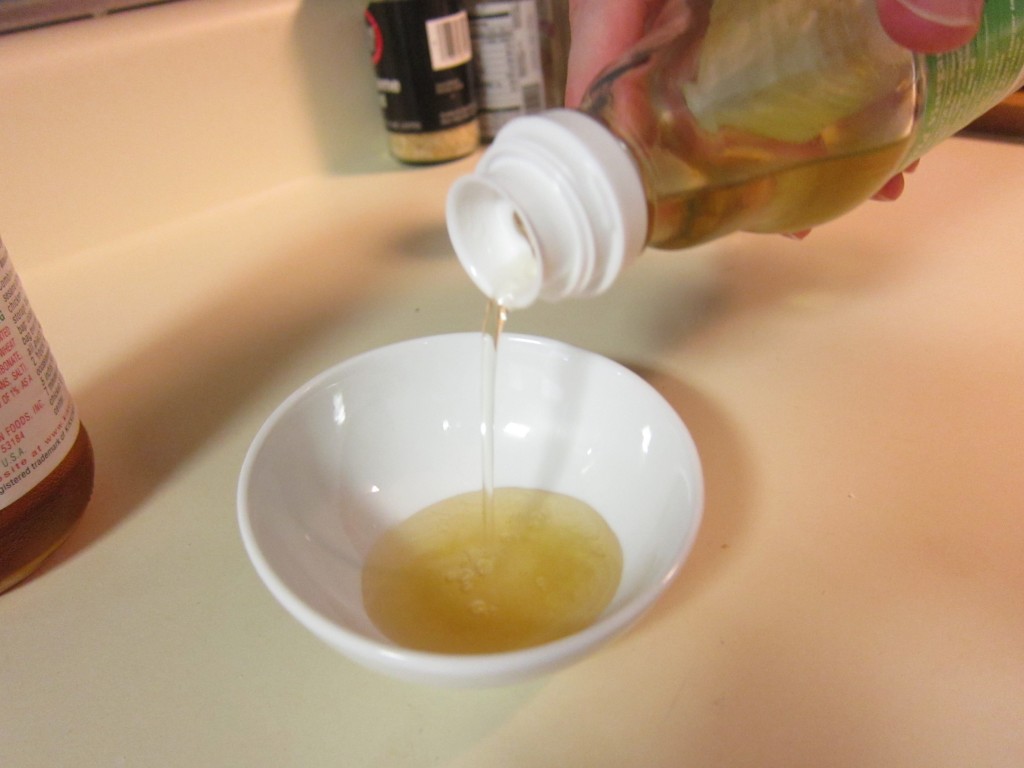
Sushi seasoning is basically a mixture of salty, sour, and sweet flavors.  There are many recipes, but the one we use is this: A three-finger pinch of salt, 1 tbsp mirin, and 1 tbsp rice vinegar. Mix it together and set aside.

When the timer goes off for your rice, remove the pot from the eye and set another timer for 10 minutes.  Do not open the lid at any time!

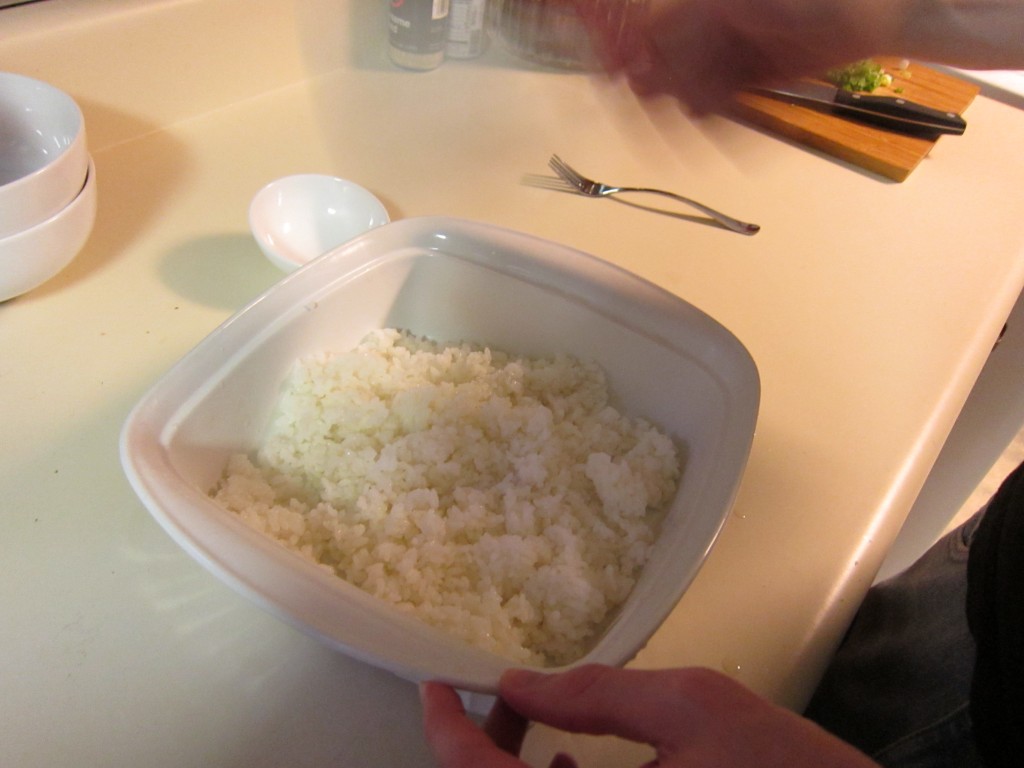
When that timer goes off, dump your rice into some sort of plate or dish with high sides. We use a baking dish for this.  Try not to mess with the rice too much from here on out. You want to “cut it” with a spatula and fold it, but don’t stir or press.  Be gentle! Fan it like crazy, fold again, fan like crazy some more.

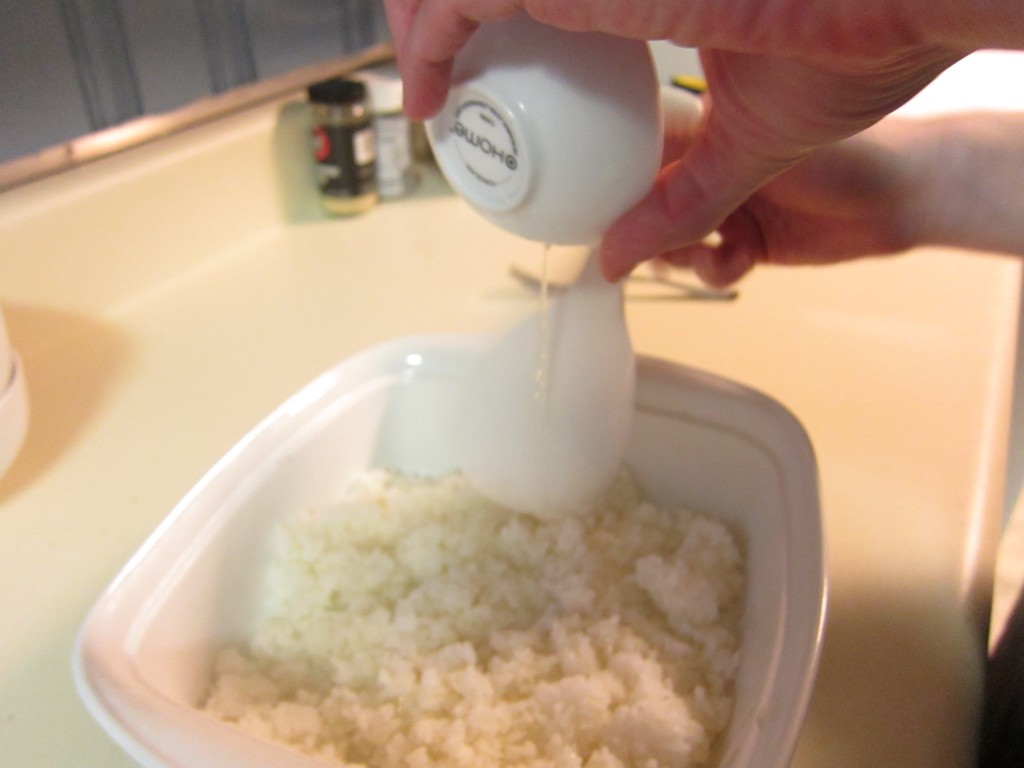
Pour your seasoning slowly over the back of your spatula and lightly fan the spatula to spread the seasoning around.  Fold and fan like crazy one or two more times.

What you’ll have is a pleasantly sweet and slightly sour rice that sticks together, making it simple to pick up with chopsticks.

It may seem like a lot of work, but really most of the process is spent waiting on the rice to cook.  There’s plenty of time left over to create something to go with it. Top it with a stir-fry or roasted vegetables, maybe some simmered squash and tofu, and you’ve just made a donburi!

Sushi rice

How to make sushi rice on the stovetop.

Prep Time: 10 minutes

Cook Time: 25 minutes

Total Time: 35 minutes

Yield: 1 and 1/2 cups cooked

Ingredients

  • 3/4 cup short grain sushi rice
  • 3/4 cup water
  • 1 tbsp. mirin
  • 1 tbsp. rice vinegar
  • a 3 finger pinch of salt

Cooking Directions

  1. Rinse rice until water runs clear.
  2. Put rice and water in a pot and allow to come to a boil uncovered.
  3. As soon as it boils, cover and turn the heat down to low.
  4. Cook on low for 15 minutes then turn the heat off and allow to sit covered for another 10.
  5. Mix together mirin, rice vinegar, and salt in a small bowl to make the seasoning.
  6. Pour rice into a dish, fold and fan it to cool.
  7. Pour over seasoning and continue fanning until cooled.

Hope this was helpful. Maybe someday I’ll finally get a rice cooker and I can have it do all the work for me!