Skip to Content

category

Category: Recipes

post

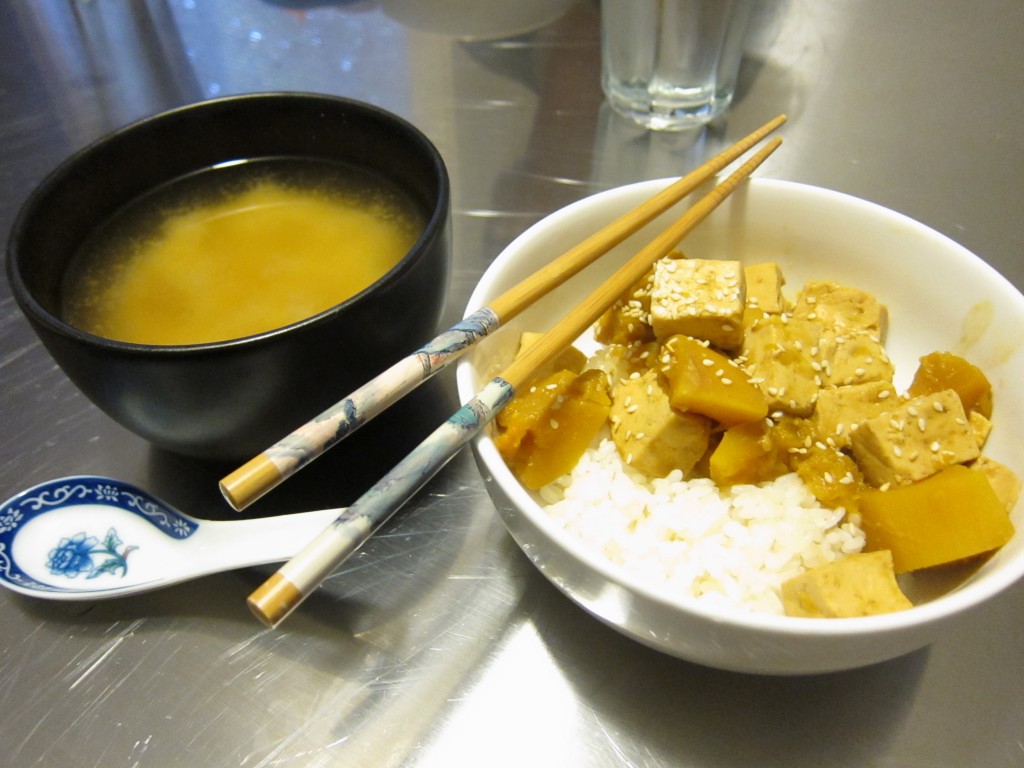
Japanese-style simmered squash and tofu

Mmmm…so warm and comforting!

If you haven’t noticed, I cook Japanese food a lot.  It’s easy, healthy, and delicious. What’s not to love?

But if cooking Japanese food sounds intimidating to you, I completely understand why. Many recipes require ingredients not found in the typical Western pantry, and even if you could find them at a local asian market, would you ever use them more than once?

Many of the typical cooking techniques used in making Japanese foods are also not typical for an American home cook, but none of them are difficult, just different.

I think one problem that many people have with cooking Japanese foods is just that they don’t really know what those foods are outside of sushi. Sushi is admittedly not a meal for a beginner to prepare, especially if you want it to look nice. But there’s just so much more out there, and I think that one good place to start is with the donburi.

A donburi is, in essence, a bowl of rice with something tasty on top of it.  Traditionally, most donburi toppings are simmered slowly in a dashi-based stock with other flavorful sauces added, and left to reduce until all the liquid is evaporated and/or absorbed by the ingredients.

Here’s one I made last night that contains a few substitutions for some more traditional items.  You need:

  • Half a butternut squash, cubed
  • One block extra firm tofu, pressed and cubed
  • Vegetable broth to cover
  • 3 tbsp. mirin
  • 3 tbsp. soy sauce
  • approx. 3 tbsp. miso paste
  • sprinkle of sugar

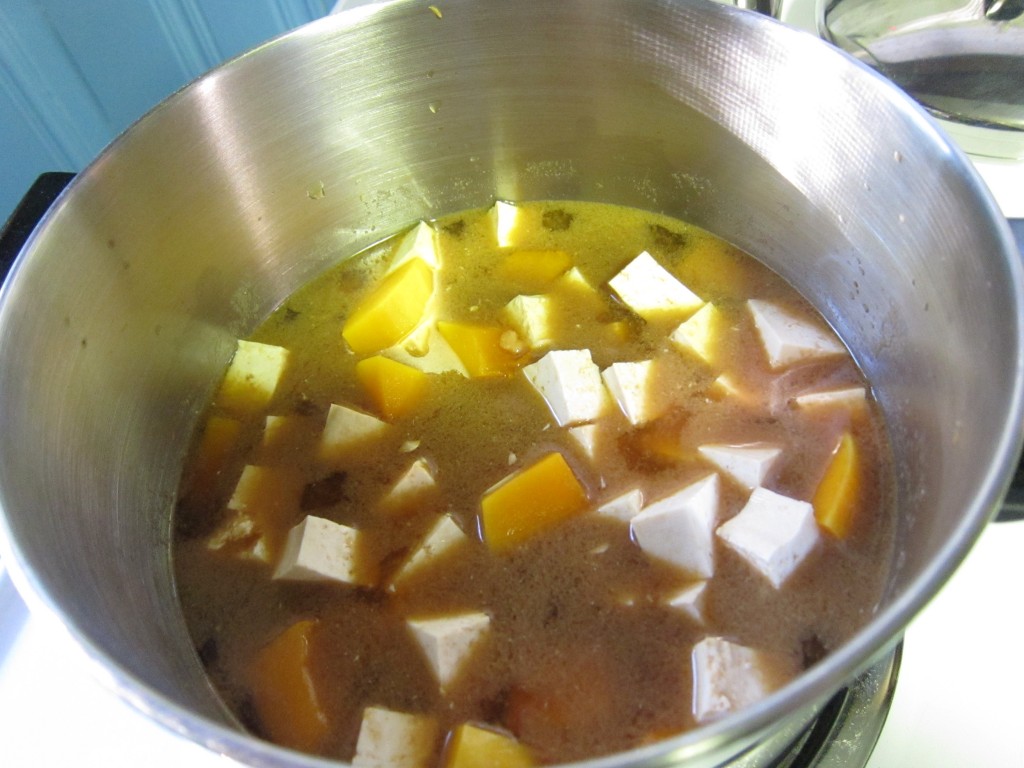
Just add all the liquids to a pot and turn it on to medium-high heat.  Whisk to incorporate the miso, then add the squash and tofu. It should look like this…

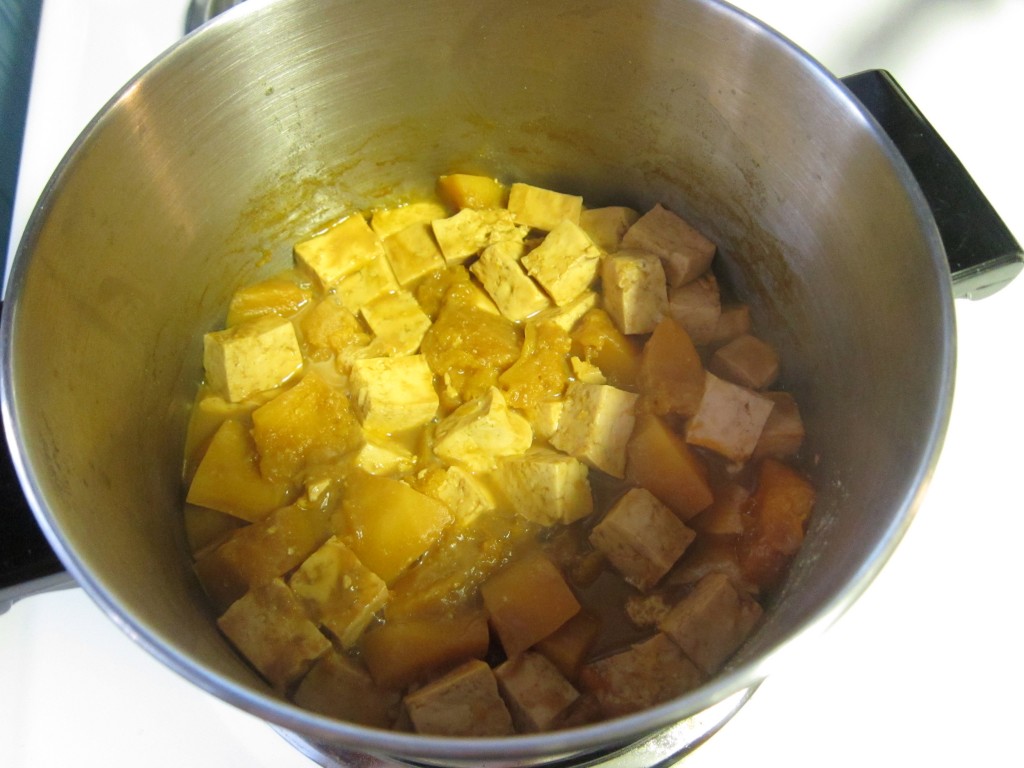
All you need to do is keep this pot at a steady simmer, but not boiling, until most of the liquid is absorbed. Don’t stir or you’ll break apart the squash, just let it do it’s thang.  It’ll look like this after 30 to 40 minutes…

That’s really it.  Put stuff in pot. Simmer. Eat.

As you can imagine, this technique works well with most any vegetables or cuts of meat you may have on hand.  The sauce can also be tweaked to whatever your tastes are or whatever ingredients you have in the fridge. I used butternut squash this time because I had some pre-chopped and waiting in the freezer, though I think sweet potato would have been even better. I used vegetable stock so that I wouldn’t have to add the extra step of making dashi stock. (Dashi tutorial will follow soon!)

That’s the beauty of the donburi, the addition of rice turns a bunch of random stuff into an impressive meal with minimal effort.  With all the time you’ll have left over you can concentrate on making perfectly sticky sushi rice!

Come to think of it, I should show you how to make sushi rice too.  Coming soon!

post

Vegan banana (er…pumpkin) bread

So, we’ve had a bunch of bananas in the freezer for kind of a while now and I’ve been meaning to turn them into banana bread for as long as they’ve been in there.

Today was the day! Banana bread for everyone! Yay to using up left-overs!

Not really.

I put the bananas in the fridge to thaw over-night and what greeted me this morning was not pleasant. They had oozed out a brown banana-scented liquid all over the fridge and were sagging and falling apart.  They were in an unsalvageable state.

Enter pumpkin, our hero of this tale! I knew I made all that pumpkin puree for something!

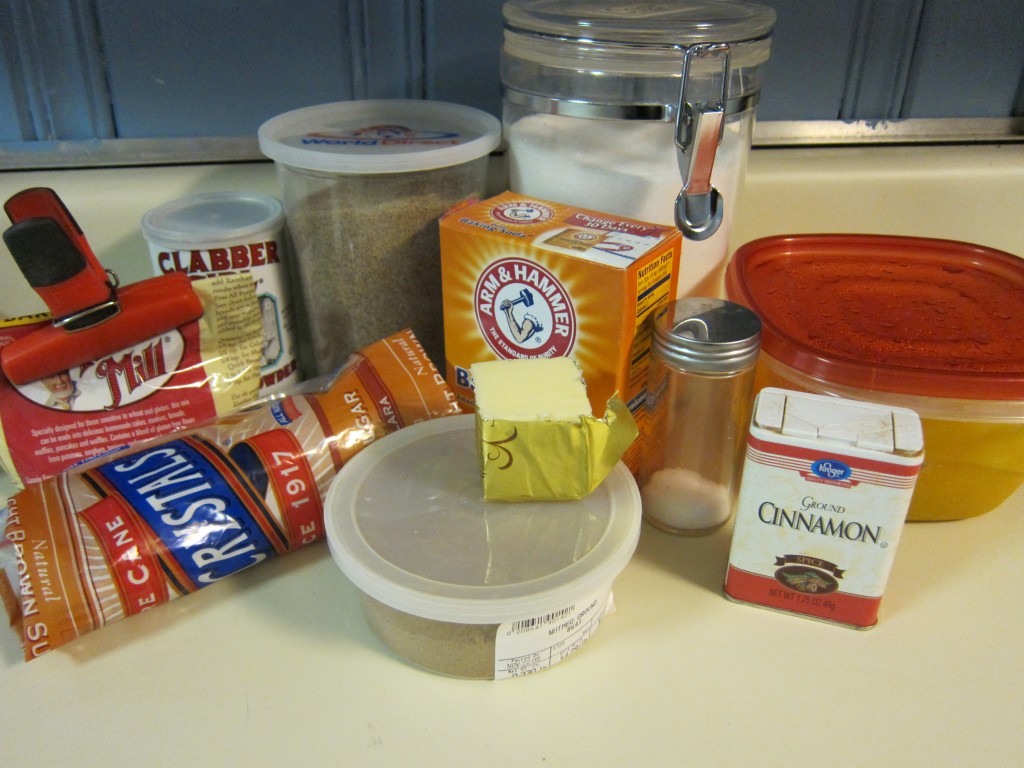
I was inspired by this recipe.  I’ve made quite a few changes to the original so I don’t feel bad about writing it out with my adjustments for you:

  • 1 cup pumpkin puree
  • 1/4 cup softened Earth Balance
  • 1/2 cup brown sugar
  • 1/4 cup white sugar
  • 1 cup gluten-free all-purpose flour
  • 1/2 cup flax meal
  • 1 and 1/2 tsp. baking powder
  • 1 tsp. baking soda
  • 1/4 cup almond milk
  • 1/4 tsp. salt
  • 1/2 tsp. nutmeg
  • 1 and 1/2 tsp. cinnamon

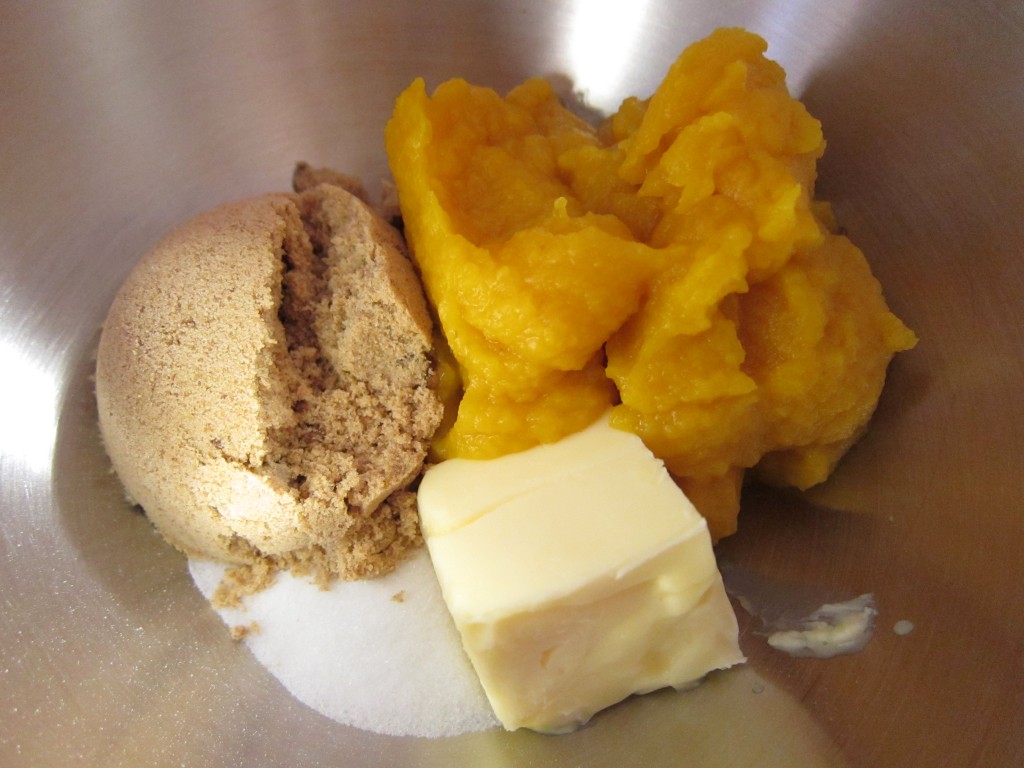
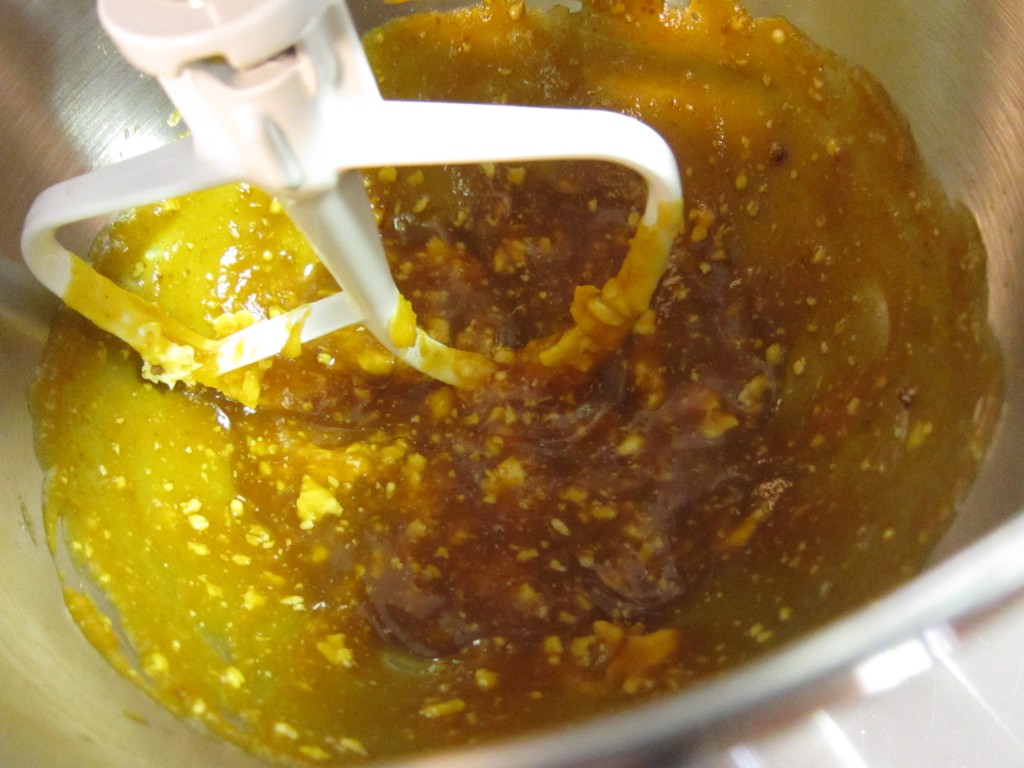
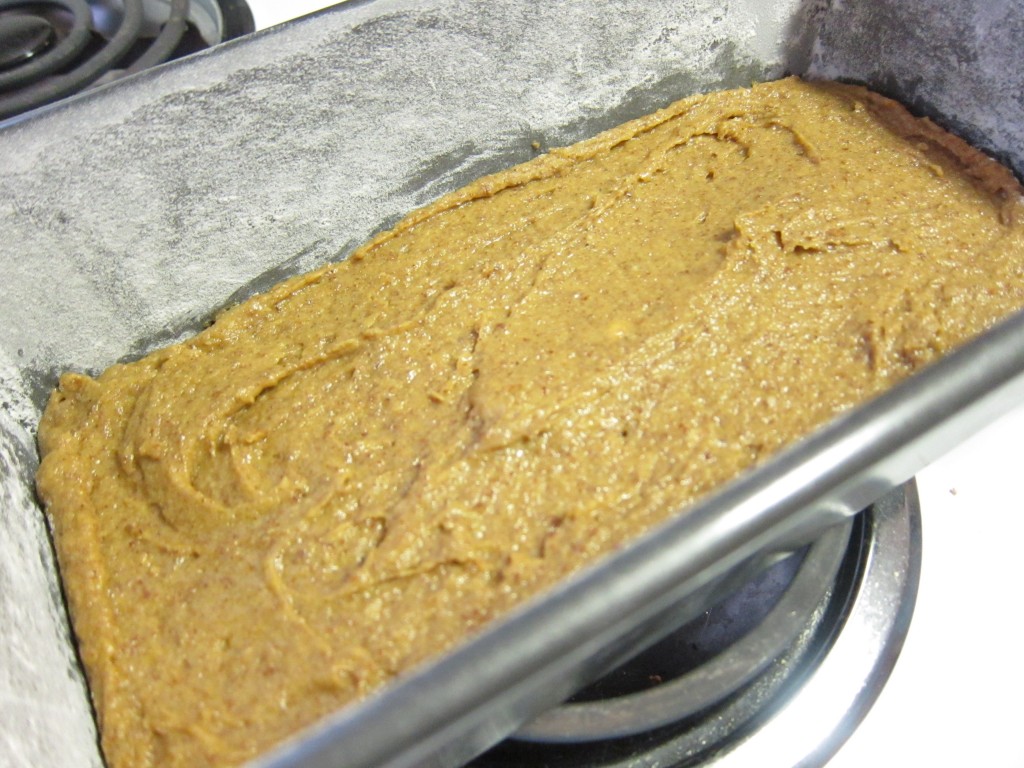
Start by creaming together the vegan butter and sugars, then add the pumpkin. This picture shows the wrong way to do it…

I got ahead of myself here and added the pumpkin in with the sugars because that’s what the original recipe said to do. The butter clumped though, and I think it would have incorporated better without the pumpkin present. The finished product didn’t seem to be affected by the uneven butter though, so no worries if you do it this way.

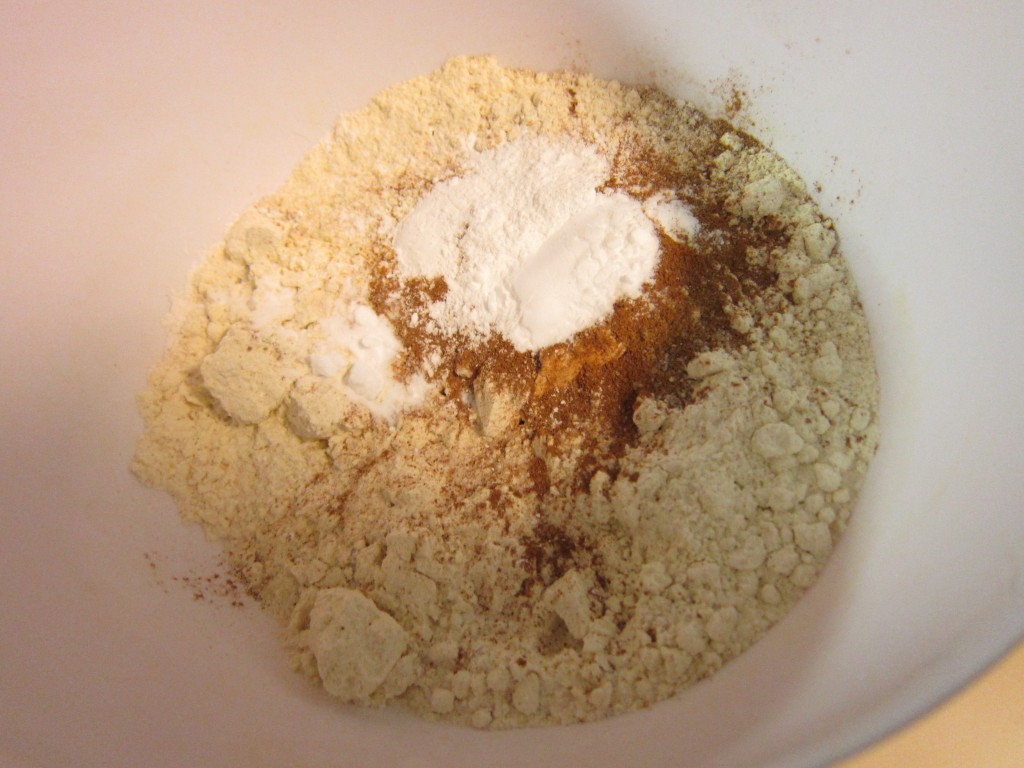
Meanwhile, mix all the dry stuff together…

Add it to the wet slowly, in three installments.  When it’s completely incorporated, add the almond milk and mix through.

Pour into a buttered and floured loaf pan and spread to the edges.

Bake for 35-40 minutes at 350 degrees.

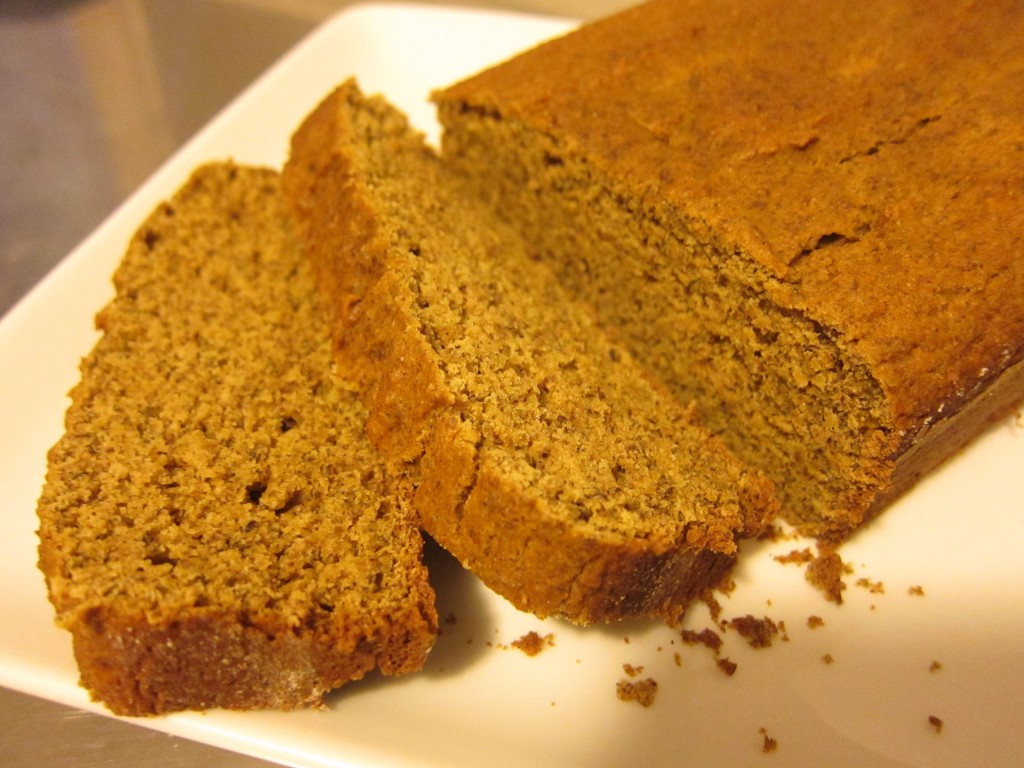
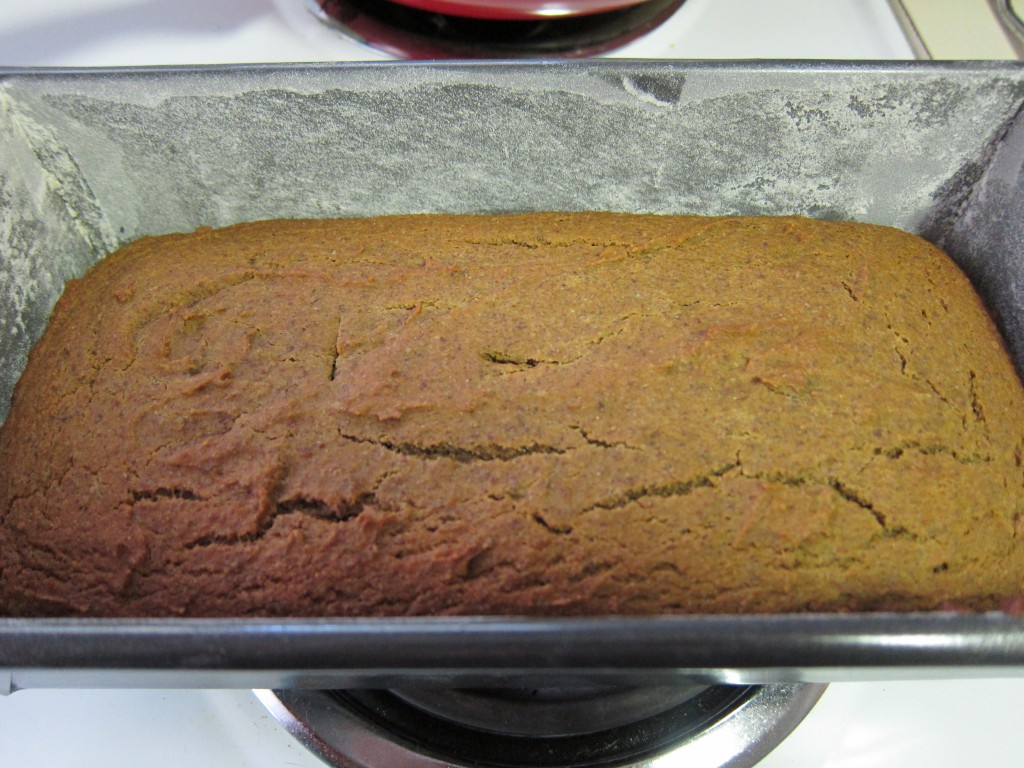
And here she is!…

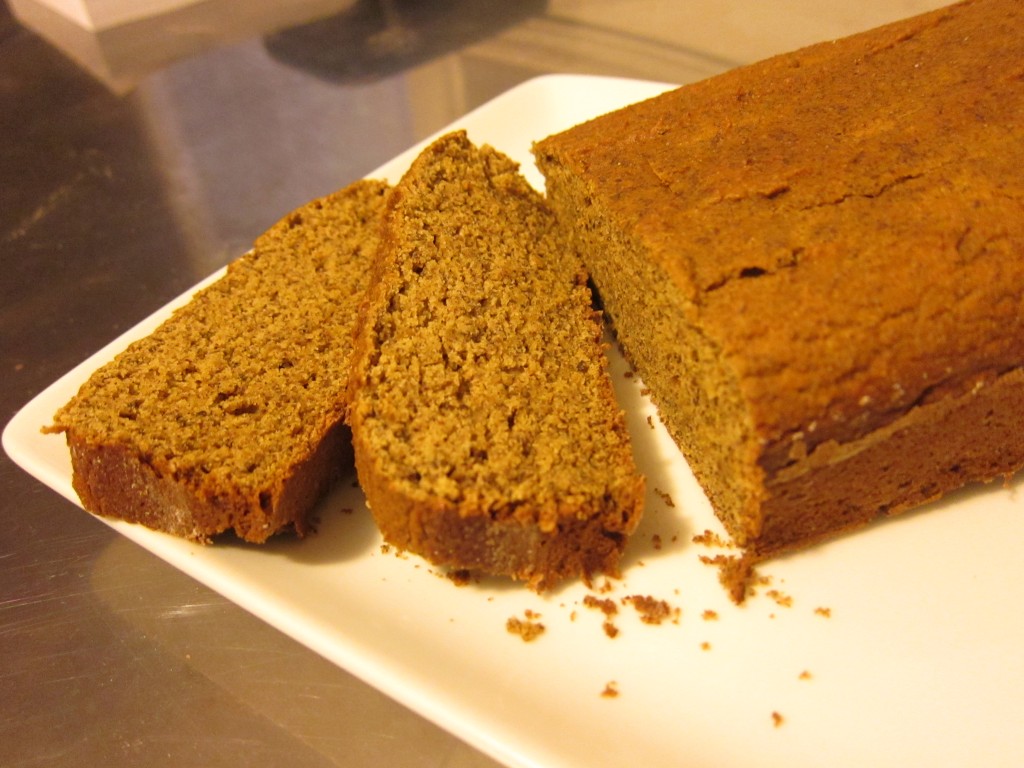
I let it sit until it was cool enough to pick up then turned it out of the pan and let it cool on a rack.

I did not have high hopes for this bread, the batter tasted kind of awful. The finished bread is a real winner though.  It’s not too sweet; should make a great breakfast bread. It may look a bit dry in the pictures, but I assure you it’s nice and supple!

I’d say this is a triumphant ending to the great banana massacre that took place in my fridge.

Oh, pumpkin.  You’re my hero!

post

Apple Crumble

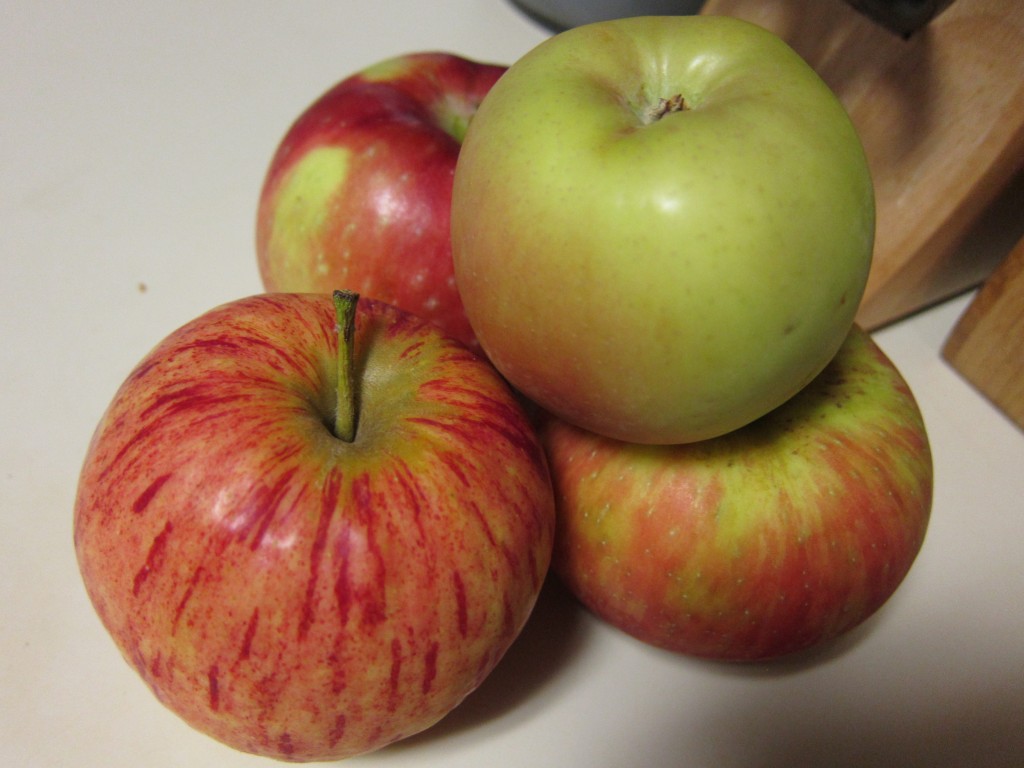
We currently have more apples in our house than I know what to do with.

Jonagold, Honeycrisp, Rome Red Lady, Washington

Wait…that’s not true…I know exactly what to do with them. Make apple crumble!

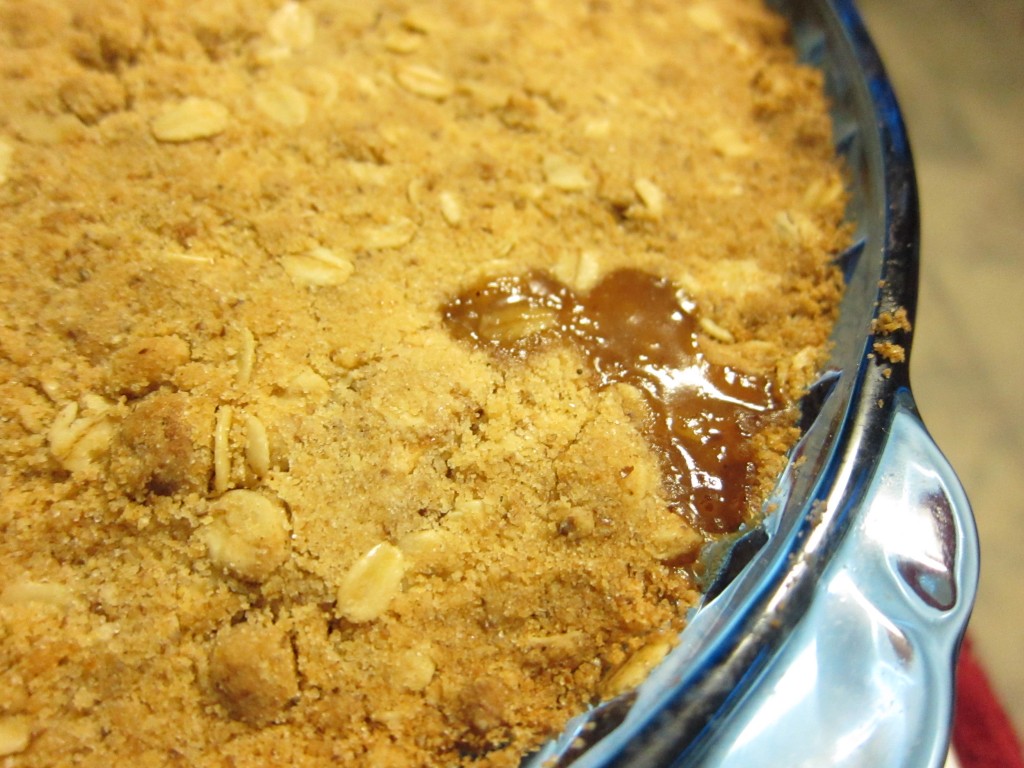
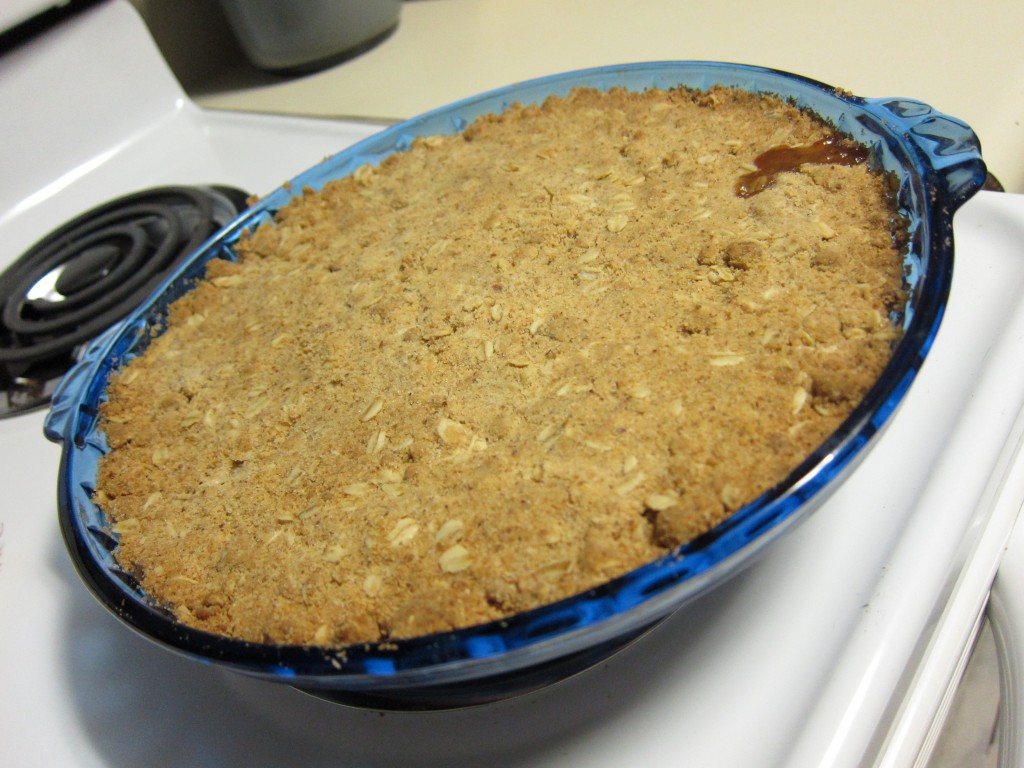
Here’s a sneak peak…

You will never escape!

And here’s how you make it:

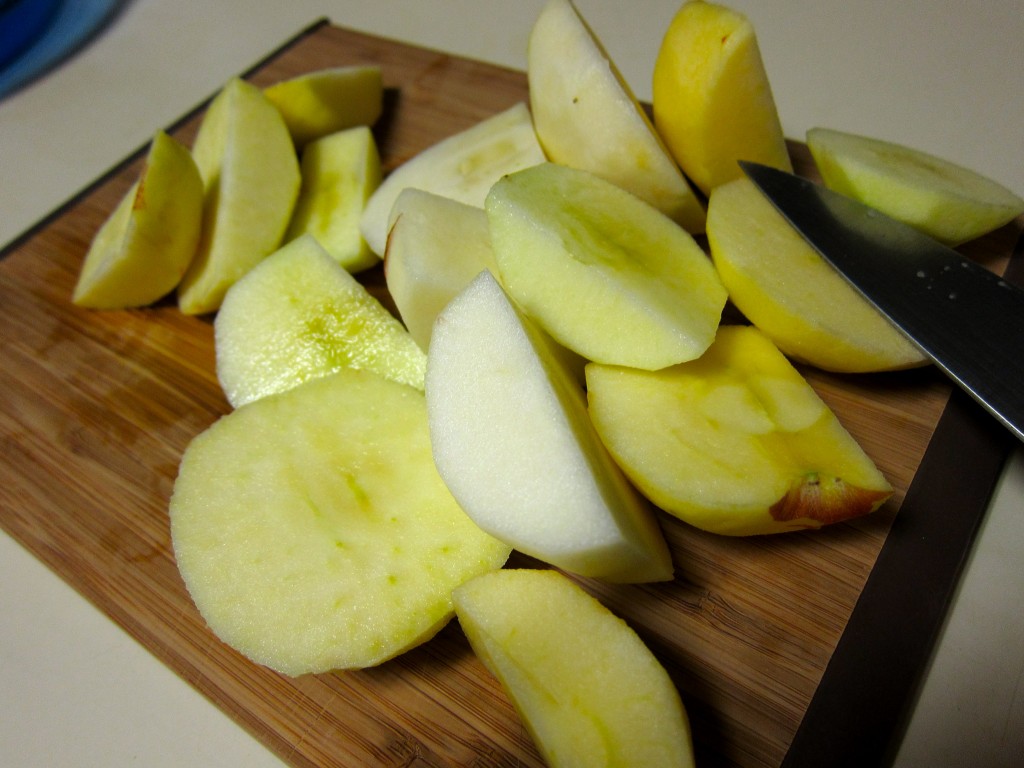
Start by peeling and coring 4 medium apples of your choice. I usually use all Honeycrisp because those are my favorites, but this time I just used up a few different varieties that we had in the fridge.

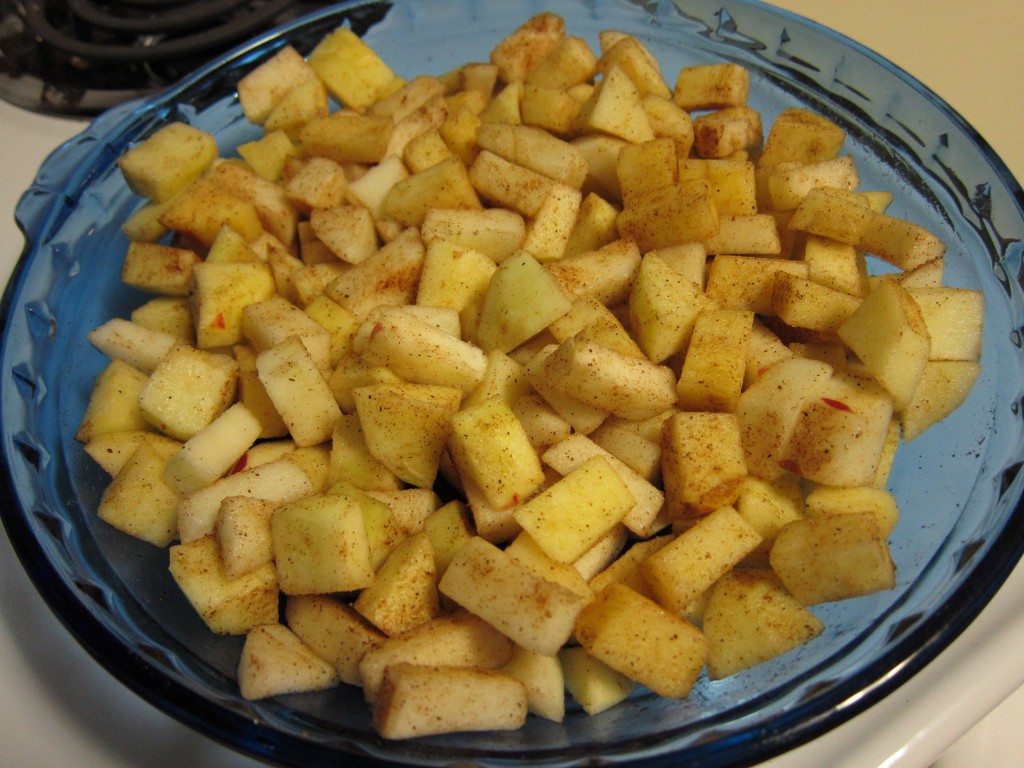
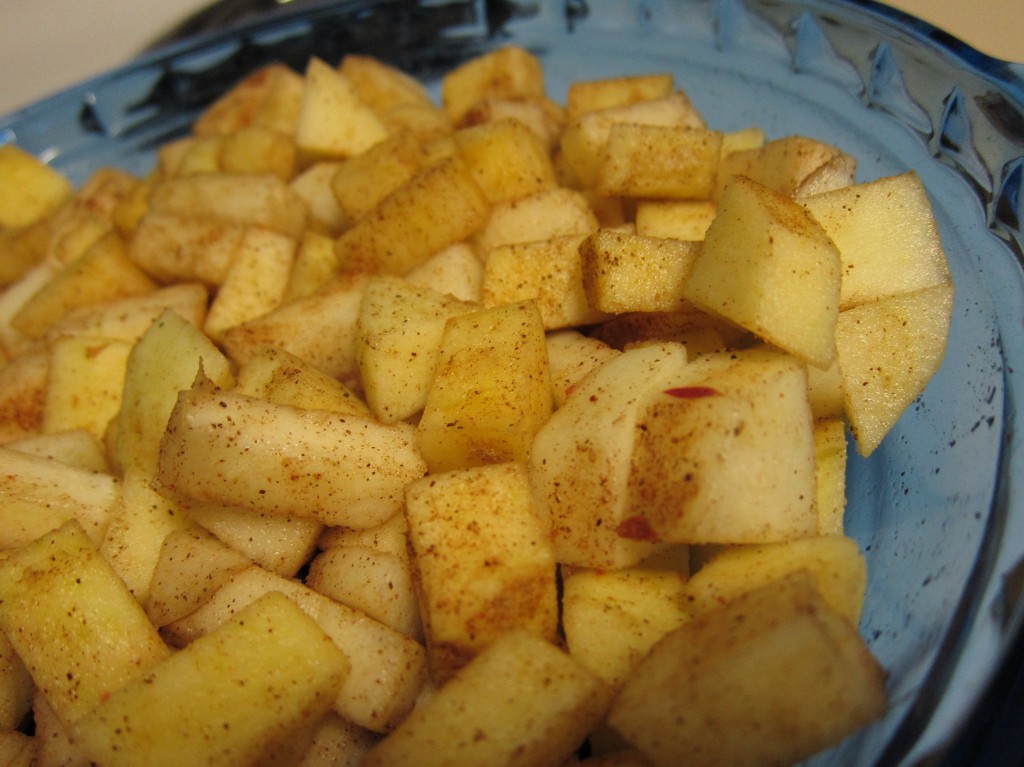
Chop them into smaller pieces and place in a baking dish.  Sprinkle on a little sugar so that the apple juices and sugar will make a syrup when heated.  I also added a few sprinkles each of ground cinnamon, nutmeg, clove, and ginger. Mix it up with a spoon to distribute evenly.

Now for the topping. Into a mixing bowl, add the following:

  • 3/4 cup flour
  • 1/4 cup sugar
  • 1/4 cup brown sugar
  • 1/2 cup oats
  • 1 stick melted butter
  • 2 tbsp. flax meal
  • sprinkle of salt
  • 1/2 tsp. each of cinnamon and nutmeg

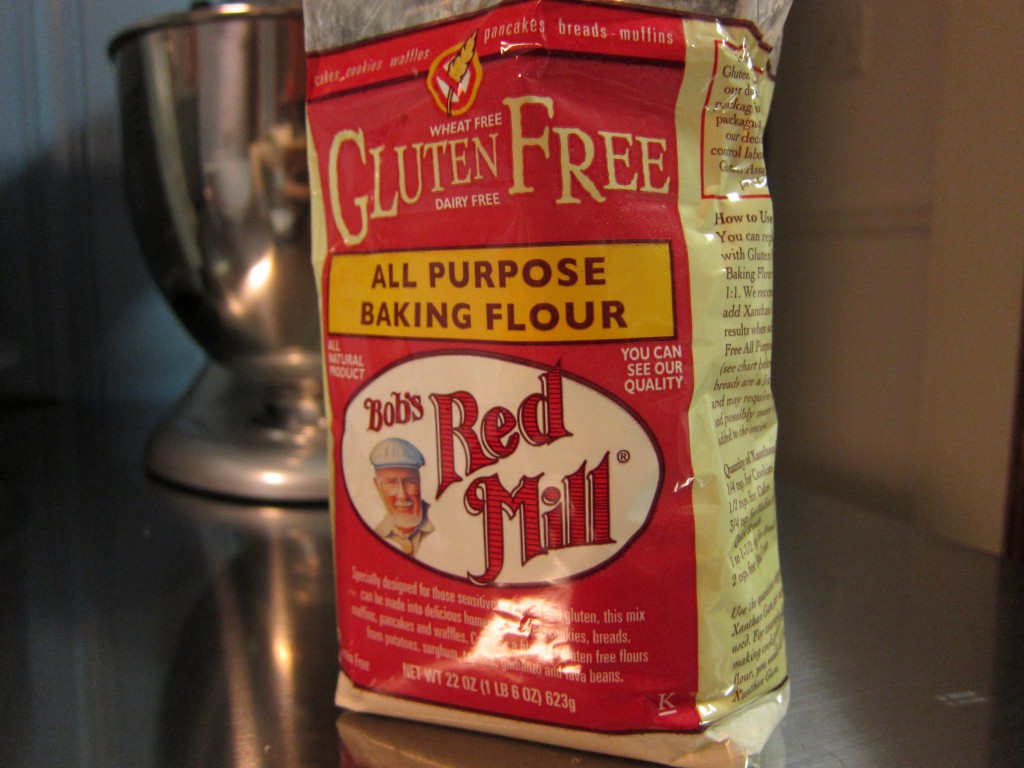
I use this gluten-free flour by Bob’s Red Mill that I bought just to try.  It works very well and has a pleasant nutty flavor.

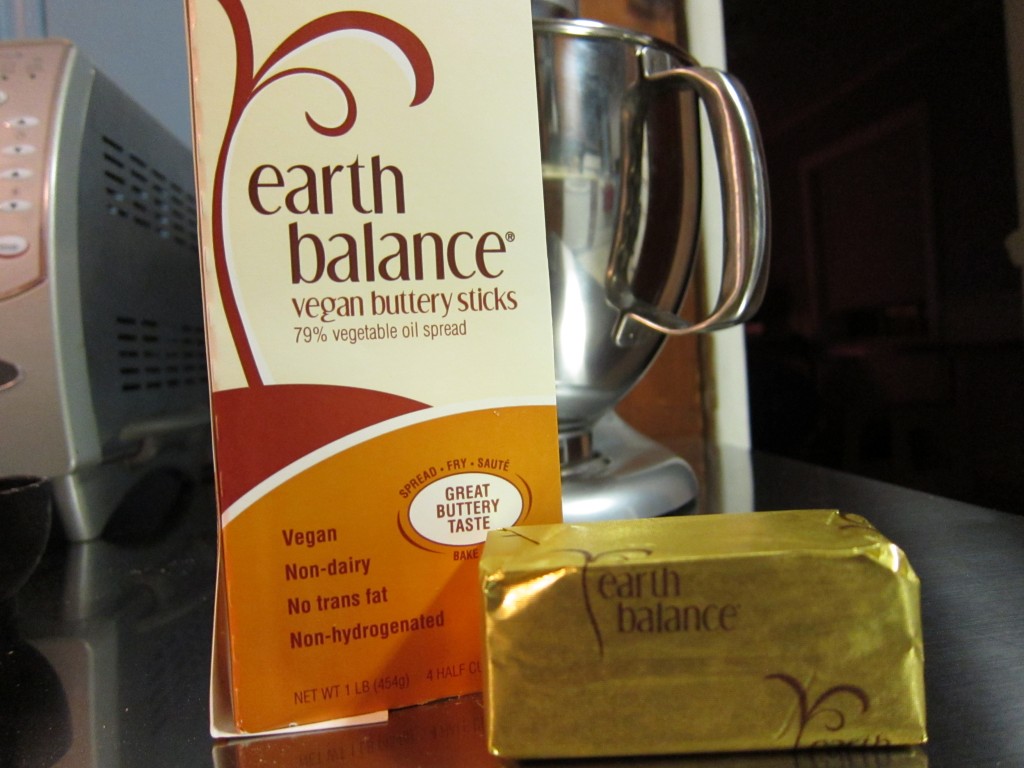
And for the first time ever I used Earth Balance to substitute butter. I’m cutting out more and more dairy from my diet every day.

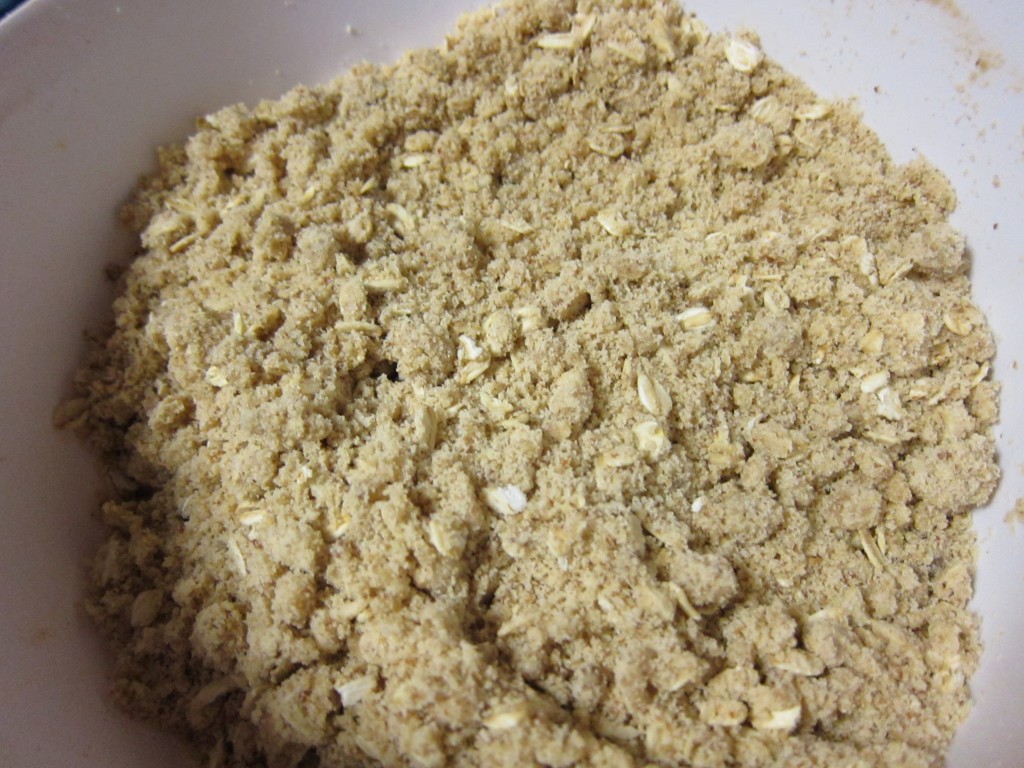
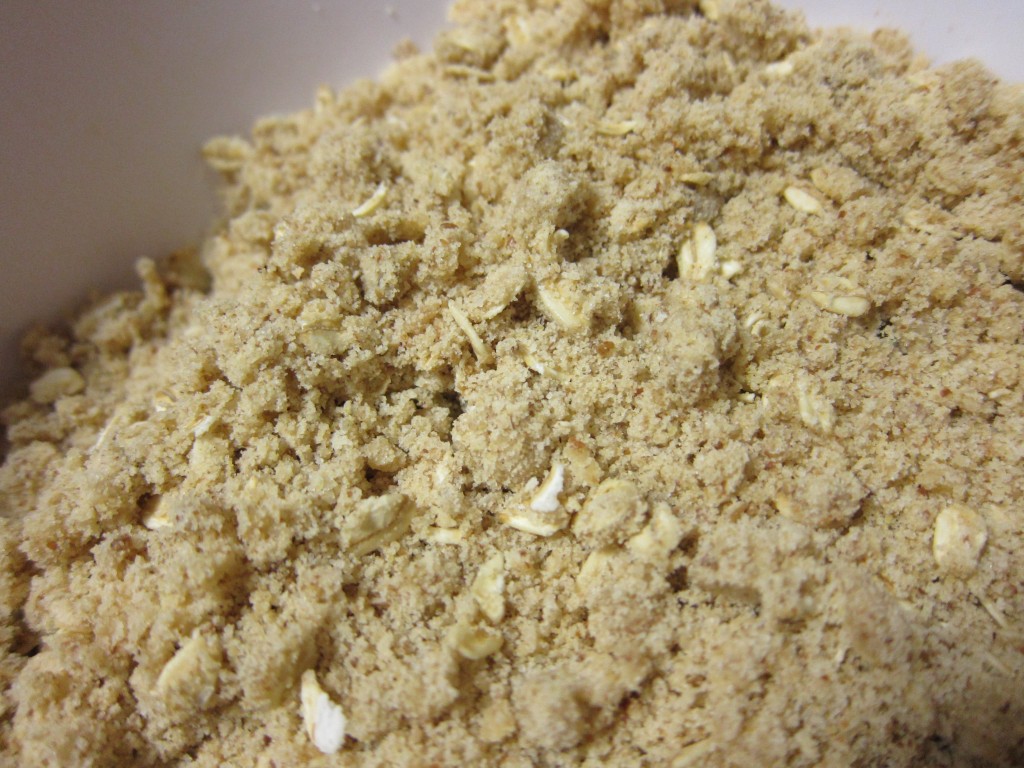
I get my hands in there and work the butter through, breaking up any lumps. It should look sandy and just barely hold together when pressed.

Pour the topping over the apples and press lightly all over. Bake that sucker for 50 minutes at 350 degrees til brown and beautiful.

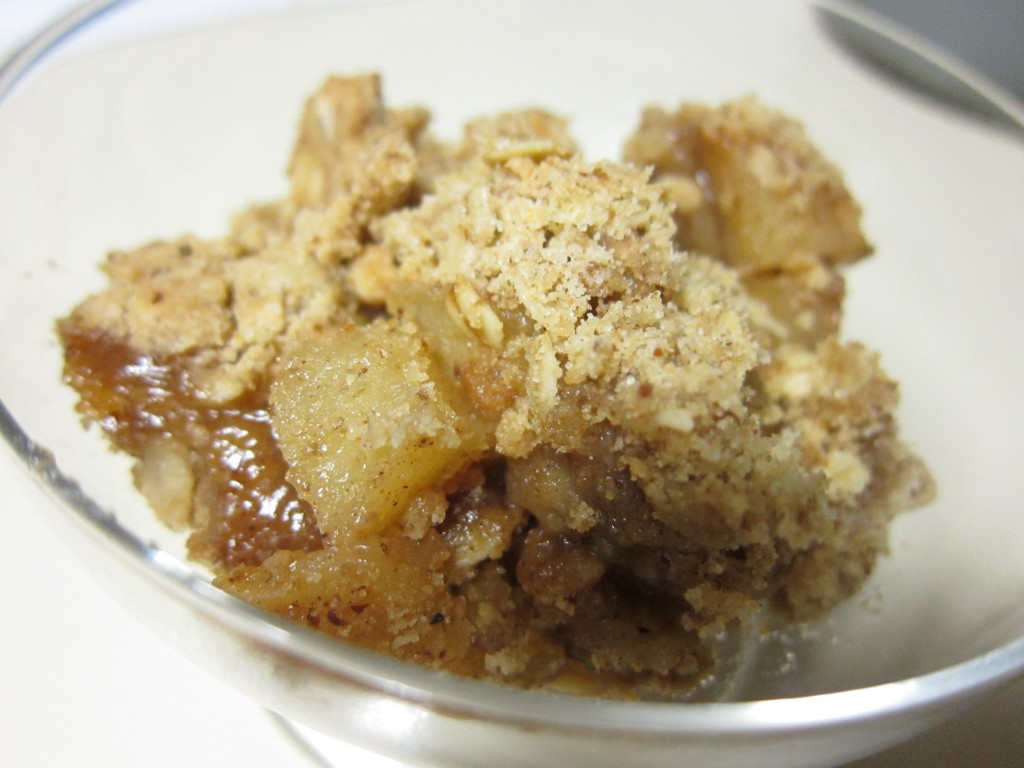
Absolutely amazing served hot out of the oven with a melting glob of cold vanilla ice cream on the side.

Or naked…

I’m gonna go get some right now!