Skip to Content

category

Category: Recipes

post

Japanese sweet potato casserole

So, I may have promised to share my recipe for the Japanese sweet potato casserole I brought to the blogger potluck over the weekend. It was intended as a recipe for my cookbook and it will still appear in the finished version, but I suppose I could give this one away early as kind of a teaser. 😉

It really couldn’t be simpler, but yields an impressive result. If you can make mashed potatoes, you can definitely put together this delicious Japanese take on the traditional Thanksgiving classic.

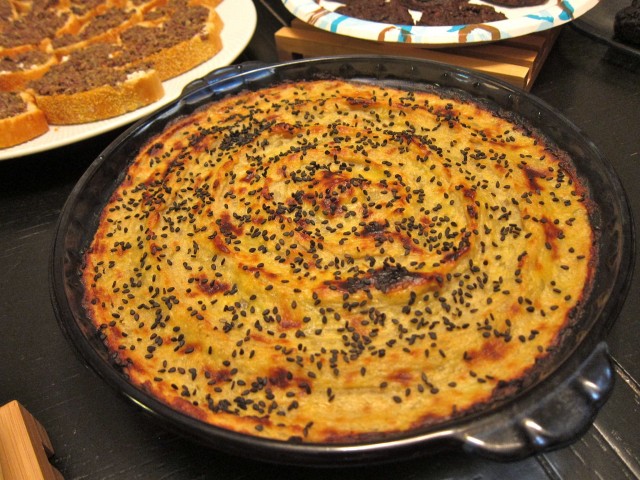
My Japanese sweet potato casserole for potluck

Japanese sweet potato casserole

A Japanese interpretation of the classic Thanksgiving side dish featuring the subtle sweetness of Japanese sweet potatoes.

Prep Time: 25 minutes

Cook Time: 20 minutes

Total Time: 45 minutes

Ingredients

  • 2 very large Japanese sweet potatoes
  • 4 tbsp. butter
  • 1/4 cup sugar
  • 1/4 cup milk
  • 1 tsp. cinnamon
  • 2 egg yolks
  • sesame seeds for garnish

Cooking Directions

  1. Peel potatoes and chop into small pieces of roughly the same size.
  2. Boil potatoes until tender (approximately 15 to 20 minutes.) Drain and pour into a large mixing bowl.
  3. Mash with butter, sugar, cinnamon, and milk while still warm. Allow to cool, then mix in one of the egg yolks.
  4. Pour into a 9 inch round or square baking dish and use the back of a spoon to make a design of your choosing on the surface.
  5. Break apart the remaining egg yolk with a fork and brush the entire yolk over the surface of the casserole being careful not to flatten the design. Sprinkle on sesame seeds if desired.
  6. Bake for 10 minutes at 350 degrees to heat it through then put under the broiler for up to 10 minutes to brown the top.

This recipe was actually inspired by a type of Japanese candy known as a “wagashi.” Wagashi are small individual-sized desserts that are traditionally served with tea. Typical flavors include mashed chestnuts, green tea, several varieties of sweetened beans, dried fruits, steamed squashes, and also sweet potatoes.

One common wagashi is the suito poteto, which of course refers to the fact that it is made from sweet potatoes. The potatoes are steamed, mashed, lightly sweetened with sugar, formed into a ball, glazed with egg yolk, and then baked. I’ve used a similar process and ingredient list to make this Japanese sweet potato casserole reflect the suito poteto wagashi, but added cinnamon to tie it together with the Thanksgiving dish of sweet potato casserole.

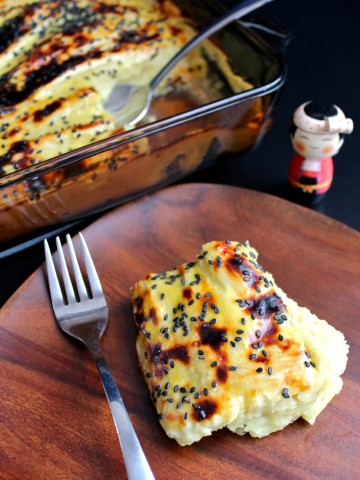
Japanese sweet potato casserole

I’m starting to see Japanese sweet potatoes, also known as satsuma-imo, popping up in regular grocery stores everywhere. They have reddish purple skin and pale white flesh and come in varying shapes and sizes. They’re a bit starchier and harder to cut than regular sweet potatoes and are a little less sweet, but they can be used in any way that you would normally use a regular sweet potato. I’ve had success mashing them, roasting them, even making thick-cut fries. They’re not too bad baked whole and slathered in butter either. 😉

If you see them in your local grocery or market give them a try, whether you use my recipe for Japanese sweet potato casserole or one of your own!

Update! This recipe can be found in my cookbook, The Japanese Pantry, along with other fun Japanese fusion foods such as crispy “popcorn” edamame .

post

My belated Christmas re-cap

I’m kind of glad that I’ve waited this long to re-cap my Christmas festivities because I really just cannot bring myself to do all the “year in review” and “goals for 2012” posts that show up this time of year. I definitely have some goals for next year and some exciting things on the horizon, but I’ll save those things for another day.

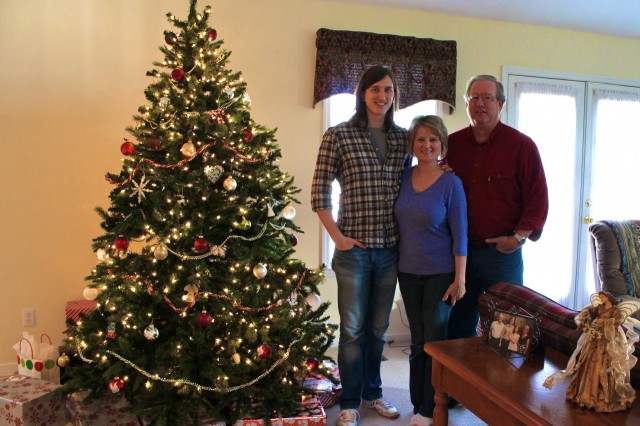
This Christmas we drove up to the Chattanooga area to spend Christmas Eve with Jeff’s family.

Jeff and parents

The tree at his Papaw’s house was knee-deep in presents!

Pile of presents

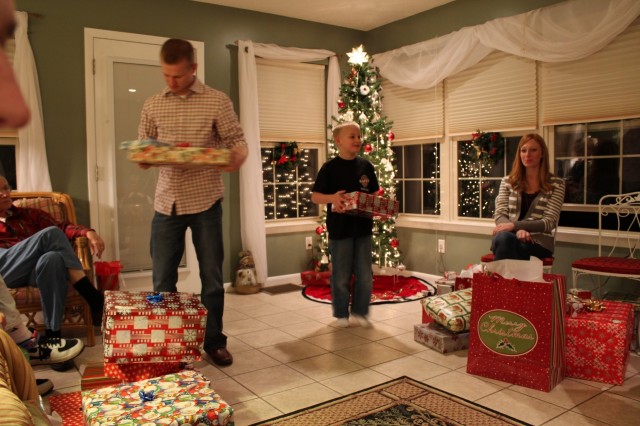
They got passed out rather quickly with the help of two “Santas.” Do you guys do that in your family? Someone, usually one of the kids gets to “play Santa” and hand out all the presents!

Passing out presents

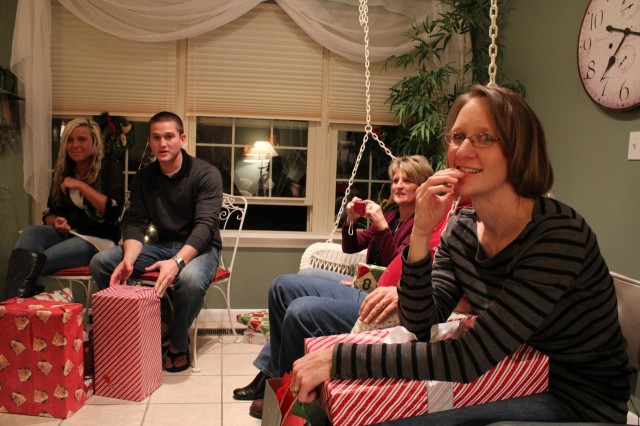
And in Jeff’s family everyone takes turns opening gifts one by one, so we all get to see what each person got and take pictures easily.

Family on the swing

And when it’s not your turn to open one you can take turns snapping photos of each other instead!

Me waiting to unwrapJeff is excite

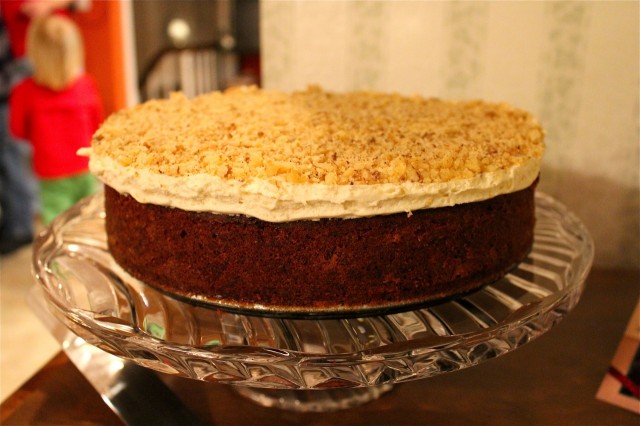
After about 2 hours of unwrapping gifts (yes it takes that long but it’s part of the fun) we went into the kitchen for dessert. I brought a carrot cake because Jeff recently mentioned to me that carrot cake was his favorite, so I just had to make it for him.

Carrot cake with honey and clementine

Not just any carrot cake though, this was a carrot cake with a clementine cream cheese frosting! It might just be the best thing I’ve ever baked.

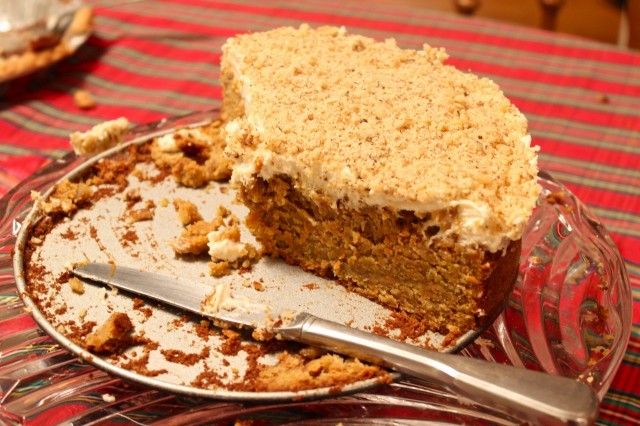
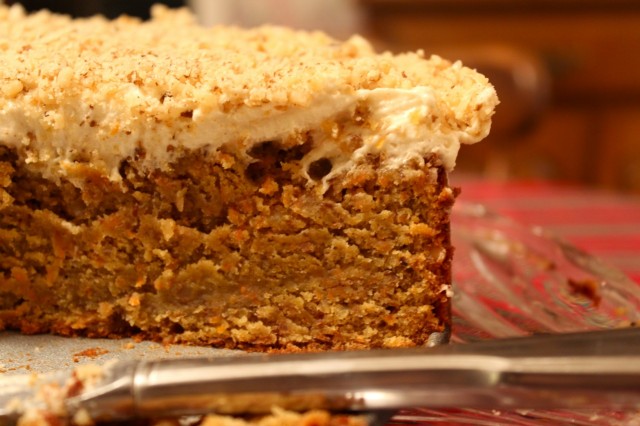
It makes me so happy when people like things I’ve cooked or baked, and everyone definitely loved the cake.

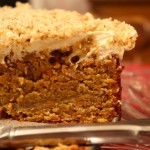
Carrot cake cutCarrot cake frosting

Carrot cake with clementine cream cheese frosting

A nutty spicy carrot cake with citrusy clementine cream cheese frosting.

Prep Time: 30 minutes

Cook Time: 55 minutes

Ingredients

  • 1 and 1/4 cups softened butter
  • 2 cups brown sugar
  • 5 eggs (separated)
  • zest and juice of one clementine
  • 1 and 1/2 cups flour
  • 1 heaping tsp. baking powder
  • 1 cup ground almond meal
  • 4 oz. crushed walnuts
  • 1 heaping tsp. cinnamon
  • a pinch each of clove and nutmeg
  • 1/2 tsp. ground ginger
  • 10 oz. finely shredded carrots
  • pinch of salt
  • And for the frosting:
  • 8 oz. room temp. cream cheese
  • 1 stick softened butter
  • 1 cup powdered sugar
  • zest and juice of one clementine
  • 1 tbsp. honey
  • 1/2 tsp. cinnamon
  • 4 additional oz. of crush walnuts to top

Cooking Directions

  1. For the cake:
  2. Grease a 9-inch spring-form cake pan with butter and set aside.
  3. Beat egg whites and salt in a large bowl until stiff peaks form.
  4. In a stand mixer, cream together butter and brown sugar until light and fluffy.
  5. Add eggs one at a time, mixing in between, then add clementine juice.
  6. Mix together dry ingredients and zest in a separate bowl and add to wet mix in three installments, mixing completely in between each addition. Stir in walnuts and shredded carrot by hand.
  7. Fold beaten egg whites into the batter gently and pour into cake pan.
  8. Bake at 350 degrees for 55 minutes, then remove and let cool completely in cake pan.
  9. For the frosting:
  10. Beat together butter and cream cheese until light and fluffy.
  11. Add zest, juice, honey, and cinnamon and mix in. Add sugar until desired consistency is achieved and frost over a completely cooled cake.
  12. Top with 4 oz. of crushed walnuts to garnish.

After dessert we went back to Jeff’s parents house to spend the night so that we could leave from there to head to Hiawassee, GA the next morning. My Dad’s side of the family has moved up there in recent years and it’s a beautiful part of Georgia, even if it is 2 and a half hours away.

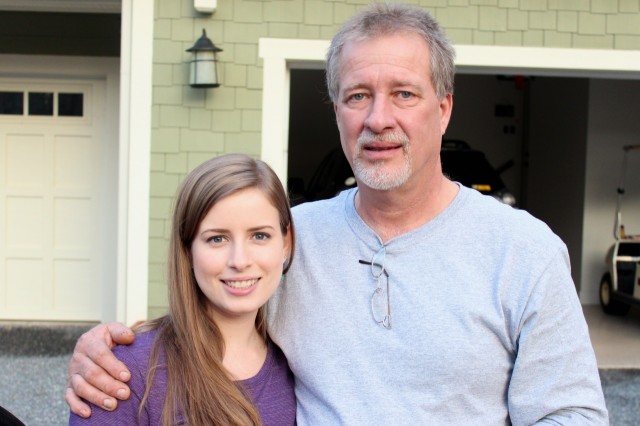
I was so done with snapping photos so I didn’t really take any that day except for this one of me and my Dad. Don’t we have the same eyes?

Me and Dad Christmas 2011

So you may have noticed that I haven’t told you what Jeff and I got for each other yet. We actually exchanged gifts the Friday before Christmas so that we’d have time to “play” with our new stuff before we had to head up to Chattanooga.

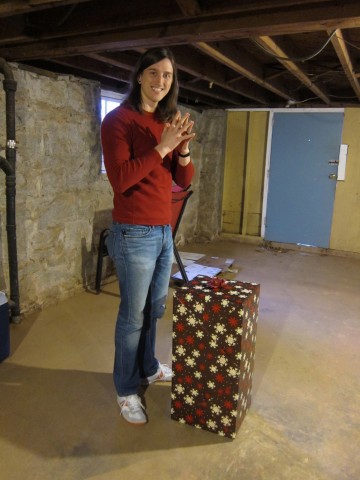
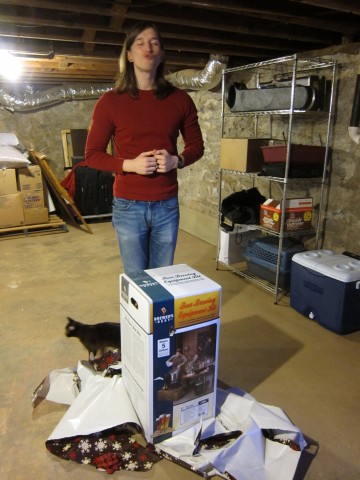
I sent Jeff down to the basement to open his since I’d been storing it down there.

Jeff about to open his present

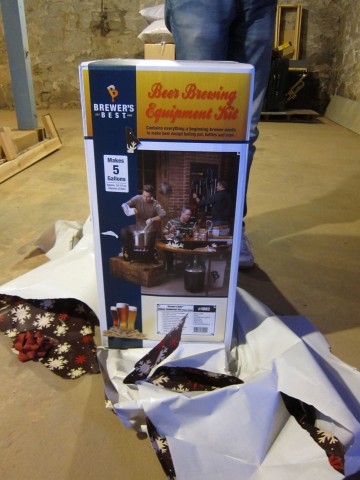
It’s a home beer brewing kit! We’ll both enjoy that one! 😉

Jeff's home brewing kitJeff loves his present

He is so excited about it and has been spending the last week reading up on brewing techniques and shopping for the ingredients he’ll need to make his first batch!

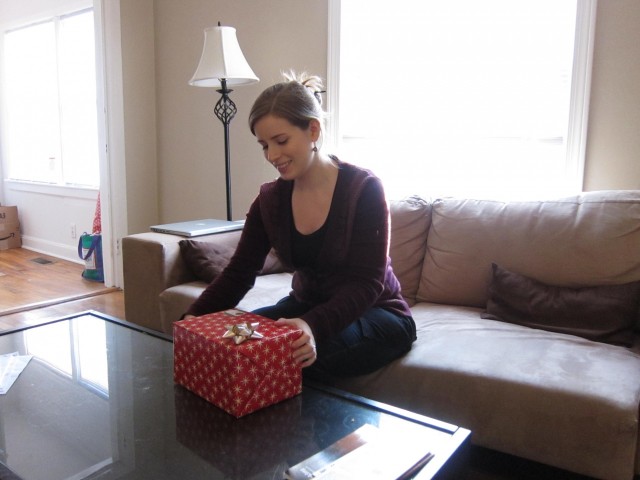
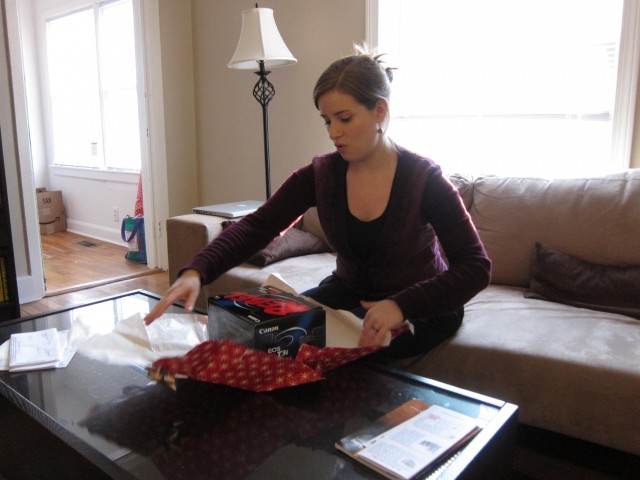
He had also been dying for me to open his gift to me for all of December, and now I know why…

Me about to open present from JeffI got a Rebel!Love my gift!

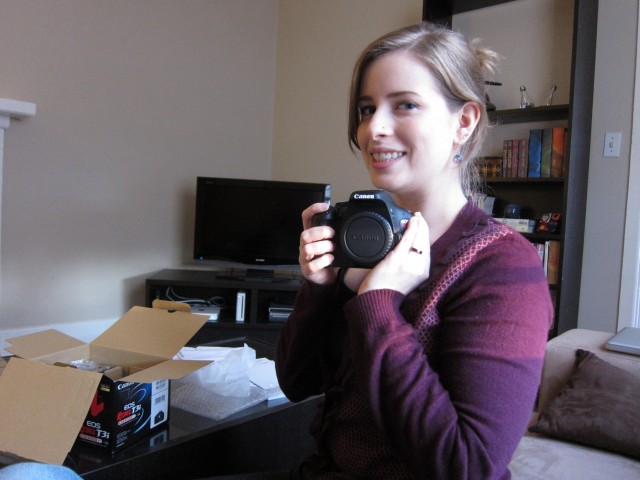
It’s a Cannon Rebel DSLR camera!!! Ahhhh!

I’ve been dying for a better camera for ages. I’m really starting to understand and enjoy photography and it was time to upgrade for sure. I absolutely love the Cannon PowerShot S90 Point and Shoot that I’ve been using for the last 2 years and I’ll definitely continue to use it, but a DSLR was necessary for me to be able to continue improving my photography skills and to take more professional quality photos.

It’s also going to be invaluable for a personal project I’ve been working on…….

Anyway, I hope your holiday season was wonderful too. See you all in the new year!

ornament 2011

post

Apple butter cake with cinnamon cider buttercream

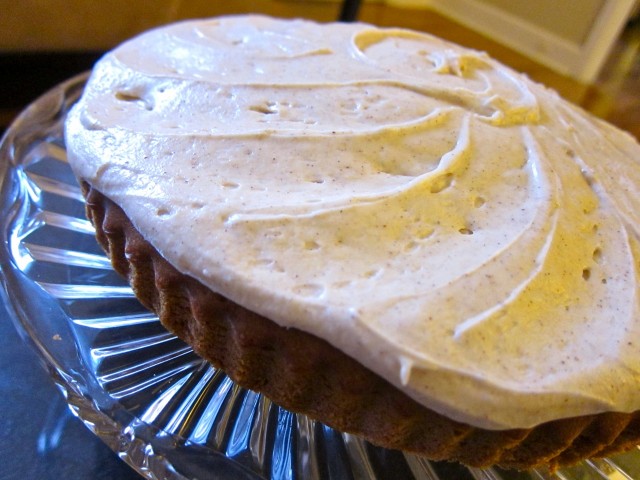
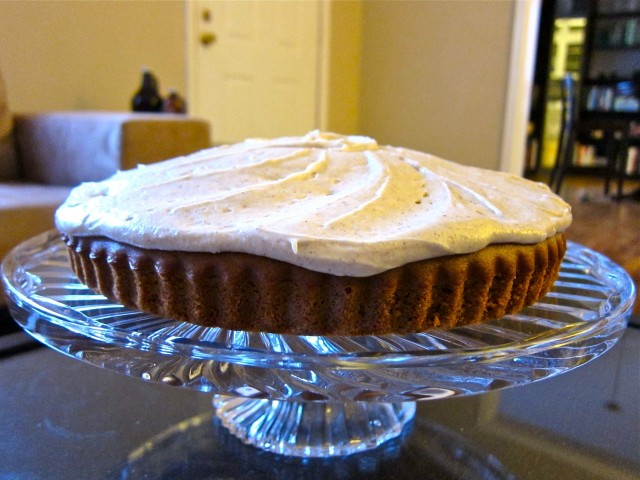
All that’s left to share from last weekend is this incredible apple butter cake!

Apple cake frosting

I love to bake, but ever since I started paying attention to eating mostly healthy foods I’ve tried to put aside that urge to make a batch of cookies every week. I have a huge folder full of bookmarked recipes for when I need a “fancy” dessert, if only I had enough occasions to make them all!

This is a cake that I heavily modified from another recipe. It’s so far changed from that “inspiration cake” though that I feel totally cool with posting it as my own recipe.

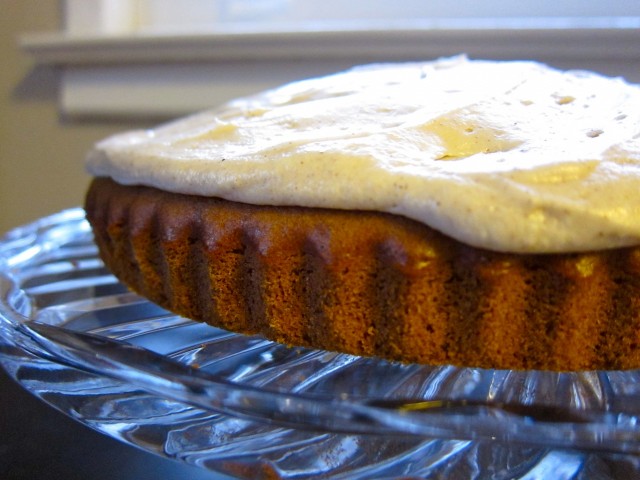
Apple cake edge

Apple butter cake

A damp and delicious cake with the warm winter flavors of cinnamon and rich apple butter.

Prep Time: 20 minutes

Cook Time: 40 minutes

Total Time: 1 hour

Yield: 1 9-inch cake layer

Ingredients

  • 2 cups all-purpose flour
  • 1 and 1/2 tsp. baking powder
  • 3/4 tsp. baking soda
  • 1 tsp. cinnamon
  • 1/4 tsp. salt
  • 3/4 cup packed brown sugar
  • 1/2 cup vegetable oil
  • 3/4 cup apple butter
  • 1 tsp. vanilla
  • 2 small eggs
  • 3/4 cup unsweetened almond milk
  • 1/4 tsp. ground clove
  • 1/4 tsp. ground ginger

Cooking Directions

  1. In a stand mixer, mix together oil and brown sugar followed by the vanilla, apple butter, and eggs one at a time.
  2. In a separate bowl, whisk together dry ingredients and spices and slowly add to the wet mixture in three installments, allowing the dry to fully incorporate with the wet each time.
  3. Slowly drizzle in almond milk while the mixer is at it's lowest speed until it is fully combined.
  4. Pour batter into a non-stick tart pan or regular 9-inch cake pan sprayed with a non-stick spray.
  5. Bake at 350 degrees for 35 to 40 minutes or until a toothpick inserted in the middle comes out clean.
  6. Allow to cool completely before frosting.

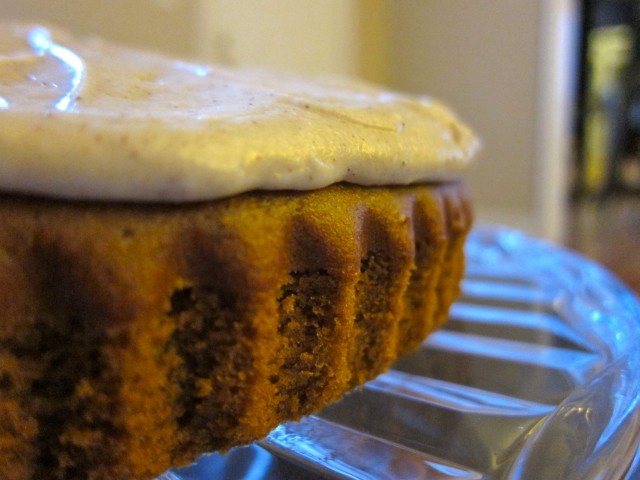
Apple cake ridges

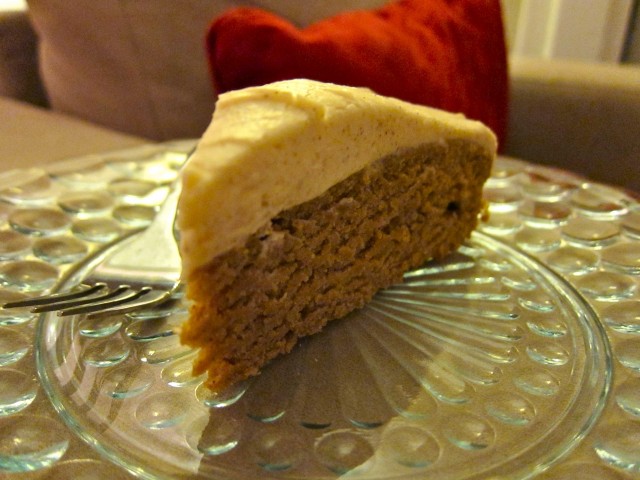
I love how damp the texture of this cake is. It reminds me of a really good banana bread. The frosting is a sweet contrast to the subtle cake flavor but it isn’t too crazy sweet either. The flavor of the cider is barely noticeable in it, it just adds a kind of fresh fruity crispness.

Side of apple cake

Cinnamon cider buttercream

Sweet buttercream with a hint of fresh fall apple and warming cinnamon.

Prep Time: 10 minutes

Total Time: 10 minutes

Ingredients

  • 3/4 stick unsalted butter
  • 1/4 cup apple cider
  • 1 tsp. cinnamon
  • pinch of salt
  • up to 4 cups powdered sugar

Cooking Directions

  1. Beat room-temperature butter in a stand mixer until light and fluffy.
  2. Add in a cup of the sugar and all the other ingredients and beat until combined.
  3. Keep adding sugar a bit at a time and mixing until the desired thickness is achieved.
  4. Spread over a completely cooled cake.

Slice of apple cake

I ended up pawning the rest of the cake off on my mom and brother-in-law. If it had sat in my house any longer I would have undoubtedly eaten it all myself. I love sweets.

Speaking of sweets, today I’m baking up a carrot cake to take to Christmas Eve dinner with Jeff’s family. I’m adding some special signature touches to it, so I’ll be sure to share the recipe with you after the holidays. Hope yours are wonderful!