Skip to Content

tag

Tag Archives: baking

post

Not so fond of fondant

I LOVE baking, I LIKE crumb coating and frosting, but I HATE working with fondant. This stuff is so finicky and delicate and heavy and sticky. One wrong move and you’ve ruined it, and this stuff ain’t cheap. There really is no room for error.

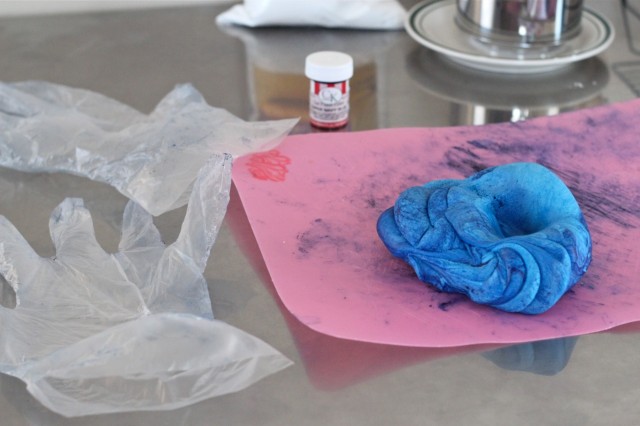
My trials with fondant began early in the week when I decided to go ahead and dye a piece that I would later be using to make striped trim around the cake. I needed to get this small chunk of fondant to a deep navy blue, and after an entire bottle of navy gel dye and a half hour of kneading and squeezing, I still had only this…

dying navy fondant

That’s decidedly not navy. It was obvious that I was gonna need a LOT more dye to reach the deep color I was looking for, so I knew I’d need to schedule time during the week to make another trip to the cake supply store for more dye.

BTW, if you’re in the Atlanta area and are in need of professional cake decorating supplies, I cannot recommend Cake Art enough. I could not believe there was an entire store dedicated to cake decorating that was only a few miles from my house. Their staff is extremely helpful and I would have been in serious trouble if I ever found myself in need of more supplies that I could only find online. They even have classes!

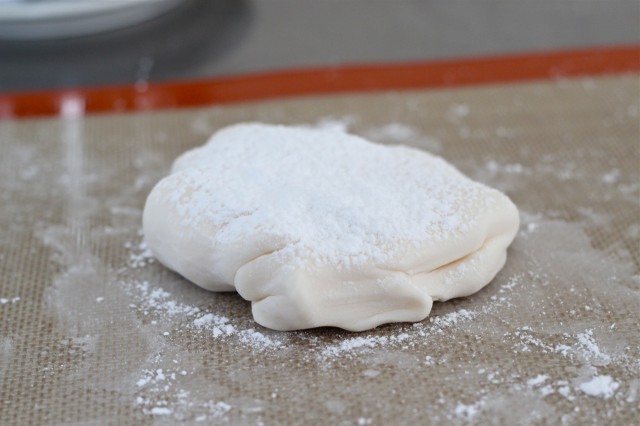
Anyway, since I couldn’t finish that project that day, I moved on to creating a bow ornament out of fondant. I can never find my preferred brand of fondant; Satin Ice, in small quantities, so I purchased this Pettinice brand instead in a 1.5 pound size. The thing about Pettinice is that it’s a lot stickier and bendier. I needed to firm it up a bit so that it would hold it’s shape well for making the bow, so I added corn starch in small batches until it felt like the right consistency.

Kneading fondant for bow pieces

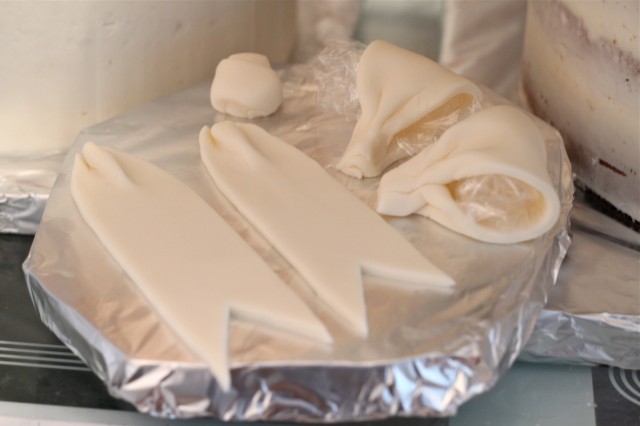
I rolled a small piece of it out on a SilPat (non-stick silicone mat) and used an exacto knife to cut out the shapes for each part of the bow. I then made some pleats in the tails and stuffed the loops with some saran wrap so they wouldn’t flatten out as they dried.

I set them on their own little board and let them set up in the fridge.

bow pieces for wedding cake

Now here’s the real fun part – covering the cakes with the fondant.

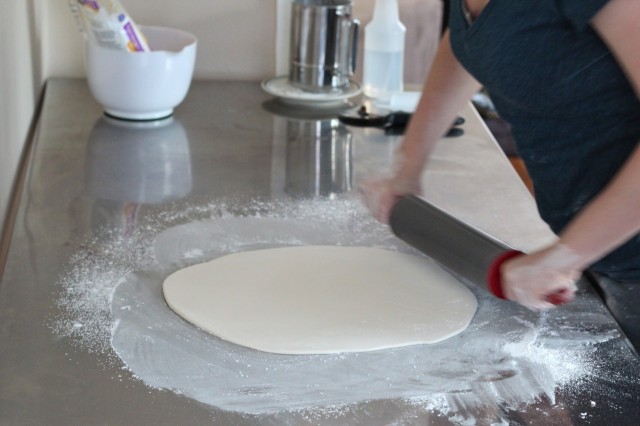
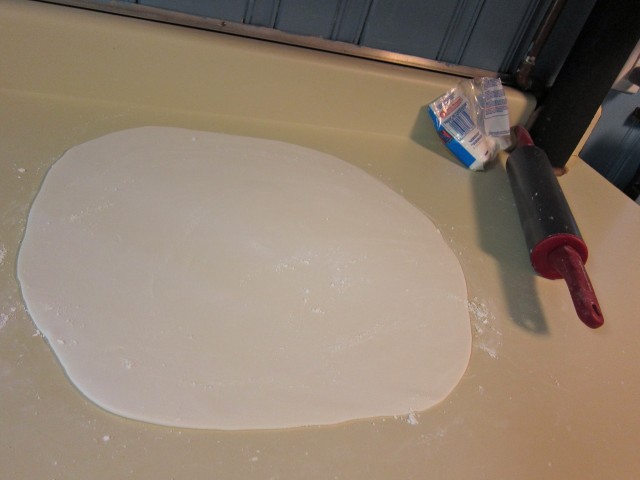
You want to first measure your cake to see how large you need to roll out the fondant. You measure across the diameter and up the sides, then add a few inches to make sure you have enough to work with. My biggest cake layer needed a circle of fondant nearly a yard across! It barely even fit on the table.

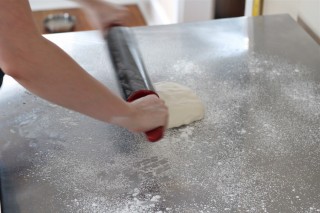
Rolling fondant with cornstarch

The professionals use a kind of giant pasta roller machine to make fondant sheets of a perfectly even thickness, I used my biggest heaviest rolling pin and went to town. I had to use a lot of cornstarch to keep the fondant from sticking to the table or to the rolling pin. You constantly need to be running your hand underneath the sheet to make sure it’s not sticking anywhere, and add more cornstarch if it is.

Rolling out fondantRolling fondant wider

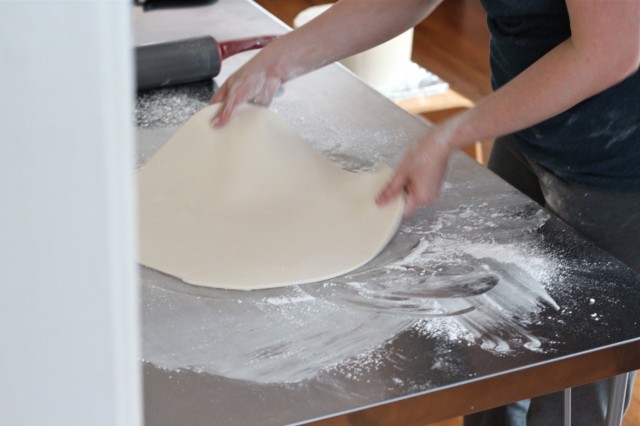
If you find any air bubbles you can pop them with a pin then roll over them a few times to squeeze the air out and smooth out the scar. Keep rotating the fondant to make a nice circular sheet. Use a yard stick to see if it’s big enough. If it’s not big enough and you’ve already got it rolled paper thin, you might have to wad it up and knead in more fondant, then start over. It’s a pain, and I got lucky this time that I had enough to work with for each layer. I still don’t know how many pounds of fondant are needed to cover different sizes of cake.

Rotating fondant

Here’s the part that absolutely kills my nerves. First, there’s getting it onto the cake without stretching or tearing it. My favorite way to do this is to put both of my arms underneath it with my palms facing up, and then lift it straight up and place it straight down on the cake. Professionals usually roll it around a rolling pin and then unfurl it across the cake. I don’t do this because I’m clumsy and because rolling the fondant when you’ve worked a lot of cornstarch into it can cause a wrinkly surface texture known as “elephant skin.” I’m looking into getting a huge silicone mat to roll out fondant on so that I won’t have to use cornstarch anymore. That’ll take care of the elephant skin problem for good.

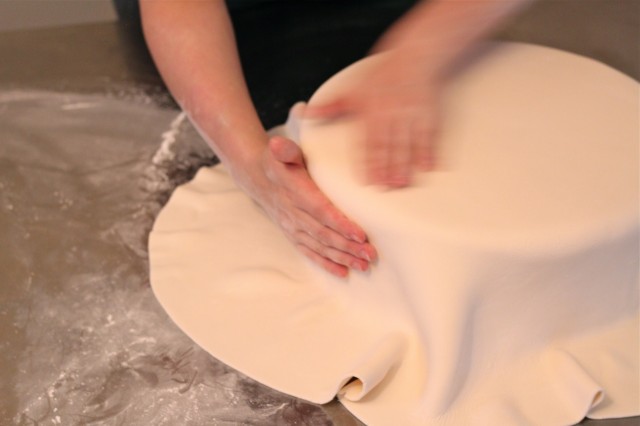
Smoothing fondant over cake

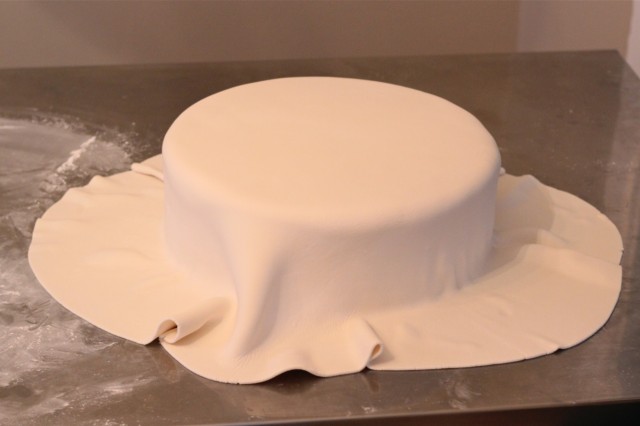
Once you get it on the cake, you need to work quickly to smooth the fondant over it seamlessly before it starts to dry out and become less pliable. This is definitely a skill that needs to be practiced to be mastered, and I am nowhere near mastering it. You can start by smoothing it across the top, then the technique is to lift the curtain of fondant up and, starting towards the bottom of the cake, you smooth it upwards with your hand. You have to keep lifting and smoothing until it’s all tucked in. Really difficult because there’s more material hanging over the edge of the cake than there is surface to smooth it onto.

Fondant almost stretched over

That’s it almost finished, just a few more wrinkles to lift and smooth. At this point you should use a smoothing tool to get the angles really crisp. It’s basically a flat piece of plastic with a handle that you run all over the cake with light pressure. You then run it up and down the sides to make a sharp edge at the bottom. Then you can cut the excess fondant off with a pizza cutter. I always leave about and inch extra though because fondant can tend to shrink up a bit in the fridge. So once I’m sure it won’t shrink anymore I go back with an exacto knife and cut it right at the edge.

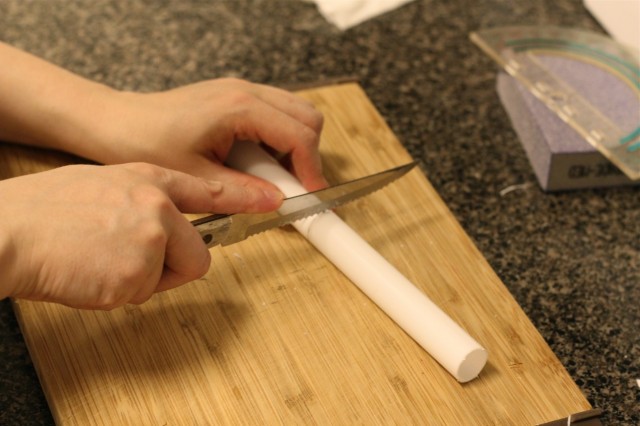
The last thing I had to do before decorating was to add the support rods. Cake is heavy. I buy these plastic dowels and then cut them to size.

Cutting support rods

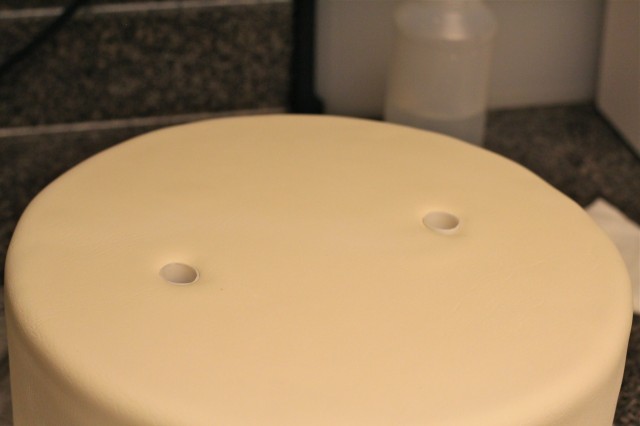
You want them to come right to the top of the fondant. Any higher and you’ll see a gap between the tiers, lower and the tier above will squish the one below. It takes a lot of adjusting to get each dowel the exact height it needs to be. You can see below that the dowel on the right needs to lose about a millimeter off the top. You wriggle it out, wipe it off, and carefully trim the edge with scissors. I finished this up around 11pm.

Inserting support rods

All that’s left to do is to decorate it and transport it to the wedding site!

Little did I know just how crazy my last morning of work on the cake would be…

post

Kevin & Ashley’s wedding

If you’ve missed any of my cake baking adventures so far, check out these posts first:

The wedding was on Saturday, and as you read this the bride and groom are sunning it up in Mexico for their honeymoon.

Jeff and I spent yesterday doing absolutely nothing. Pajamas all day. With a stressful week of cake-baking, trafficky travel, and wedding festivities – we were beat. Here’s how it all went down…
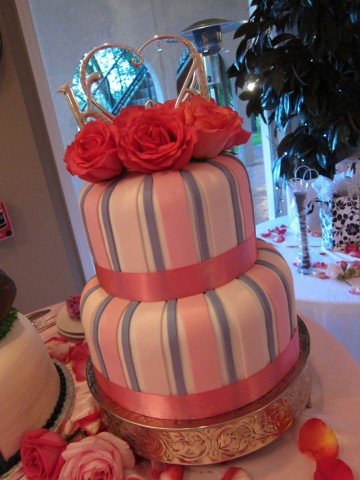
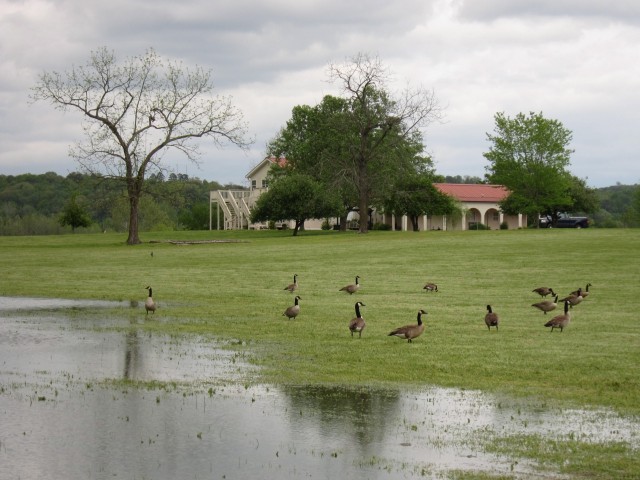
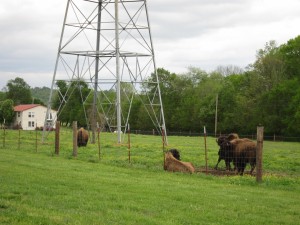
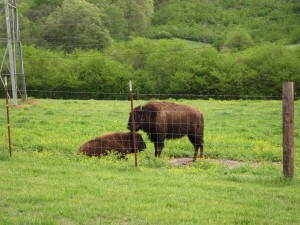
We arrived at the wedding venue, Tennessee River Place, to an amazing pastoral scene. Big fluffy buffalo and strutting geese dotted the green grass.

Geese at the weddingBuffalo pastureWedding buffalo

There was an intense storm the day before so the ground was still wet. The overcast sky meant that the wedding and reception would be moved indoors rather than at the riverfront.

I had the good luck of getting an entire industrial kitchen to myself to finish the cake. I completely underestimated how long it would take to finish up, so I was scrambling a bit to get it all done before I needed to go get myself dressed and ready.

The first thing I did was fix a few cracks and flaws in the fondant. The drive to the wedding site was unpaved and the gravel had the cakes sliding all over the place in the car. It’s amazing what a little vegetable shortening will do though. You can put a little on your finger and rub it in circles over a crack and it will largely disappear! I did that all over and with the exception of a few deeper dings, it smoothed out nicely.

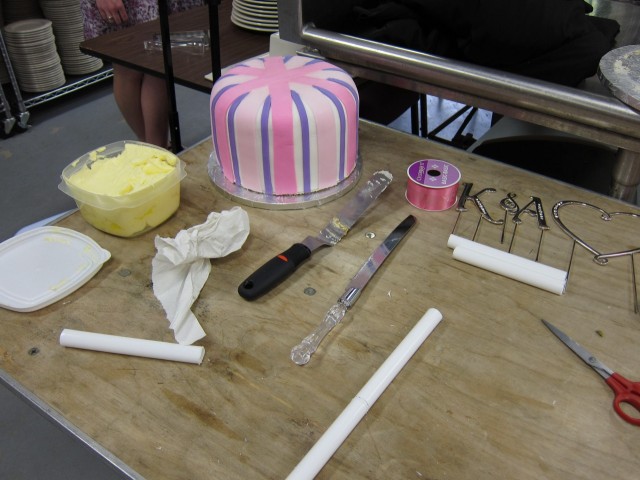
Then I got to work on cutting and inserting the 4 support dowels…

Cake assembly stationInserting support dowels

I had to take those two on the right out again and cut them down to cake level. I also took the bottom cake layer off of its transport base and glued it to the decorative stand with a little buttercream.

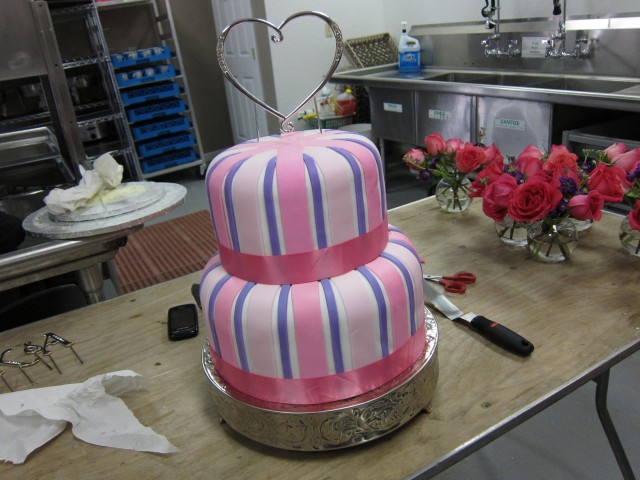
I put the second layer on top, wrapped the bases in ribbon, and started postioning the topper accents.

Adding adornments to cake

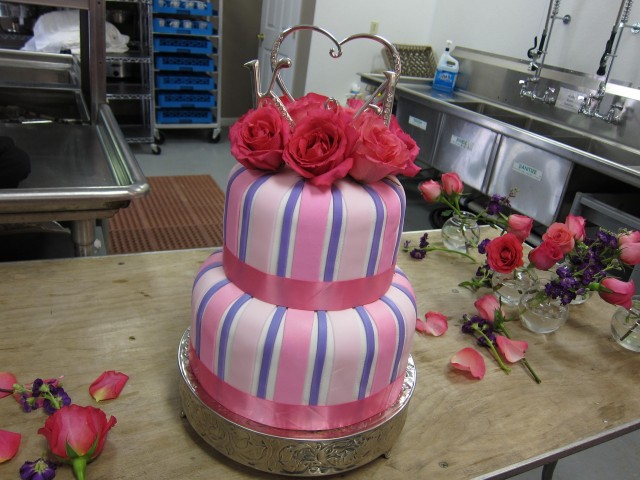
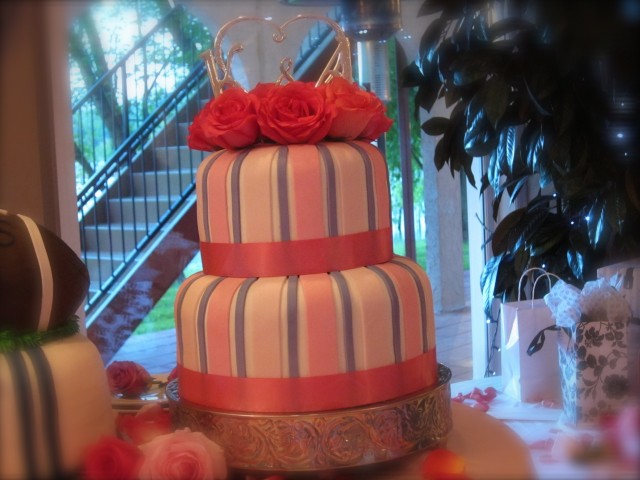
I used some cut roses to make a floral crown to fill out the top. I just cut the stems short and angled and pushed them right into the cake. I fluffed the flowers up a little by pulling the petals open a bit.

And…………………………….wait for it………………….here it is!!!

Positioning flowers

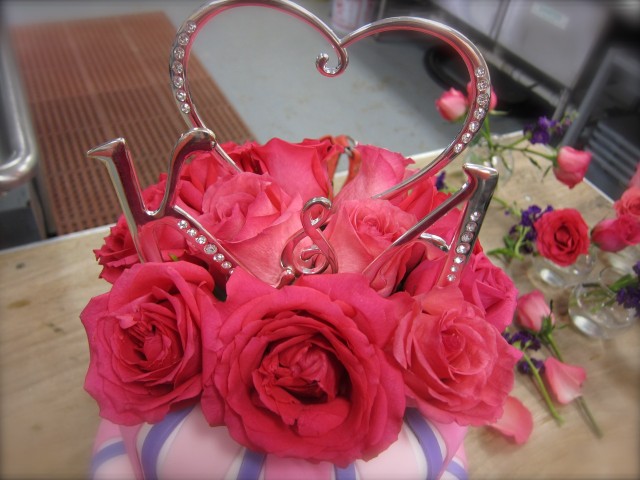
And a close-up of that floral crown…

K & A floral crown

Squeee!!!! 😀

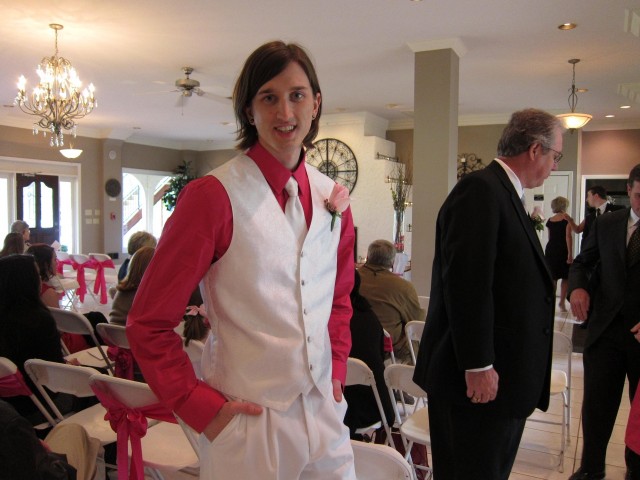
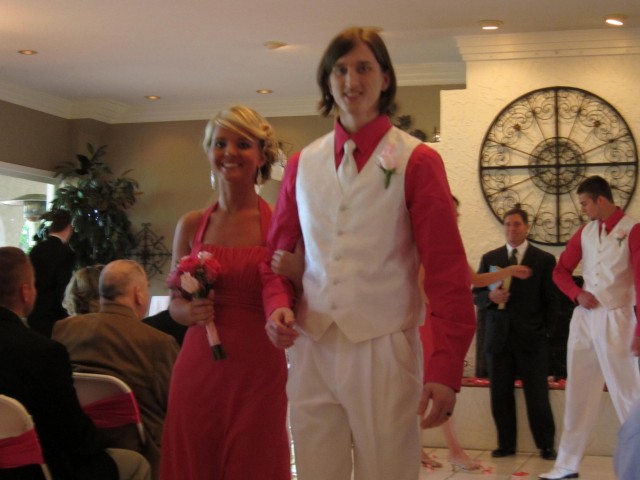
I left it in the kitchen and went to go get dressed. Jeff was not a huge fan of his groomsman outfit, but I thought he looked handsome. :)

Jeff in his groomsman tux

About an hour later, it was time for the ceremony!

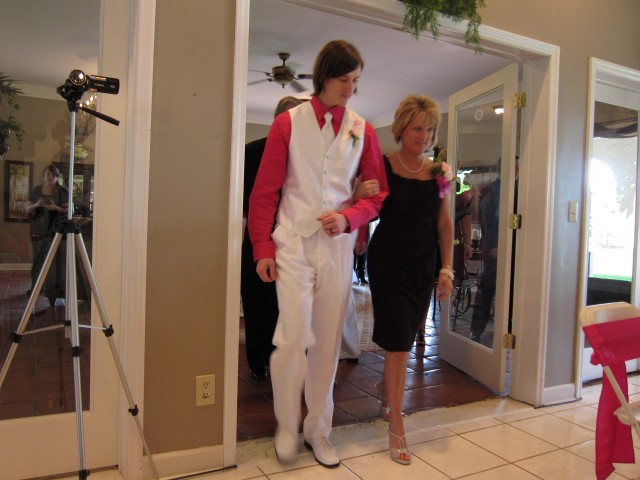
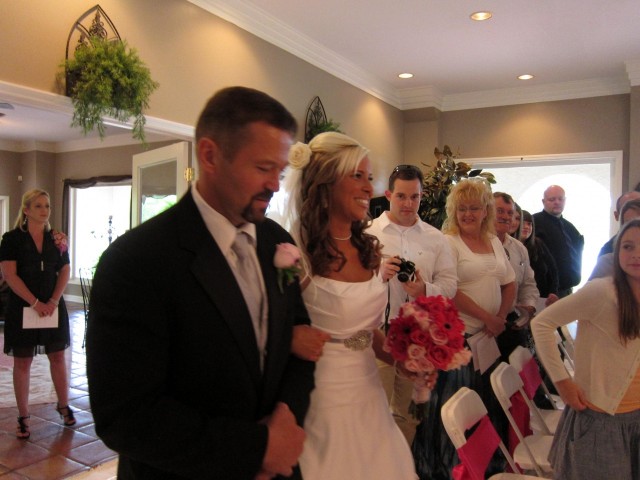
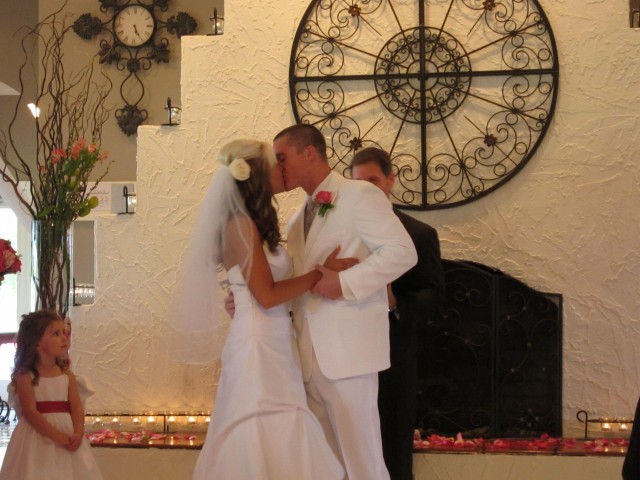
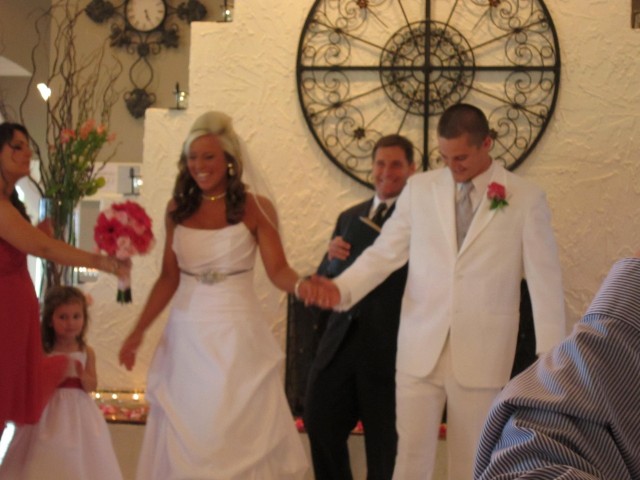
Jeff escorting his momAshley led by her dadKevin & Ashley just marriedNow man and wife

Yay! Another Tucker girl enters the family!

Everyone filed out and we headed straight into dinner.

Jeff with bridesmaid

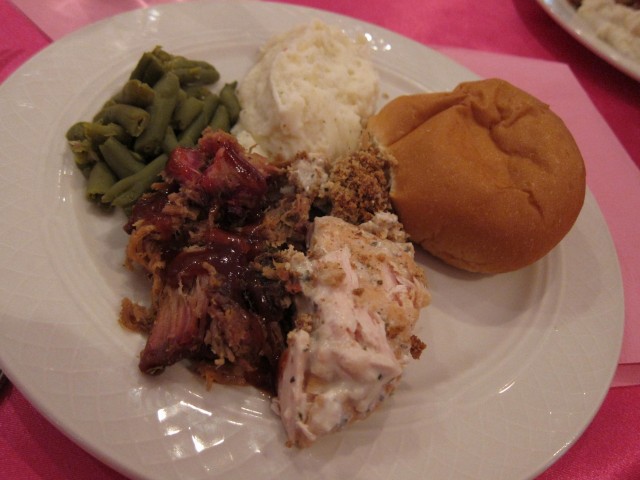
We were served barbecue, but not some sloppy greasy hole-in-the wall barbecue, this was really nice and tasted great.

Barbeque buffet at wedding

But who cares about dinner, you wanna see cake right?

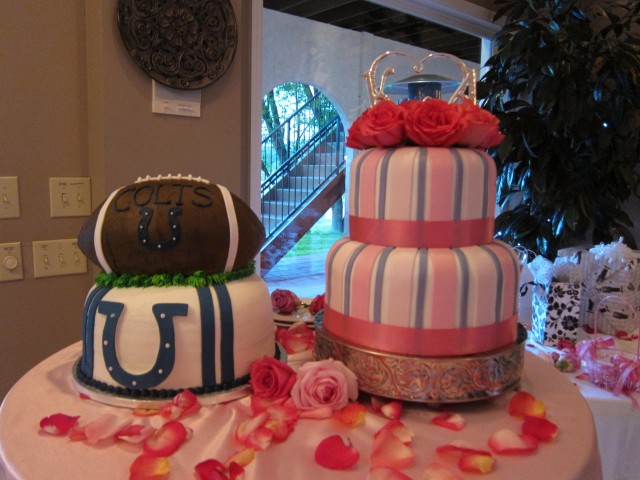
Tada!

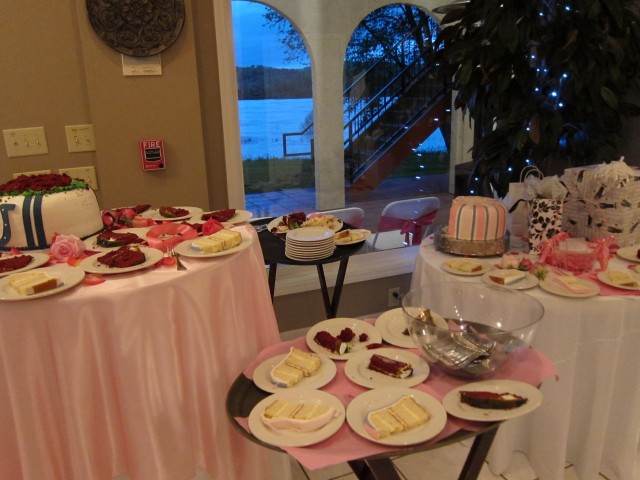
Bride and groom cakes together

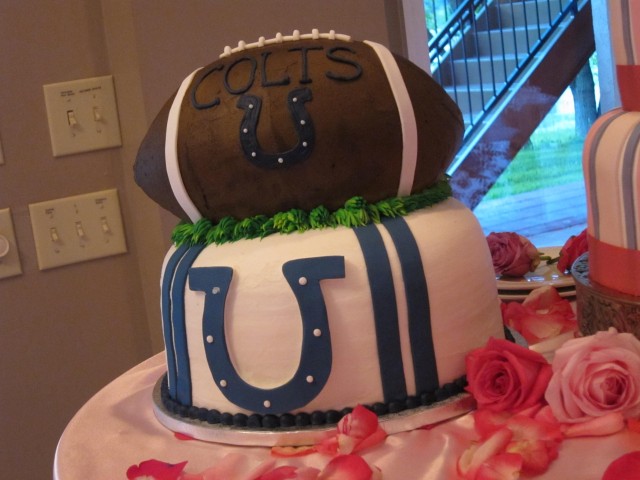
Isn’t Kevin’s groom cake awesome? It’s not even covered in fondant! I can’t believe they were able to get buttercream that smooth.

Groom's cake Colts

Here’s a close-up of mine again…

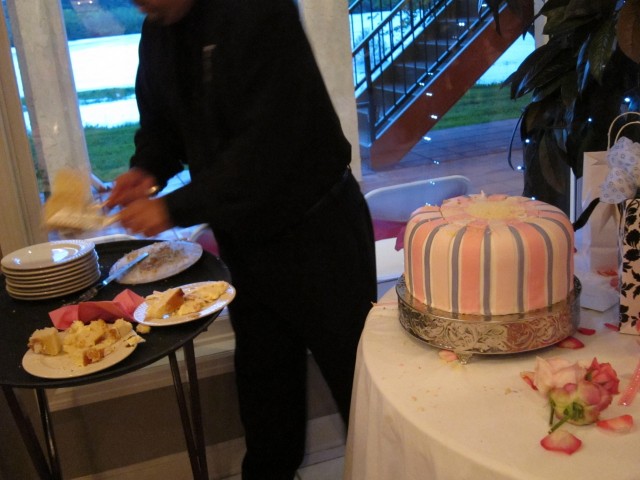
Fade edge wedding cake

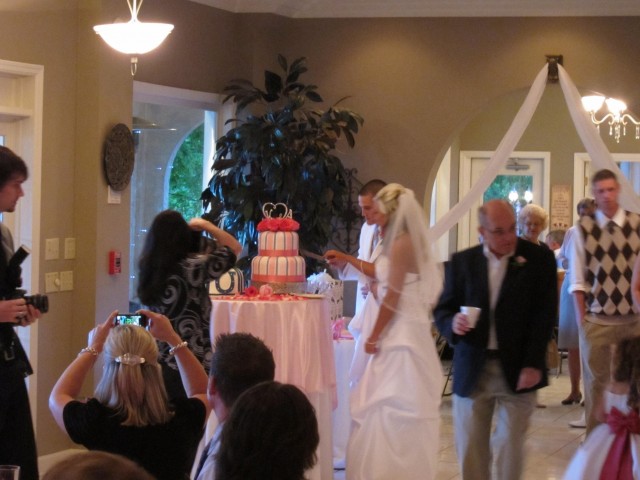
And then the part that I knew was coming but couldn’t prepare for, cutting it! I’ll admit that it was a little heart-wrenching to watch it get hacked up, but by that time I was pretty ready to move on to the part of my life where I don’t have to think about cake 24 hours a day, so I wasn’t too sad to see it go. :)

Cutting into wedding cakeCake service stationLots of cut wedding cake

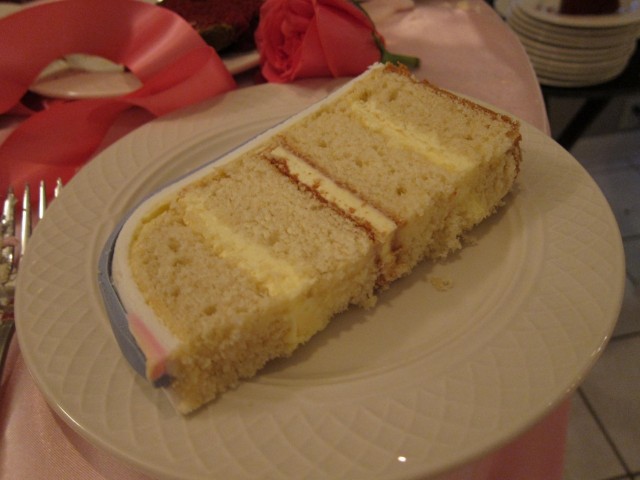
And it tasted great too. I love both of the recipes I used for the cake and for the buttercream. I’ve had so many wedding cakes with sickeningly sweet crusty icing and bland textureless cake.

Slice of wedding cake

Mine was a little firmer and thicker like a sugar cookie cake and had a delicious buttery flavor. The buttercream was soft and velvety and while it was certainly very sweet, it wasn’t a diabetic coma waiting to happen. 😉

The bride and groom loved the cake, which was all I needed to hear. I got many complements that evening and I was so proud. Last week while I was going crazy putting this thing together I was sure I’d never do it again. Now though, I’ve learned so many tips for how to make it easier next time that I think I could see myself having another go at it.

Thanks for following me on this journey! I have learned so much about this process and I’m really happy with what I did.

Finished bride wedding cake

post

Star of the stripes

Well, the wedding was last night and before you just die of suspense I’ll go ahead and tell you that the cake turned out beautifully and tasted delicious!

Today though, I wanna show you the last few steps in preparing the cake for it’s trip.

When we left off, I was finishing up frosting over the crumbcoat and was rolling out the white fondant to cover them.

Rolling out the fondant

I didn’t get any pictures of me covering the cakes in fondant because…well…I didn’t have any hands free! Jeff was home from work early because he had to pick up his tux that afternoon so he helped me to pick up the delicate yet heavy fondant and drape it over the cakes. Then I went to work on smoothing it out with my hands and cutting off the excess. When covered, I let them harden up in the fridge so that I could smooth the fondant some more without squishing dents in it.

I ended up using the entire 5 pounds of white fondant I had just to cover both cakes, so I had to run to the cake art supply store less than an hour before they closed to pick up more! I was beat by this point, but I had to get the fondant I was going to use to decorate with dyed that night if I was gonna have enough time to finish before we had to leave the next day.

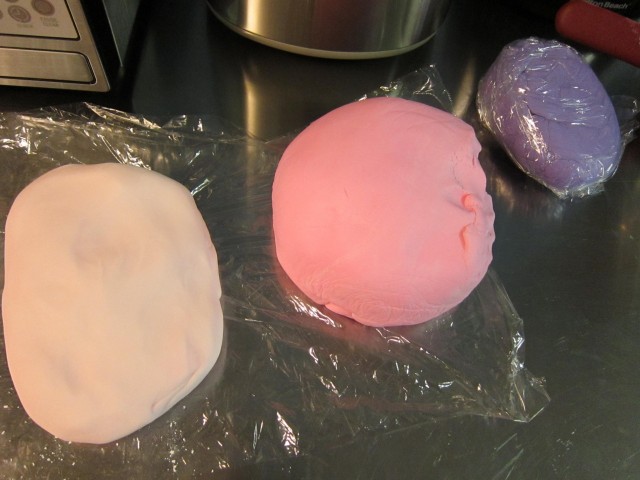
Jeff and I spent an hour kneading fondant together to fully incorporate the dyes, our forearms were so sore after that! But this is what we came out with…

Dyed fondant

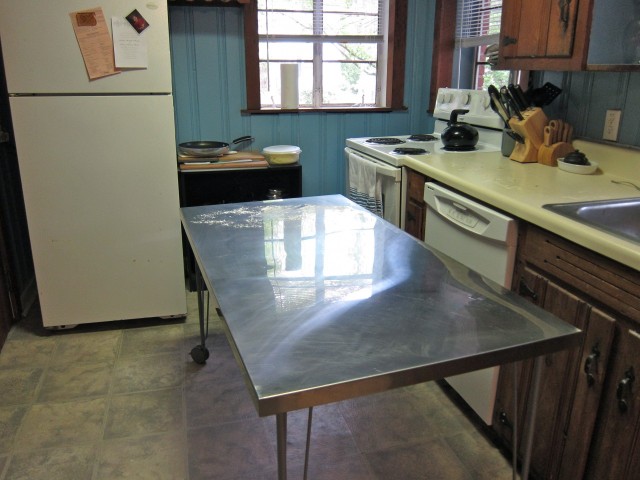
Friday morning was frantic. I got up and went straight to work on decorating. Jeff helped me to pull our table out of the dining room and into the kitchen so that I could shut the cats out and focus on work.

Prep table

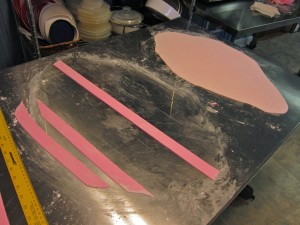
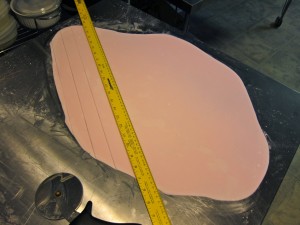
I started by rolling out the colored fondant as thinly as I could with the table dusted in powdered sugar to keep it from sticking. I used a pizza cutter and the edge of a ruler to cut wide bands of both pink shades.

Dark pink stripsCutting light pink strips

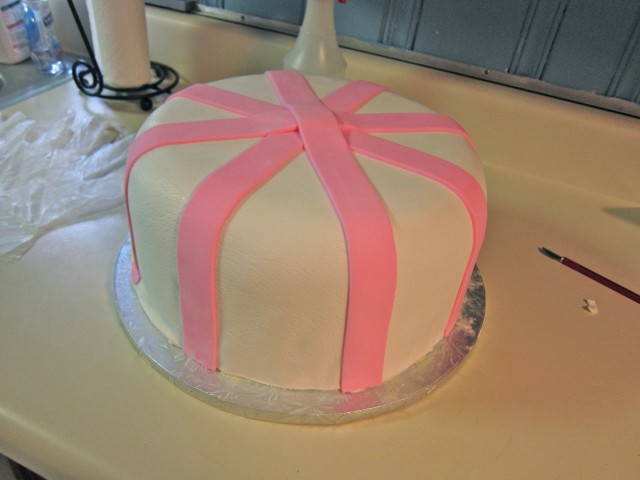
I laid out the darker pink first, trying to postion the stripes over any unfixable flaws.

Laying the first stripes

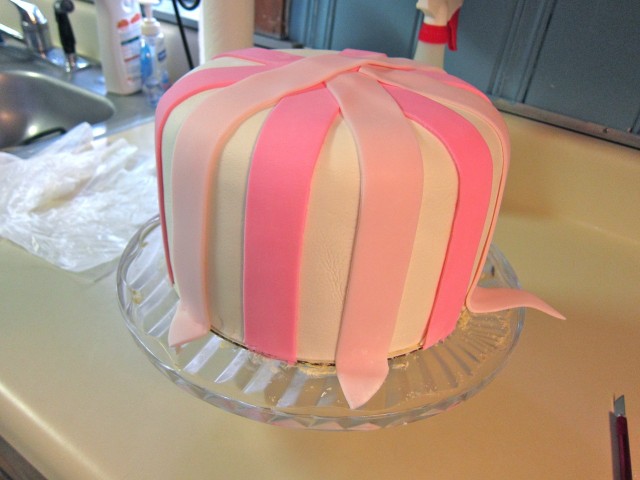
Then the lighter pink between those. I wasn’t adhering them at this point, just positioning so that I knew how many stripes I needed and how they would lay.

Layering stripes

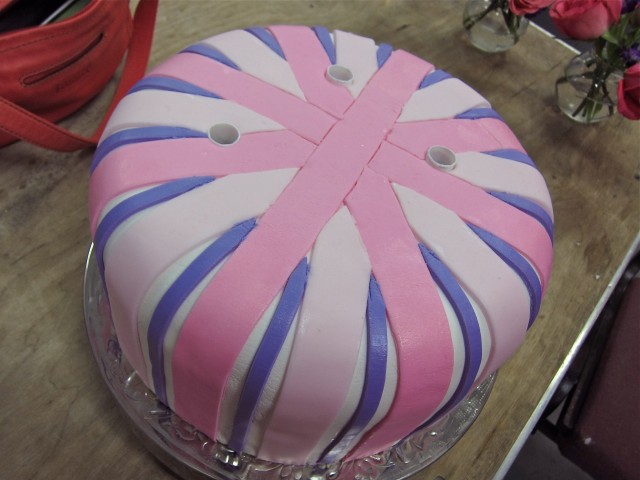
I rolled and cut the purple fondant into thin little strips and added those between the pink. Then I used an exacto knife to cut the excess pieces off the top of the cake so that the stripes fit together like tiles and made a nice flat top.

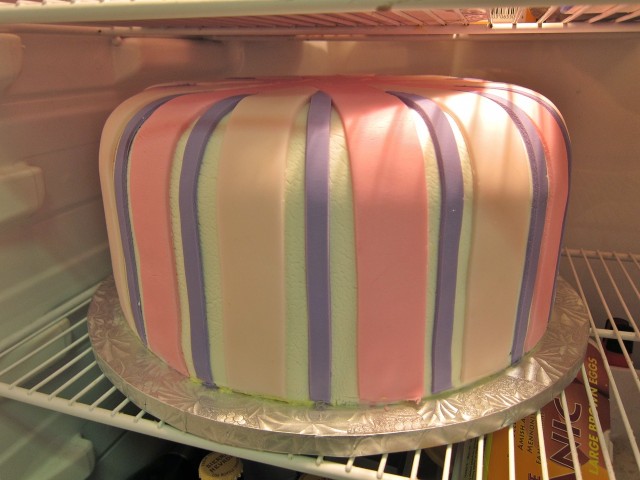
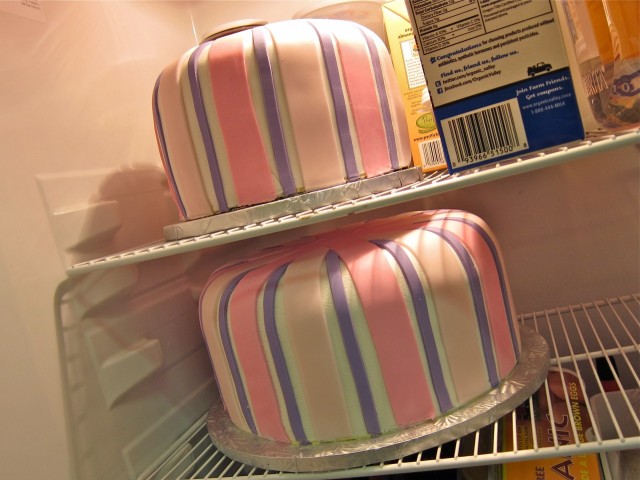
Finished striping

When everything was cut and positioned, I lifted each one up one by one and painted the bottoms with a little water and smoothed them into place. Water slightly dissolves fondant, making a sticky slurry that glues the stripes down to the base layer.

Whole cake finished striping

That was all that I could finish at home. Jeff and I rushed to clean the kitchen, pack our bags, get dressed, load the car, set out food for the cats…..AHHH! We barely made it out the door in time!

I cannot wait to show you what this looks like all put together tomorrow, it was incredible if I do say so myself. :)

The big reveal is tomorrow!