I had everything finished except for the decorative stripes by the end of Thursday night. I knew I’d have only until 3pm on Friday to finish up before we needed to both be dressed, packed, and have the car loaded to head straight to the wedding site. We got up at 8am, and I thought, “Surely 7 hours is more than enough time to put a few stripes on a cake, right?” You see where this is going.
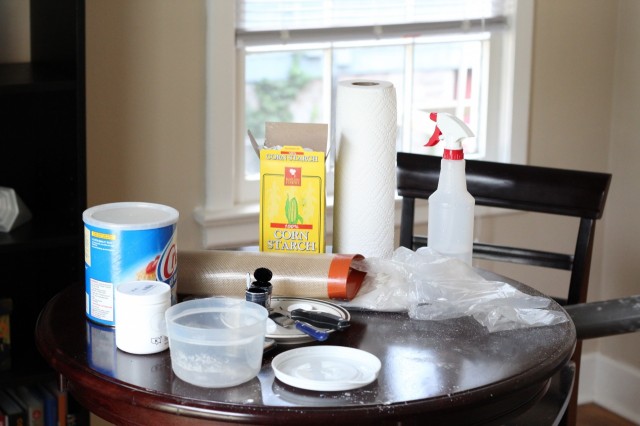
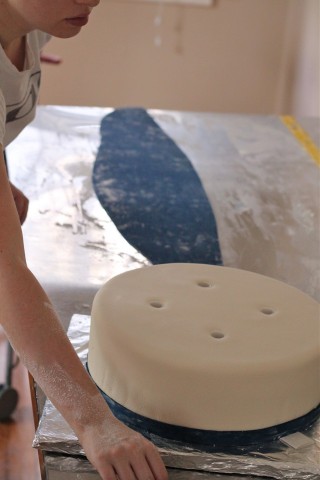
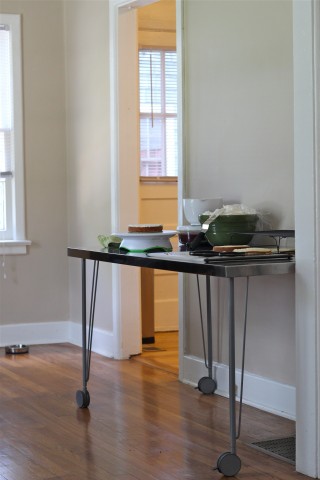
I got up and immediately got to work setting up the dining room with everything I’d need to get it done.
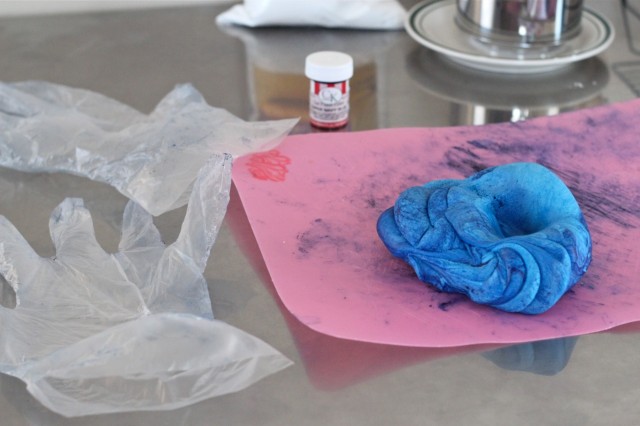
The first item of business was to continue dying that piece of fondant navy blue with the two extra bottles of dye I’d gone out for the day before.
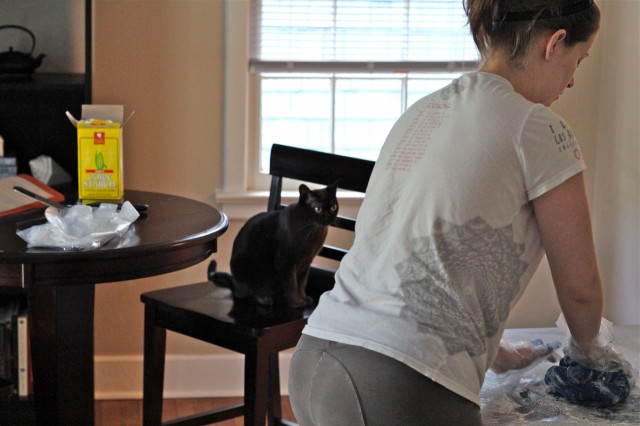
I’m gonna go ahead and show you this totally unflattering photo of me still in my pajamas just so you can see how rapt Lucas was with the swishy noises my gloves were making while I was kneading the fondant.
I am so glad I decided to buy two extra bottles of dye, because I used every last drop of both of them and even still I wish I had been able to get it a bit darker. Really, I needed a drop of black to make it the right shade of navy, but I got it close. I spent a solid hour adding dye and kneading it in and then even more time kneading in cornstarch to dry the fondant out a bit since all that dye made it a little too sticky.
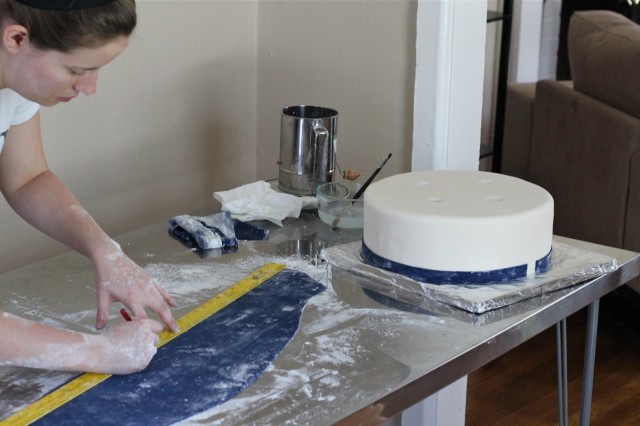
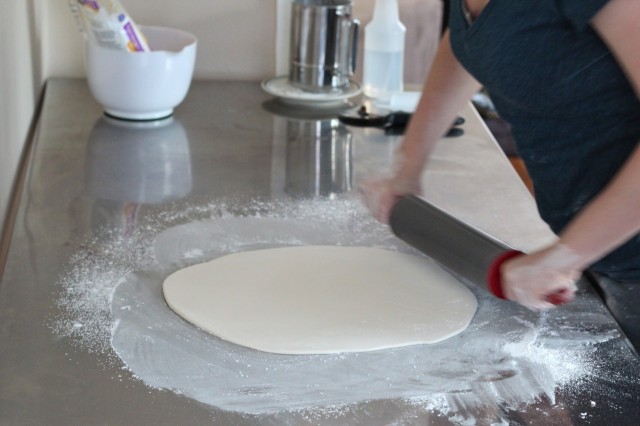
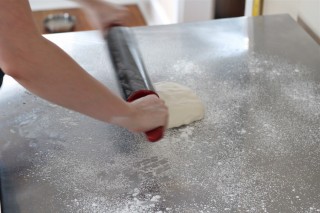
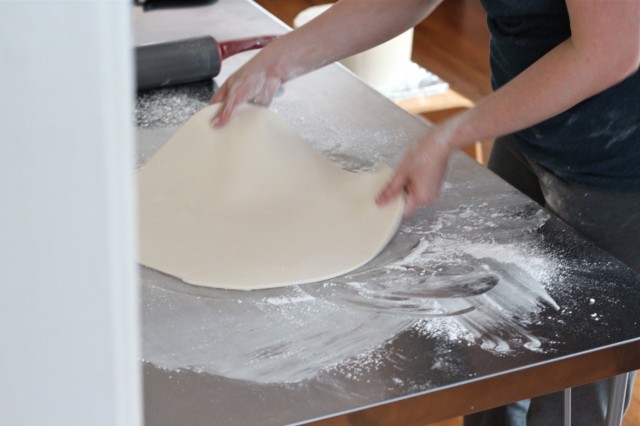
Then, I had to clean up the area, re-dust it with cornstarch, and roll out the fondant. I had Jeff do some quick math for me to figure out how long I needed to make the stripes by determining the circumference from the diameter. Stay in school, kids.
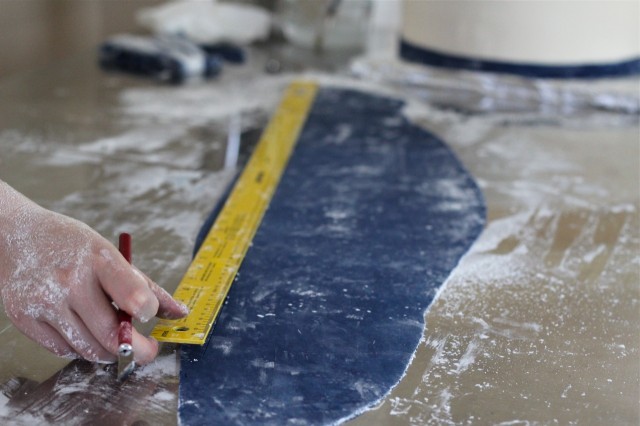
The largest tier needed stripes over a yard long! I had a lot of trouble with the stripes breaking as I was adhering them. I did my best to get the longest pieces possible onto the front of the cake and then fill in the back and try to hide the seams. Turns out the surface of my table was uneven and it kept making uneven stripes when I tried to cut on it. I lost a lot of time re-rolling and re-cutting to get a nice even thickness.
I also spent a lot of extra time trying to make the stripes perfectly parallel. I realized after the wedding was over that I should have made templates to line the stripes up against for perfect lines. Now I know.
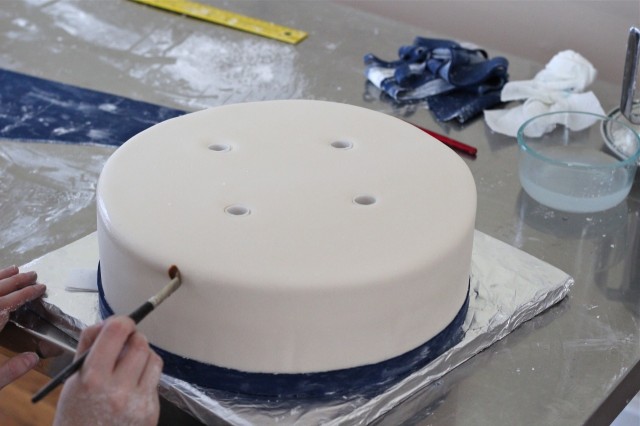
To adhere the stripes, you just brush the surface with a little water, being careful not to let it run. The water partially dissolves the fondant sugars on the surface, which then dissolve and bond with the sugars in the stripes. I had lot of trouble with the dye from the stripes running slightly and making a bit of a blue halo. I spent a huge chunk of time blotting it with paper towels to absorb the excess moisture, and then literally shaving the smeared dye off with an exacto knife. You’re starting to see where that 7 hours went now aren’t you?
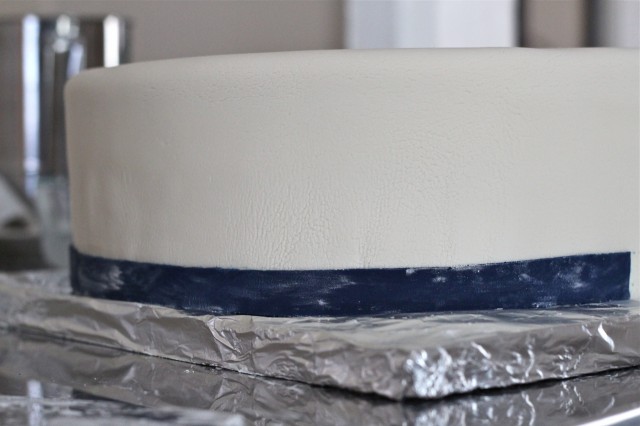
Here’s an example of that “elephant skin” effect I was talking about last time. It’s sort of wrinkly and cracked looking. This happens when either the fondant is too dry or has been handled too much. In my case, it’s the dryness from having to use cornstarch to keep it from sticking to the table. For my next cake I’m going to invest in an oversized silicone mat to roll fondant out on. You don’t have to use cornstarch with one of those, reducing the possibility of unsightly elephant skin.
The whole time I was busy finishing the cake, Jeff was busy getting everything possible packed and in the car so we could head out ASAP. I finished with about an hour to spare, just enough time to get myself showered and dressed and pack the the last of my stuff up. We both carried the cake tiers out to the car and secured them in the back, then headed off on our 2+ hour drive to Lafayette, GA.
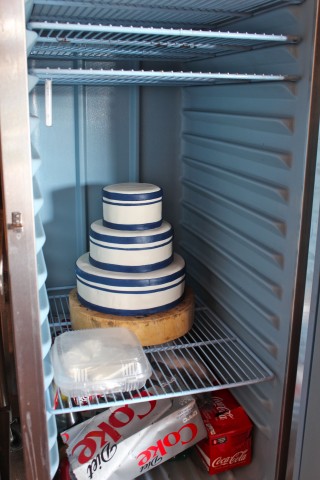
We got to the wedding site about 2 hours before the rehearsal was set to start. I immediately got to work stacking the cakes on the wooden pedestal the wedding site provided for me. I used a paintbrush to brush off the excess cornstarch from the outside of the cake. Then, and this will sound really weird, I brushed the entire cake with a thin layer of shortening. I did this because the fondant had gotten dried out from the cornstarch and I needed to add some moisture back. Shortening helps to smooth out cracks and imperfections, but at the cost of making the cake shiny. I hoped that it would dry out a bit in the fridge before the wedding the next day.
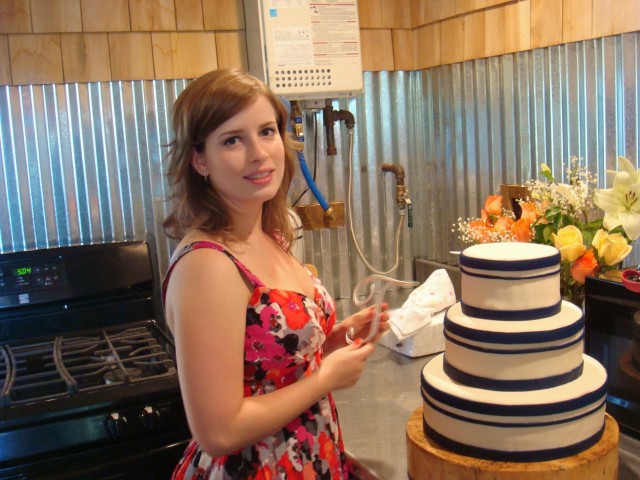
On Saturday, the wedding day, all the wedding party needed to be at the site by 3pm for group photos. I spent this time putting the final touches on the cake which would need to be brought out at 5pm just before the ceremony started. I was so tired! (BTW, I chopped all my hair off! It was not cooperating that day though with all the heat and humidity.)
There was a bit of stress the previous day because some extra flowers had been saved for me to decorate the cake with, but they were all refusing to open. Luckily, they somehow all magically bloomed overnight and I had plenty to work with.
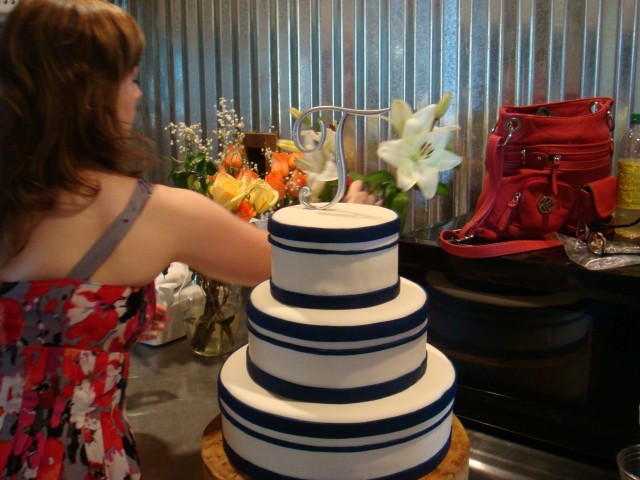
I put a silver “T” for Tucker on top and used some leftover boutonniere pins to pin a few roses just underneath it. The last step was to adhere the bow. I took all the pieces out and shaved off excess material with an exacto knife, then stuck them to the cake with a little water. One of the bow tails cracked as it draped over the edge of the cake, so I made a paste out of cornstarch and shortening and painted it into the crack. You would never know it was damaged.
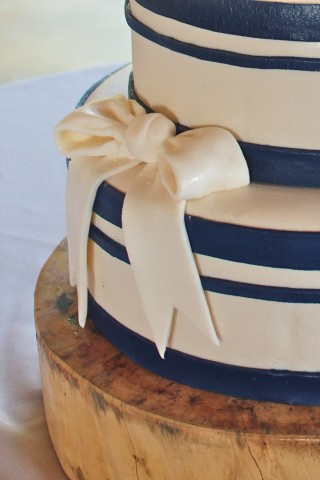
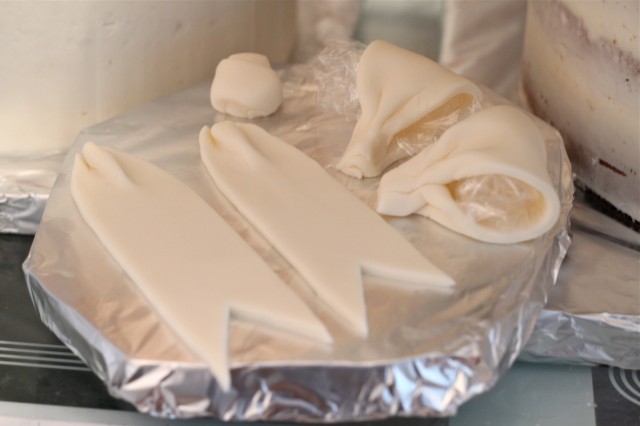
This is not the best picture ever, but you can see what the finished bow looked like when all the pieces were laying next to each other.
That’s it for all the prep work. Next is the wedding and the finished cake!


