I am so excited to share with you my recent cake baking adventures! As you may know, I made my first wedding cake ever last year for Jeff’s younger brother. It was a long and difficult process and at the time I was sure I’d never want to do another one again. But, I learned so many things last time about how I could have done it better if I had it to do all over, so naturally I began to wish I had another chance to put this new-found knowledge to use.
The engagement of Jeff’s youngest brother; Bryan, to his lovely fiance; Caitlin, gave me just that chance. I offered to do their cake for them and was both excited and nervous when they accepted. Caitlin decided on a sophisticated and classic design that I was sure was in the realm of my abilities, but there was one component to it that I had absolutely no experience with… jam.
Sure, I could have just bought jam, but I saw an opportunity to learn a new skill and create something really custom and unique. And so, this cake baking journey begins with $18 worth of strawberries and some seriously good strawberry vanilla jam.
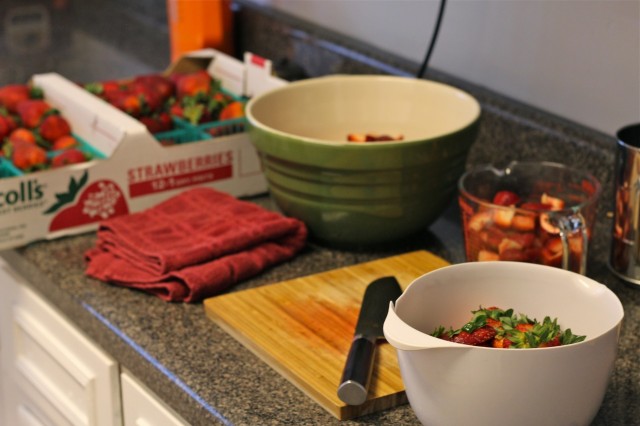
I started the Monday before the wedding (which was on a Saturday.) It took about a half hour or so to chop up the 4 quarts of strawberries I needed for the recipe. I used about 3/4 of the giant flat of berries I purchased, leaving me with a huge gallon bag of them that’s now sitting in my freezer ready to become smoothies. 
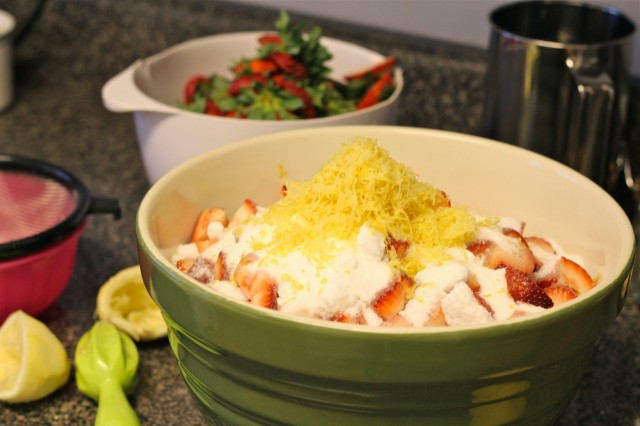
I had to learn all about jam-making for this project, and one thing I learned was that a jam needs pectin (a complex sugar naturally occurring in plants that acts as a gelling agent) in order to set up correctly. Strawberries are very low in pectin naturally, so you need to add some to get the right consistency. You can buy pectin in powder form, but for the life of me I couldn’t find the stuff anywhere, so I went with another technique to introduce pectin to the jam: citrus zest.
Citrus fruits; especially their rinds, pith, stems, and seeds, are all high in natural pectin. I wasn’t sure how much of it I needed, so I just used what I had and hoped it worked. Thankfully, the zest of 3 lemons combined with their juice ended up being plenty to get this jam gelled.
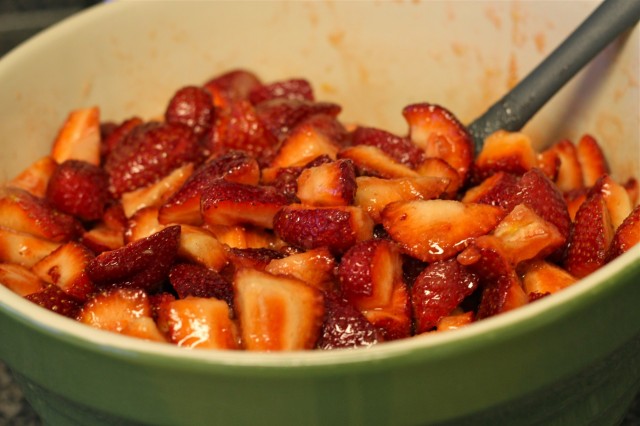
The next step was to let the berries macerate in the juice and sugar until they became soft and released much of their own juices. I let them sit for about 2 hours while I ran an errand, but I think even one hour would have been plenty. I could not resist to eat a few of the sticky sweet strawberries right out of this bowl. They were incredible!
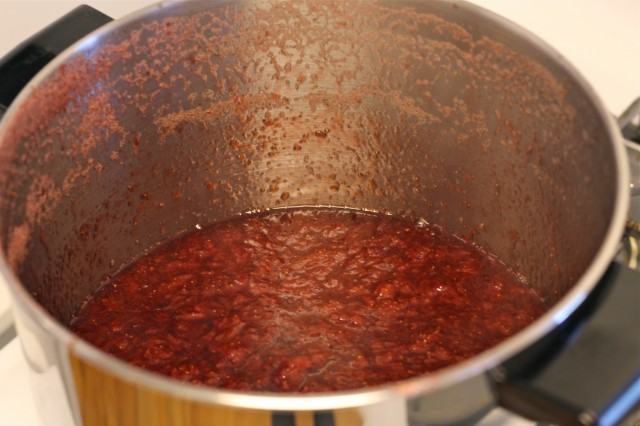
After that, it’s pretty easy to turn them into jam. I put them in a large pot and let them boil away for close to an hour, making sure to skim off any foam that formed on the top to keep it from boiling over.
At the very end, I mashed them up a bit with a potato masher to make it a bit smoother (better for putting in a cake so there are no chunks to make the cake layers uneven,) and then added a few tablespoons of vanilla for a sweeter, more rounded flavor. The vanilla took the tart edge off the jam, making it a “strawberries and cream” type flavor.
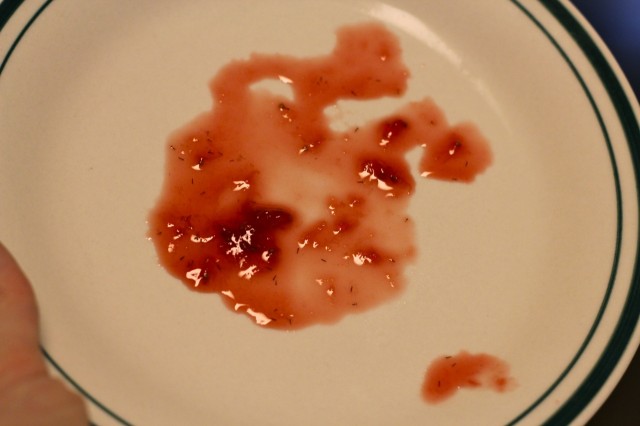
And here’s how you can tell when it’s done…
I put a small plate in the freezer before I started boiling the jam. You can put a small dollop of jam on the cold plate, count to ten, then tilt the plate to see if the jam is still runny, or if it moves more slowly across the plate. This jam looked ready!
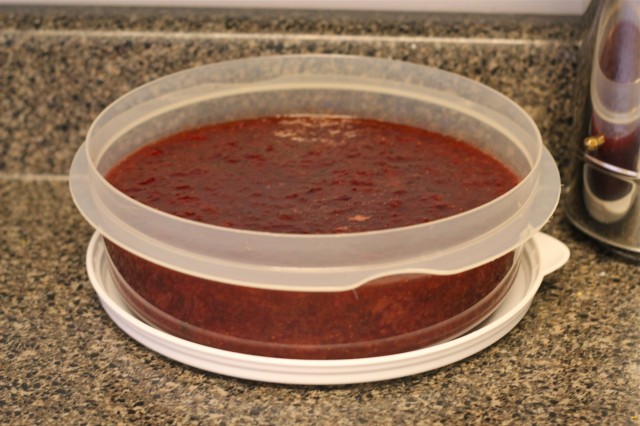
And there it is in my biggest plastic container. I don’t know exactly how much this made, but I know that I only used half of it on the cake. Now I know for next time not to make so much d@mn jam!
Here’s the recipe for the quantity I made. You can easily half or even quarter this for your own use though. It really is excellent, I’ve been putting it on toast and yogurt all week!
Strawberry Vanilla Jam

Ingredients
- 4 quarts strawberries (chopped small)
- 3 cups white sugar
- 8 tbsp. fresh-squeezed lemon juice
- zest of 3 lemons
- 3 tbsp. vanilla extract
Cooking Directions
- Stir together chopped strawberries, sugar, lemon juice, and zest in a large bowl and leave covered for at least one hour.
- Transfer to a heavy-bottomed pot and boil for 40 minutes to an hour, stirring frequently with a spatula and skimming foam from the top continuously to prevent over-boiling.
- Mash jam with a potato masher to desired consistency and add vanilla, mix thoroughly.
- Test jam on a cold plate for doneness. If it still runs quickly after 10 seconds on the cold plate, reduce it further by boiling for 10 or so minutes longer. If it runs slowly or not at all, it's done.
- Jam should stay safe in the refrigerator in a sealed container for at least a week. Freeze or can any remaining.
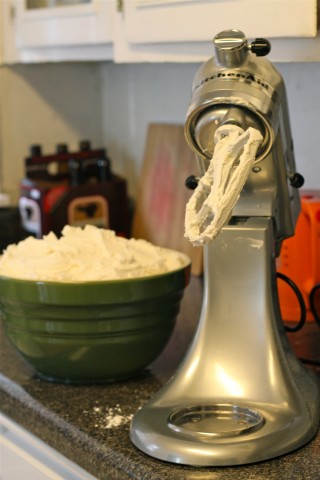
Next up, making 6 lbs. of buttercream and layering it with the jam between fluffy vanilla cake!
Yes, I used all 6 lbs. of frosting!


